Sometimes I feel like decorating for Christmas is stressful, but it shouldn’t be! With so much over the top inspiration on Instagram, Pinterest, and everywhere else we look, it’s easy to get envious and assume that every little corner of the rooms are just as gorgeous as the photos we are seeing. Some of them may be, and that is AWESOME, but when we don’t have the time or budget for that, picking a few spaces to make gorgeous Christmas vignettes can transform your house into your own winter wonderland.
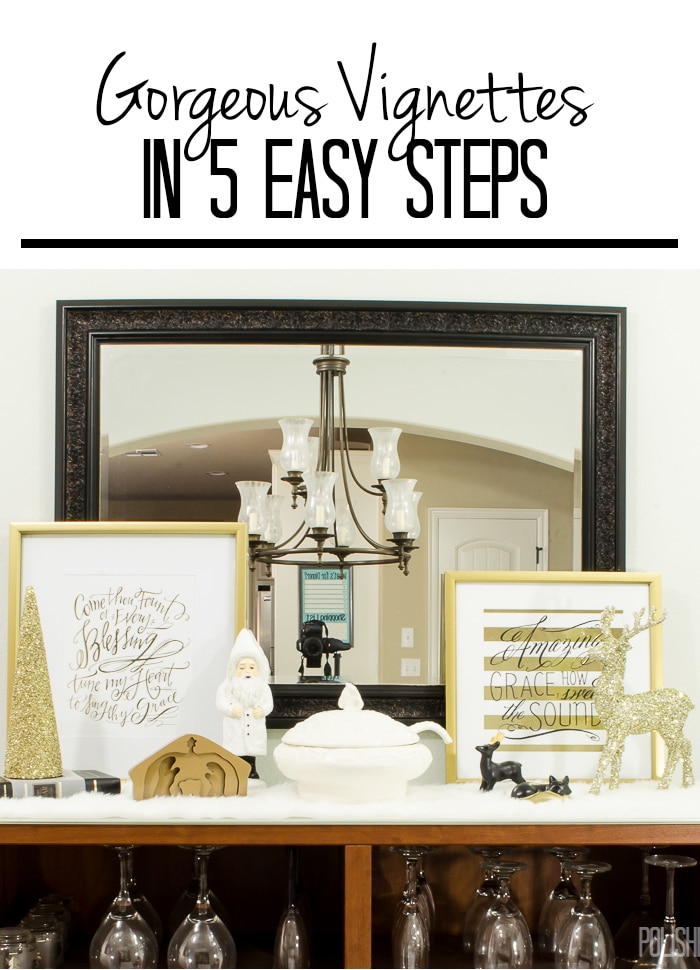
Turning any flat surface into a photo-worthy dream is easier than you may think. I broke down my process into 5 steps as I updated my dining room buffet for the season.
Before we get started, I’ve got a bonus tip. Crank up your favorite Christmas music to get you in the spirit. Holiday cocktails or hot chocolate are also highly encouraged!
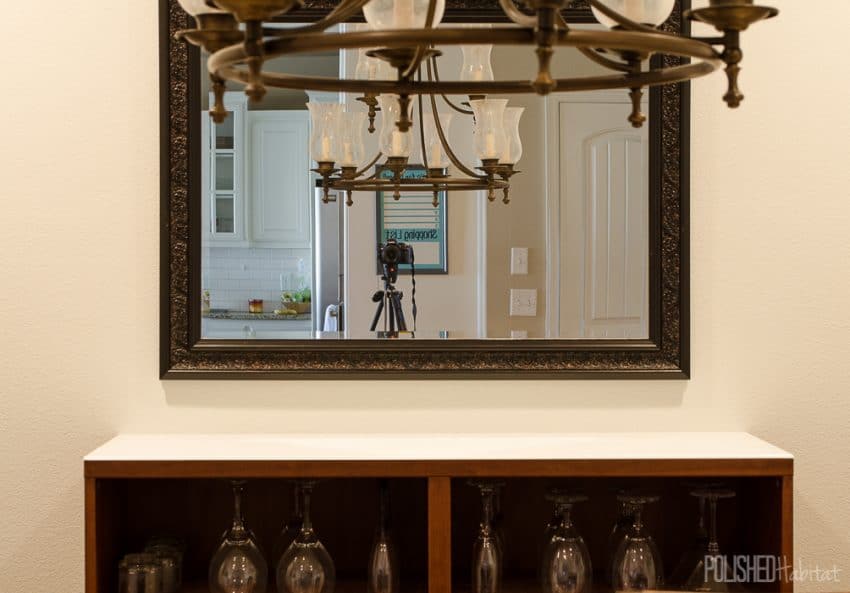
Step 1: Clear the surface
Get rid of everything. It may seem to make sense to leave a few items that will still work with your new Christmas display, but having existing items on the surface will just stifle your creativity!
Step 2: Pick a theme or focal piece
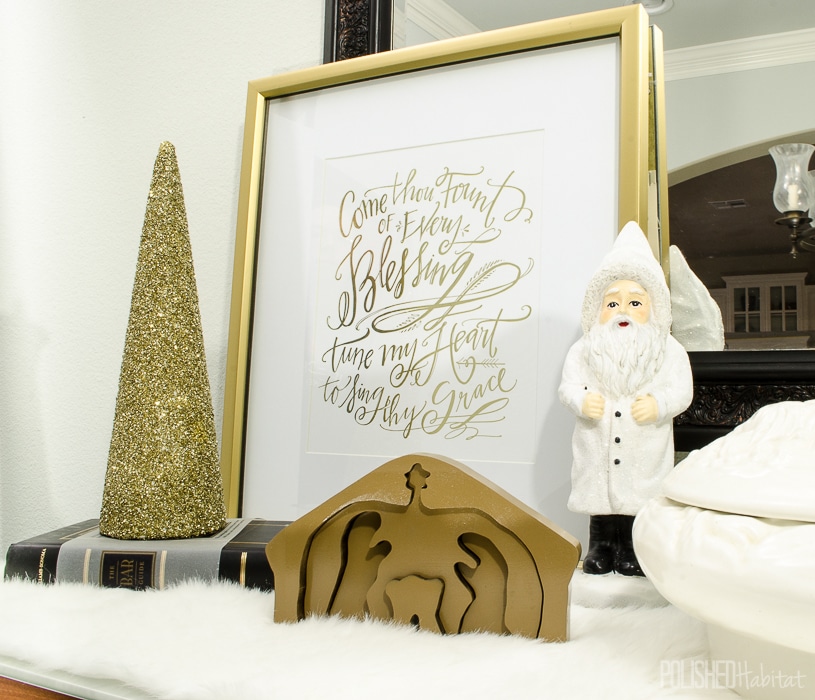
You can either decorate around a specific theme (rustic, glam, modern, reindeer, etc), or start with a focal piece you love and build around it. For example, if you have a piece of Christmas artwork you love, place it on or above your shelf as the focal point and build from it.
I’m going for a gold glam dining room this year, which is fun because the rest of my Christmas decor is a bit vintage cabin-y.
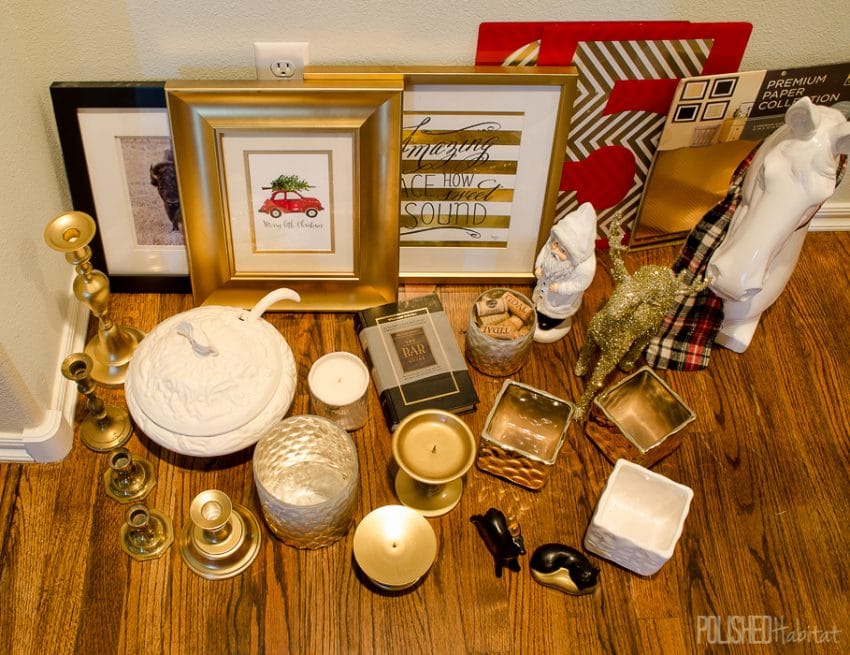
Step 3: Hunt and gather
Once you have your theme or focal piece, gather up everything that could possibly coordinate into one spot. Anything goes – include Christmas items that normally go in other rooms. Don’t be afraid to search the house for non-Christmas items as well. If you’ve got a vase in the bedroom that shares a color scheme with your focal art, bring it to the pile! You’ll want more options in your pile than you have space for on your surface. Look for items in a variety of shapes, sizes, and textures. DO NOT GO SHOPPING YET! When I say gather, I mean from your own house, not from Target!
Step 4: Start adding things to your surface
Try adding your largest item to the left or right of the center, then fill in with medium size pieces before adding the smallest items. Carry your eyes from one item to the next, making sure your eyes travel in a meandering path with no harsh jumps.
I illustrated point #4 for you with my super duper art skills. I’m pretty sure this one is going in a museum in the future.
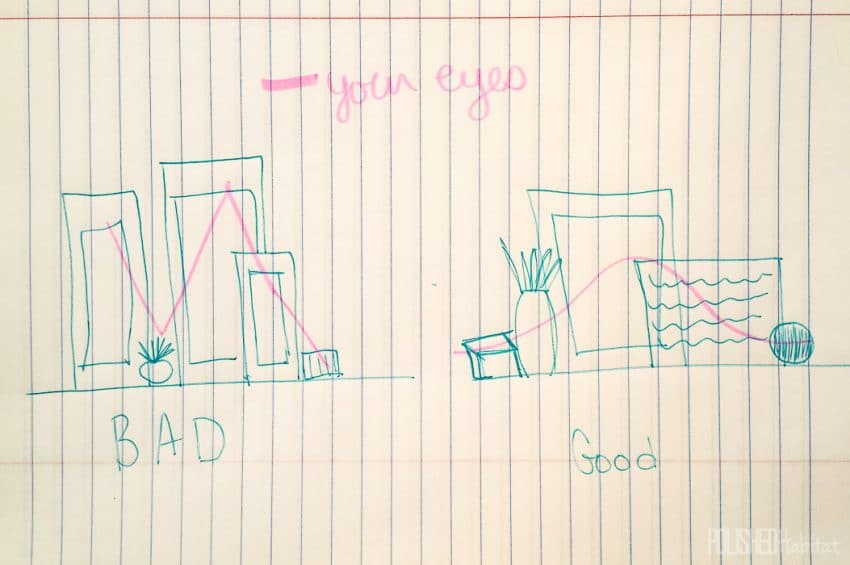
When I put really tall items at both edges, and the short soup tureen in the center, there wasn’t a smooth transition and the whole thing was a bit jostling.
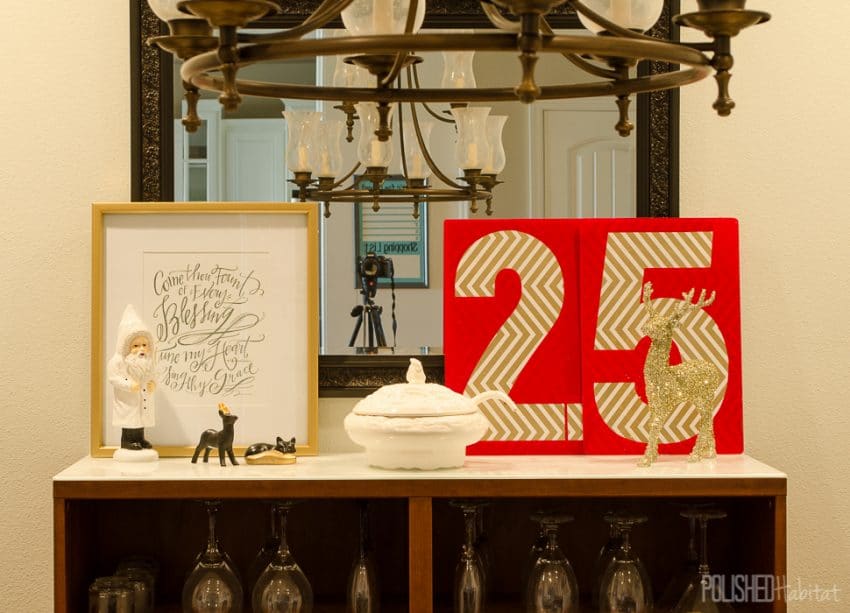
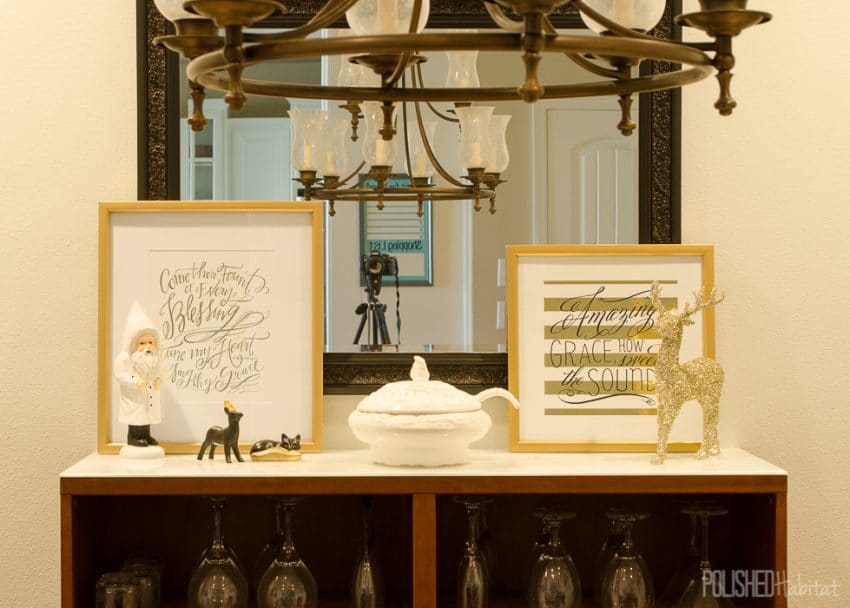
I swapped out the tall and wide vintage gas station numbers for the smaller Amazing Grace artwork that normally hangs in the closet and it was SO much better. Crazy the difference changing out one item can make.
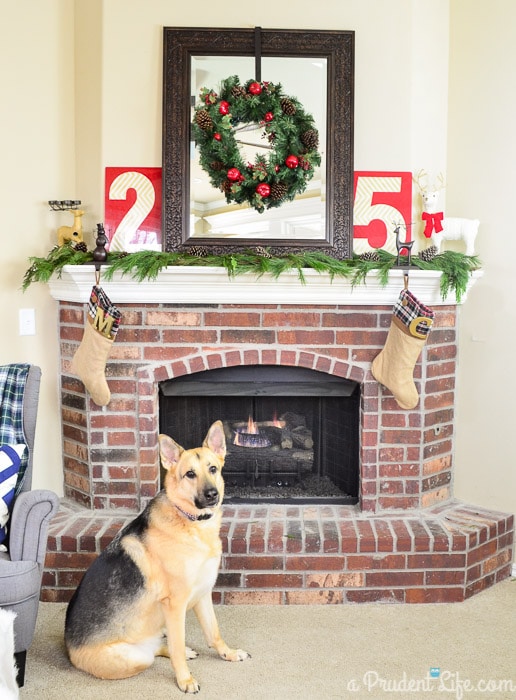
The red gas station numbers look more in scale on my larger fireplace mantel.
5. Walk away for awhile, when you come back, tweak and walk away again.
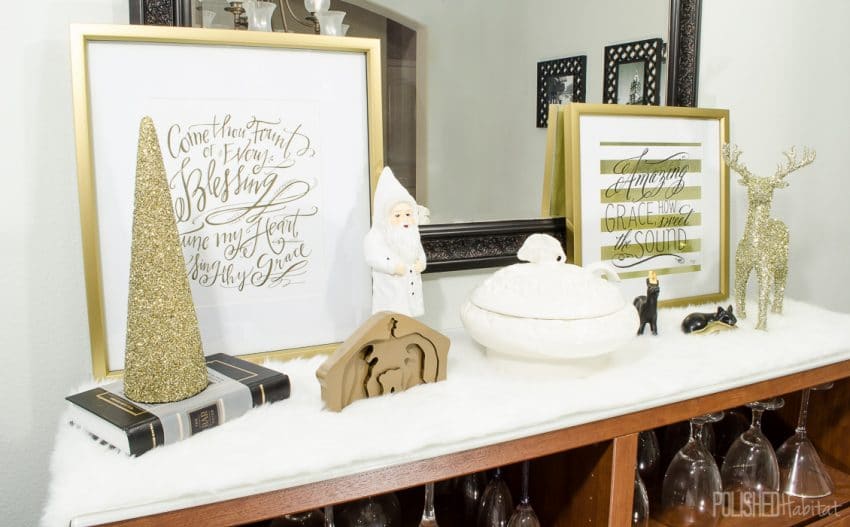
If you are STILL missing something, think about what size and shape item you need and NOW you can head to your favorite retailer. OR it’s also the perfect time to DIY something. Grab a canvas and make your own art, or paint an old unused vase to match your new vignette. The Bulleye’s Playground at Target (used to be called the Dollar Spot) has great options. I found a glitter tree for $3 that matched my glitter deer.
I also realized my vignette needed a little extra texture, so I found the fur runner I had used on the dining room table last year. It was the finishing touch I needed!
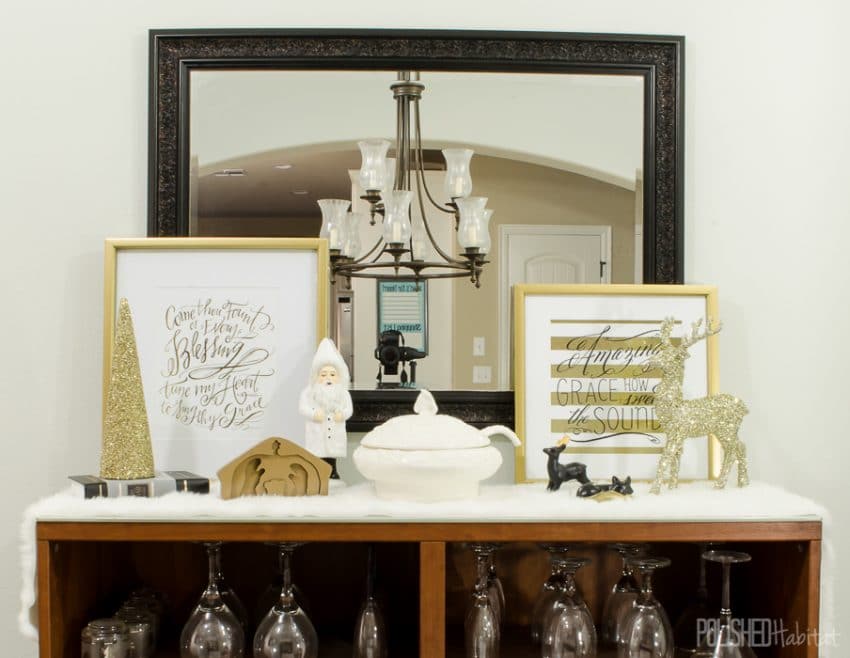 I love the new glam scene I put together in the dining room, and best of all, I only spent $3 on it this year!
Looking a little closer, I remembered that I had some black and gold salt and pepper shakers that were perfect for my theme.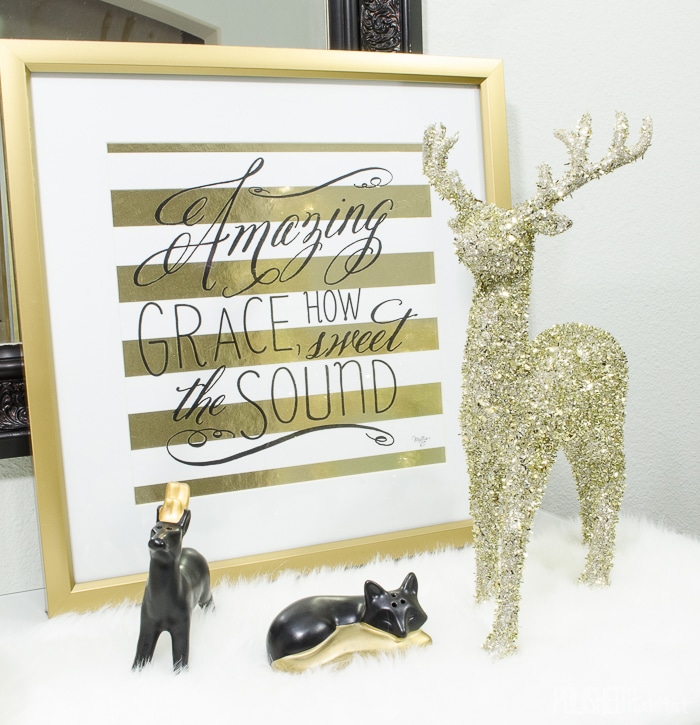
A little wood nativity puzzle I picked up several years ago at a German festival adds a nice touch of nature to the glam display. Although, I admit, I’m tempted to paint it gold!
I wish you guys could all come for Christmas cookies and see this vignette in person, because the photos just don’t do it justice.
If you love glam spaces like I do, make sure you check out my master closet makeover next. Or, if you’d like more styling tips for your home, I’ve got all the tips you need to decorate your bookcase like a pro.

Holly says
Visiting as a fellow participant from the #HomeForChristmas blog tour. I love your vignette – and easy steps too! Merry Christmas and Happy Holidays to you and yours. Hugs, Holly
Melissa George says
Thanks for stopping by Holly!
Tiffany says
Great tips! I especially like #1 and #3. I was struggling with a vignette just last week, and I think the reason was that I hadn’t pulled everything off of the surface. I love to hunt and gather: all of the decorating fun without the guilt. :0) Thanks for sharing!
Melissa George says
Thank you Tiffany – so glad the tips were helpful!
DeDe @ Designed Decor says
Great tips! I use the walk away tip all the time, it helps to see what chatches your eye first when you walk in the room. I just love both of your framed graphics! It is all so pretty!
Marie from The Interior Frugalista says
Great tips for creating holiday vignettes – pinned to share!
Lacey Haskell says
Thanks for the tips!
Jill Flory says
Great tips and you ended up with one truly gorgeous vignette! I’m in love with it!
Vanessa says
Melissa,
I love your Christmas vignettes. Just lovely! Love the black and gold tones too, but then again I have a thing for gold. : )
Melissa George says
Yes – gold is good! 🙂
Benita says
Melissa, this vignette is so pretty! Love your drawing…so museum worthy! 😉 When I fix a vignette, I walk away for a day or two and then come back, rearrange, tweak and let it sit for another day or two. I tell the hubster that it’s “fermenting” and that he needs to withhold his opinion until I tell him he can speak…LOL
Melissa George says
Ha – that is the perfect word for it Benita!
Tami @ Curb Alert! says
Oh I definitely need to walk away and tweak a bit more until I feel it’s right. I am learning to make it a lot less stressful through the years, baby steps! Love your gold touches throughout! Merry Christmas!
Tami