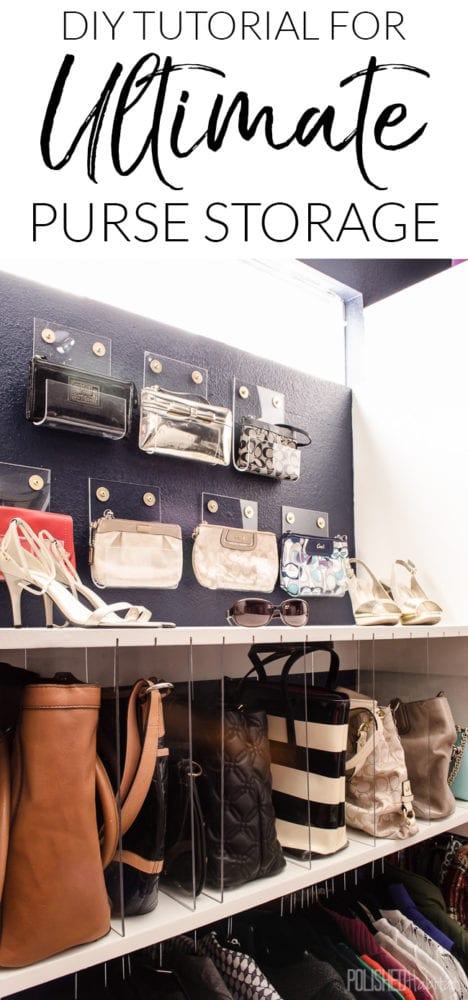
Are handbags, purses, and clutches taking over your closet? I’ve got the perfect organized storage solution!
As I set out to organize my closet, I knew I could do something pretty with my purses and clutches. Why shouldn’t I enjoy looking at all of them?
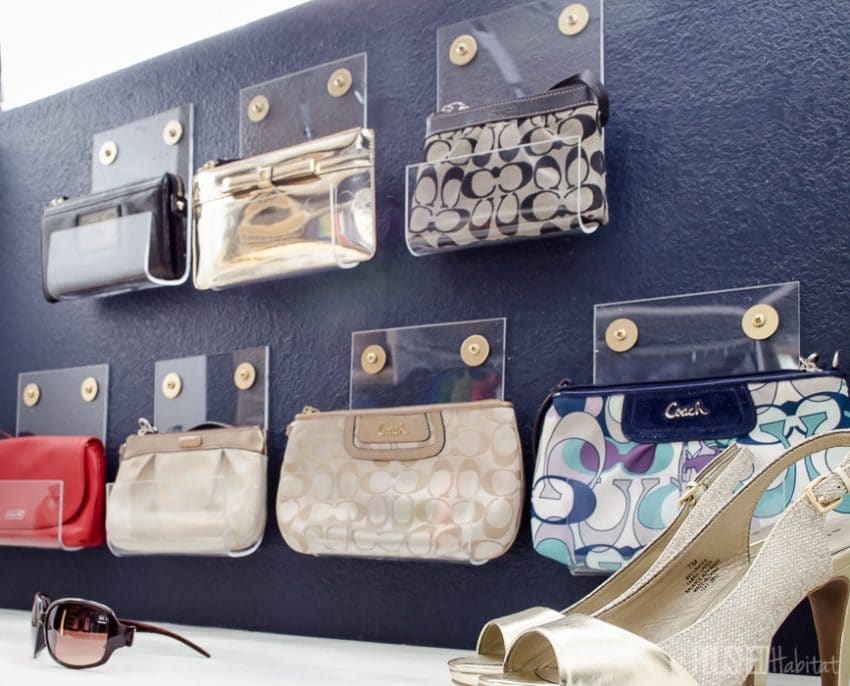
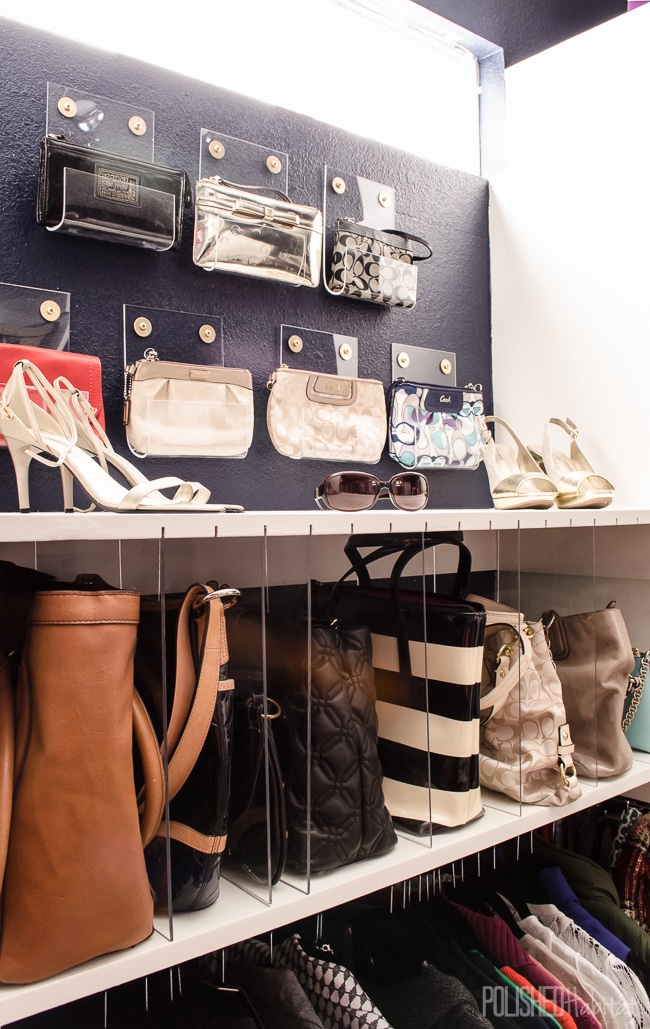
If you’ve seen the full closet makeover, you know I worked with acrylic for the first time to create a DIY clutch and wallet storage on the wall. Below that, we created a DIY purse organizer with removable dividers. All together, it’s a space that makes me swoon. Today I’ve got the tutorial to show you how we did it!
Here’s the supply list of everything we used:
OPTIX 0.118 Acrylic Sheet from Lowes
Plastic Scorer
HomeRight Digital Temp Heat Gun
Clamps
Rockwell Jawhorse (Optional, but AWESOME)
Drill
Fender washers and coordinating screws/wall anchors
Scrap wood to create a jig
Sliding miter saw or router (we bought the Ryobi 10″ sliding miter saw and think it’s a GREAT value)
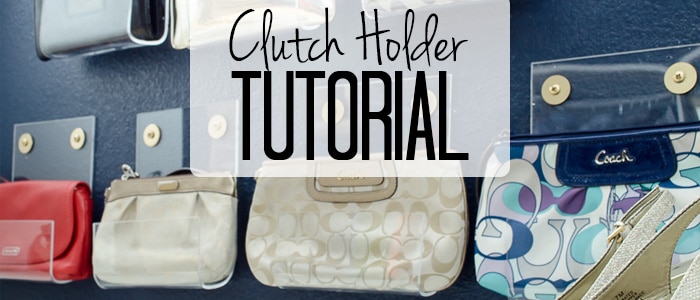
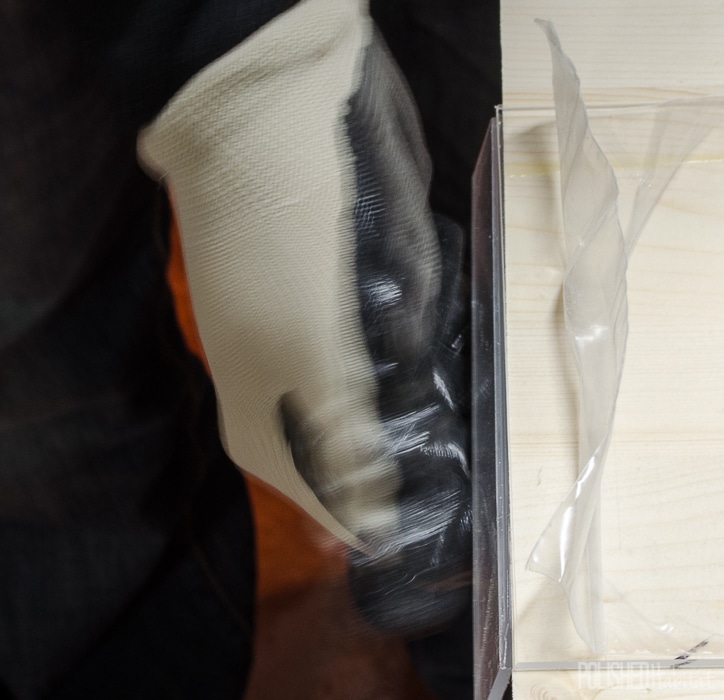
The first step for the clutch holders was to cut the big sheet of acrylic down into smaller pieces. I picked a width of 6″ and cut the pieces to 12″ long. The cutting process isn’t hard with the scoring tool, but it’s a little scary. When you snap the large pieces, it’s LOUD.
But, all you have to do is score the acrylic several times with the scoring tool.
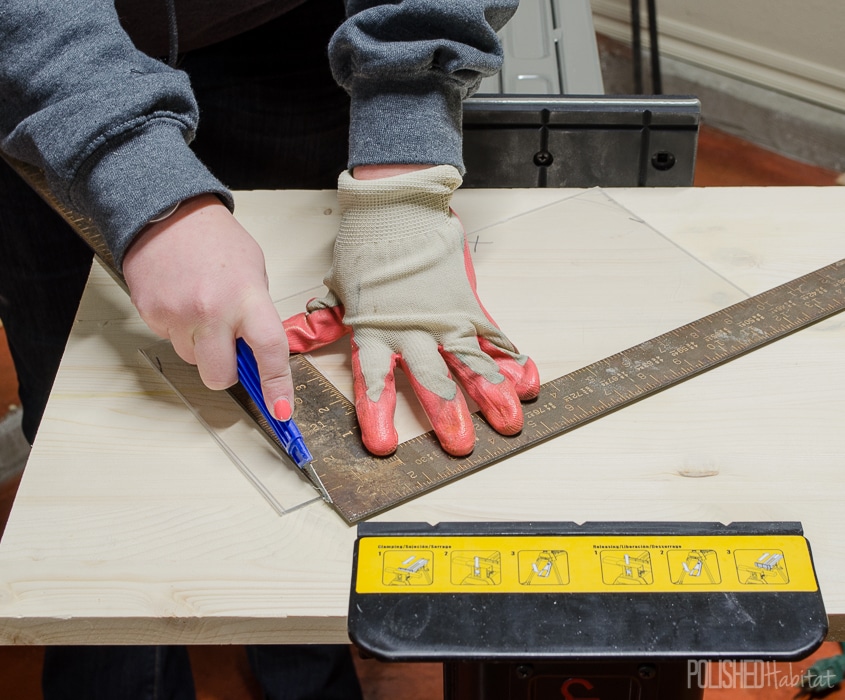
And then channel your best Legally Blonde moves to bend & SNAP.
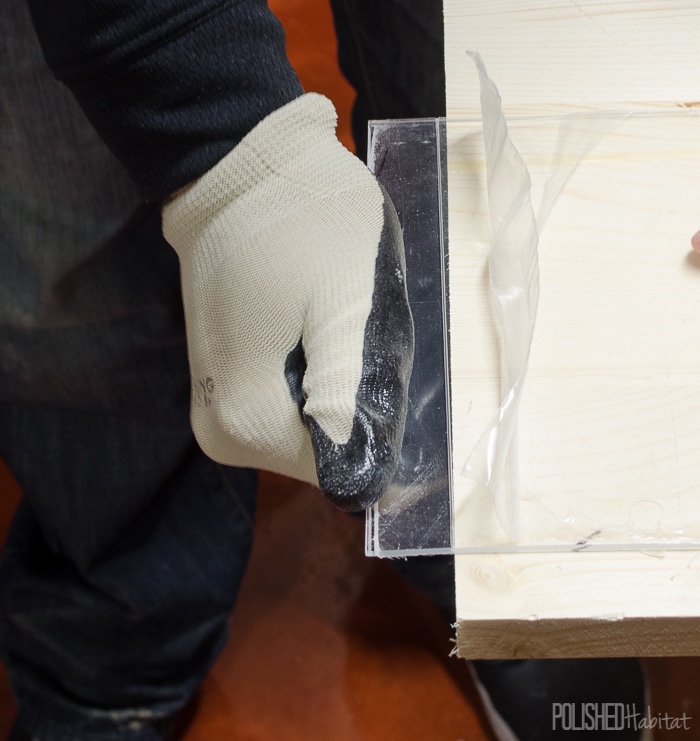
Pow!
Next up, it’s time to create a jig so that all your clutch holders will be close to the same shape. Figuring out how to duplicate the holders was the trickiest part. It’s almost like creating art because each piece of acrylic will bend a little differently. But, with a template, it’s much easier to get a similar shape.
Think about the shape you want your clutch holders to be, and then use scrap wood to create a form. The acrylic will be bend around the outside of your jig.
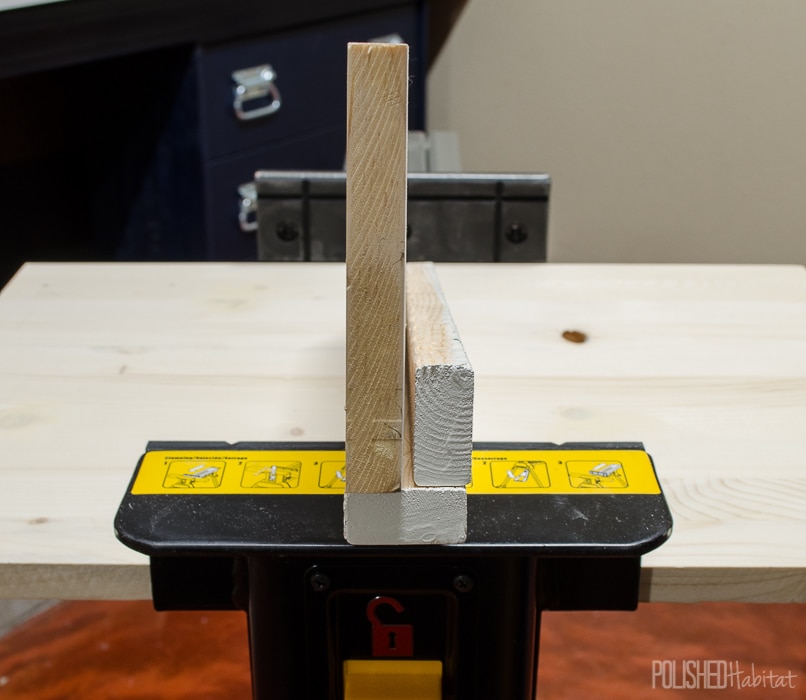
We used a 1 x 2 for the base, and another 1 x 2 for what will become the front of your holder. The height of the right size of the above template needs to match the height you’d like for the front of your clutch holder. For the back, we used a 1 x 4, which worked out really well. The width of your template is flexible, you just need it to be long enough so you have space to use clamps on each side of your acrylic. Whatever width you use, make sure you have another loose piece of wood cut to the same width.
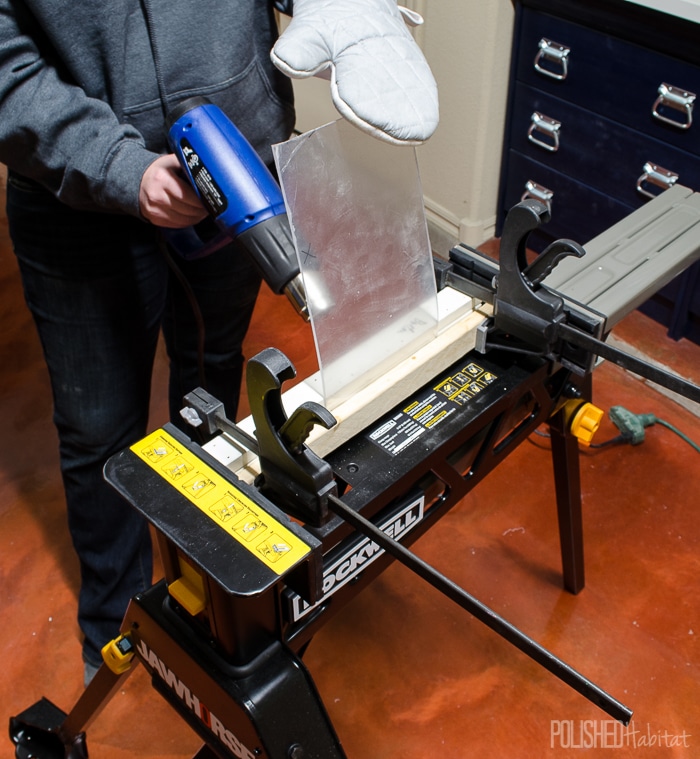
Flip your template upside down and clamp it to a work table with the bottom facing up and the back facing you. I recently received this JawHorse from Rockwell to test out and the top is one big clamp. It is squeezing the template from each side, so I didn’t have to clamp the template to a table. PS: Add this to your Christmas list if you DIY, it’s AMAZING. Like having extra hands.
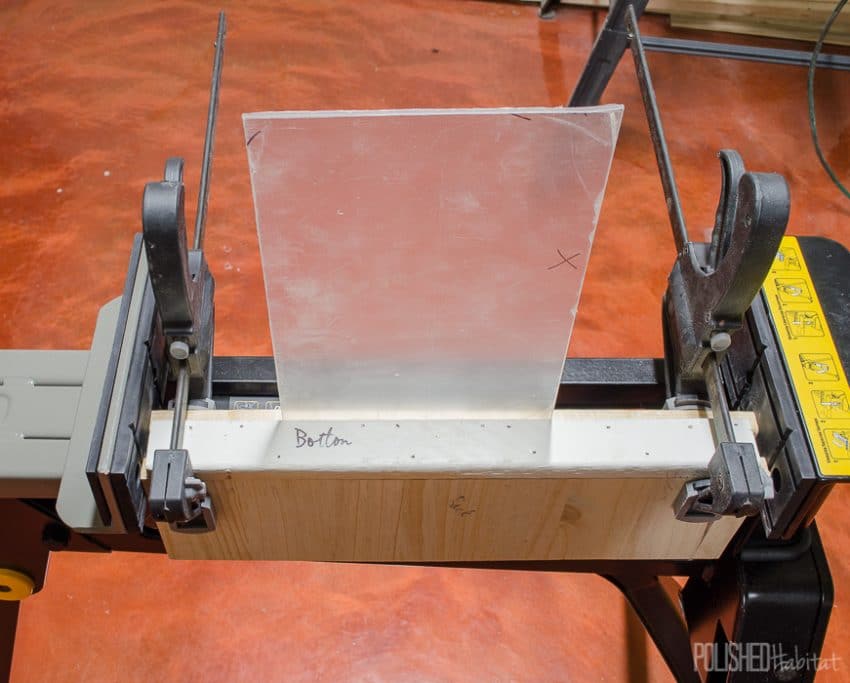
The front 1 x 2 of your template should be on a solid surface. Stand up your acrylic next to the template, and then sandwich it in with your loose piece of wood and clamps.
The protective film should still be ON at this point. Yep, even when we heat it up!
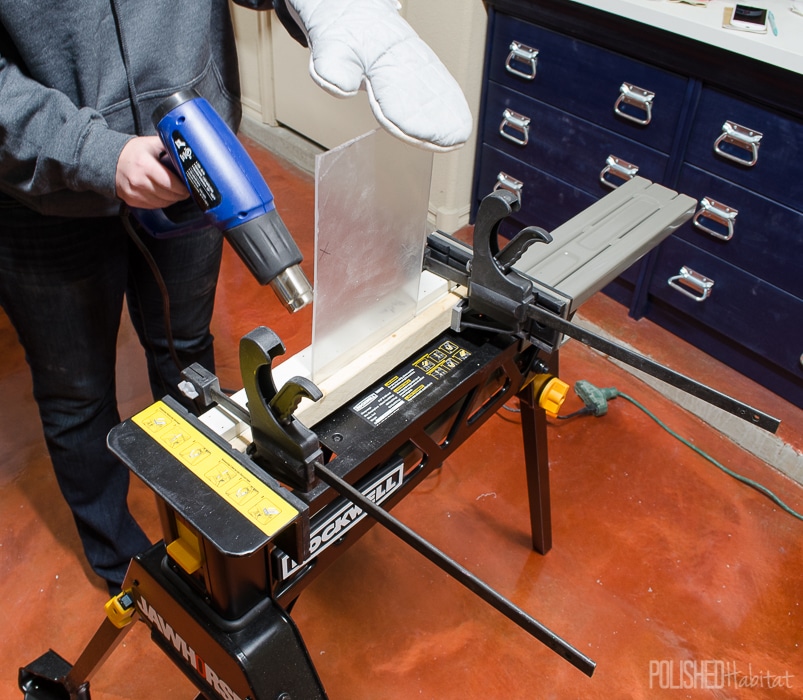
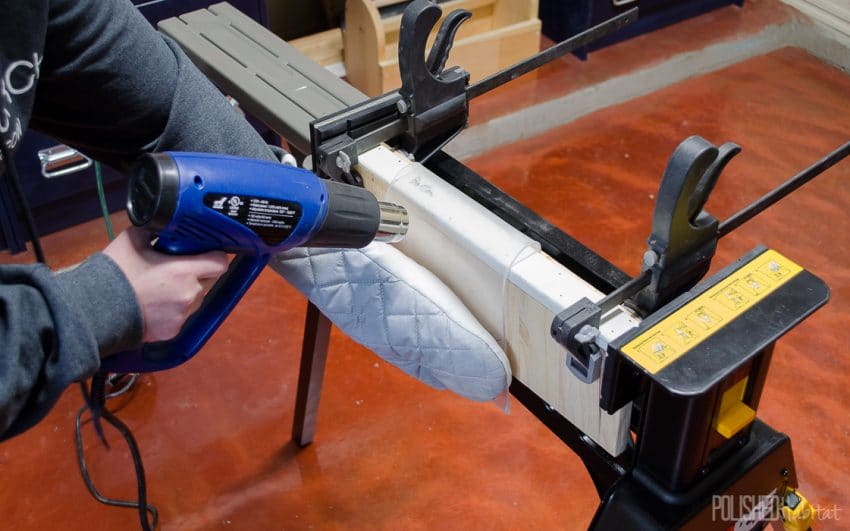
Grab an oven mitt and then turn your heat gun on set it to 650 degrees. Aim the heat towards the acrylic, moving it back and forth somewhat slowly. Occasionally, pull the top of the acrylic towards you to see if it is pliable. Don’t force it – let the heat do the work. You will hit the point that it is very smooth to bend.
As it bends, you may need to apply more heat to the back side for it to lay all the way down. When you are happy with the shape, leave your new creation clamped for at least 5 minutes so the plastic can harden again.
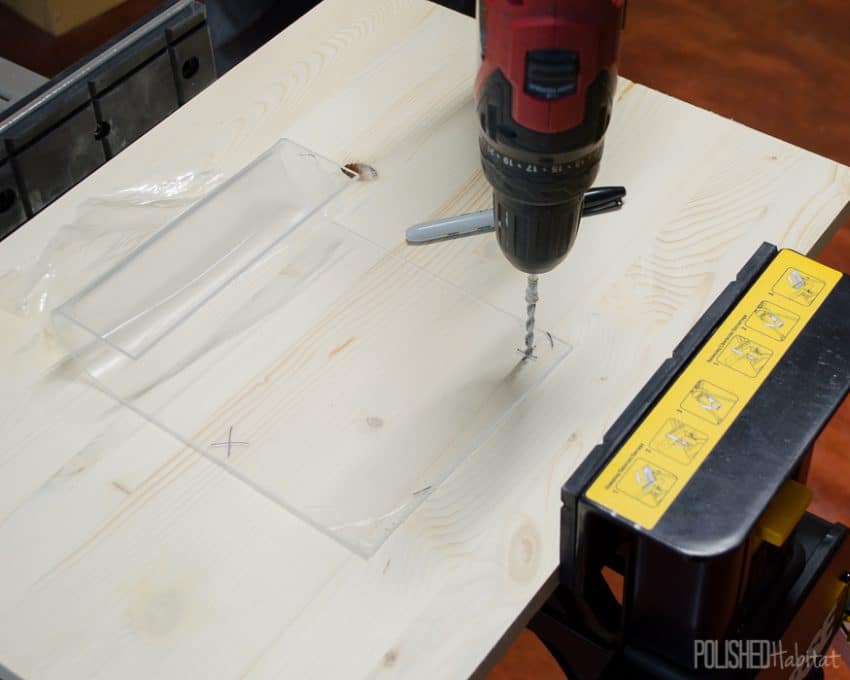
After unclamping the holder, you’ll want it to sit even longer before adding the mounting holes. I shaped all of them one night, and we didn’t drill the holes until the next day.
We spaced the holes 1″ from the top and side.
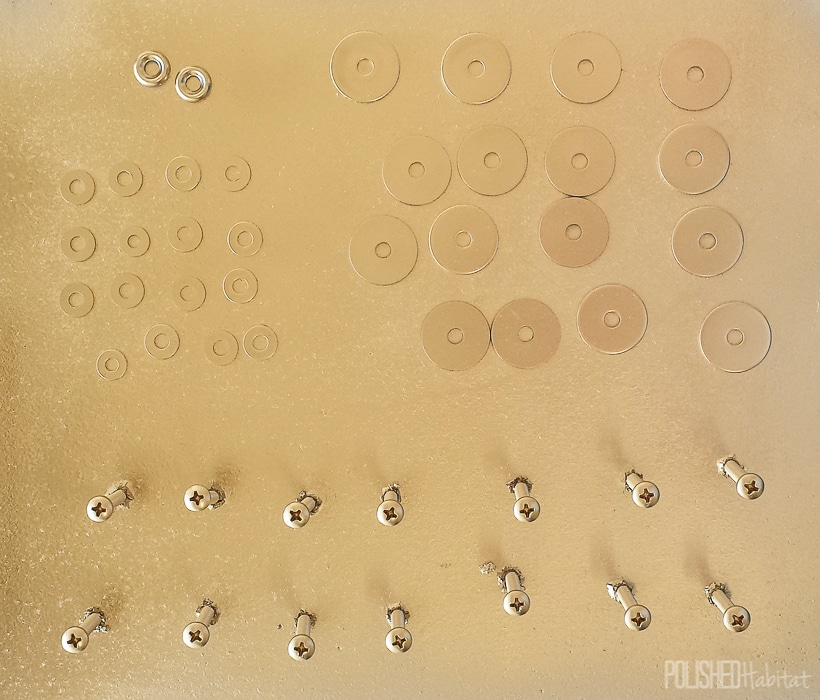
I wasn’t sure exactly how this was going to turn out, so I bought two different sized washers, along with screws and wall anchors. I ended up using the larger ones, which I found out are called Fender Washers. I drilled my screws into a piece of scrap wood, and painted everything gold at once. Because that’s how we do things around here! #paintitallgold
The last step was just putting the anchors in the wall and screwing everything in. Before long, the first one was up and I was a HAPPY girl.
If you haven’t seen it yet, make sure you check out the full closet post for more organizing tips. You may also like the vintage glam pantry!


Summer says
Awesome! I need something like this for my purses ♥
Evelyn B says
I am amazed that you could figure this out. What a smart girl you are! It is amazing what can be done if you are determined, is it? I just love that you used this method of being able to view your clutches. What fun to see them on a daily basis and to be able to take the one you want when ready to use one. I also really like your acrylic dividers to stand up your other purses. You are able to see what you have. Much more likely o use them. Your makeover is remarkable. I just don’t know how you are able to do these things. I guess you have a true knack for re-doing these and I am so glad you share them with all of us. Thanks so much!!
Melissa George says
Thank you so much Evelyn, it was a look of trial and error to figure it out, along with some serious frustration by both me and my husband, but we stuck with it and it was totally worth it! Of course, once we figured it out, it seemed so easy.
Angela, Blue i Style says
Two things: (1) I want to live in your closet; (2) I know what my husband is getting for Christmas! Is it wrong to give him gifts to make MY diy projects easier? If it’s wrong, then I don’t want to be right 😉
Katie @ Addicted 2 DIY says
I might have one or two clutches, but this makes me want to buy more so I can have these holders in my closet!
Katie @ Mountain Modern Life says
I’ve been wanting to play around with acrylic, especially after seeing what you made with it! Your wall looks amazing and now I think I need a heat gun and Jawhorse ASAP!
Melissa George says
You do need both! Your creative mind could do all kinds of things with each of them.
Tiffany says
Oh my gosh what an amazing idea! Love the JawHorse and adding that to my Christmas list now!
Liz says
I adore those wall clutch holders but noway could I convince the hubs to make them for me. I don’t suppose you are looking to go into business and make/sell some???
Melissa George says
I might be! I actually have some acrylic in the entry way that I ordered to test out making and selling them. ☺ I think they would be $25 each.
Ashley @ Handmade with Ashley says
Cute organizer, and I love my JawHorse too! 😀
Bose' says
Melissa! These are simply amazing. Thank you for sharing your creative idea with all of us! Did you ever decide to sell them? I would love to buy some from you.
Melissa George says
Thank you! I wish it made sense for use to sell them, but getting them anywhere close to consistent by hand is really difficult and I’m too picky to sell imperfection. 🙂
Kristin says
I was bummed not to see info on cutting the slits for the dividers for the larger purses. Any tips?
Melissa George says
Hi Kristin,
We used a sliding miter saw (this one: https://www.homedepot.com/p/RYOBI-15-Amp-Corded-12-in-Sliding-Miter-Saw-with-Laser-TSS120L/205673791?MERCH=REC-_-PIPHorizontal2_rr-_-301687024-_-205673791-_-N ) and some trial and error to cut the slits and thankfully it worked that the width of the saw blade worked with the acrylic. We just had to be careful cut the same depth without going all the way through the boards. We should have filmed it for a tutorial but were in a mad dash to get it done!