
If your windows are bigger than your budget, today’s post is for you! I told you how much I had grown to hate the curtains in the office back my design mistakes post. But, one of the sad shocks of adulthood is that window coverings are expensive. I’m happy to report I’m no longer seeing brown on brown curtains as I type this, I’ve got glorious black and white stripes instead. Woo hoo!
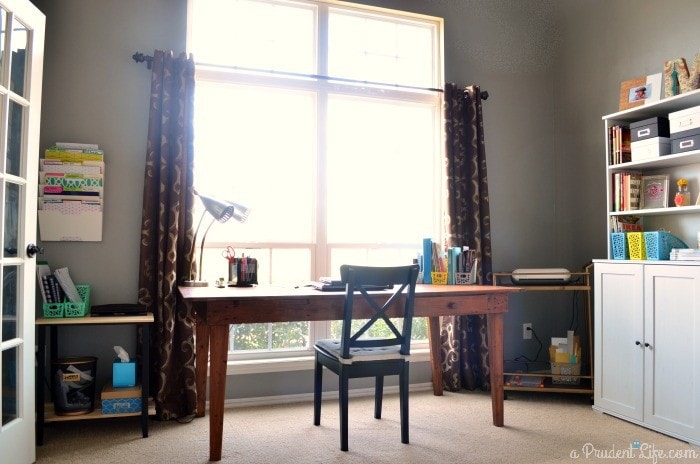
In addition to the aesthetic issue of the other curtains, we did have a legitimate functional problem too. The office windows are super tall, and we thought it would be nice if light could still come in the top two transom-ish frames, even when the curtains were closed. Well, it didn’t look good, and instead of the light coming in gently and happily it tried to burn holes in us and our things. That afternoon sun in Oklahoma is no joke! Plus it looked funny. I always wanted to explain that it was a strategic decision gone wrong!
Flash forward to the office update that we’ve had going on and I knew the curtains were a non-negotiable fix. But our budget is super tight, and the taller 118″ curtains we needed are NOT super cheap. The MOST budget friendly way to proceed is making your own curtains out of drop cloths. I even bought the drop clothes during a sale at Harbor Freight. But then I had to be realistic about my sewing skills and my deadlines – the two were not meshing.
The next best option was at IKEA. The MERETE curtains come in a 118″ length, and are $39.99 for the PAIR!
It just so happened my brother needed a ride to the Dallas airport. And Dallas is my closest IKEA! So, TWELVE hours later, I had been to Dallas and back AND I HAD CURTAINS.
But they were boring.
But I had spray paint!
And spray paint fixes everything!
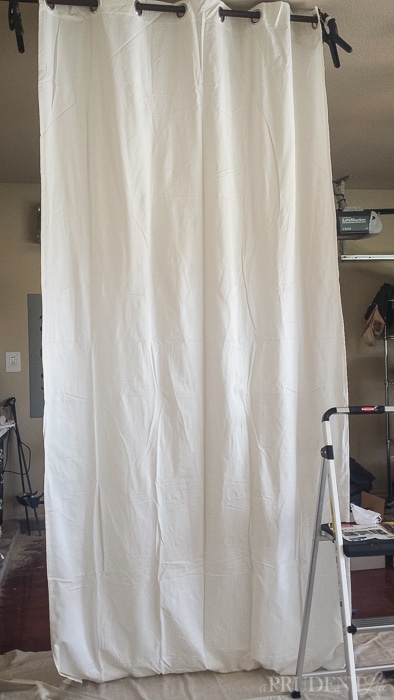
Before we could paint, I needed to get some of the gigantic wrinkles out of the curtains, but who wants to iron 118″ inches of fabric? I remembered that the steamer I used to clean the shower glass had an attachment for clothes/curtains and it was a life saver!
We hung the curtains from the bike hooks in the garage ceiling to steam them.
Here is the before:
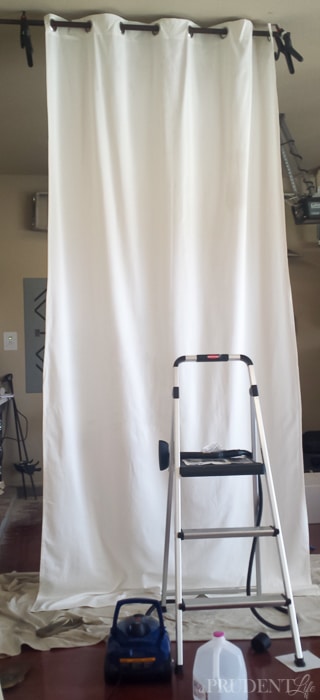
And after 5 minutes it looked CRAZY BETTER!
 Although I do work with HomeRight on some posts, this post is NOT sponsored. I was just THRILLED I had the steamer and didn’t have to iron. Now I’m even more convinced everyone needs a HomeRight SteamMachine
 (Amazon affiliate link).
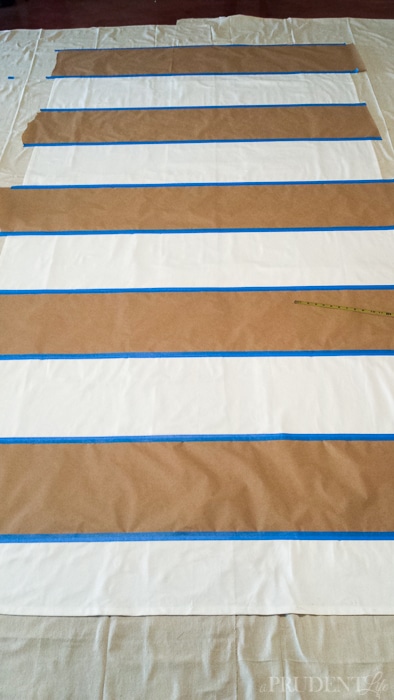
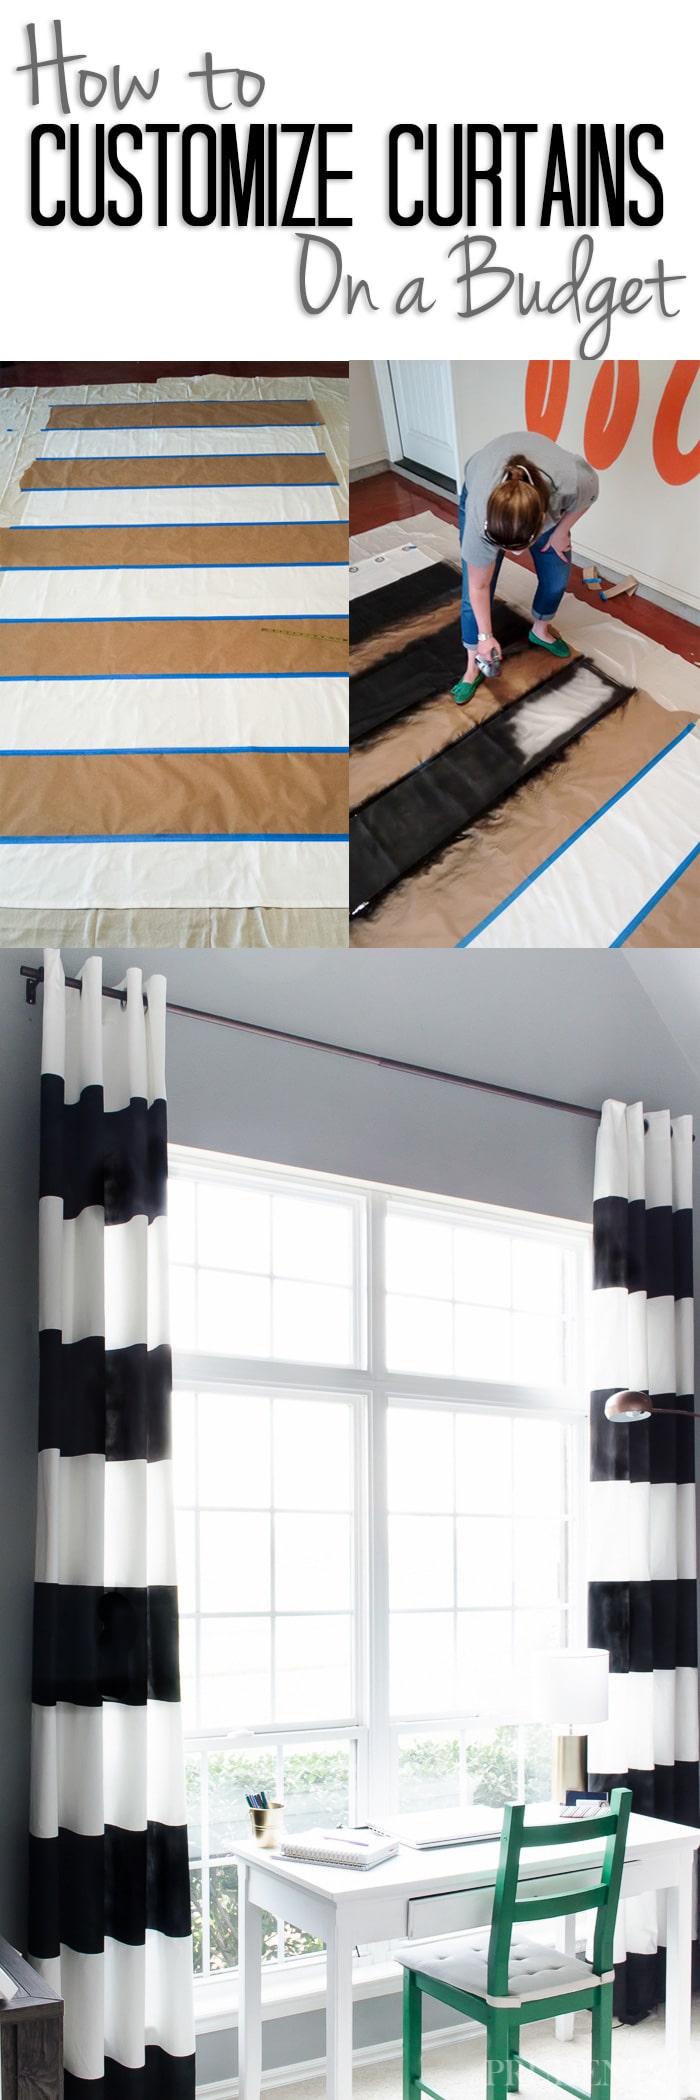
When the first panel dried from its steam bath, I laid it out in the garage on a drop cloth and started masking off the strips.
To make life easy, we made two strategic design decisions.
First, we decided to make the stripes 12″ wide, which meant we could use a roll of 12″ masking paper. We grabbed ours in Lowes, but that link goes to the same thing on Amazon. It’s well worth the $3 to not have to use multiple rows of tape!
Second, I decided to keep the top stripe white, which meant no taping of the grommets.
If possible, grab someone to help you get your stripes straight. After taping the top section off, we sat on each side of the curtain with our own tape measures. We’d each measure down the same distance from the prior stripe and make sure the tape lined up correctly.
After making sure all the tape was pushed down firmly, it was time to paint! I used Rust-Oleum 2x Coverage in Satin Black. If you use a different paint, just test it on a drop cloth first to make sure it flexes with the fabric once it is dry.
I did two coats of paint with not a lot of drying time in between. Once I got to the bottom, I just started back at the top again. Three coats probably would have been even better. If I pull the curtains closed when it’s really sunny, my stripes are not as opaque as I would like. When they are open and/or it isn’t as bright they look great, so it’s not a huge deal, but it wouldn’t take much to do an extra coat while you’ve already got everything taped off.
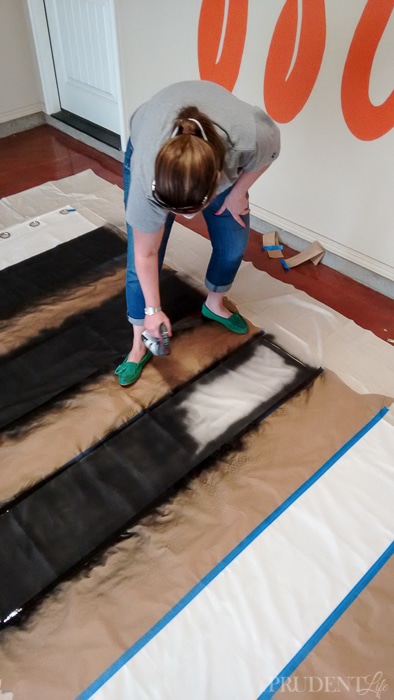
Each panel took 2 cans of paint. Make sure you grab a mask because this much spray paint should NOT be inhaled. I’d highly recommend wearing some kind of old shoe that covers your toes too. They will get some serious overspray.
As soon as the last coat was finished, we pulled off the paper and were thrilled to find that the stripes were almost perfect. Woo hoo!!!

Life was GOOD!
Then we taped off the second panel just like the first. Thank goodness I measured the bottom section to check it before we started painting.
Umm…the bottom black section was something like 9 inches on one panel and 7 on the other. What the what!?!?
So here is what we learned:
Fail #1: DO NOT just start the stripes in the same spot and think they’ll match up. They won’t. See above. The seam allowances were slightly different and any very slight differences in our measurements accumulated to a noticeable difference by the bottom.
Fail #2: DO NOT think you can lay one panel on top of the other and tape off the stripes. Should work. In theory. But it doesn’t because the left side of one panel will have to match the right side of the other. If you make two identical curtains, they won’t line up unless your lines are all 100% straight and your curtains were made with the same exact seam allowance. This method did get us closer, but by the bottom things were still off an inch.
Finally, we realized the best thing to do was to hang the finished panel (after it had dried a few hours) and hang the unpainted panel. Then we used tape to mark exactly where the stripes needed to be to match panel one. Success!
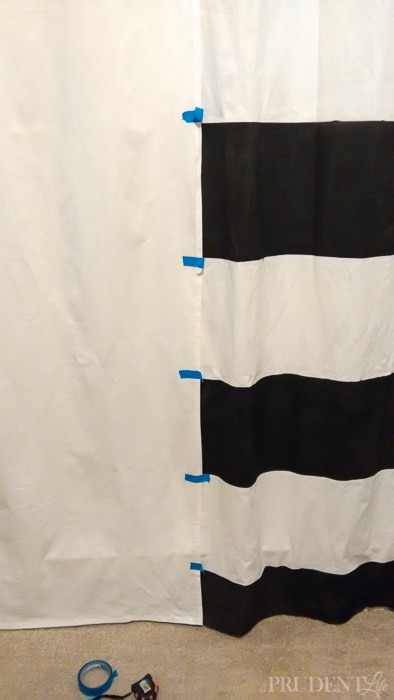
With the inside marked, we could use a tape measure on the other side to make sure the stripes were straight. Whew!
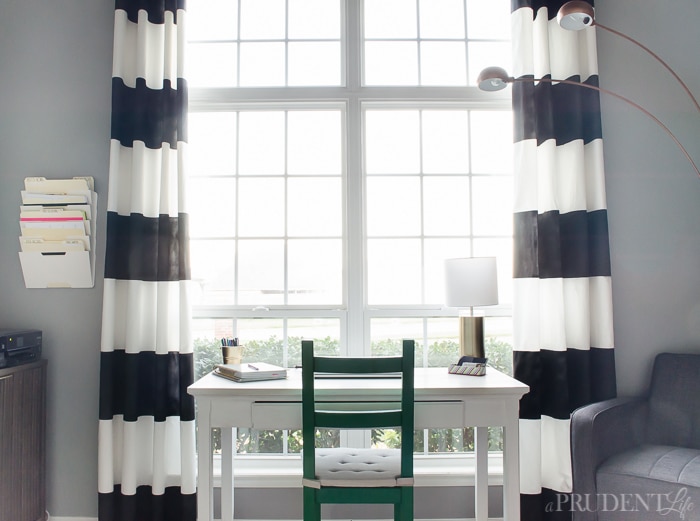
To hang the curtains at exactly the right height, we actually put them on the rod and moved the whole thing until the bottom was just BARELY above the floor.
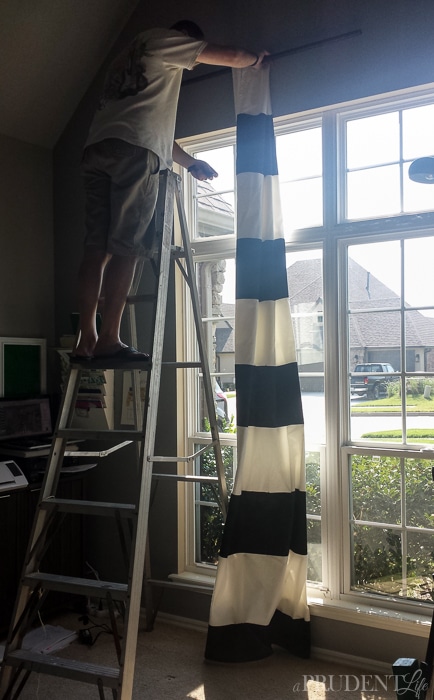
With the rod installed, the transformation was complete! Although now I’m thinking of painting the rod gold. What do you think?
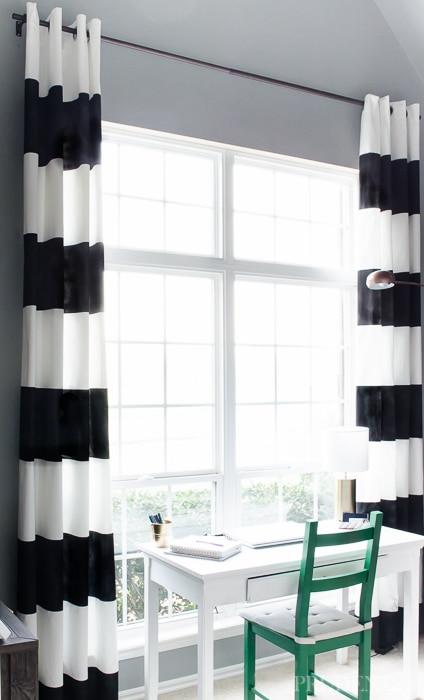
The office feels so much fresher now.
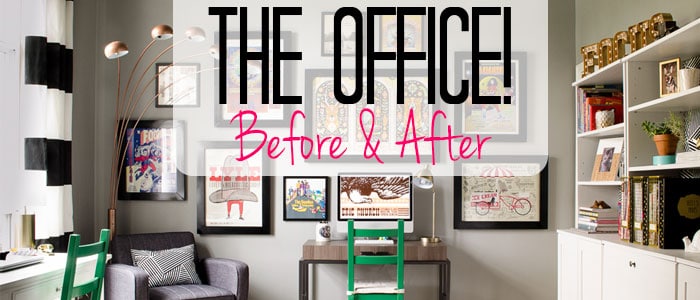
To see the full office before and after, click the photo below!
For more frugal office inspiration, check out my DIY Message Board Tutorial!
Post shared at: Remodelaholic

nancy says
What a great project!!!
Melissa George says
Thanks Nancy!
Colleen says
Leave the rods black – they make a smooth start to the top of the curtains. I’m afraid that if you paint the rod gold, all you will see is the gold rod and the curtains will fade into the background. Unless that’s the look you’re going for. Then my all means, paint away.
I love the look right now. It looks fresh and on trend and very polished.
Melissa George says
Thanks Colleen! It’s impossible to tell in the photos, but the rods is a bronzy color now. I have thought of painting it black too! I wondered about the gold being a distration too, so I appreciate your opinion!
Leona says
Melissa. I agree with Colleen that the rod should be black (kinda like a skinny black stripe to go with the wide black stripes). Of course, since you have gold accessories, gold would not be out of place. love your blog! Leona
Melissa George says
Thanks! I think you guys (girls!) are right! See you tomorrow night 🙂
Kristy Robb says
These look amazing! I have not been brave enough to paint my curtains but yours look great so I am going to go for it!! Thanks for sharing!
Melissa George says
You are so welcome! I was scared too, but figured if it went horribly wrong, I’d just paint the whole thing black 🙂
Becky Bertschinger says
Hi,
I love your creativity on a budget. I am in a similar situation…old drapes in an office. Six windows would be too expensive for new ones and I thought what if I painted them. Any thoughts?
Melissa George says
If they are opened and closed often, I’d try a fabric spray paint first (something like this: https://www.amazon.com/Simply-Spray-Upholstery-Fabric-Caribbean/dp/B00A8120B8/ref=cm_cr_arp_d_product_top?ie=UTF8). Although the reviews seem to indicate that it works better for going darker than the original fabric rather than lighter. Our curtains with the regular spray paint still look great, but I noticed that the paint flakes off a bit onto my white desk when I open and close them. If I did that every day, I’m not sure how long it would be until it either drove me crazy, or I could tell on the curtains that paint was missing. I also think that having the wide sections of unpainted curtain helps ours retain a bit of softness. If the entire panel was painted, I’m not sure if it would get too crunchy? I think I’d try to find a curtain with a similar color and fabric to yours at a garage sale or thrift store and use it to experiment. Or worse case, you could even buy a yard of similar fabric and try things on it first since you wouldn’t want to have to replace all 6 if you hated it! Good luck!
Carrie says
I found you on Remodelaholic and I’m so glad that I did! I’m in love with your striped curtains and that you were able to do it so cheaply. Using spray paint was genius and so was that masking paper! Thanks for all of your tips and if it’s any consolation whether or not to paint your curtain rod gold- I say Do it! 🙂 Pinning and sharing at Thirty Eighth Street.
Melissa George says
Hi Carrie! So glad you found me on Remodelaholic (love them!) and found the curtain tutorial helpful. I’m all about time saving cheats like the masking paper!
Katie says
Can you wash them without the paint bleeding?
Melissa George says
Hi Katie,
I don’t actually know! I didn’t think about that before I made them. Since then, I’ve just decided I’d vacuum them if they get dusty and steam or spot clean if needed. If you regularly wash your curtains in the washing machine, I’d go with a fabric paint from the craft store versus the spray paint.