I was pretty excited to reveal the big picture of the craft room/guest room, but I’m even more excited to show you how I organized everything! If you missed the first part of the reveal – check it out now – I’ll wait 🙂
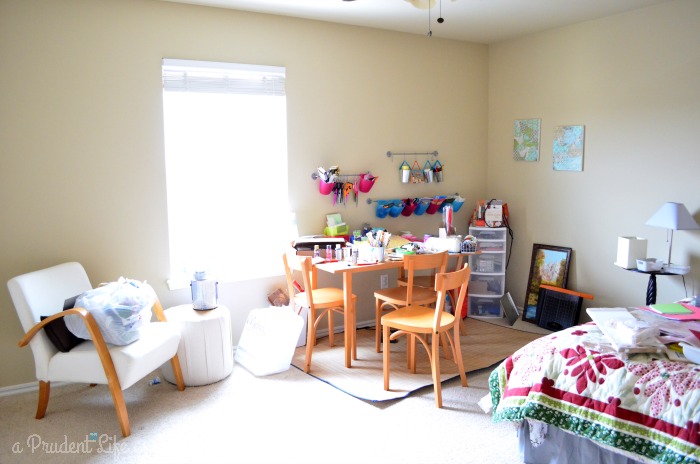
Everyone back? Great! As a scary reminder, the before was a huge mess.
And after:
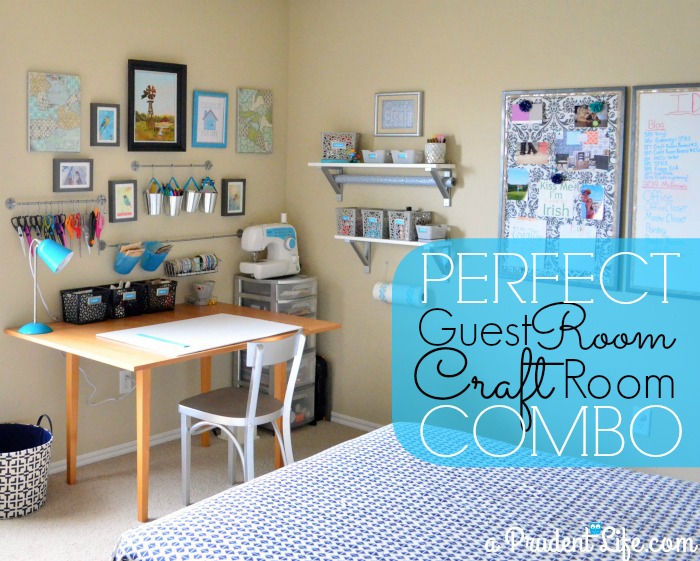 I spent some time thinking through what I use most often. Painting products, adhesives, & scissors/punches made the top of the list, so I wanted those items to be easily accessible. Two small IKEA wall shelves & baskets from the Target Dollar Spot added all the new storage I needed to have a neat & organized area.
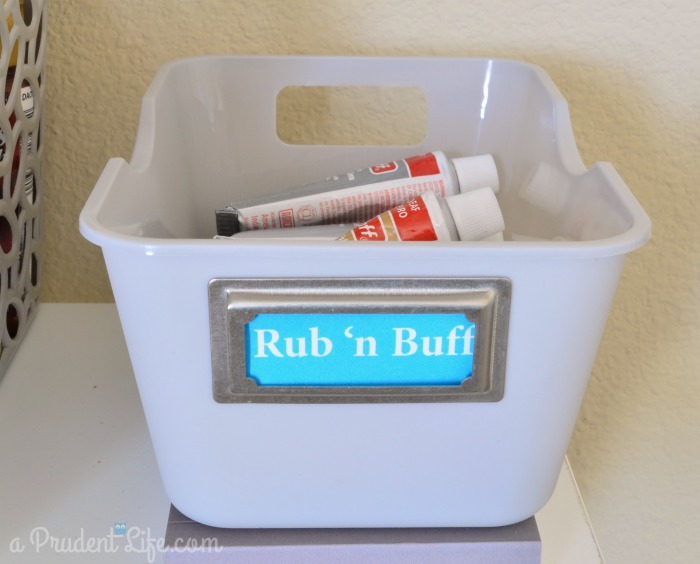
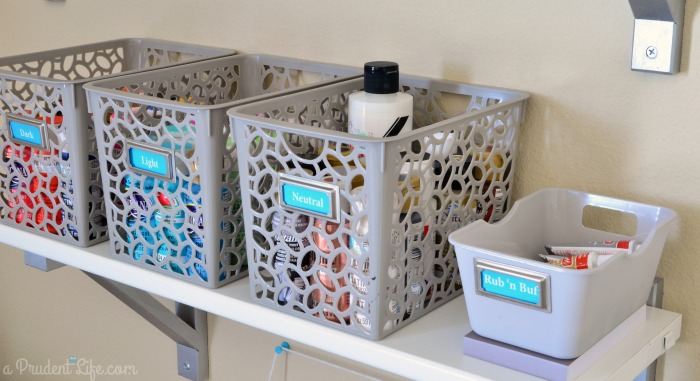
The bottom wall shelf was PERFECT for my favorite acrylic craft paints and my beloved Rub ‘n Buff collection. Each bin got a silver bookplate from Staples (Martha Stewart). The label inserts were made in PowerPoint & printed on a normal inkjet.
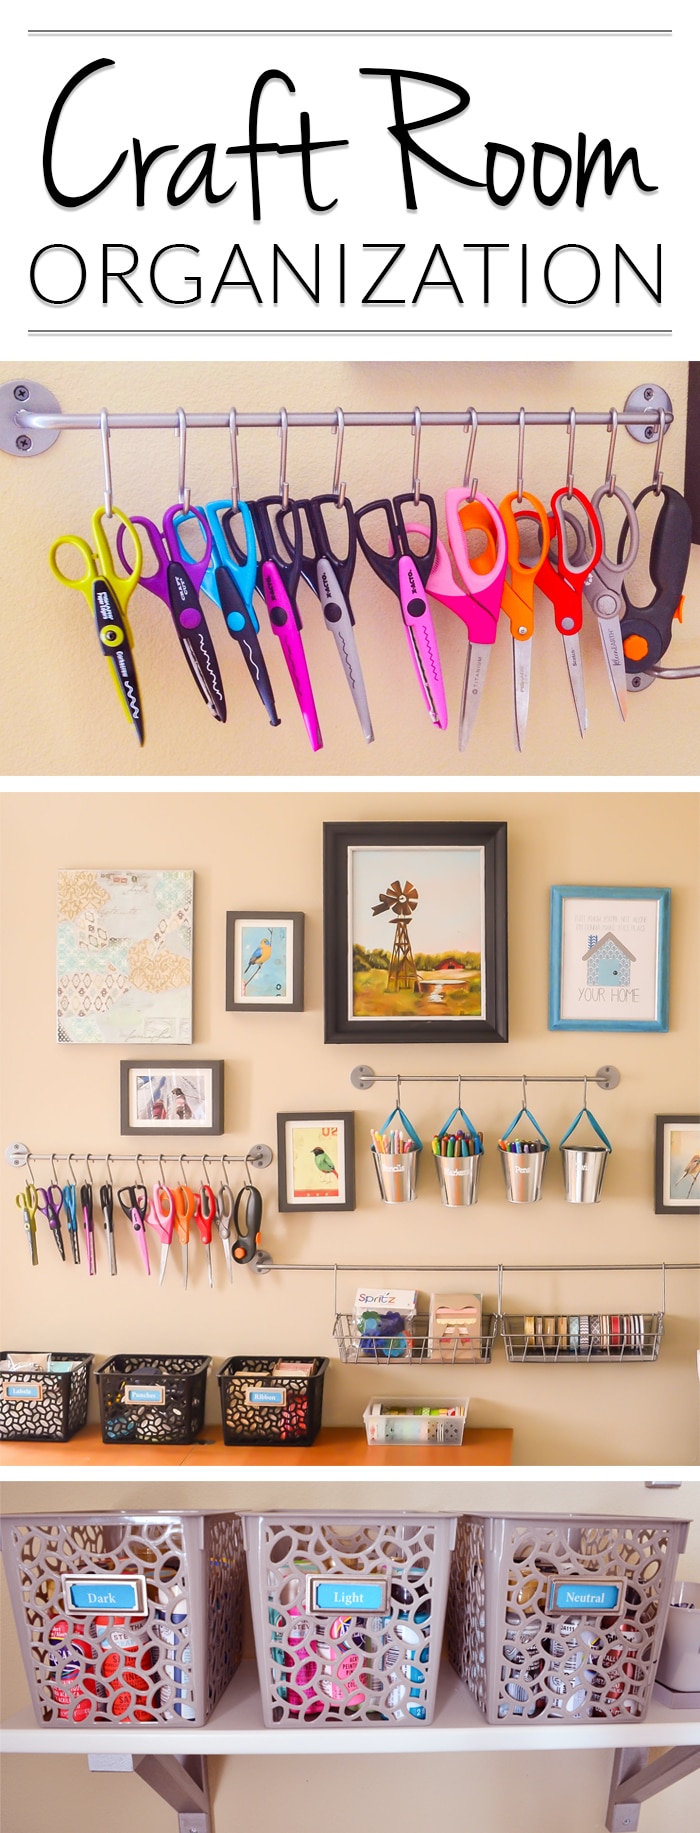
 The paints got separated into three bins based on color. Each bin holds 12-13 paints, so I have 35 colors displayed on the shelf. If your paint has a white lid, I recommend painting the top of the lid so you can quickly find the perfect color.
My neutral basket includes metallics, white, black & gray. Light includes springy happy colors, and dark is the more saturated colors (true red, navy, etc). I may change the labels out to something more clever later 🙂 Any suggestions?
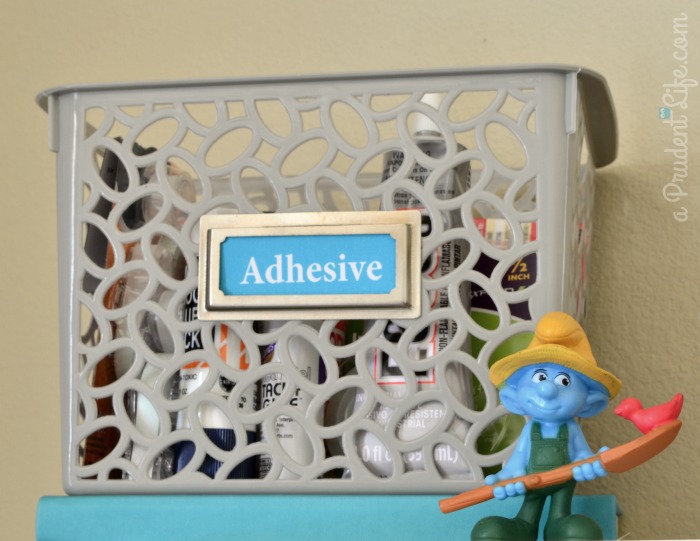
 The top shelf is just as functional. I gathered all the different types of adhesives I could find from around the house into one place! Glue dots, super glue, E6000, Tacky Glue, etc. Now I can grab the entire bucket and see all my options in one place. I’m pretty sure this will help me use the right product for each project. I will totally admit that I usually use the first “close enough” product I can find.
And how cute is Farmer Smurf?!?
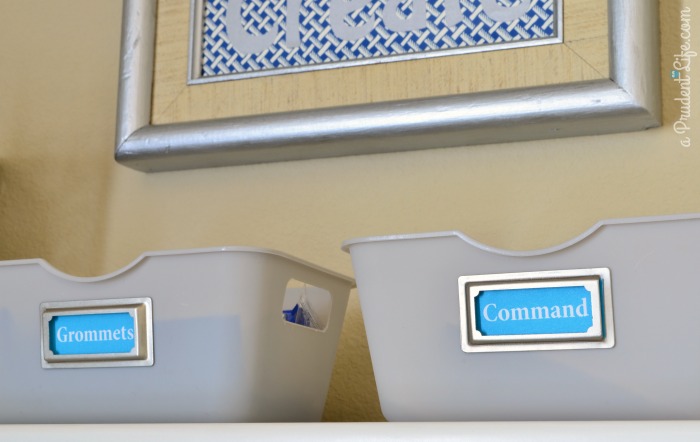
 I used two more small bins up top – one for my grommet kit and one for all my Command adhesive strips. I’ve never actually USED the grommet kit, but I want to so bad. I’ve wanted one FOREVER and found it cheap at Harbor Freight one day. I know I’m weird. I gave it a key space so I would be motivated to find the perfect grommet project.
Moving over to the plastic storage drawers, I’ve got some other high priority crafting items at my finger tips. These drawers contained nothing useful before, but now they are amazing! Before I organized, I took the white plastic frame outside and gave it a coat of silver metallic spray paint. I used a plastic primer first, then a couple quick coats of silver. So far, the paint is holding up well on the plastic.
The top drawer sticks, so I wanted to use it for something I don’t access as often. I have a bunch of letter stickers that will get used less often now that there is a Silhouette in the house. There are also some miscellaneous baby shower and dog stickers from various projects.
The next drawer holds all the paint brushes – I keep a big stash of craft brushes in different sizes.
Third drawer is the extra paint that didn’t make the shelf, specialty paint, painters tape, and some plastic lids that make awesome paint palettes. I love mixing custom colors!
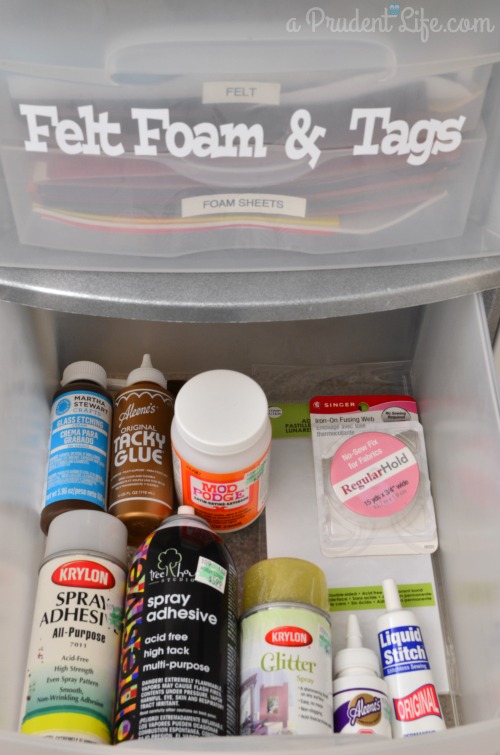
Next up is a drawer of craft felt, craft foam, and some pre-cut blank gift tags. Each item is subdivided in the drawer.
You’ll also notice some items to the right of the drawer unit. I left a space to stand up my paper cutters, cutting mats, and a piece of the sewing machine between the drawer and the wall.

Lastly is the vaguely named “Chemicals” drawer. A photo can better explain the kind of stuff I stashed here. Also note, it is a HORRIBLE idea to have a ground level chemical drawer if you have kiddos. I was WAY in the organizing zone and not the safety zone when I made this drawer. Luckily the drawers pull out, so I’ll just put the drawer up in the closet when the nieces & nephews are visiting 🙂
The adhesives in this drawer are duplicates of items in the adhesive bin.
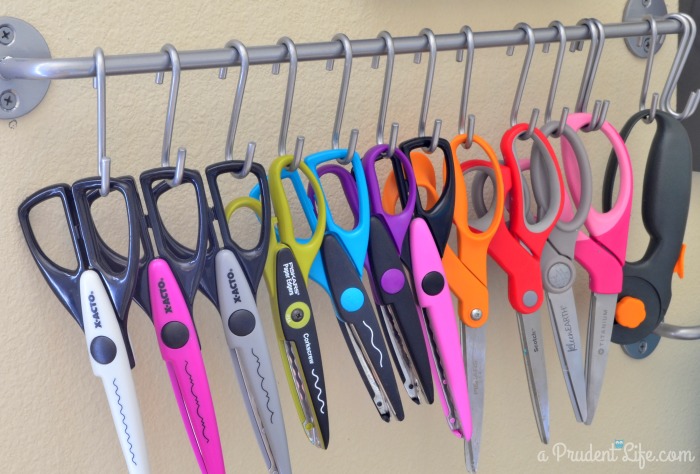
Next up is the gallery wall! I love having all the scissors out and easy to grab! The only scissors that don’t live here are the special fabric scissors. Much less risk of someone grabbing them to cut open a package when they are hidden 🙂 I used an IKEA BYGEL rail and hooks to hang them. If you have an IKEA nearby, they are cheaper in the store, but if you don’t, Amazon has them a set here.

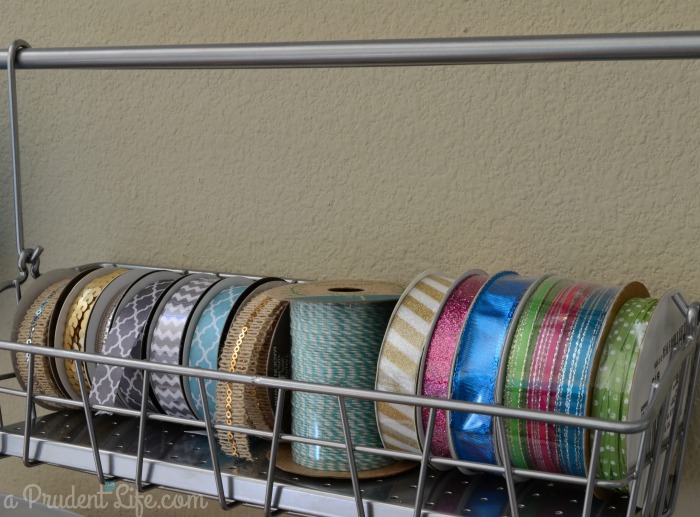
I picked out my most used ribbons to live in an IKEA metal basket. Pretty & functional!

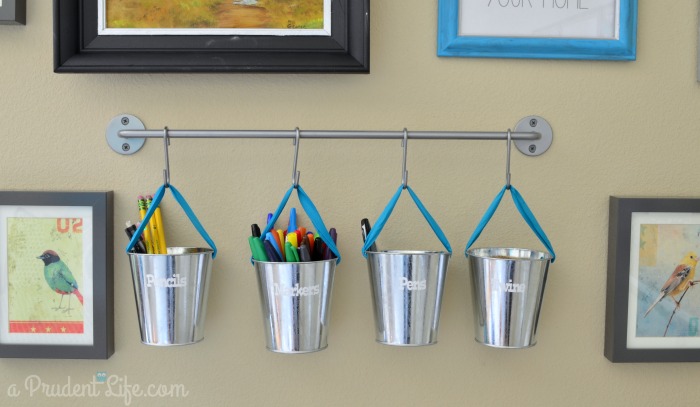
The wall also has room for pencils, pens, markers, and a roll of twine in metal buckets. I need to go through all the pens & pencils in the office and move some up to the craft room! The buckets are a little empty right now.
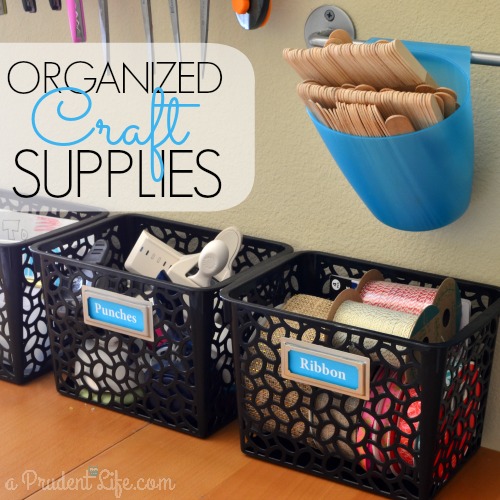
I used some black bins on the craft table to balance the black nightstands on the opposite wall. The bins hold larger spooled ribbon, craft punches, and labels (like the bookplates I used throughout the space).
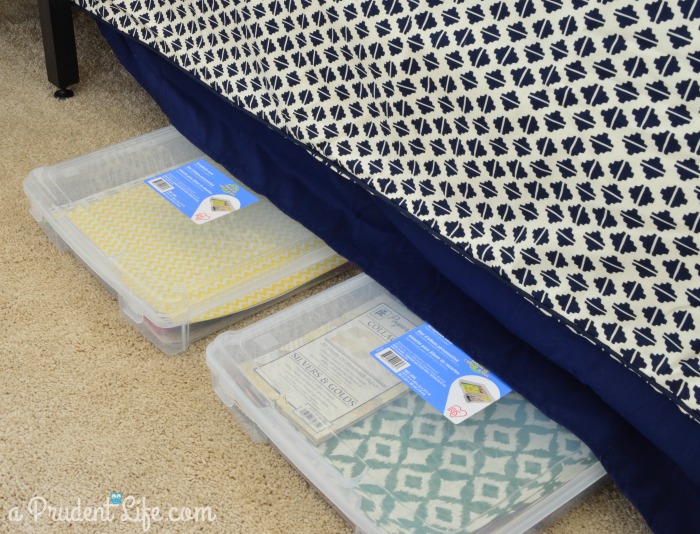
My biggest dilemma through the organizational process was figuring out what to do with 12×12 scrapbook paper. I use it for projects, but not nearly as much as paint. I had divided the paper up into three plastic bins, but wasn’t sure what to do with them. My categories are spring/summer, fall/winter, & holidays.
I finally figured out the perfect place to store my paper bins – under the bed!!!
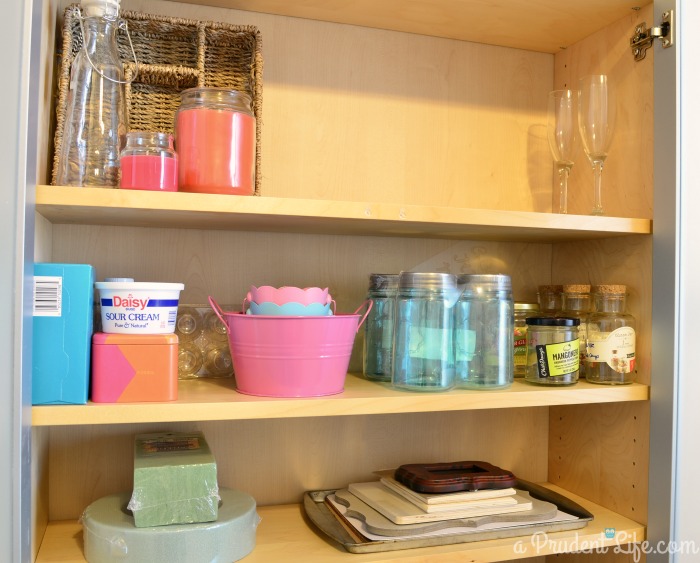
The last space I tackled was the frosted glass door bookcase. The before was such a disaster (as is this cell phone photo 🙂 )!
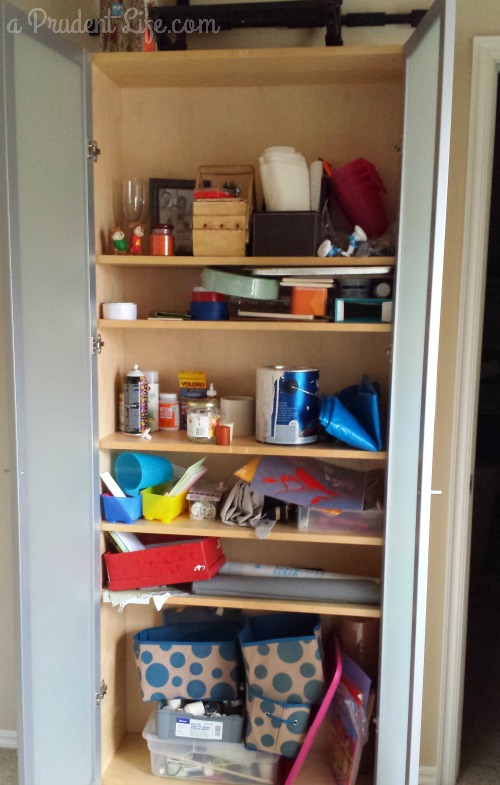
Photo boxes are the star in this area, much like my bathroom closet. I opened all the boxes on the bed so I could figure out the best use of each of them. See the plastic drawers behind the boxes? That was BEFORE I tackled them.

Here is the after! See that empty space in the middle? Glorious room for more project materials!!!
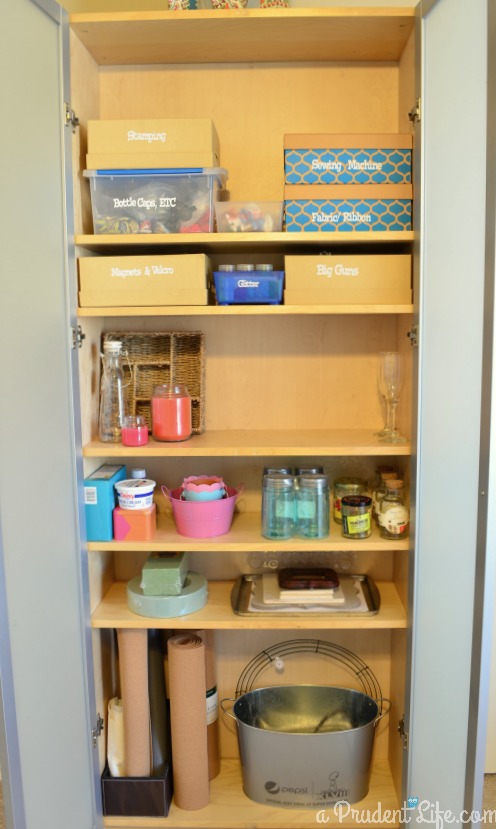
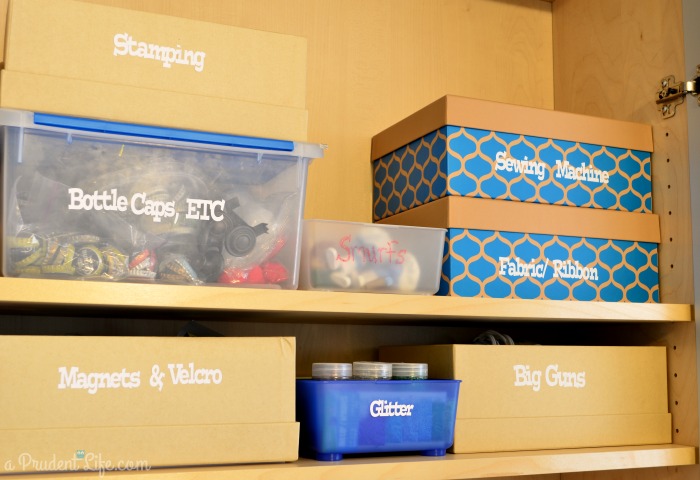
The top shelves hold all kinds of goodies. The right side is all sewing related. Extra bobbins, machine feet, needles, and most importantly the sewing machine instructions live in one box, while a second box holds my small fabric stash. Smurfs live in the center (everyone has a smurf collection in the craft room right?). The left side has stamps & ink pads, along with miscellaneous small crafting materials like bottle caps.
On the second shelf, I left all the boxes open for easy access. One side has magnets & velcro, while the other has all the big guns. You know, the staple gun, the big glue gun, the small glue gun 🙂
The middle of this shelf was perfect for glitter.
The lower shelves all hold future project materials. I have a combination of purchased materials and random items from around the house that I can upcycle into something else!
Whew! That’s everything! At least everything for today. I’ve got a couple more craft room posts coming to show you how I refinished some of the room components to stay on budget!
Don’t forget to check out the full room reveal if you haven’t seen it! There is a great guest space incorporated into all the crafting glory. The full budget breakdown is available in that post as well!
Don’t miss any of the craft room series!
Craft Room PLUS Guest Room – Reveal Part #1
Craft Room Organizational Details – Reveal Part #2
{Create} Art & Refinished Frame – Craft Room Project #1
Placemat Repurposed into No Sew Pillow – Craft Room Project #2
Cork Board Upgrade:Drab to Fab – Craft Room Project #3
Clearance Lamp Customization – Craft Room Project #4

Madison says
You did such a great job of organizing everything! Right now all of my crafts are thrown into a few bins, so I have to go digging through them every time. This would make it much easier on me!
melissa@polishedhabitat.com says
Thank you Madison! It took me a long time to realize smaller bins work better for me than larger ones. The photo boxes go on small at Michaels and are perfect for so many things!
Debbie says
Hi!
LOVE your craft room!! I too have everything in my bedroom and trying to figure out how to make everything look neat. Where did you get:
1. The black and grey bins with holes in them? 2. Where did you get the blue holder that is holding the Popsicle sticks? Obsessed with both. Thanks in advanced!!
melissa@polishedhabitat.com says
Hi Debbie, the gray and black bins are from the Dollar Spot at Target. $1 each so it’s easy to stock up! I was at my Target this morning and they still had some in various colors. The blue holder is from IKEA. From what I can tell, they always carry them, but rotate through a few colors at a time. I got that blue a couple years ago. Thanks for reading!!!
Debbie says
Thank you so much for your quick reply…Do you know the name of the IKEA cups? Can’t seem to find them. Thank you 🙂
melissa@polishedhabitat.com says
No problem Debbie. They are called BYGEL Containers. It looks like they are only sold in the stores, but you might try Ebay if you don’t have a store close by. Here is the link to them from IKEA: http://www.ikea.com/us/en/catalog/products/10271091/ Thanks!
Katie @ Addicted 2 DIY says
You are so organized:). The vinyl labels on the sides of the shoe boxes is such a great idea! I’m definitely getting some organizing ideas for my craft room:)
melissa@polishedhabitat.com says
Thanks Katie! I was a little sad that the photo boxes didn’t fit in the cabinet the other direction. BUT, once I had them in sideways I realized it is easier to see the items inside this way. 🙂
Laura says
Hi from the link-up! I LOVE what you’ve done! I have a very similar room in my house and you’ve motivated me to organize it! Thank you!
Sonnet @ SohoSonnet Creative Living says
So organized!! Looks really good Melissa, I am so jealous. This is an amazing space
Shelly says
Nice work lady! So I love how you even slipped some supplies under the guest bed! This was the top clicked on link to Hit Me With Your Best Shot this week! Congratulations! Looks like I’m not the only one who loves this!
melissa@polishedhabitat.com says
Thanks so much Shelly! Gotta find good places to hide supplies so I don’t have to stop buying them 🙂
Kalyn Brooke | Creative Savings says
This looks great! I especially love how you organized the crafting scissors – I’ve always just thrown them in a bin, but your solution would make the patterns so much easier to see!
melissa@polishedhabitat.com says
Thanks Kalyn, its so awesome to see the options without digging!
Gaby {lifeineight.com} says
Gorgeous room Melissa! And it looks easy to keep organised! 🙂
Betty819 says
Love how you labeled all of your storage boxes..are those vinyl letters on side of boxes come from sheets of alphabet like is used in scrapbooking projects or are they purchased in another section of the craft section? How did you get them on so straight? You did a great job.. Hey, you wouldn’t believe how much is hidden behind my 4 poster rice bed behind the 21 in. dust ruffle!
Melissa George says
Hi Betty, I cut the letters with my Silhouette Portrait. They are amazing machines! You could also use chalk to make a straight line to use scrapbook letters.