
Whether you are into DIYing or buying, this post has the perfect winter solutions for those of us with small entryways.
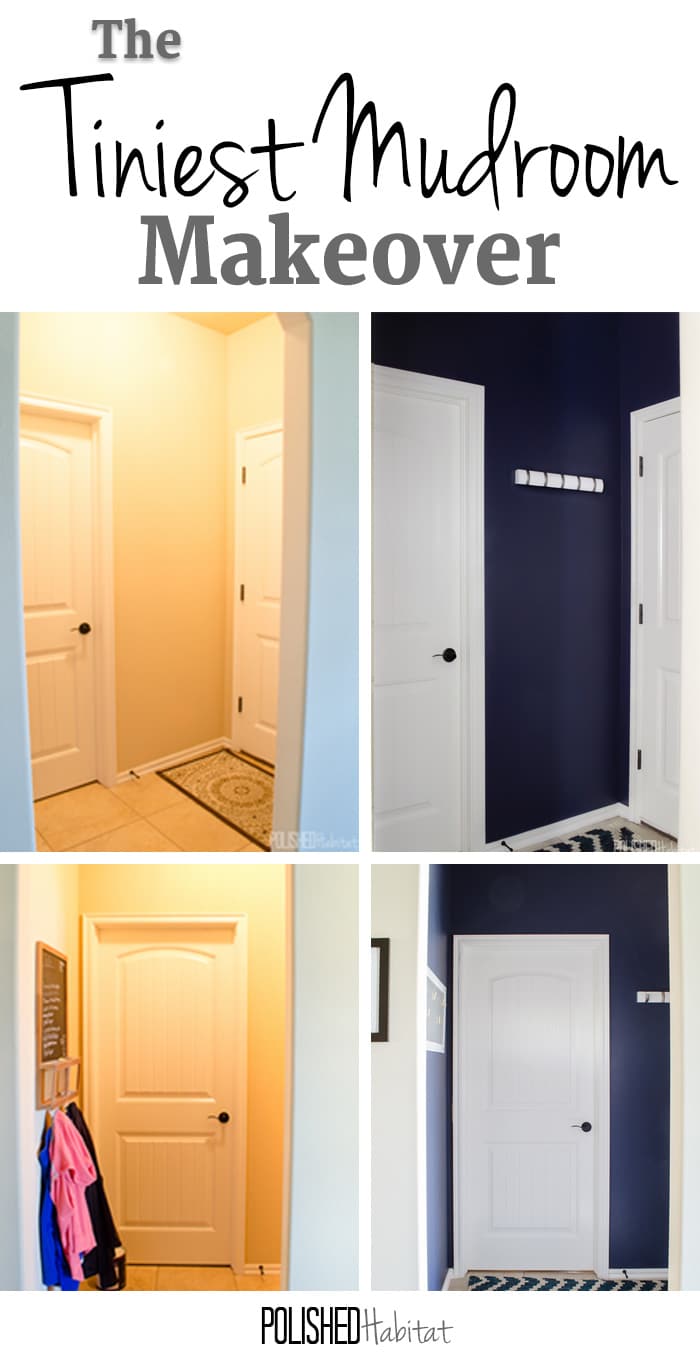
We’ve got a tiny (15 square foot) garage entryway with doors on three of the walls. Right before the closet craziness started, I shared what a difference paint made in the entry. Making the space look good was just the bonus part of the makeover. Today, it’s all about the important part – organization!
Here’s a reminder of where we left off after part #1.
I had to balance limited time with a limited budget for the entry – which is pretty much the norm around here. I decided to create one custom coat rack that could double as art in the summer, and then buy another that I now HIGHLY recommend. I also found a combo outgoing mail/key holder that everyone needs by their door.
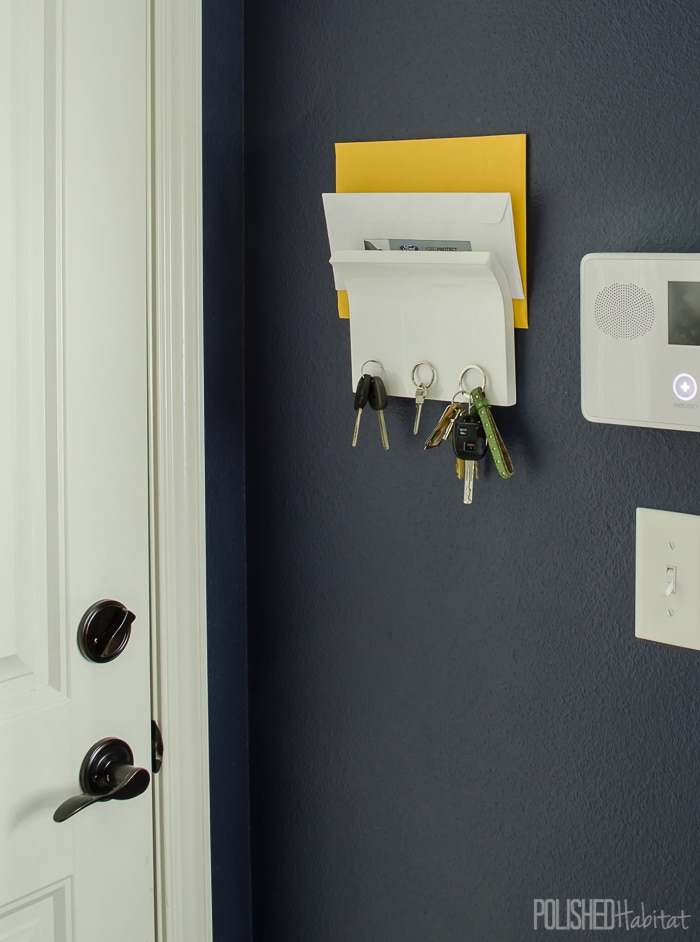
I stumbled upon the Umbra Magnetter on Amazon and it was a total impulse purchase. Luckily for me, it is really affordable in white, and fits in even the smallest entryway. Now we have a designated spot for outgoing mail, which means it no longer lingers on the kitchen island (priceless!). There are also three magnets along the bottom, making it perfect for keys.
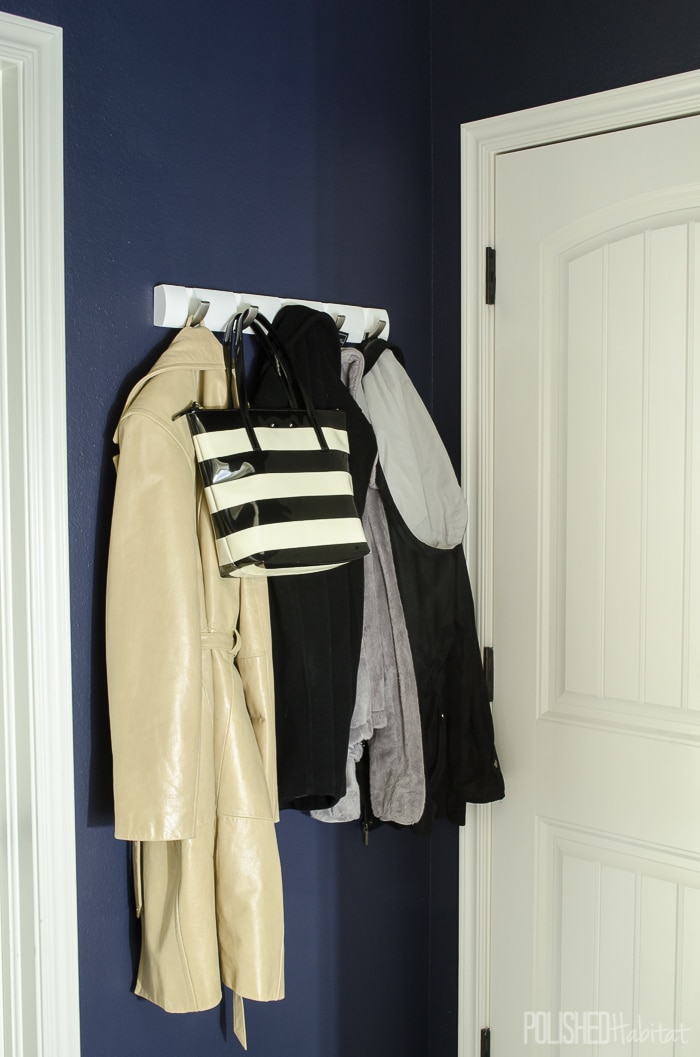
The coat rack I mentioned earlier as my favorite was also by Umbra (this post is NOT sponsored, I just love them). It’s the Flip Hook and pretty much genius. When not in use, the hooks are folded in and it’s really streamlined.
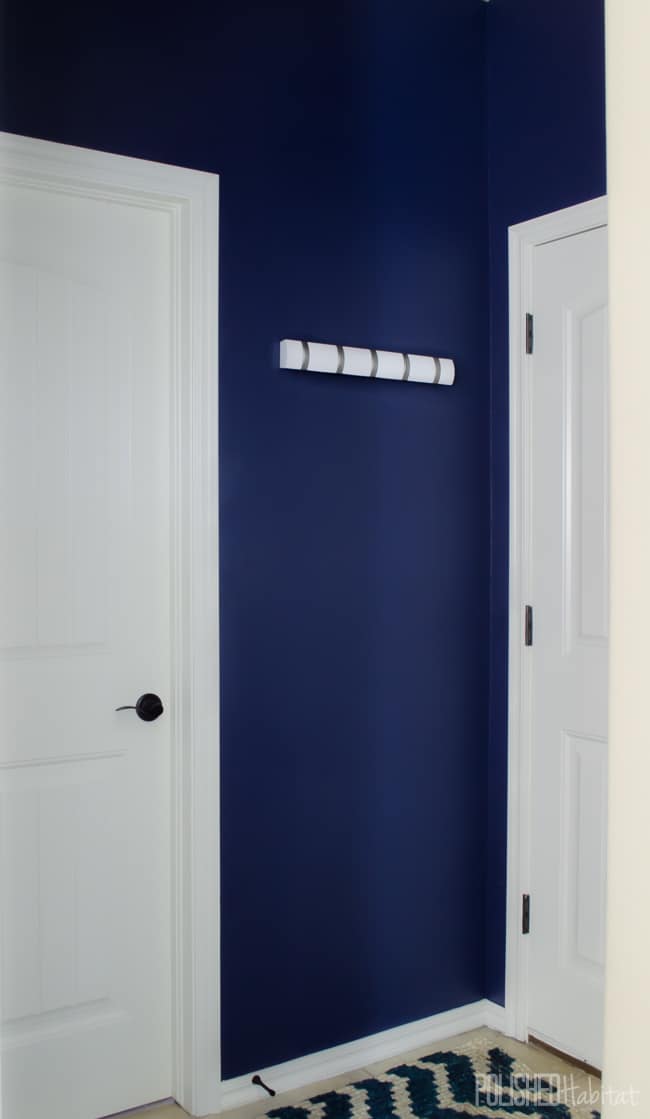
I used the 5 hook version in white, but it comes in multiple sizes and finishes. You can see them all here.
We mounted ours with anchors and it’s way sturdier than I expected. I load it up with lots of heavy coats with no issues. My purse now lives here and it’s WONDERFUL. Before, the purse would get thrown on the island, on a bar stool, on my office chair, or in some other random spot where I couldn’t find it. Having a designated spot for it by the door has seriously made life more pleasant.
For the last blank wall, I wanted something that would hold hats, gloves and scarves. In the winter, those items usually end up on the island. Are you seeing a theme here? Our island collects clutter that doesn’t have a proper home. This one little entryway is solving so many problems!
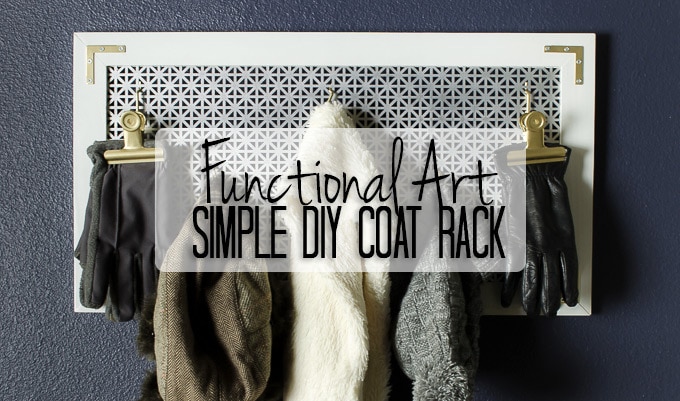
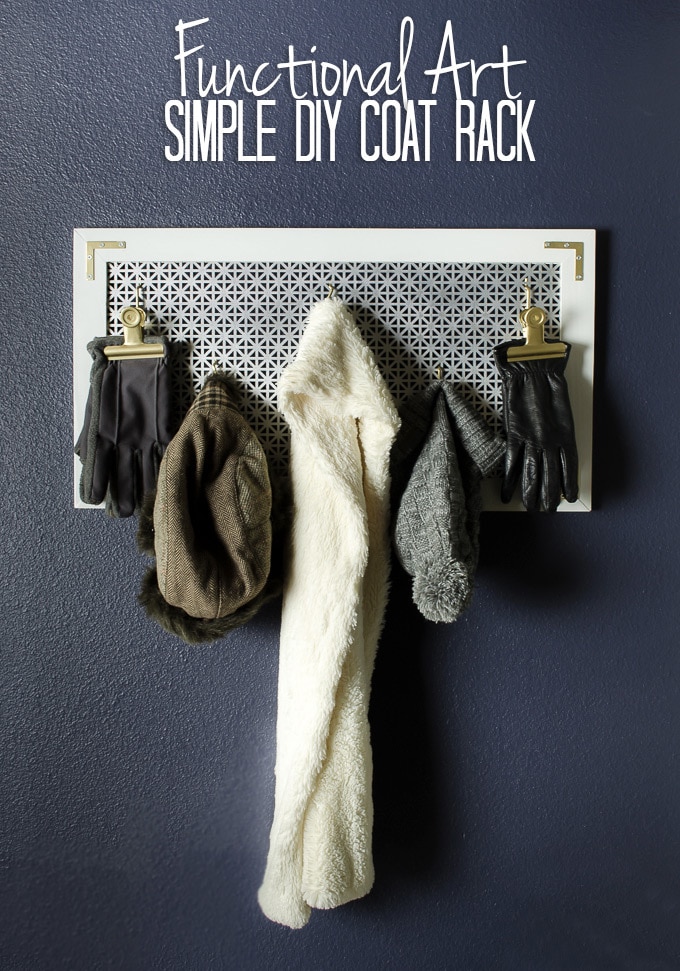
For my winter gear dilemma, I had a wacky idea to see if pegboard hooks would work in a decorative sheet of aluminum. They did! With that exciting discovery, I set out to build storage that would look like decor during the summer, then become functional for winter.
Here’s what you’ll need to build your own customizable storage rack:
12×24 Union Jack Aluminum Sheeting
Wood lath for frame
Gorilla Glue Super Glue Gel
Gorilla Glue Wood Glue
Corner Braces
Wood Filler
Paint for frame
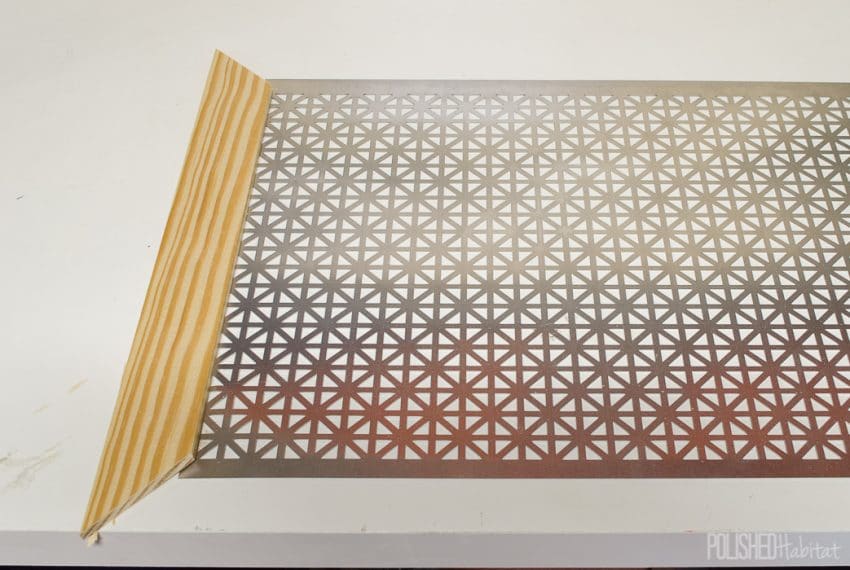
The first step is cutting your wood lath into a frame. We mitered the corners, but if you don’t have a miter saw or miter box, you can still do the project! You don’t have to miter the corners since we are using corner braces. Just ask the hardware store to straight cut your wood to form a frame around your sheeting. I’d recommend doing the longer top and bottom the full length of the sheeting, then having the sides cut to fit between them.
IMPORTANT: You actually need enough wood for TWO matching frames because we are going to sandwich the sheeting between the frames.
You’ll notice my boards are painted in the next photo, but do as I say, not as I do. I realized it was pointless to prepaint, because we’ll have to paint again later. You’ll see.
The wood lath is really thin, so we attached the corners together with Gorilla Glue Super Glue Gel instead of nails. It forms a quick bond, so worked great.

Let the first frame dry for at least a few hours, then use a little more of the gel to adhere your metal sheeting to the frame.
Switch to wood glue, applying it all the way around the bottom frame as shown below.
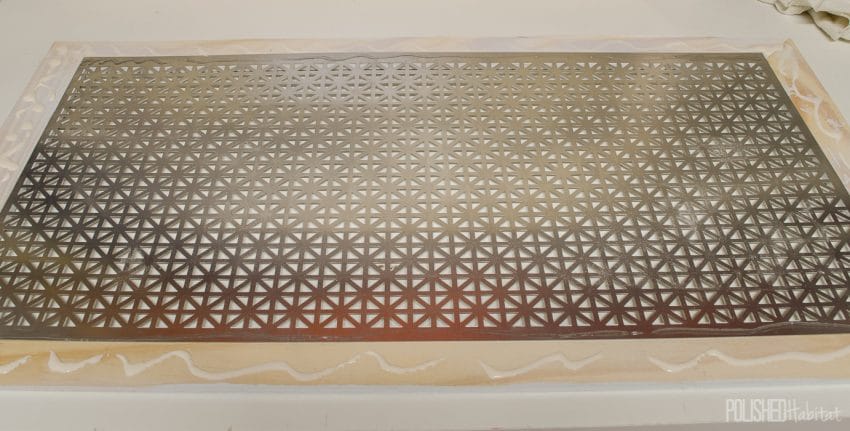
Attach the remaining wood from the second frame to your sheeting, sandwiching your sheeting between the two frames.
Use clamps to squeeze the front and back frames together, or set something heavy on top so the wood glue can create a strong bond.
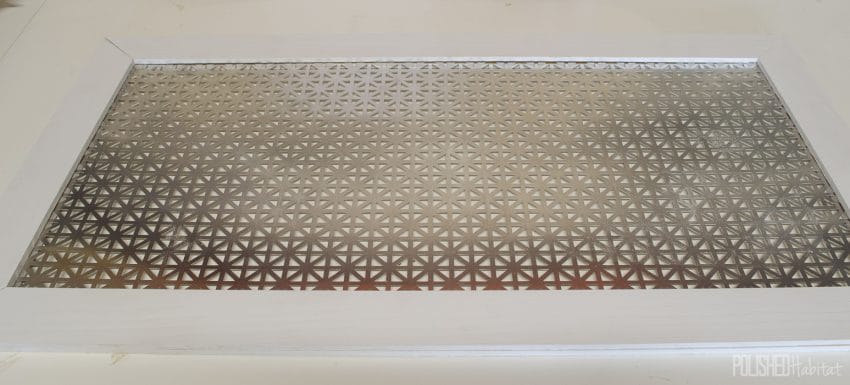
Once the glue has dried, use wood filler around the outside of your new coat rack, filling in the gap between the front and back frames, along with the joints on the front if needed.
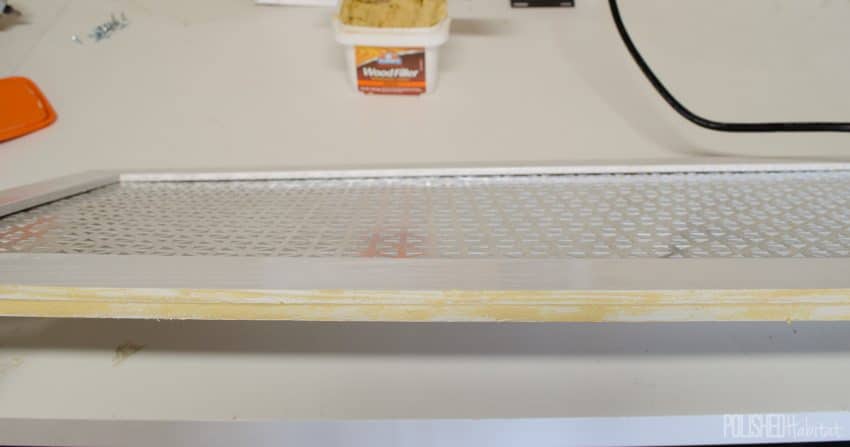
Let the wood filler dry for 15-30 minutes, and then sand the edges smooth.
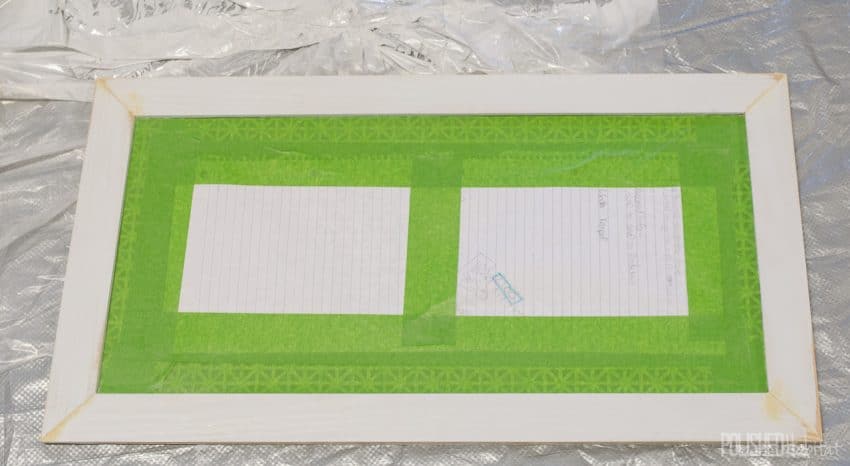
Tape off your sheeting, and then paint the frame. I used white spray paint, but options are limitless! As you can see, there was no need for me to paint earlier, since I had to paint again.
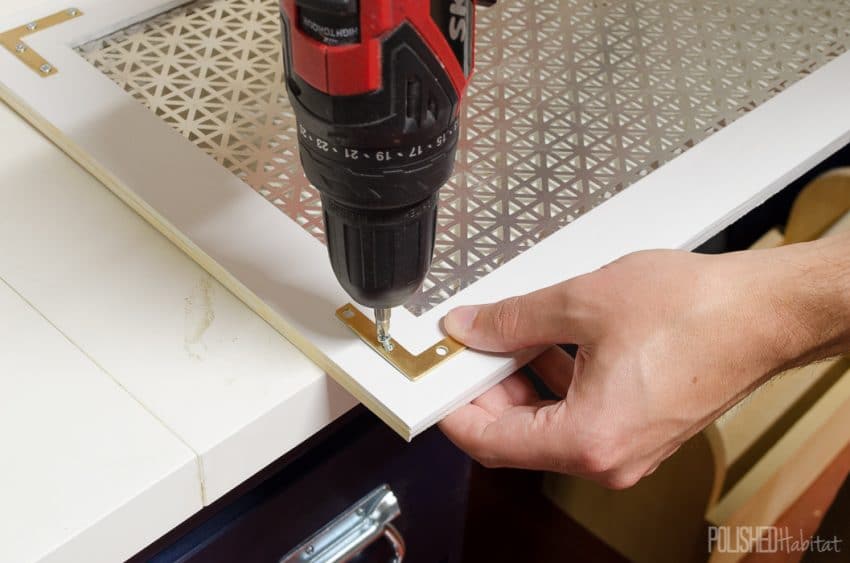
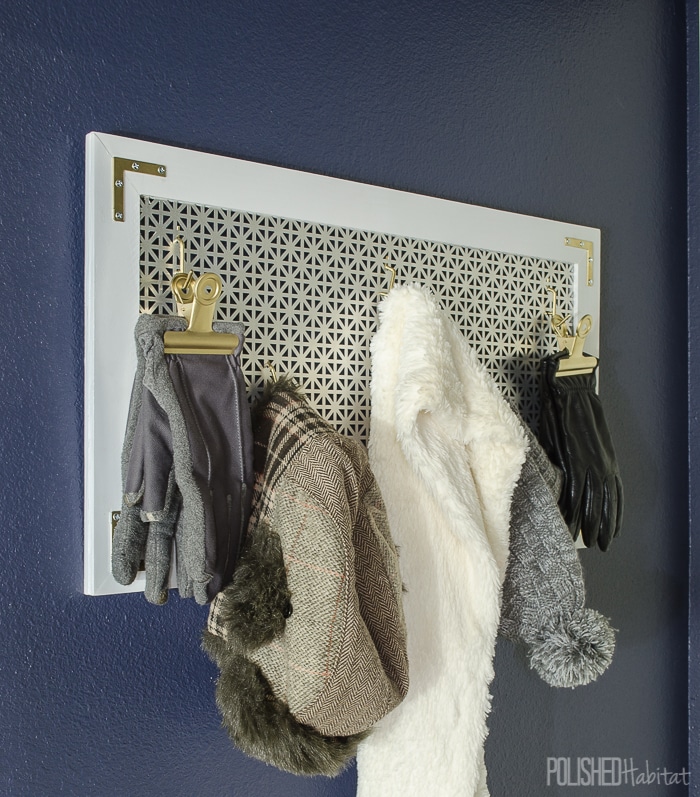
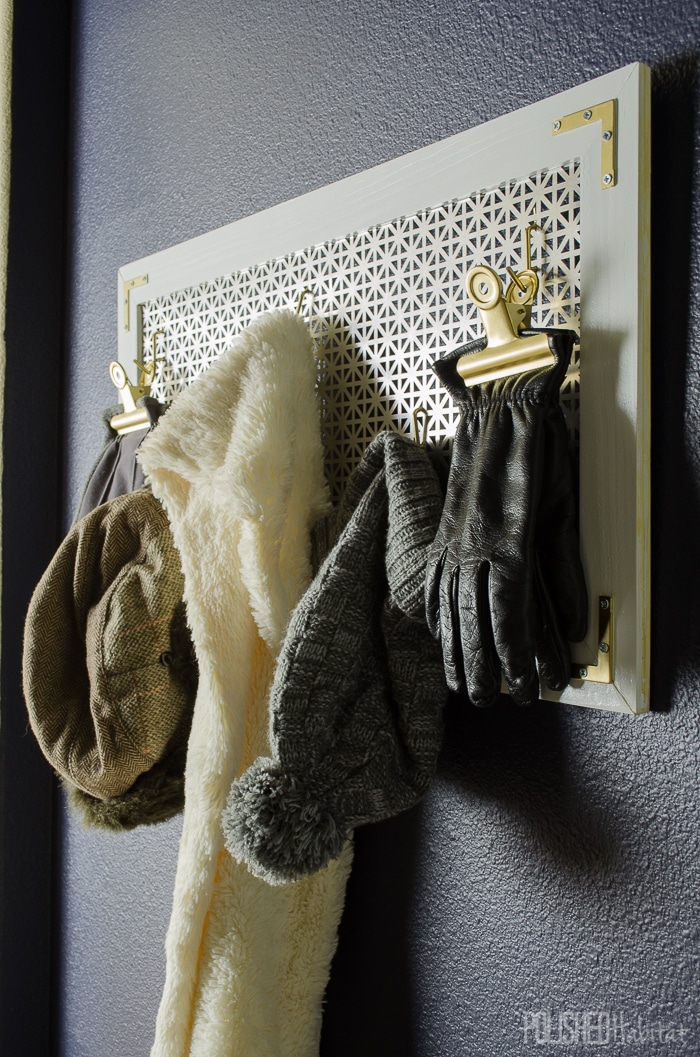
Once the paint dries, add corner braces for both style and extra stability. I spray painted my braces gold before attaching them. Because what’s a project without a little gold spray paint! I used my normal favorite – Rust-Oleum. I left the screws silver to match the sheeting.
The last step was adding two sawtooth hangers on the back and hanging my new coat rack using anchors in the drywall.
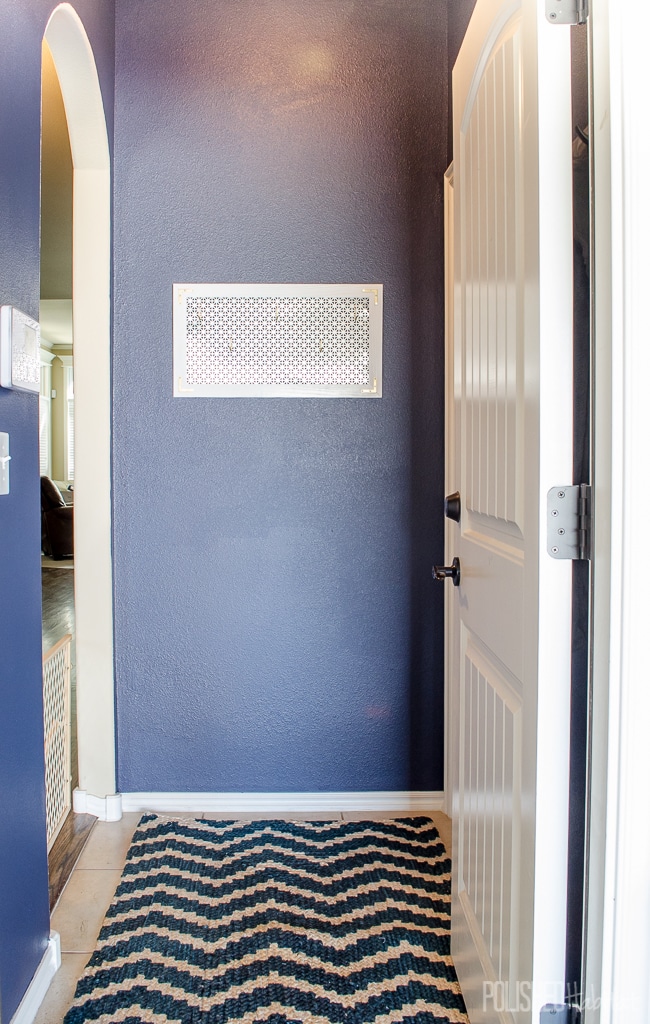
In addition to peg hooks (also painted gold of course), I used large bulldog hooks for gloves. They have a hole perfect for hanging on a peg hook.
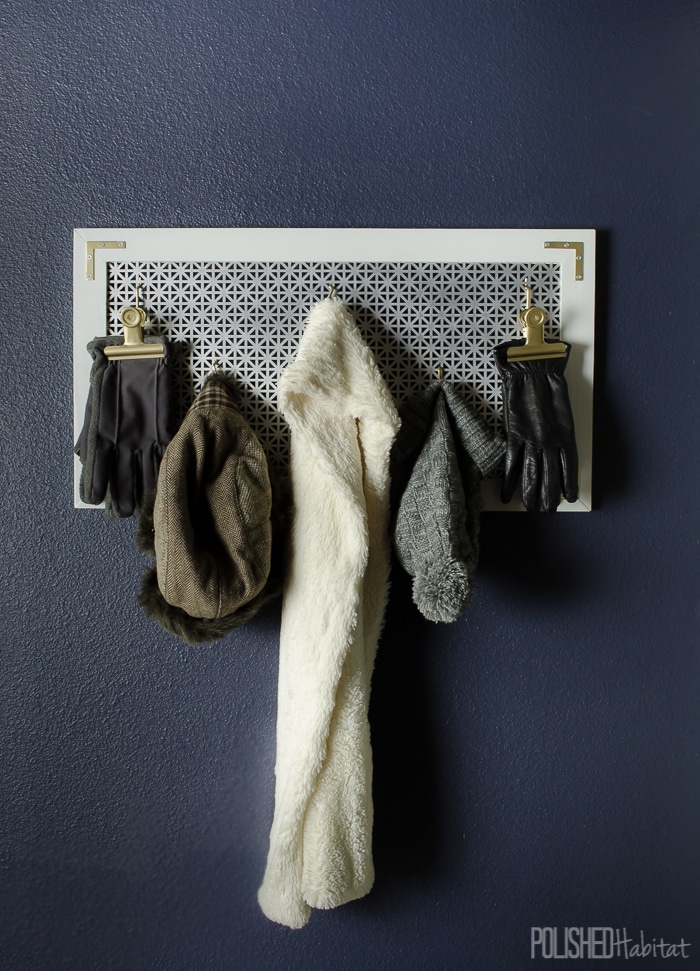
Cold weather hit Oklahoma last week, so I’ve been grabbing my gloves and fuzzy scarf each time I go out the door. It’s so handy!
And NOT having random gloves floating around the island is a wonderful perk.
It would be fun to make a larger version of this rack with space for adult gear up high and kids stuff down low where they could reach it.
Post shared at: Remodelaholic , DIY Like a Boss

Krista says
Such a cool project, Melissa! I love it – and the contrast with the navy walls is amazing!!
Melissa George says
Thanks Krista! It’s one of my favorite DIYs of the year.
Angela, Blue i Style says
I love the way the coat rack turned out! Those clips are such a genius idea for gloves!
Melissa George says
Thank you! I was a little nervous about that part, but they are working out great!
Anni says
Love, love, love the coat rack! What an awesome idea!
Melissa George says
Thank you Anni – It’s it great when wacky ideas work out?!?
Elizabeth says
Love your style and ideas. Your office is so pretty! Your cleaning closet is truly inspirational as is your gorgeous master closet. Guess what I’m going to be doing this summer…cosets and office! Thanks so much.
Charity Walter says
This is an older post but I happened to see it today and I love it! Do you have a place for shoes? We do wear our shoes in the house but I’m trying to phase that out. We’re really low on space so any ideas you have would be terrific. Thank you for your lovely and inspirational site!
Melissa George says
We don’t have an entry spot for shoes, but I have two ideas. By our back door, we have a giant decorative basket that we keep shoes in to take the dogs in and out. It’s big enough to hold boots in the winter. But if you have a few feet of wall space, I’d recommend the IKEA shoe cabinets: https://www.ikea.com/us/en/catalog/categories/departments/hallway/10456/ We have the Hemnes 4 compartment in our kitchen, which is a bit wider only sticks out 9 inches from the wall. A good friend has the 2 compartment, which is a bit deeper and holds two rows of shoes front to back. If you don’t have a suitable space for either of those, I’ve heard good things about the TRONES as well.