Proper prioritization is one of the keys to creating a dream home when you have a less-dreamy budget.
At the Roanoke Ranch, that meant figuring out what items could quickly and inexpensively be spruced up enough to be okay another year or two while more time and money went into higher priority spaces first.
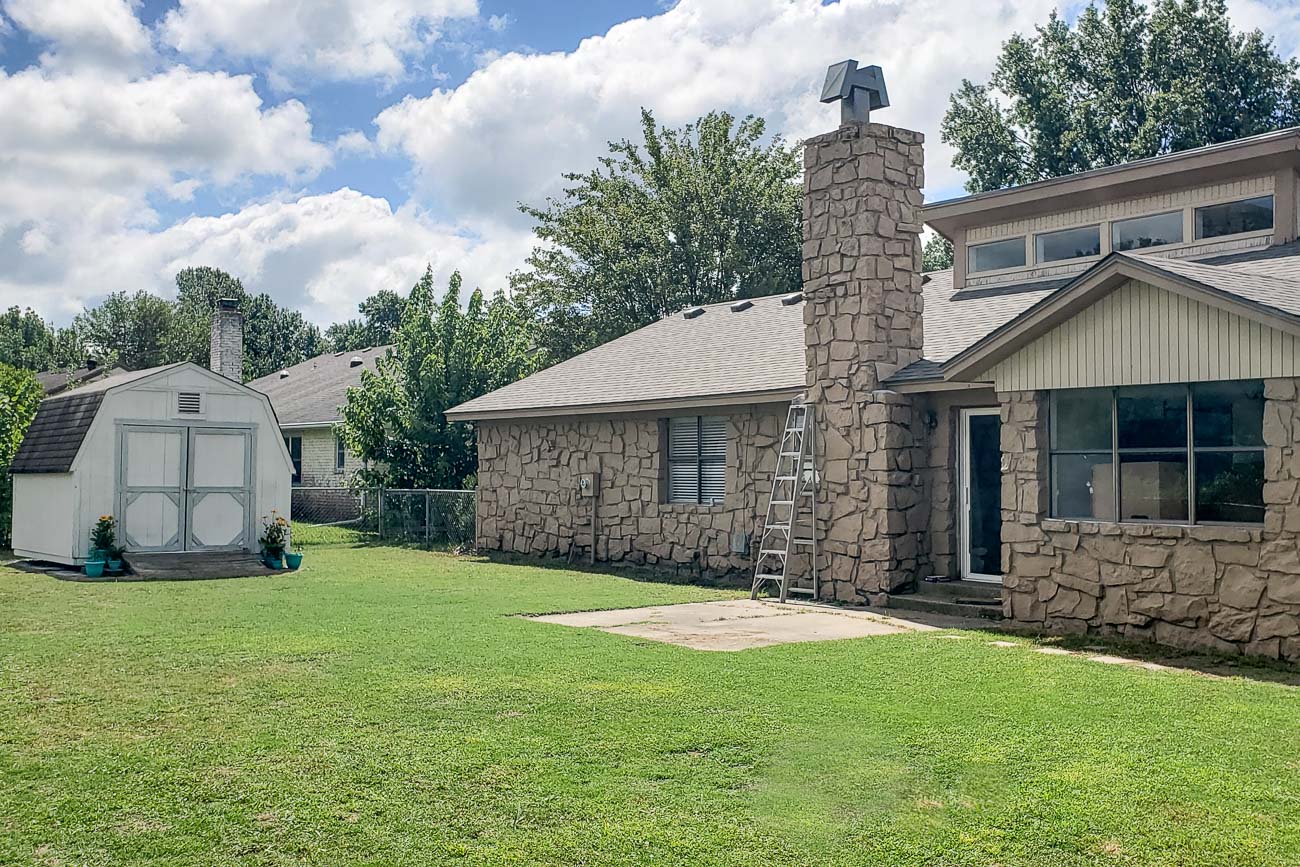
The house came with a shed in the backyard that looked very rough on the outside. Thankfully, we discovered that it was solid and sturdy on the inside.
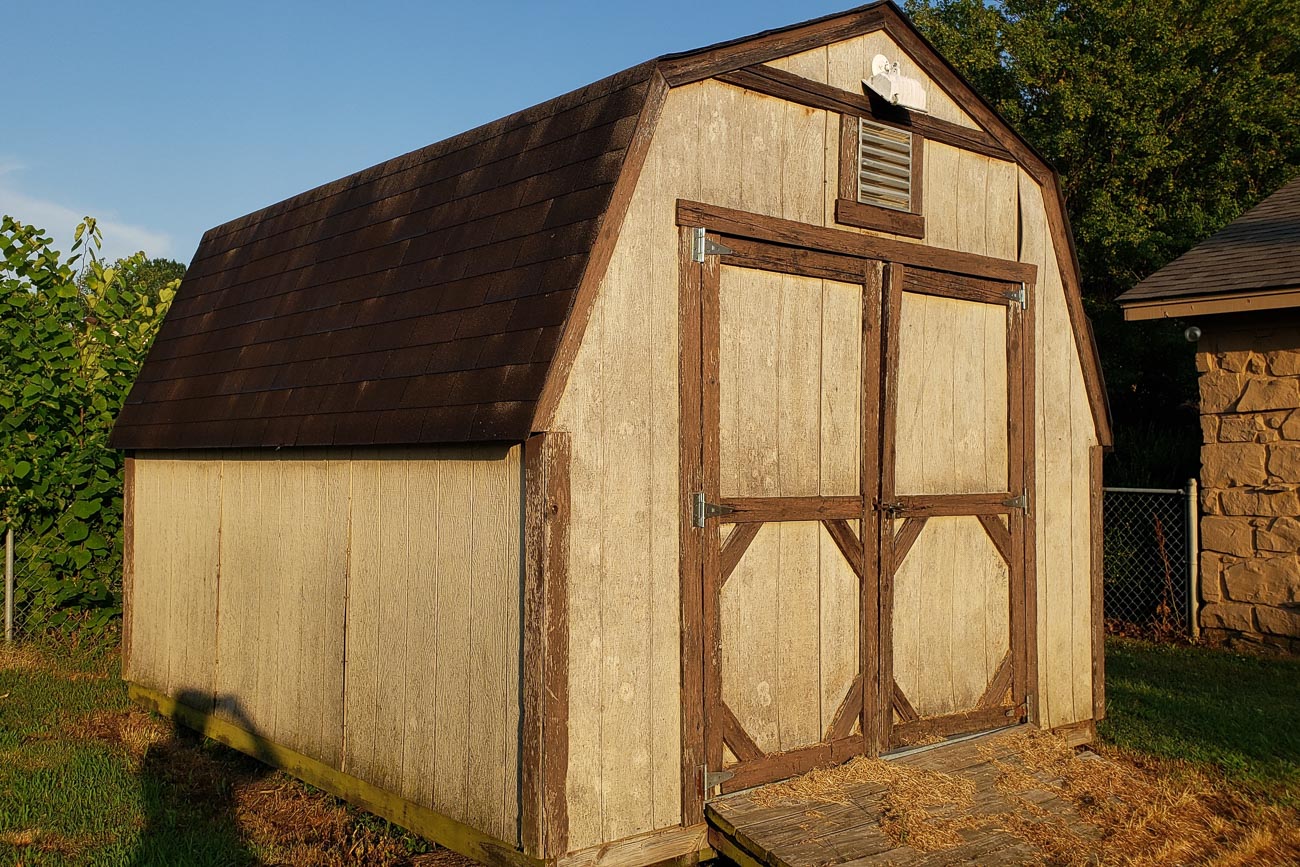
We knew the existing exterior could last at least another year if we spent just a few hours giving it a mini-makeover.
Sometimes I forget that we don’t have to wait until we can afford a huge change to improve our homes.
While we would have replaced all the shed siding, trim and even the door this year in an ideal world, we were still able to transform an eyesore and extend the life of the shed for just the cost of some screws, caulking, and paint.
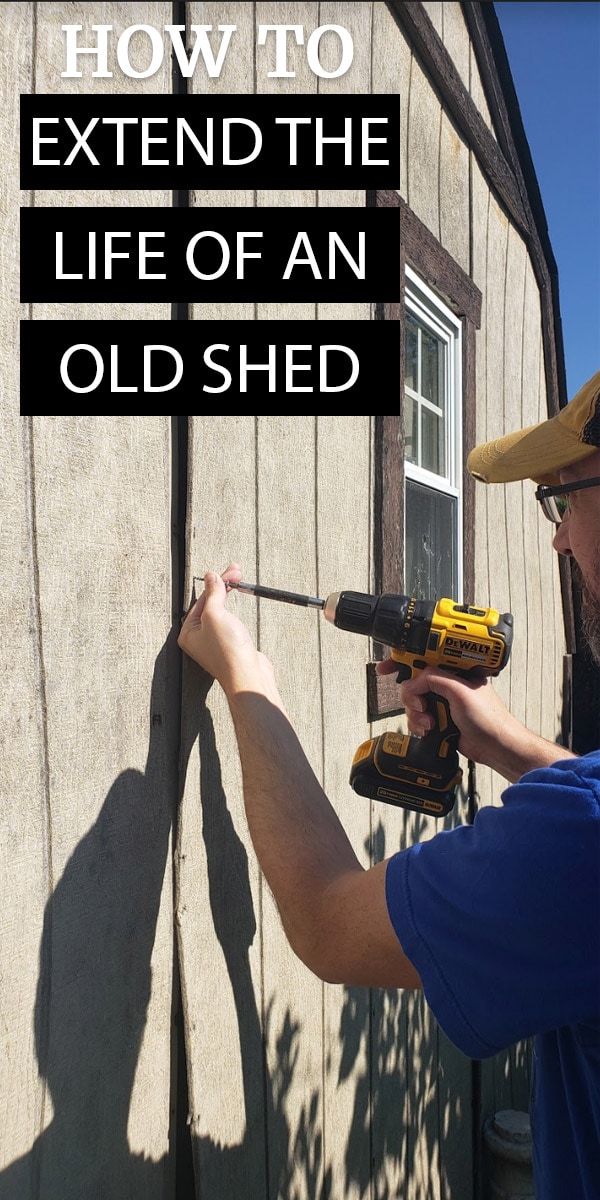
We started the project by using exterior deck screws to reattach the existing siding everywhere it was pulling apart from the framing.

After that, we used exterior caulking to seal any gaps, including each spot where two pieces of siding butted up to each other.
Sealing everything up from both water and little critters will go a long way in extending the life of current shed exterior as long as possible.
Once it was sealed, the whole thing needed a bath.
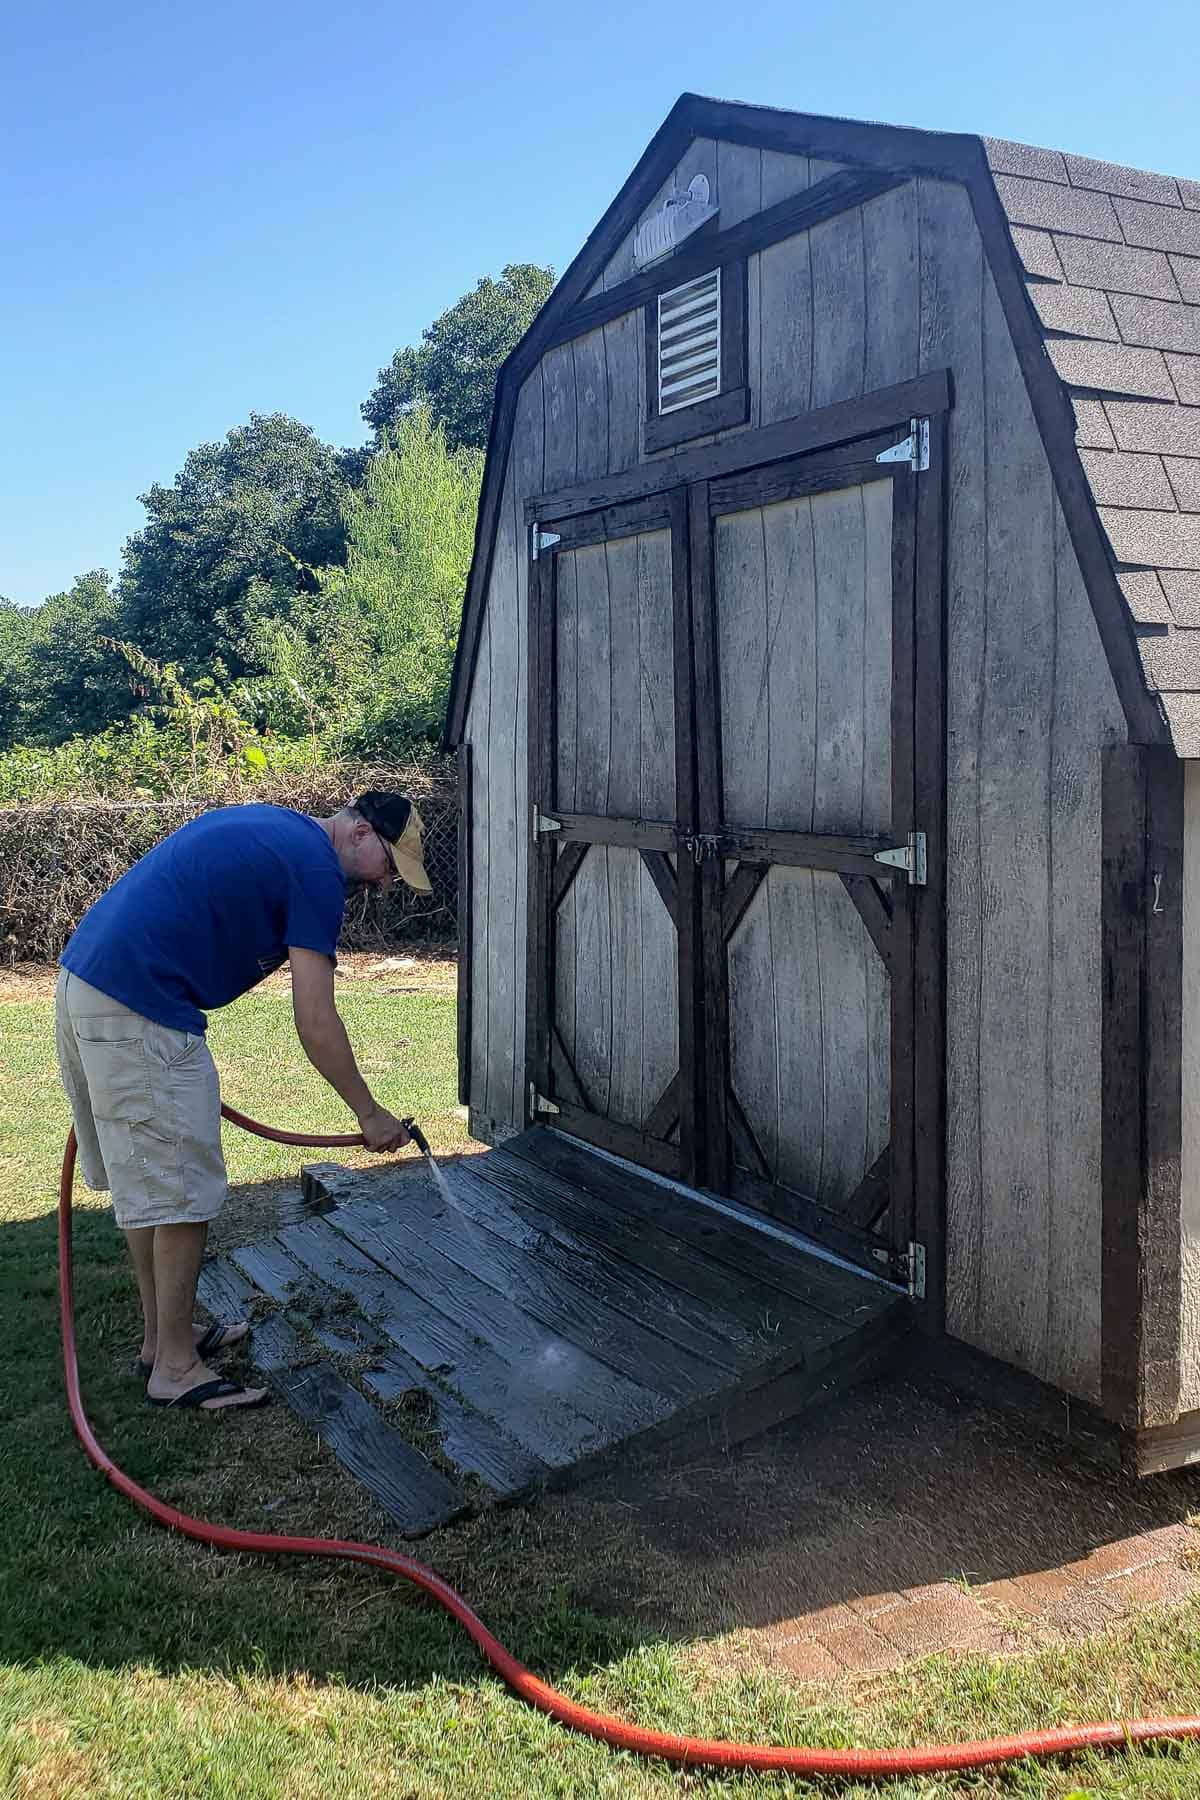
Those steps are simple, but not so exciting.
Thankfully, the next part was functional AND pretty!
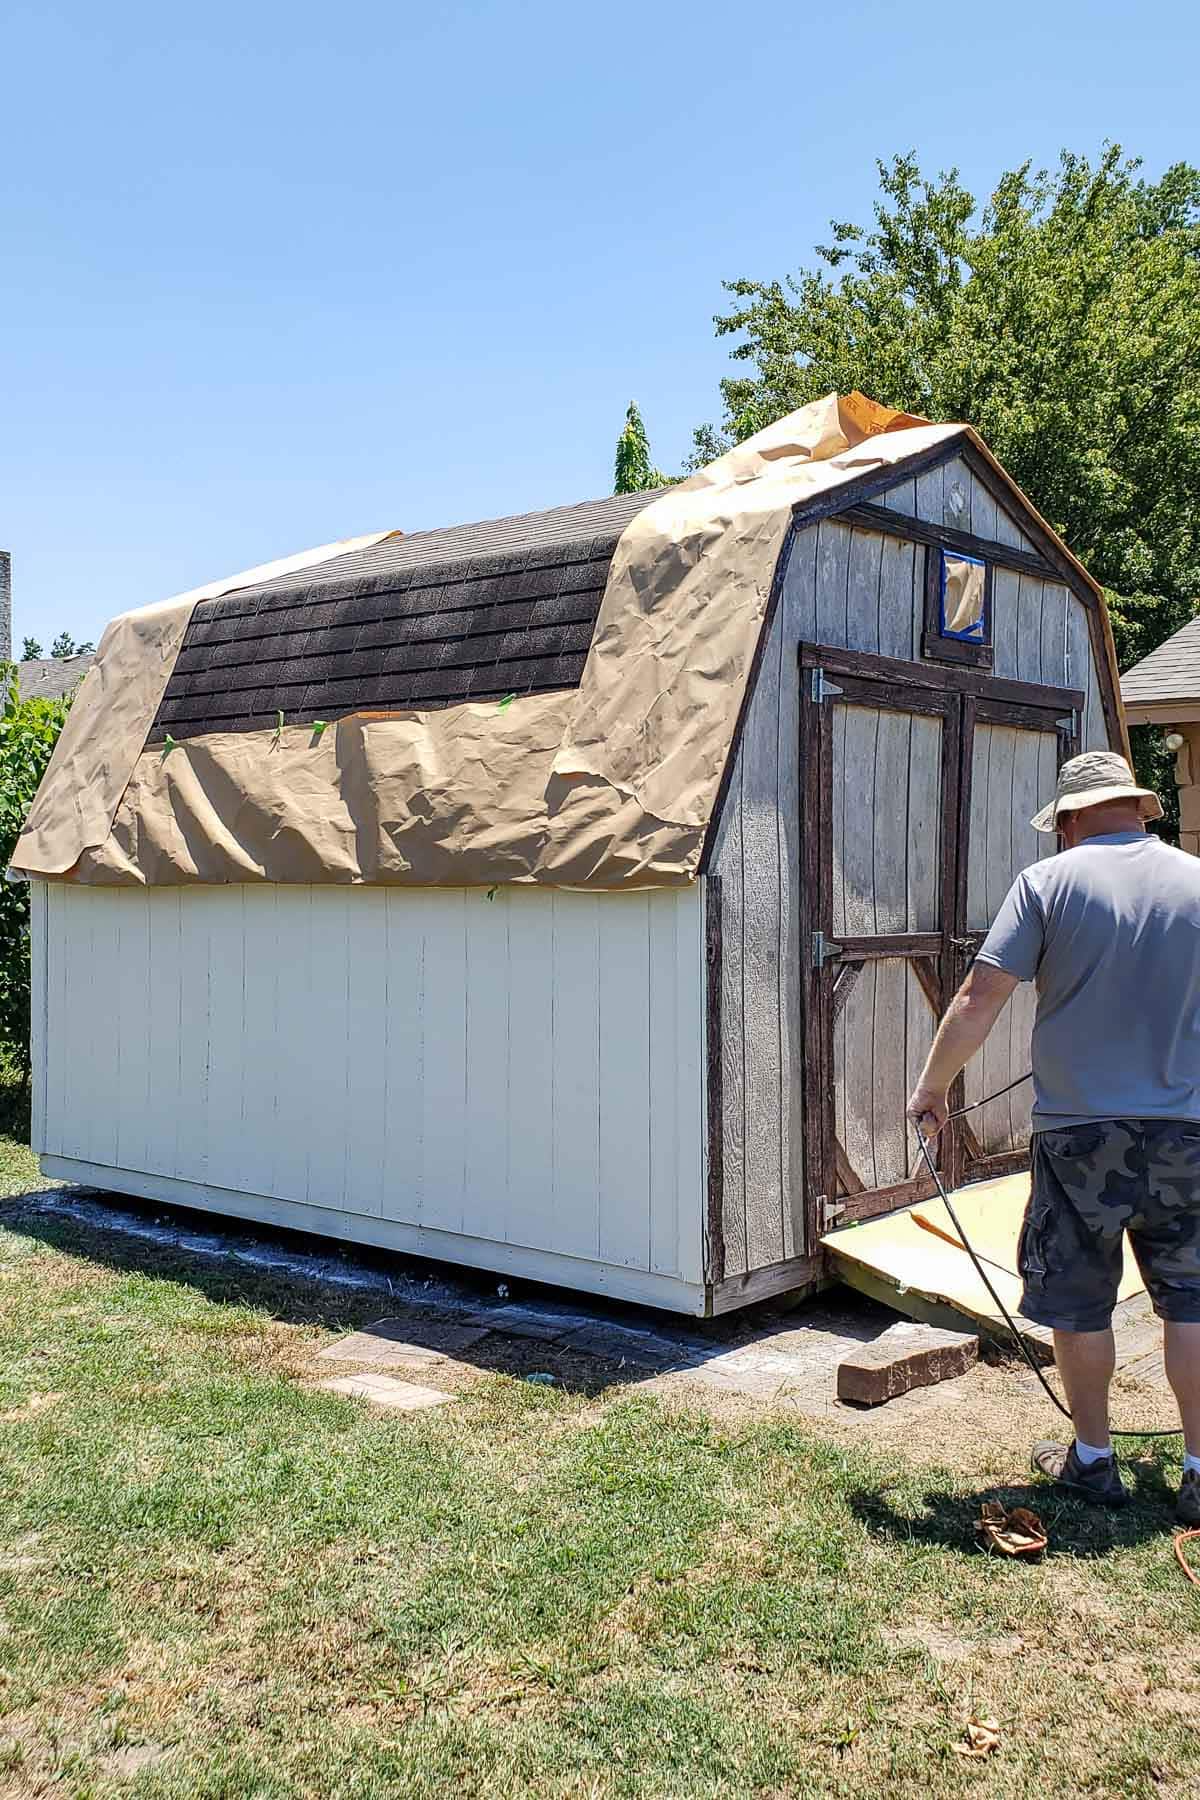
To make the shed less of an eyesore and protect the wood, we needed lots of paint.
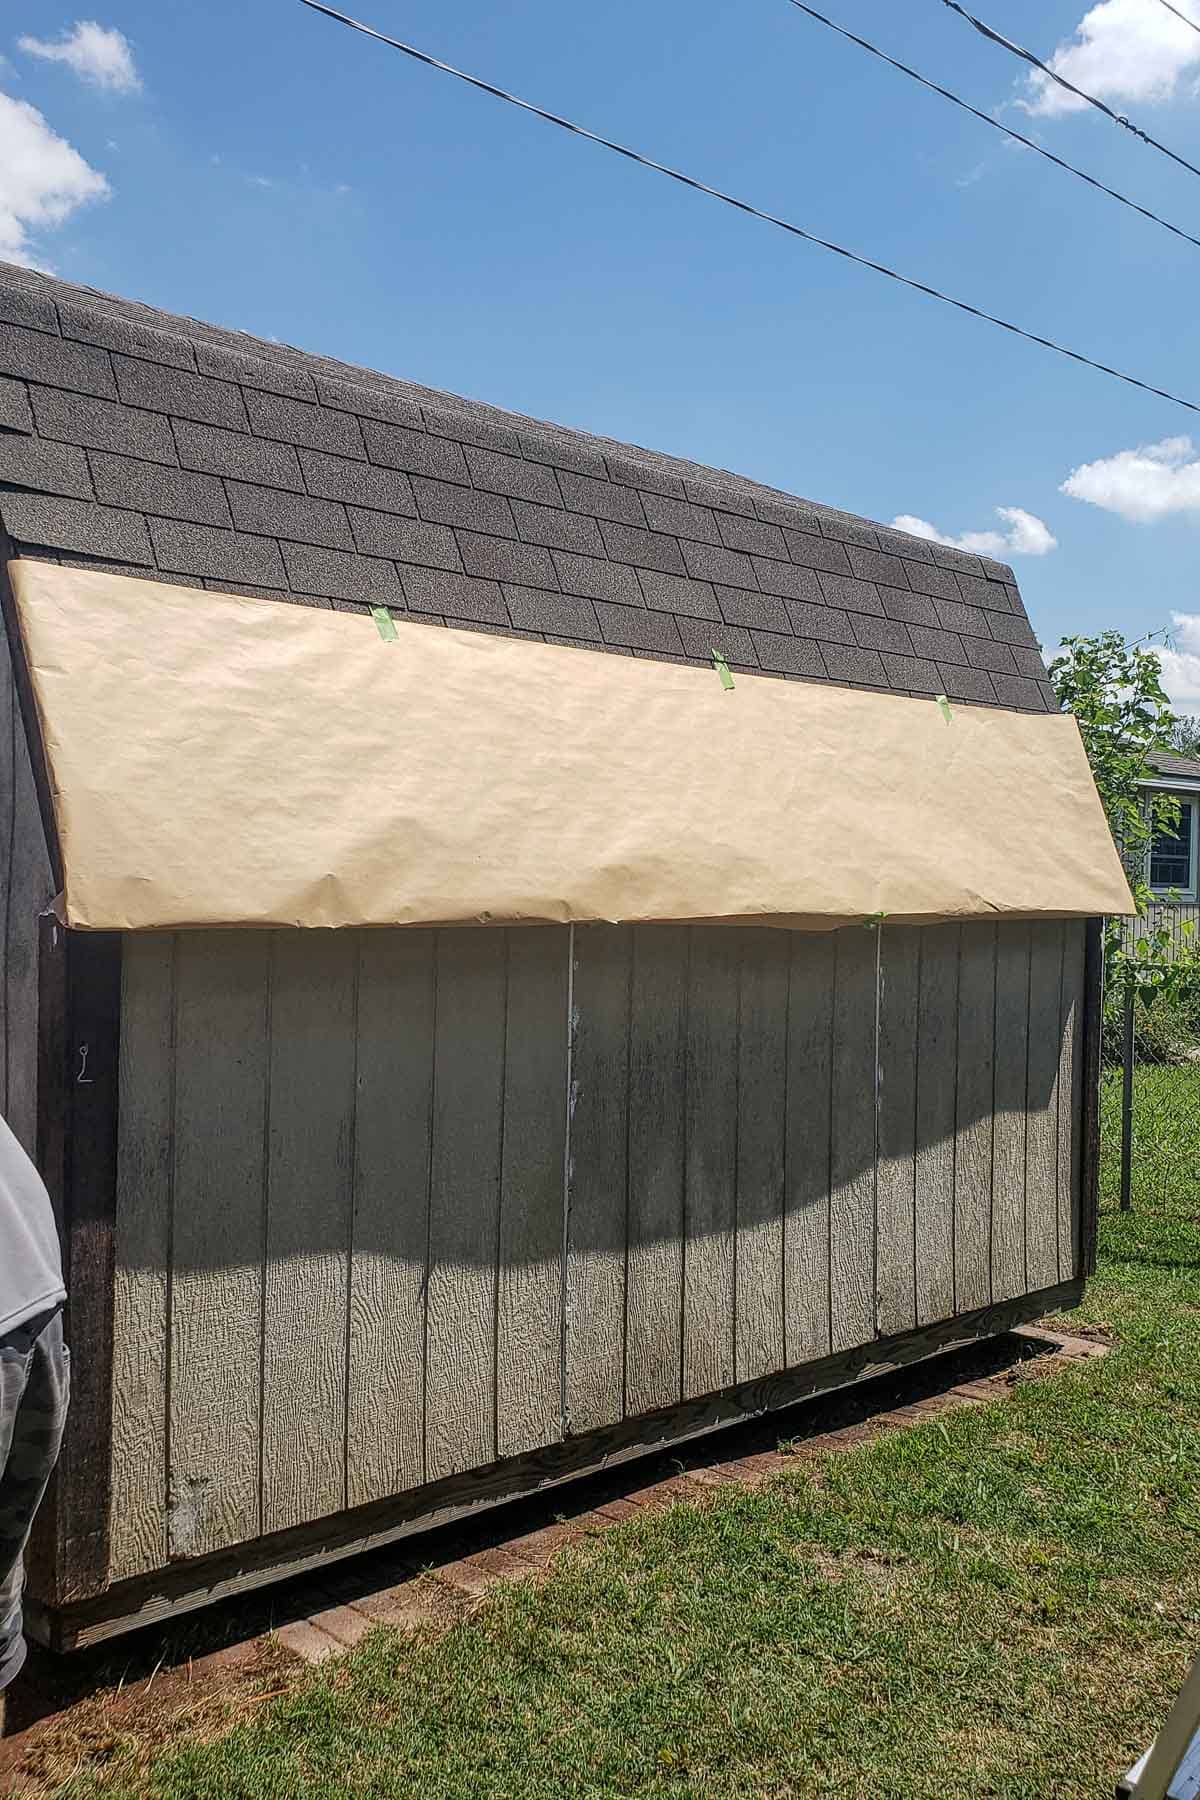
Knowing that we were also going to paint the entire house exterior this fall, we thought this was the perfect spot to test out the exterior color we selected – Shoji White.
We’re painting everything ourselves, so it was also a great time to research paint sprayers.
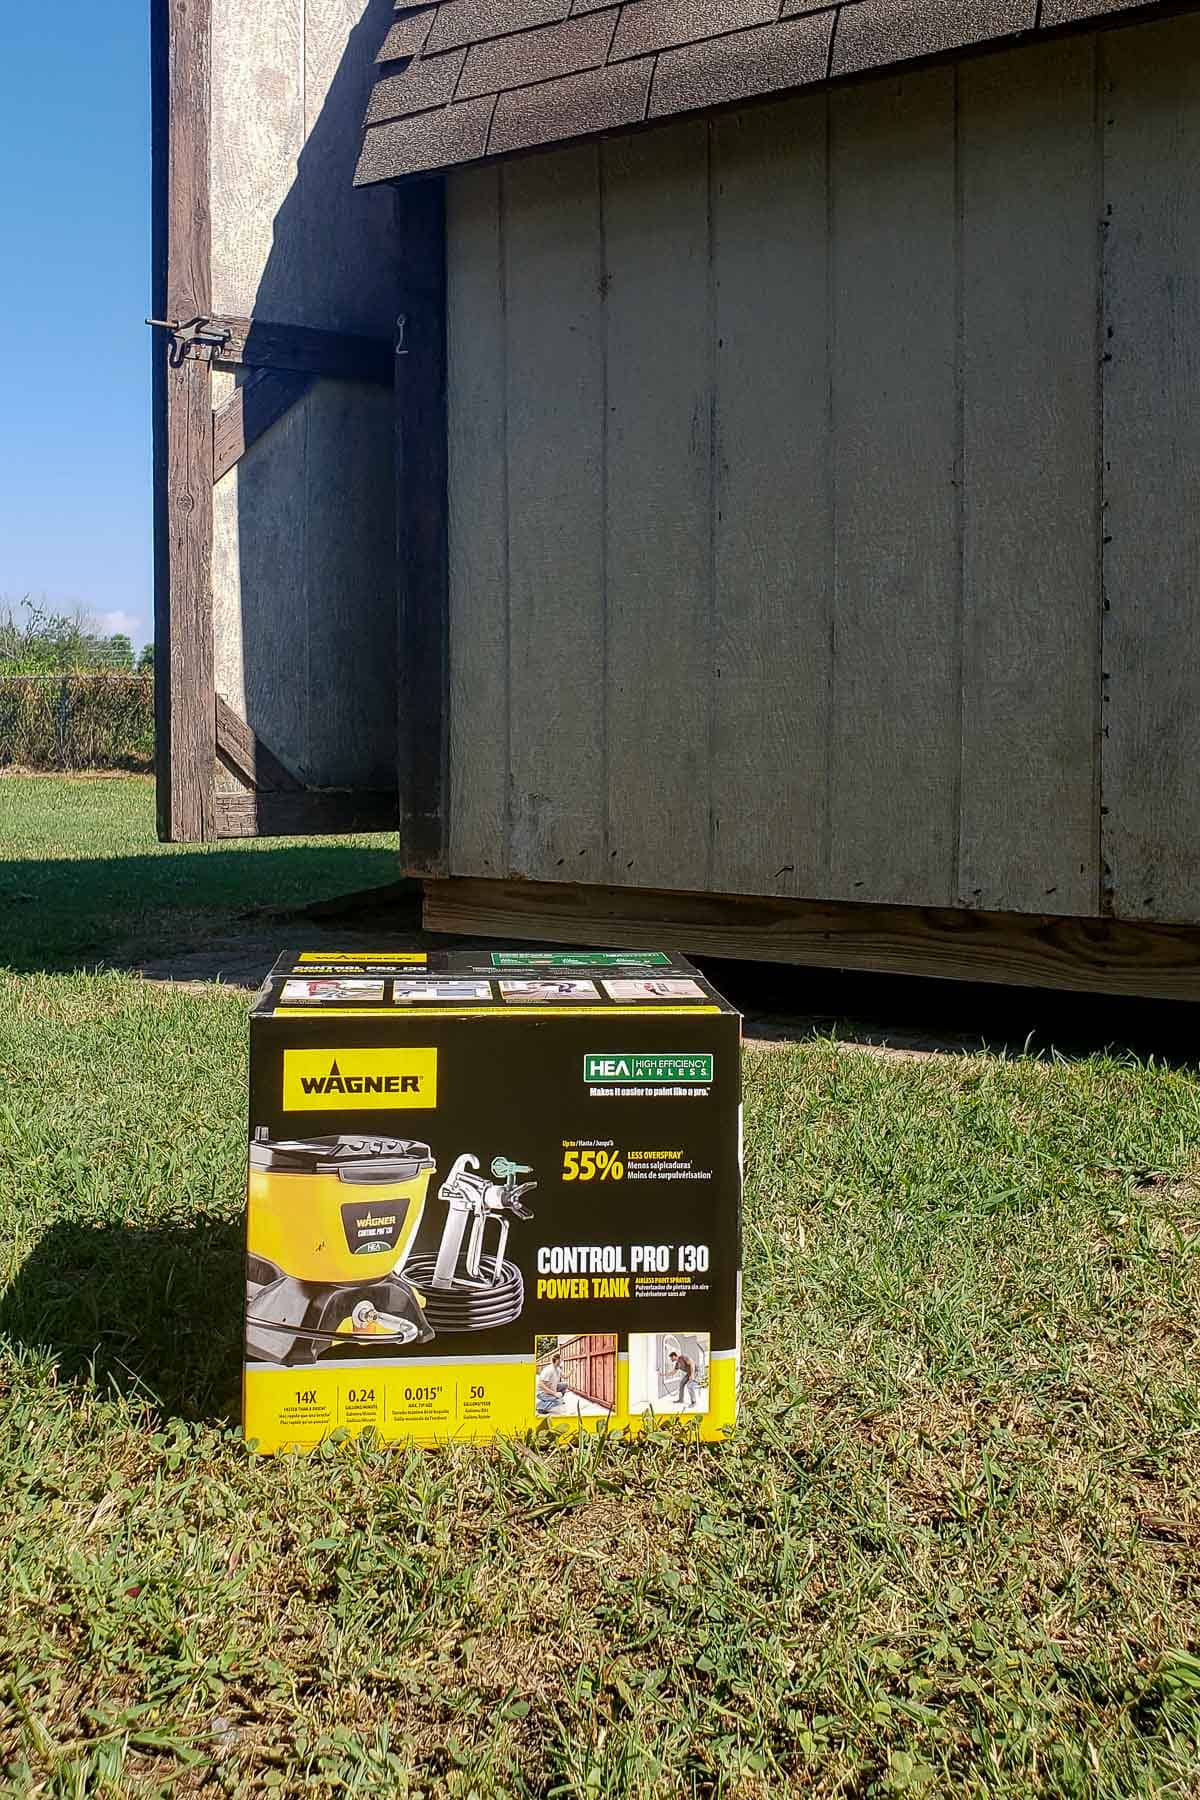
I reached out to my long-time friends/partners at HomeRight, who are now part of Wagner to find out the best sprayer for our needs.
They recommended the Control Pro 130 and were kind enough to send one for us to try out.
It was DREAMY.
The Control Pro 130 is a High Efficiency Airless (HEA) sprayer, which means you’ll have less overspray and more control than a traditional sprayer.
I was a bit intimidated at first, because the sprayer is powerful which requires more caution than a paintbrush. But the instructions in the manual are clear and once we started painting it was VERY simple to operate.
Before spraying paint, we did a test run with water. Don’t skip that step as it checks for any drips in the lines AND lets you practice spraying.
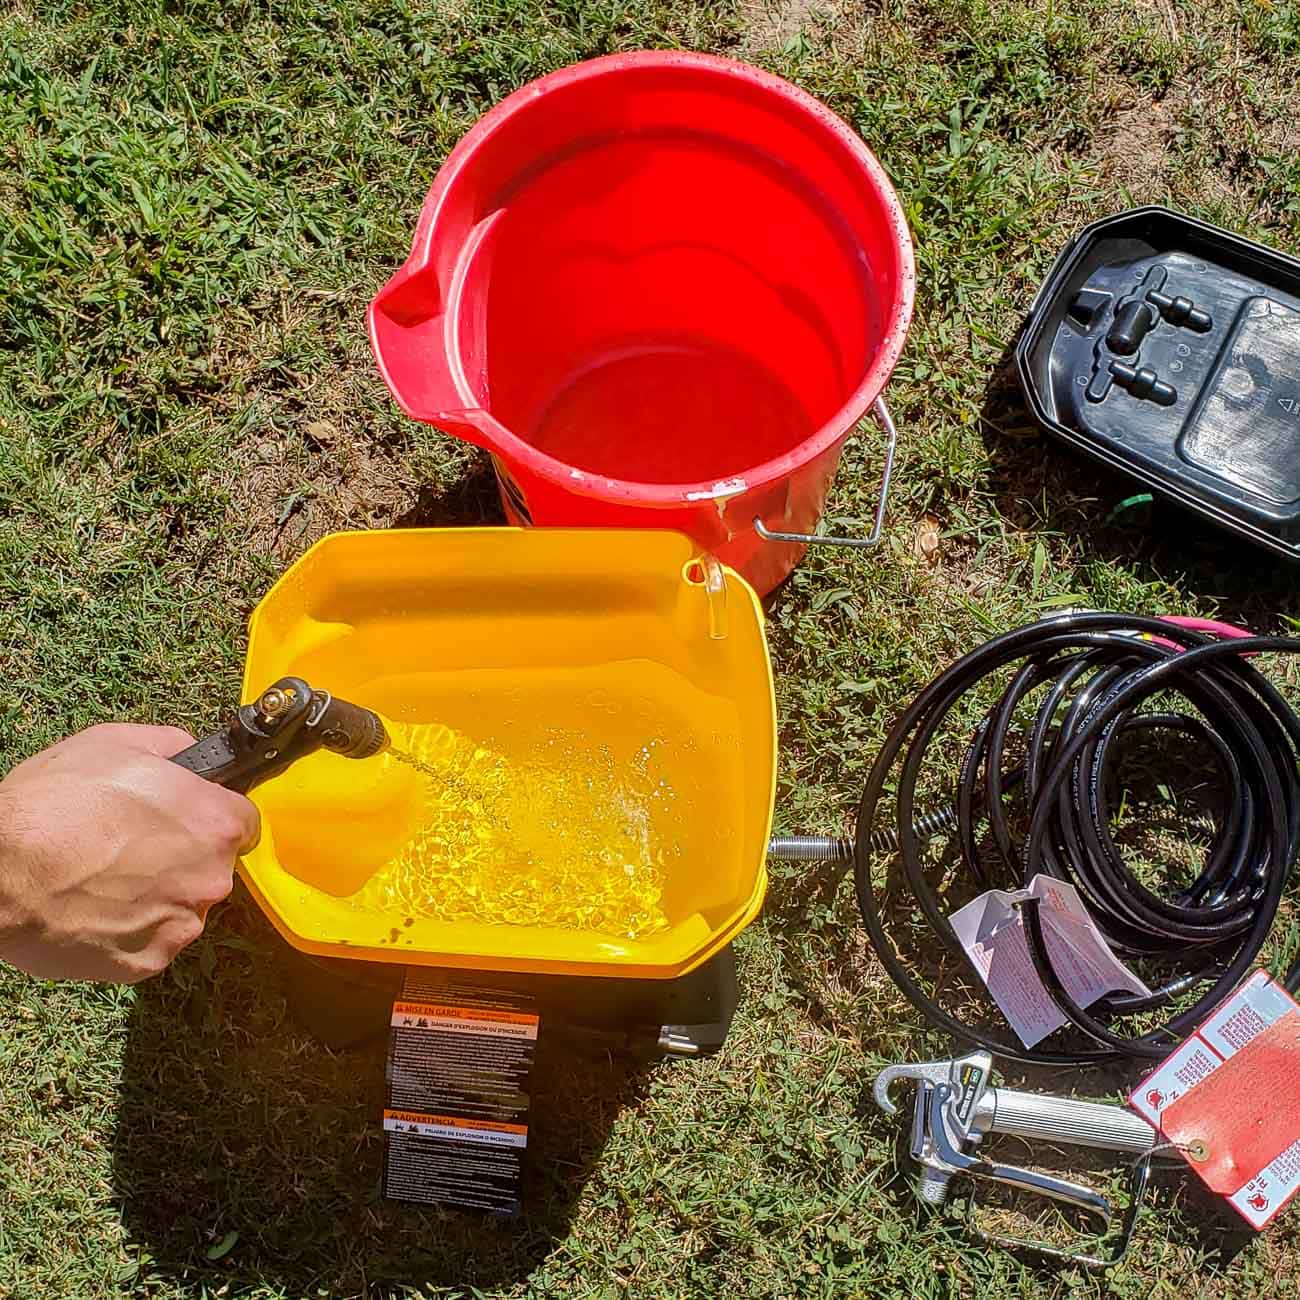
We did our water test sprays on the house so the shed wouldn’t be wet. It only took a few passes with the sprayer for me to feel comfortable with it and ready to paint.
As we followed the setup directions included with the sprayer, I was thrilled to realize that we could use latex paint straight out of the bucket without thinning.
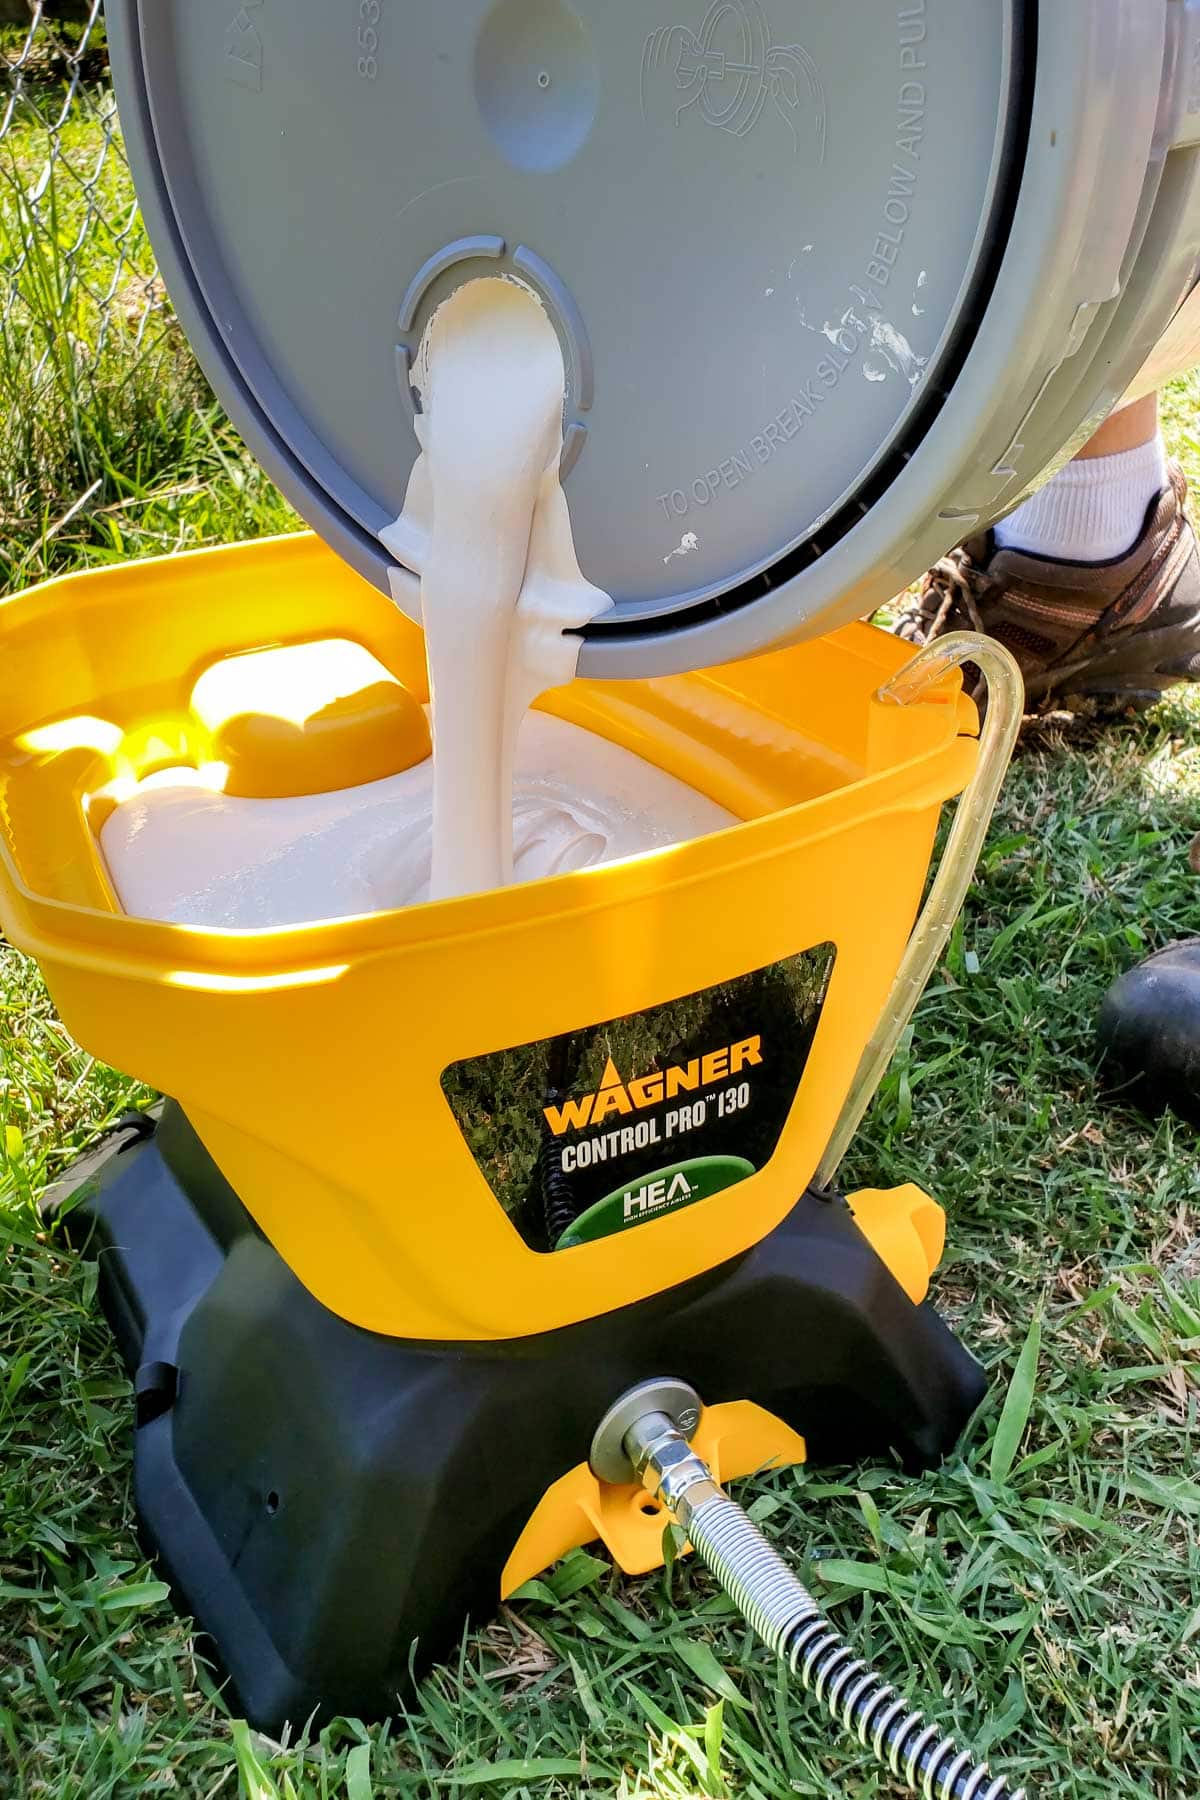
Once we loaded the sprayer, we just had to point it the right direction and it did all the work. It was SO satisfying to watch the dreary shed disappear so quickly.
For the best results, make sure your sprayer nozzle is about a foot away from the surface and aimed straight.
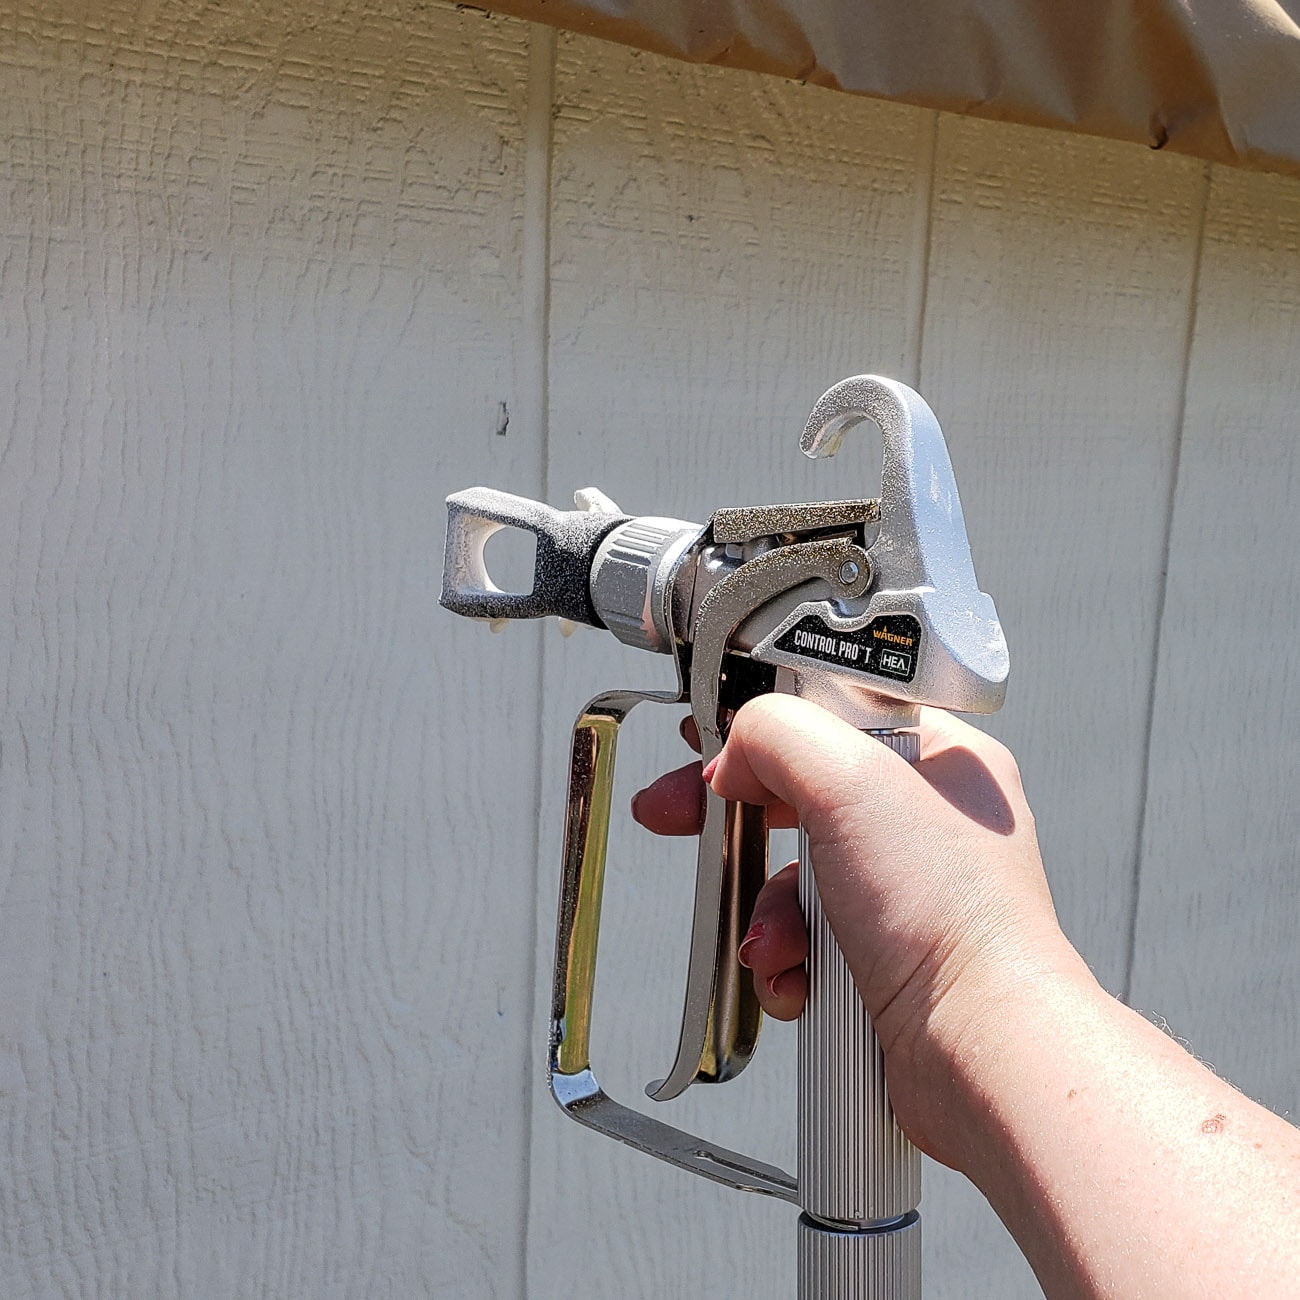
As you move the nozzle, your whole arm and body should be moving side to side with it.
Don’t angle the sprayer side to side or up and down as this will affect your paint coverage. Corey was still working on his technique in this shot and has the nozzle angled down just a bit, but we still had great results.
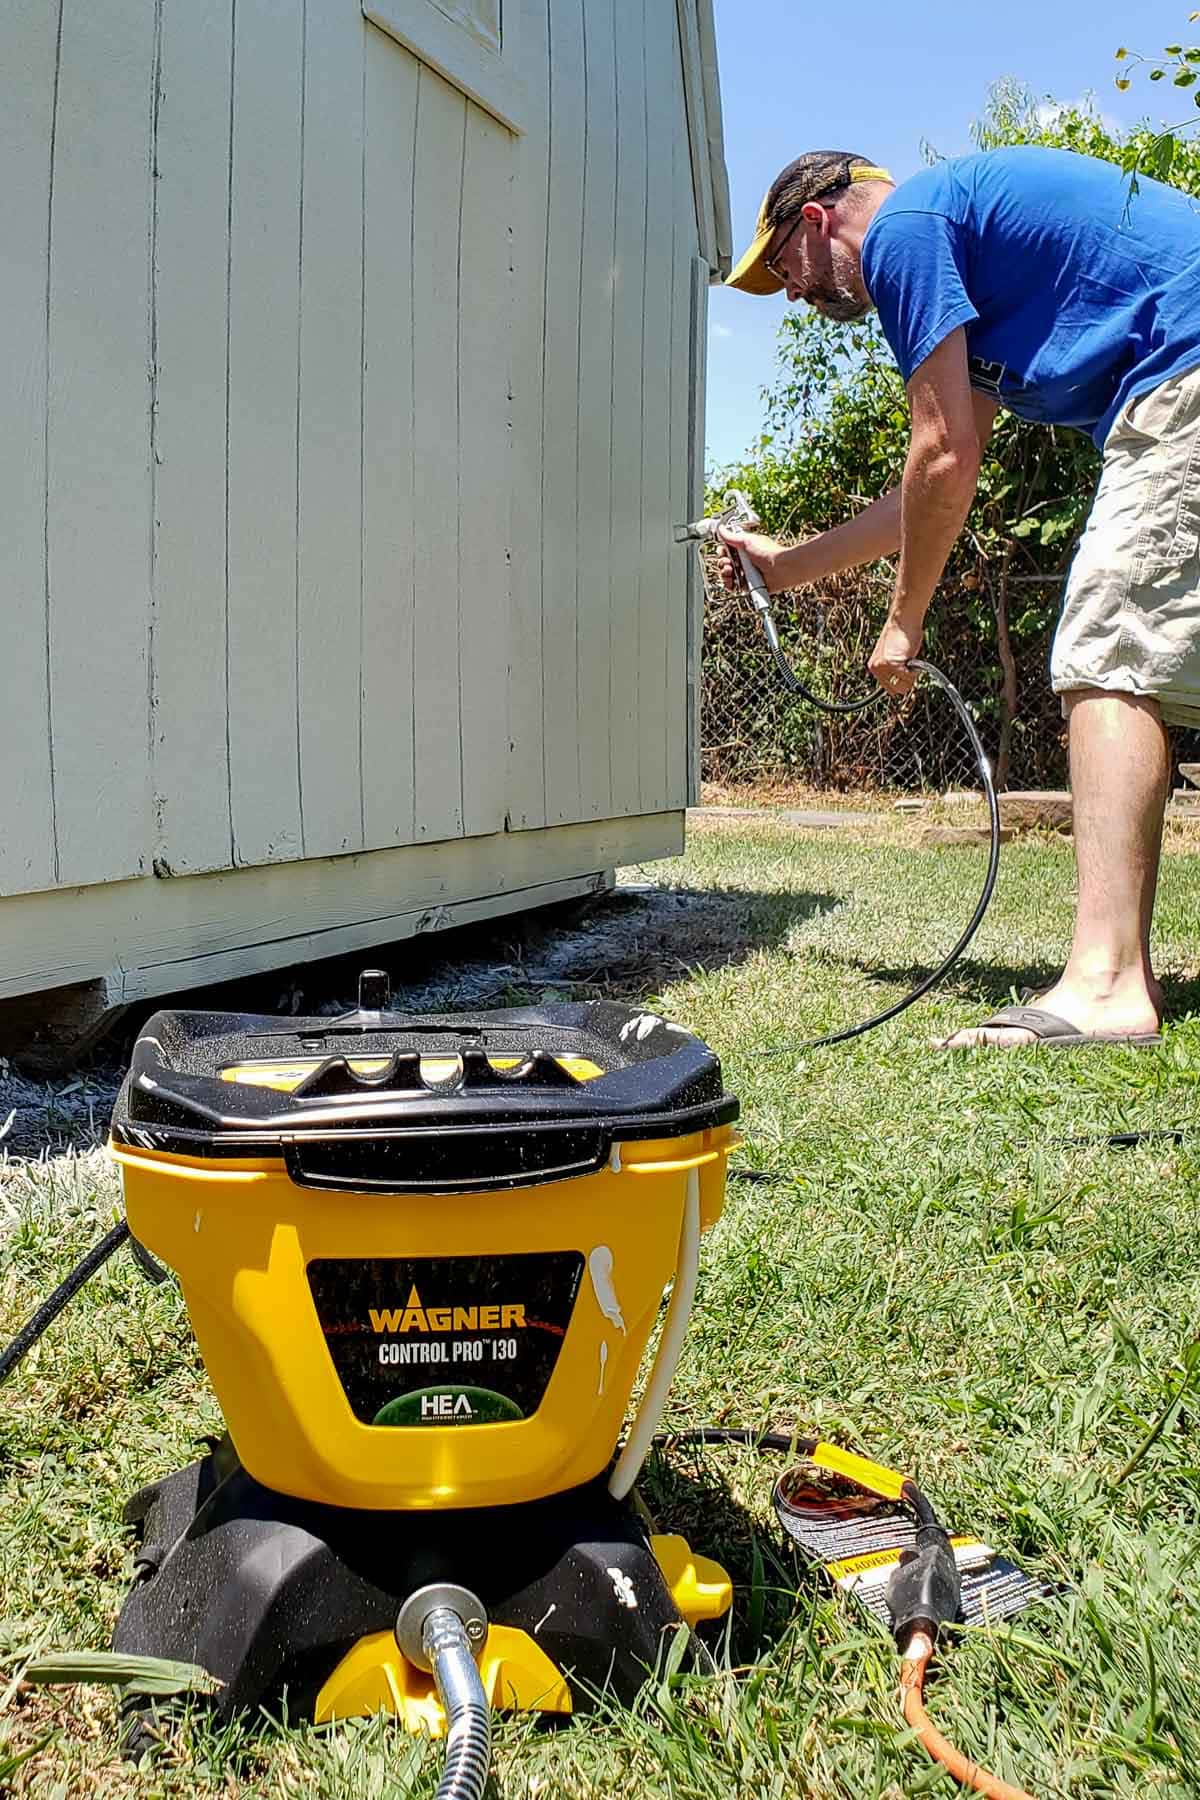
As we worked our way around the shed, I was ecstatic to see the difference the quick paint job was making!
For the final side, I set a stopwatch and it was just over 2 minutes of painting time. Wow!
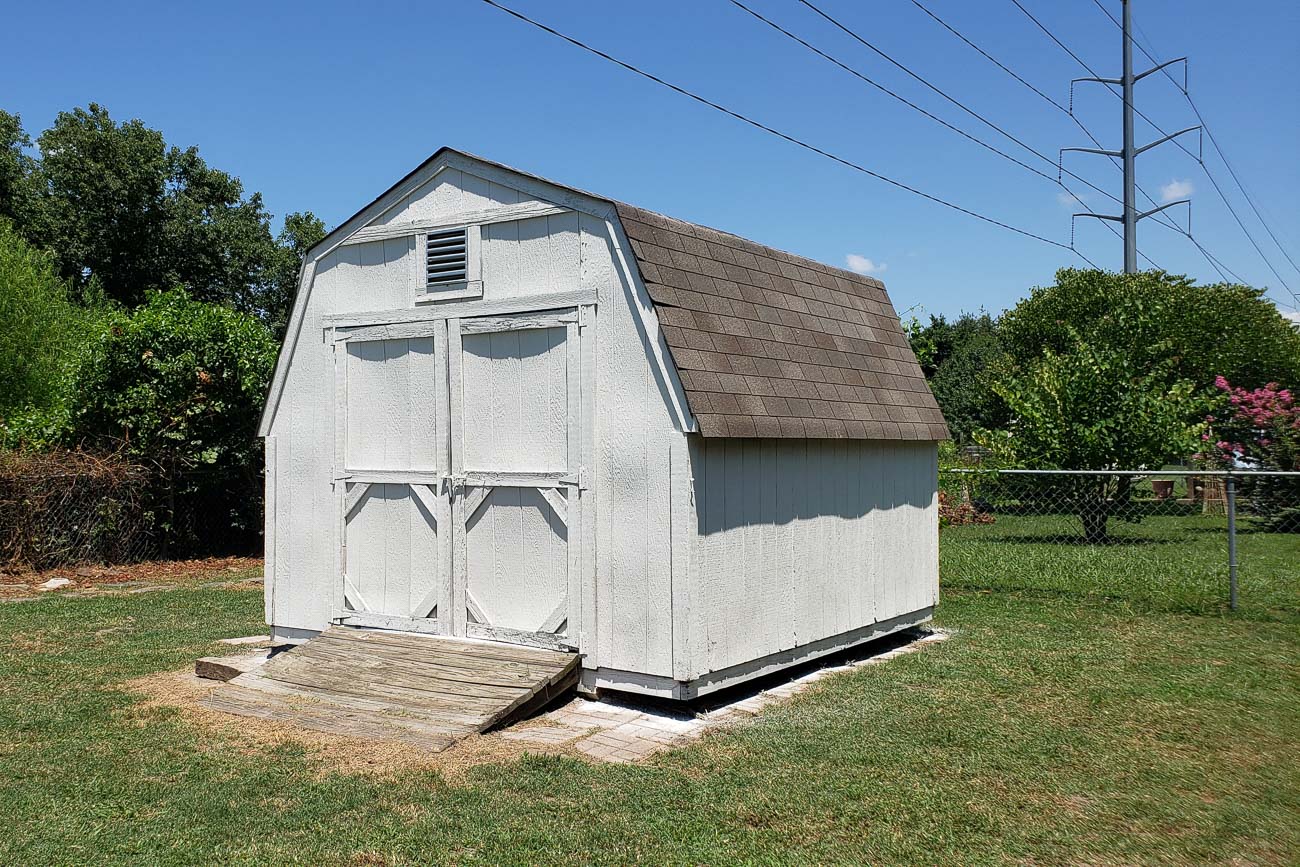
After removing the protective paper from the shingles, the building was looking so much better than before.
PS: The siding is still slightly bowed in a couple places making some shadows, just wanted to make sure you knew it wasn’t the sprayers fault. 🙂
Functionally, we could have stopped at this point and the shed would be protected enough to survive another year. But we spent another 45 minutes and a little more money to make it even better to look at.
I picked up a quart of paint in the color Windstorm and used a brush to quickly coat all the trim on the doors.

When I was done with that, we added a few inexpensive planters along with some flowers and jalapeños.
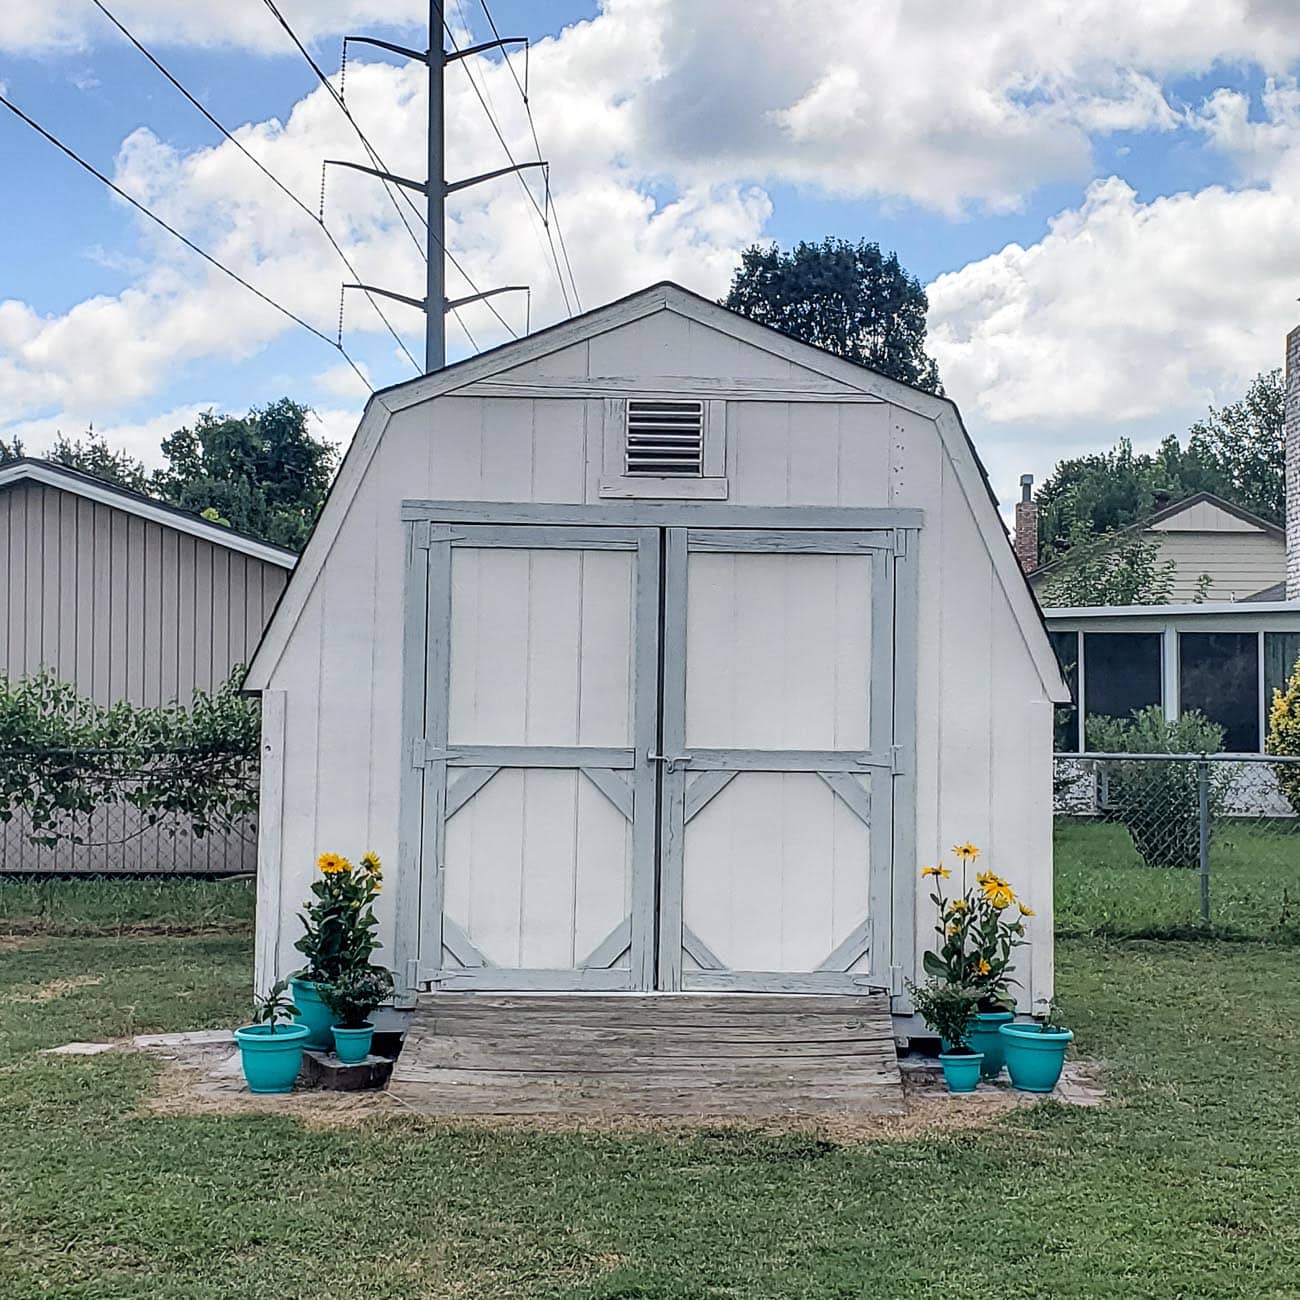
It looks so fresh now!
The hardest part of this process was resisting the temptation to start painting the house while we had the sprayer going. The house wasn’t prepped yet and IS getting new siding, but spraying the shed was over so quickly I wanted to keep painting.
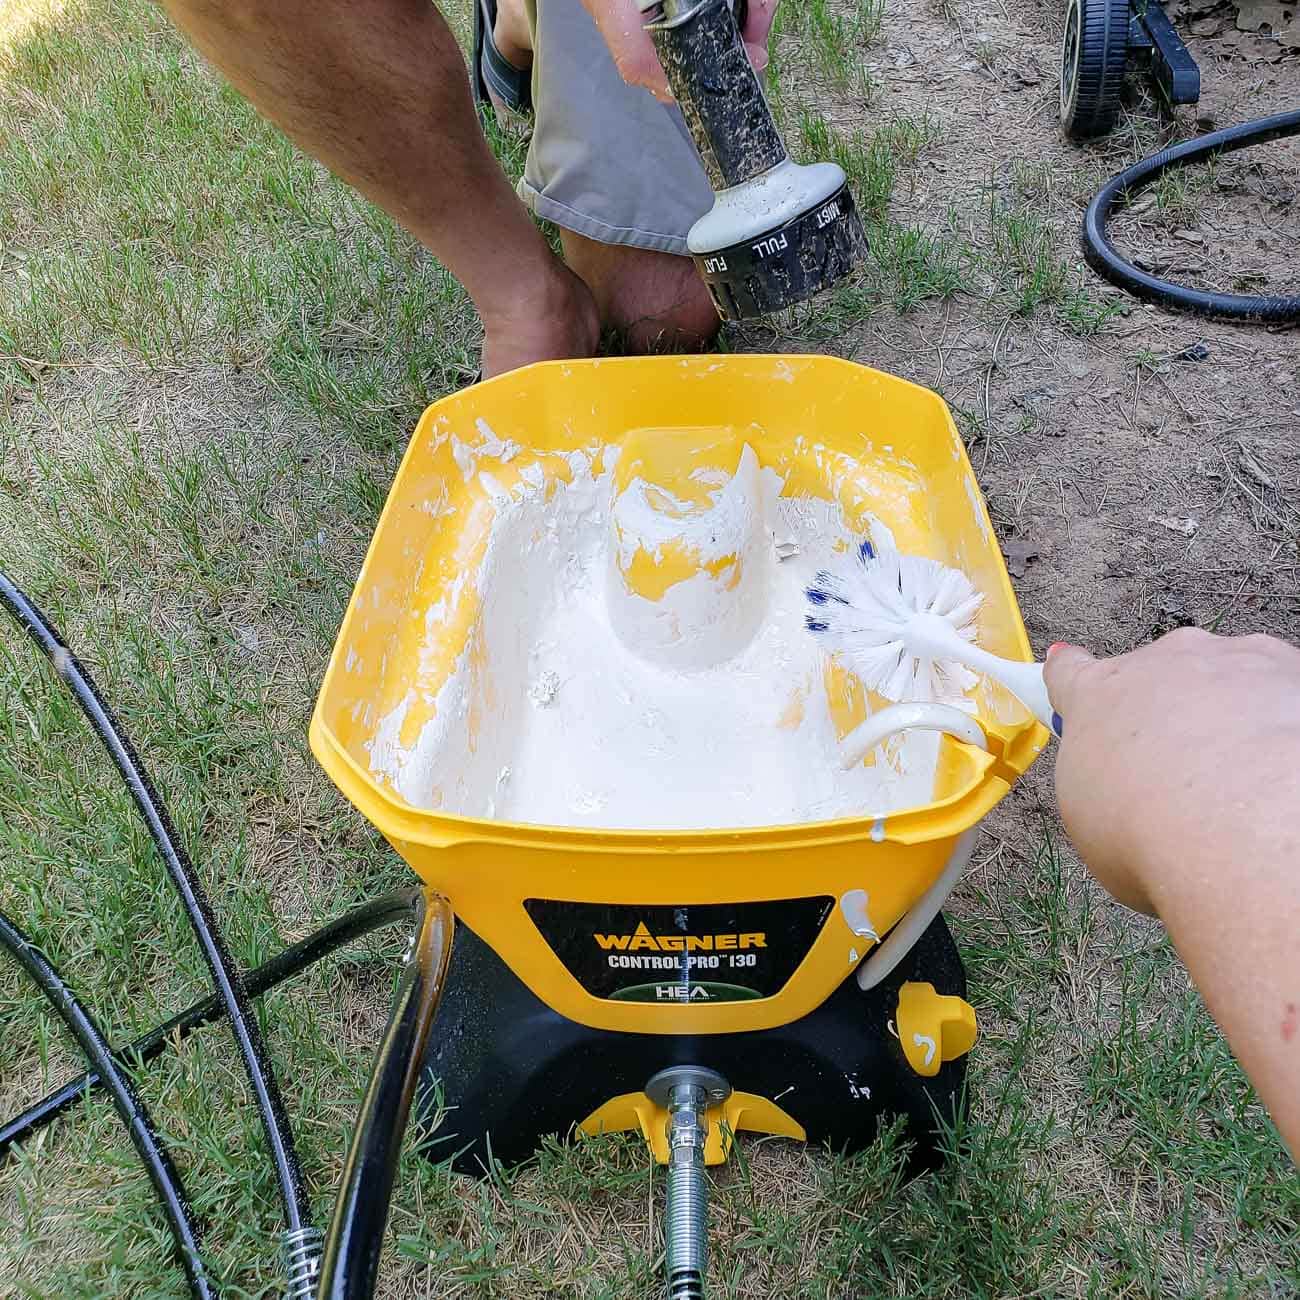
Instead, we followed the cleanup instructions in the owner’s manual to make sure the sprayer would be good to go for that bigger project when we’re ready.
Here’s one last side by side comparison to show what a half a day’s work and some paint can do!
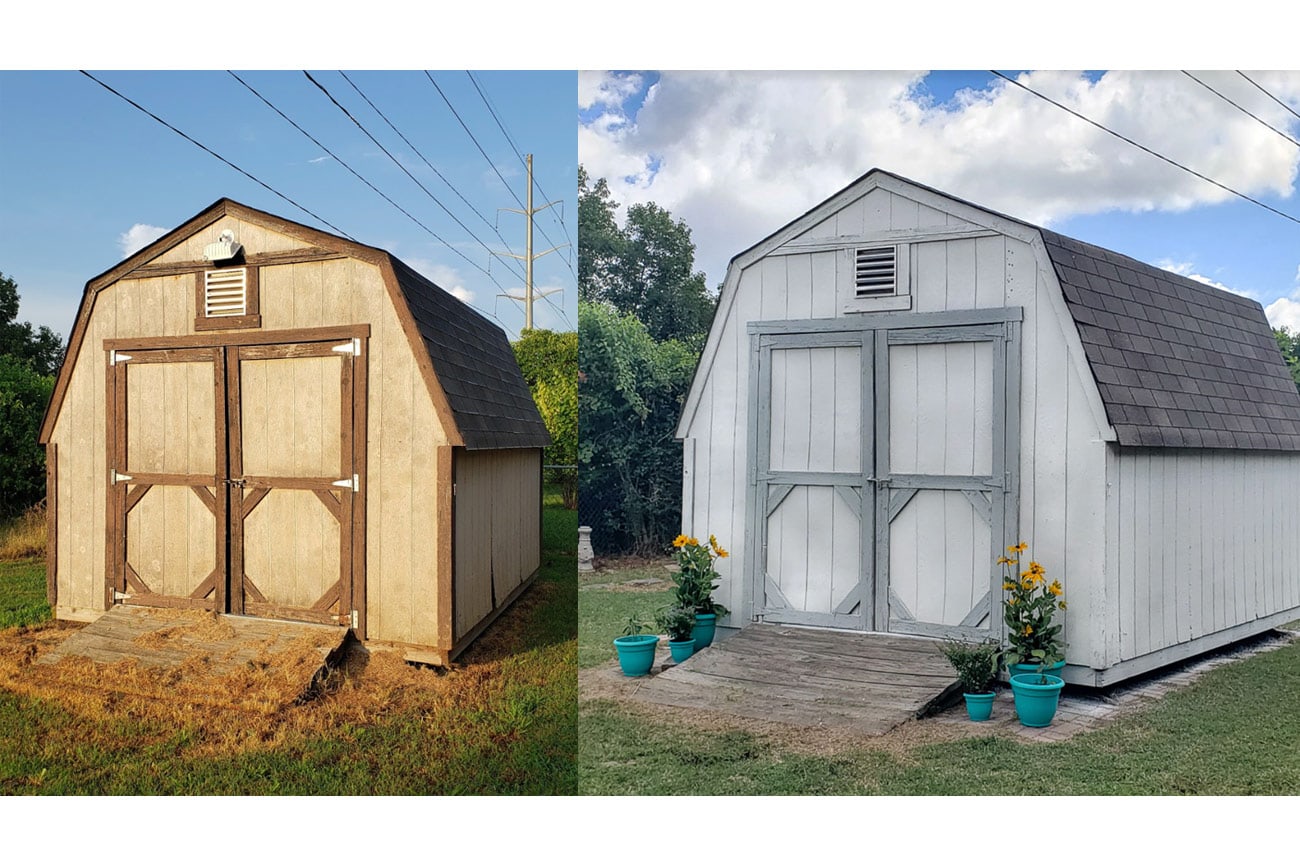
We’re thrilled that the shed is now watertight and will look better in the yard until it’s time for a full facelift. Having the Wagner sprayer made the whole project faster and even a bit fun.
If you’ve got any big painting projects coming up, I highly recommend it. You can read more details about it on the Wagner website here.

Robyne says
Stellar job on that shed makeover !
Melissa George says
Thank you!
Kathie Condon says
Great job. Love your color choices. The plants added so much too.
Melissa George says
Thank you so much!
Colleen says
Your post this morning couldn’t have come at a better time! We have several outbuildings on our property that we are in the prep stage and getting ready to paint. There are so many options out there that your recommendation made our selection clear. Thanks!!
Melissa George says
YAY! I hope you love it as much as we did. The first time reading the directions will be a little intimidating and its helpful to read them once in advance. But then going through them step by step with the sprayer was easy and in no time you’ll be spraying like a champ.