Last week, I shared the exciting news that my brother had purchased my grandparent’s old house. That announcement included some of our old family photos, including me in the house as a toddler.
Now, it’s time to jump out of the past memories and share what the house looks like today as we launch into the big renovation!
As a reminder, it’s been out of our family for a long time and most recently served as a rental. The prior owner had some friends “fix it up” in preparation for selling it, which they did not do well. The new painting and tiling both have to be completely redone. But those are stories for another day!
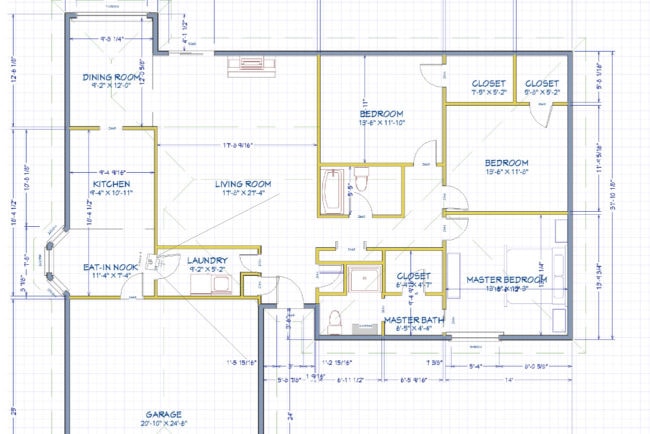
Let’s get to the tour, starting with the floorplan I made in Home Designer (affiliate link).
The rooms are great sizes, and I love that the laundry room is separate and not a walk through between the garage and kitchen like so many homes in the area.
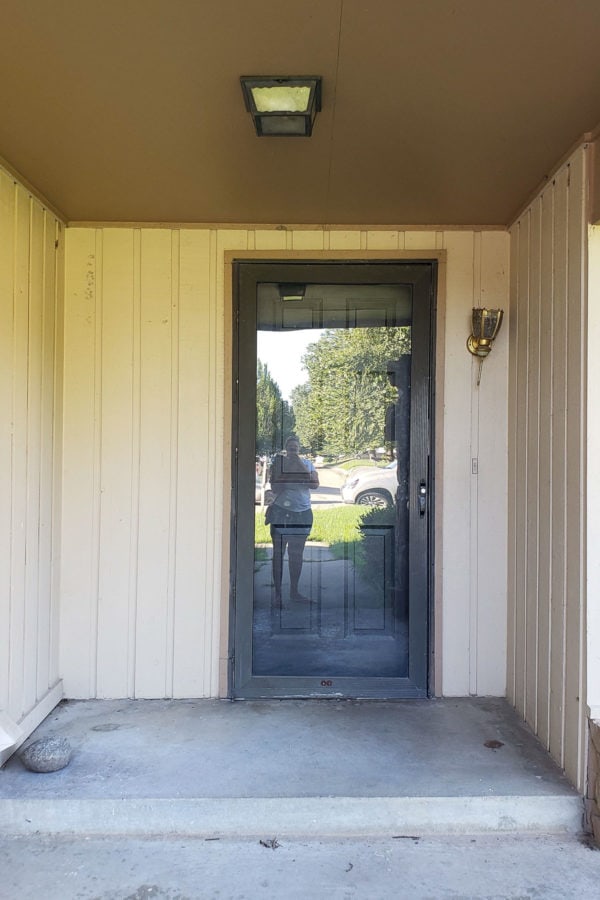
Coming up to the front door, you can see some of the needed repairs. There’s a bird nest instead of a top on the porch light! The whole exterior needs repairs and painting, which we’re going to try to do as soon as the weather gets a bit cooler in September.
Walking through the door, there’s a small entry with closets on both sides and a nice view into the large living area.
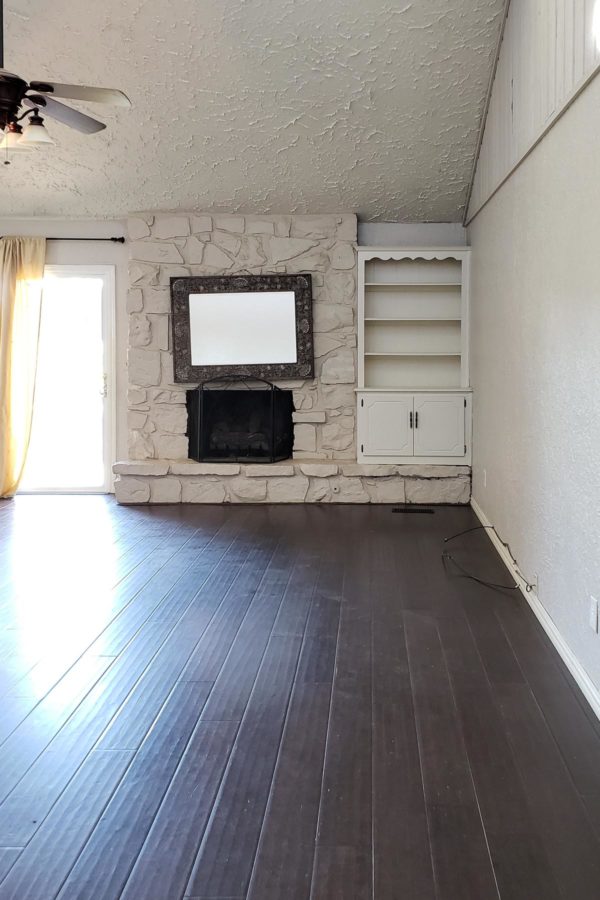
The bamboo flooring can stay with some touch-ups, which will be a great money-saver.
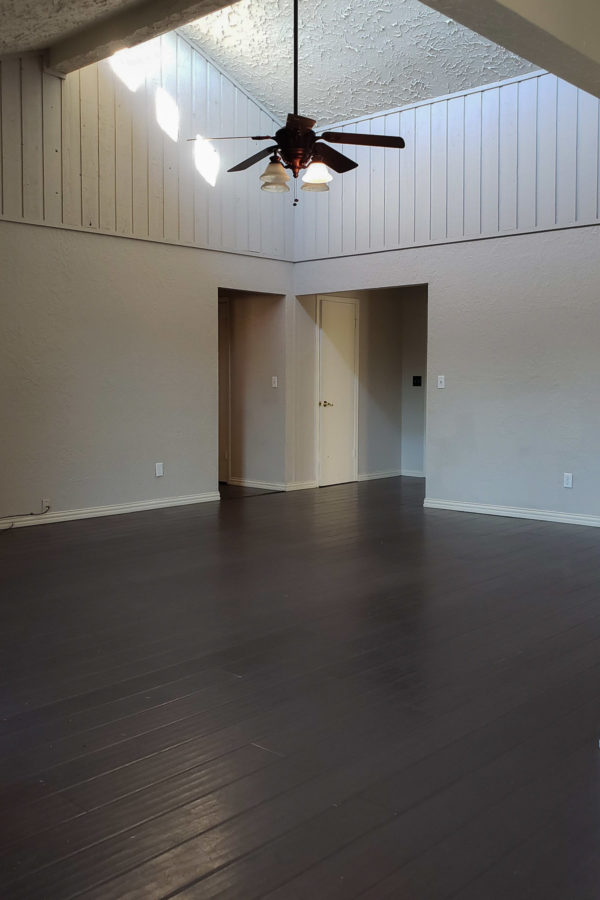
The ceiling has a wild drippy texture that looks more extreme in person, so we’ll remove some of that. The walls, ceiling, and fireplace are a dirty putty color that absorbs much of the great light that comes into the room. They’re a bit darker in person than the photos show.
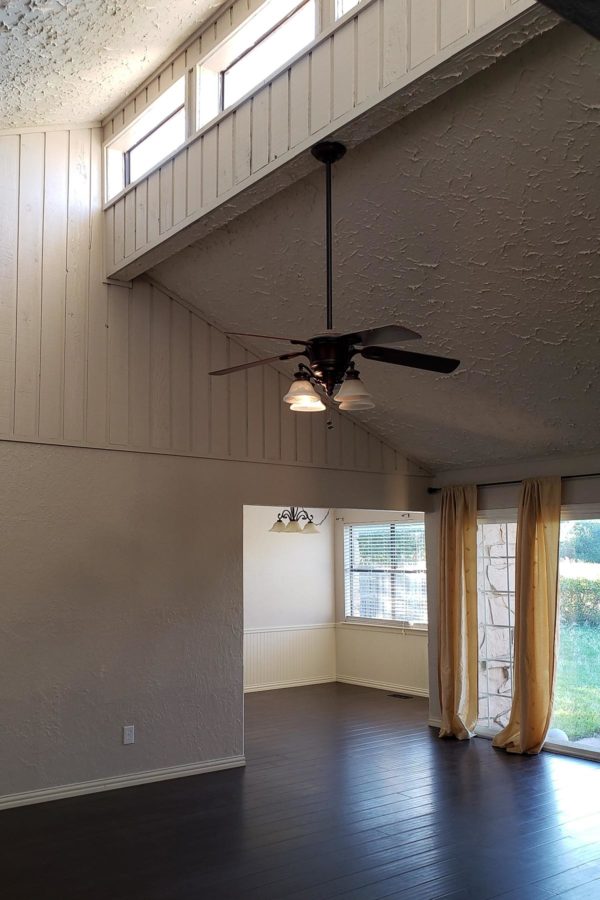
From this angle, you can see the amazing windows at the top of the living room. They’re my favorite!
Here’s the same space looking back toward the front door and bedroom hallway from the dining room. The way the wall color looks in this picture is pretty accurate.
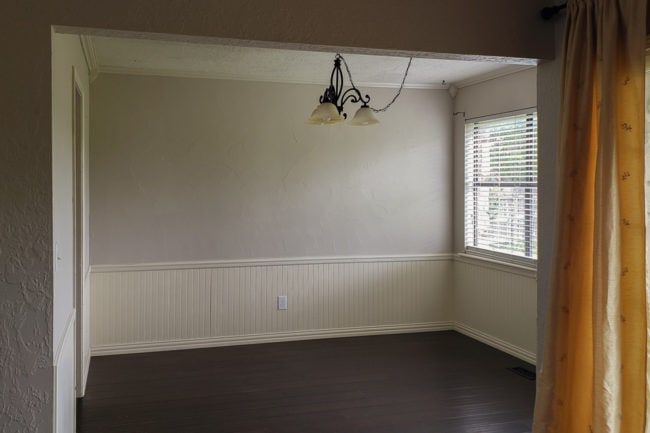
Walking through the living room, you’ll get to the dining room. It’s the best looking “before” room both in photos and real life, but still has some issues.
None of the moldings were caulked, leaving gaps between every piece of wood and between the wood and the walls.
The trim and wainscotting are a dull beige instead of white, and the walls are the same dark color as the living room. The window sill has years of paint, but in some places it’s chipped to the raw wood. And par for the room, it’s not even caulked around the window.
But, all those are simple fixes and then the room will be a stunner!
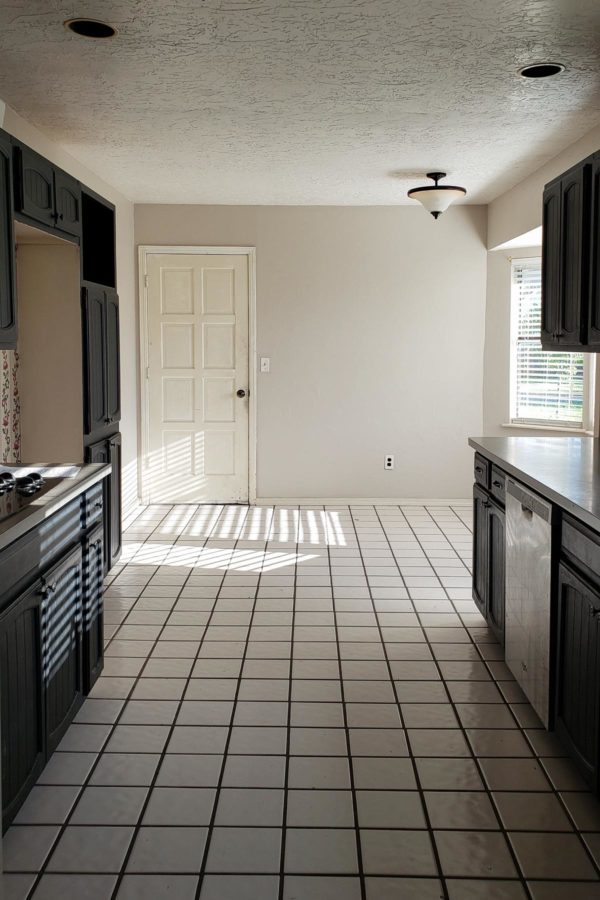
The dining room leads into the kitchen, which will take some more work. This is the view from the dining room.
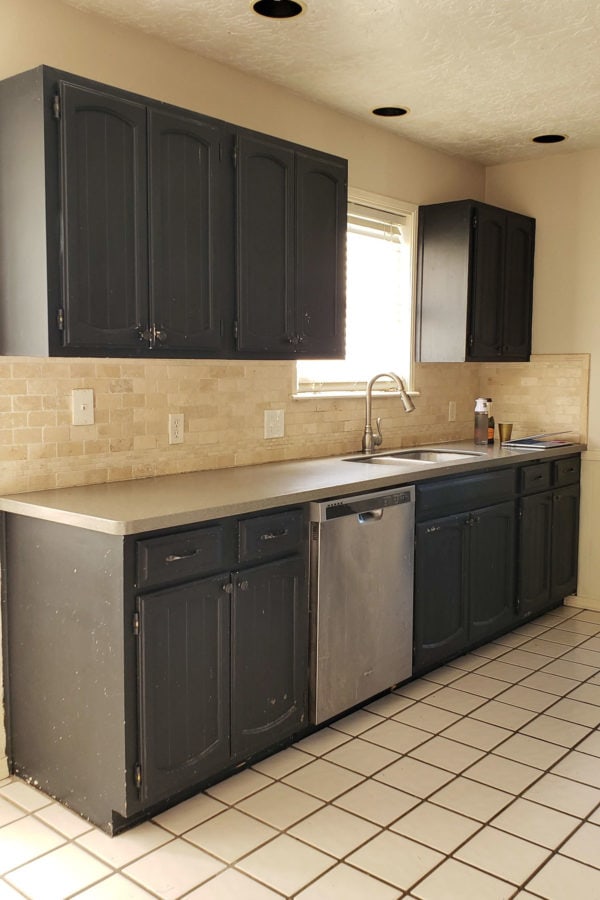
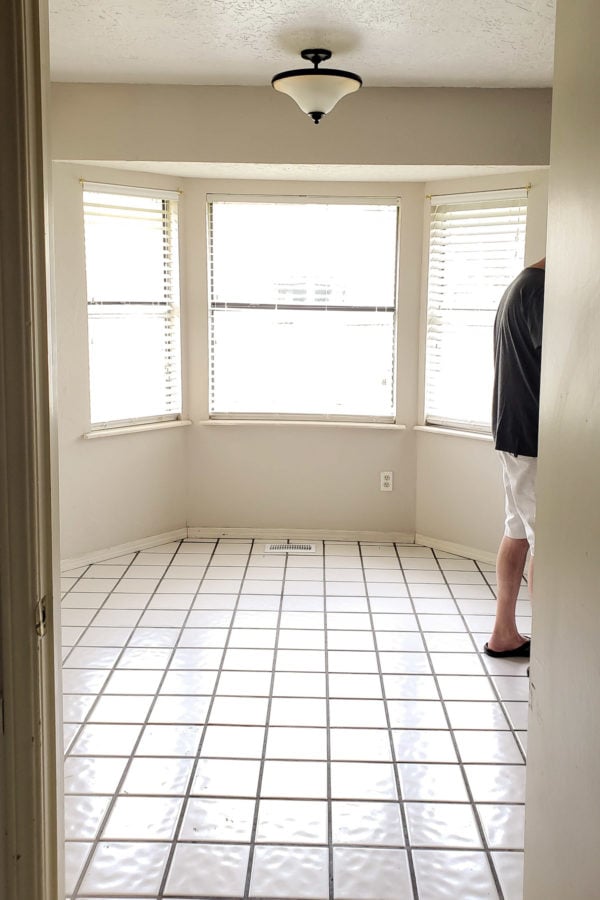
There are some great aspects to the space, like the fact that it is nice and wide compared to a normal galley layout. There’s also a great bay window in the attached nook and the cabinets are real wood and mostly still solid and usable. The white tile floors wouldn’t be our first choice, but they’re neutral enough that we can work with them.
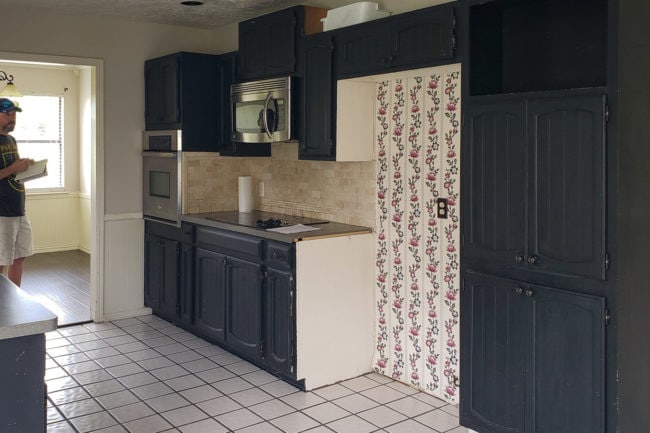
Every cabinet needs a very deep cleaning, inside and out, and then we’ll be repainting all of them. It’ll be a major project, but I’m pretty excited to see how much difference we can make with a small budget.
The sink has a window above it, and there is ample counter space on this side of the kitchen. You can see how much love the cabinets need in this snapshot.
This bay window in the kitchen nook is where I used to watch fireworks with Gram. The baseboards and windows were in much better shape then!
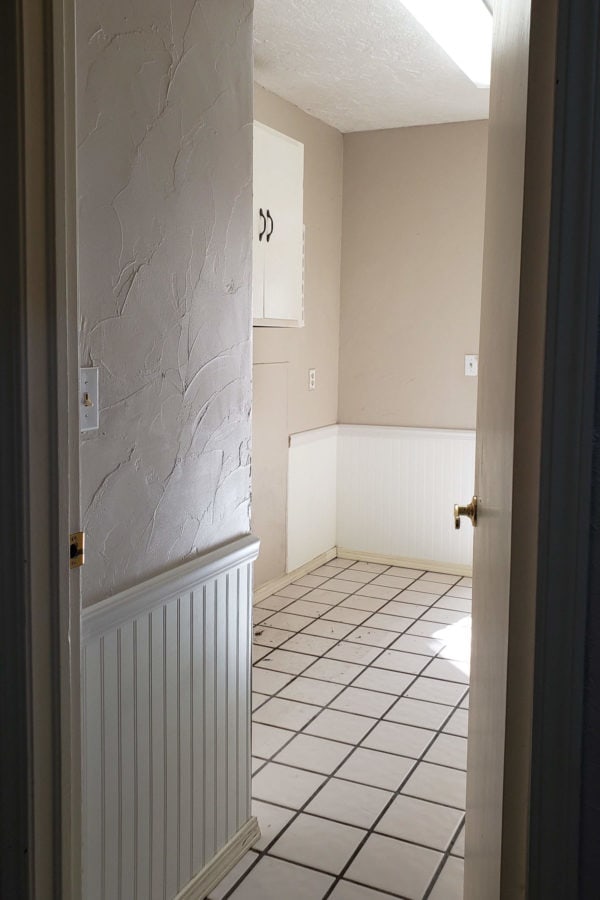
The laundry room is attached to the kitchen nook on one end and the main entry on the other end. Like everything else, it needs lots of love, but has endless potential. We’re leaning towards adding a large food pantry in the big space next to the washer/dryer.
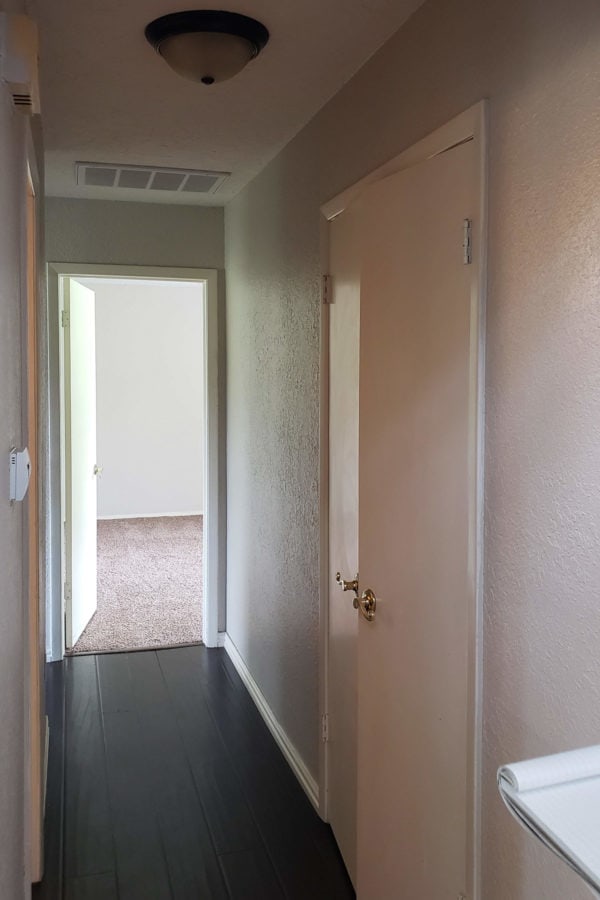
Crossing back across the entry from the laundry room, there’s a standard hallway to the bedrooms, with a wide, but shallow storage closet on one side and a full bath on the other side.
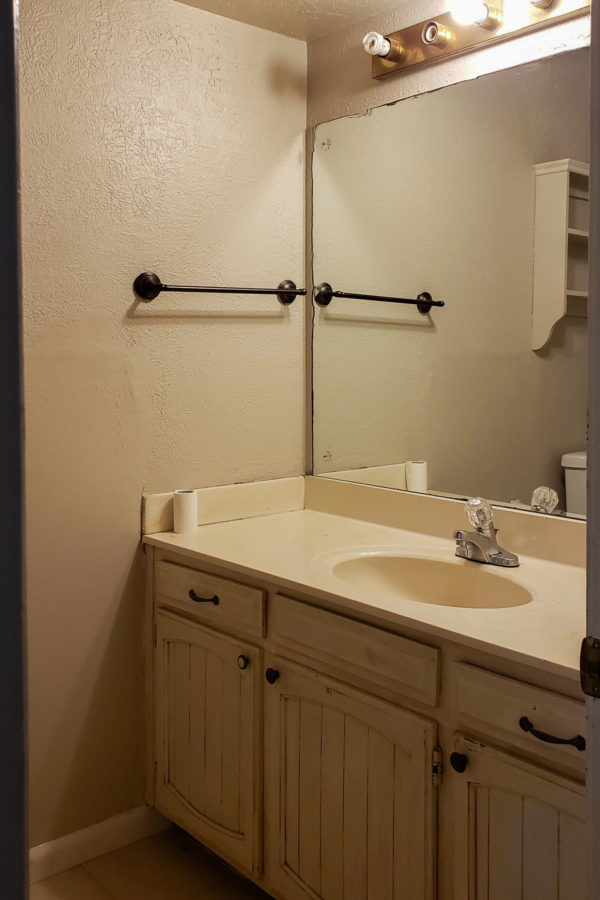
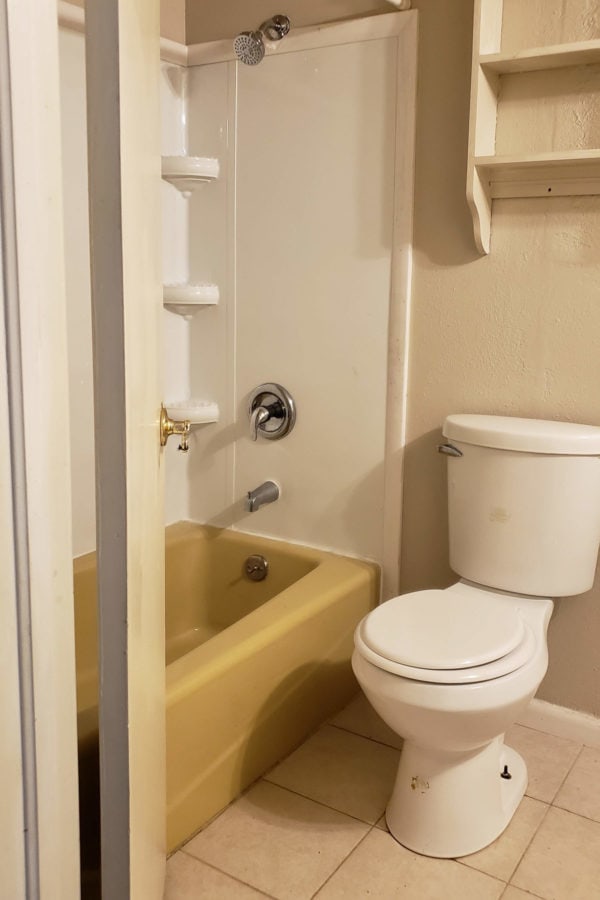
The kitchen was a little scary, but the bathrooms are the roughest.
The tub itself is solid, just harvest gold. We’re going to be trying out a special tub paint to hopefully save it.
Everything else in the space is getting gutted. We’ll be starting that project pretty soon, so wish us luck in putting everything back together!
I seemed to miss a photo of the master bedroom, but with some paint and trim, it’ll be ready to go. The carpet in all three bedrooms is new and a workable color. Woo hoo!
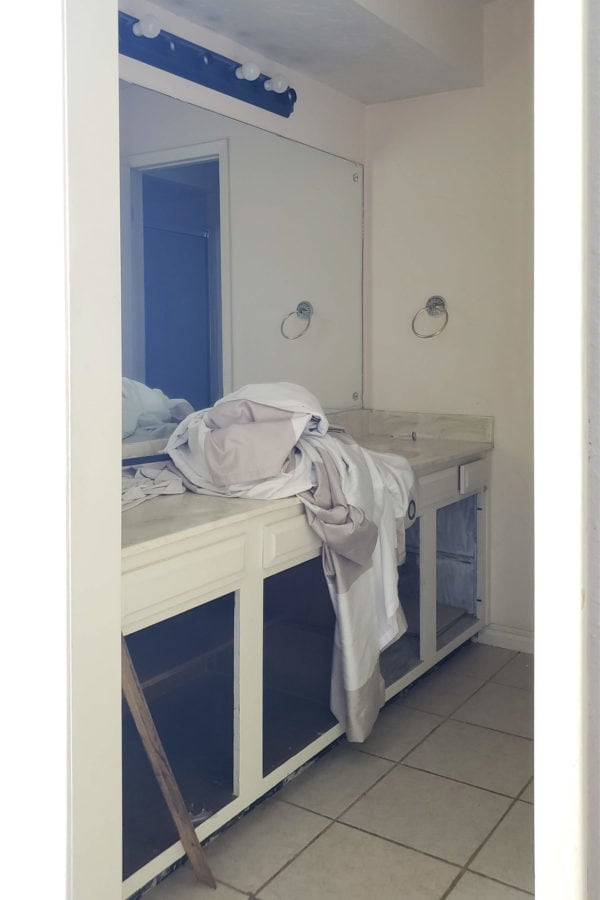
The master bathroom has it’s own troubles though. The vanity is a great length, but has no doors!
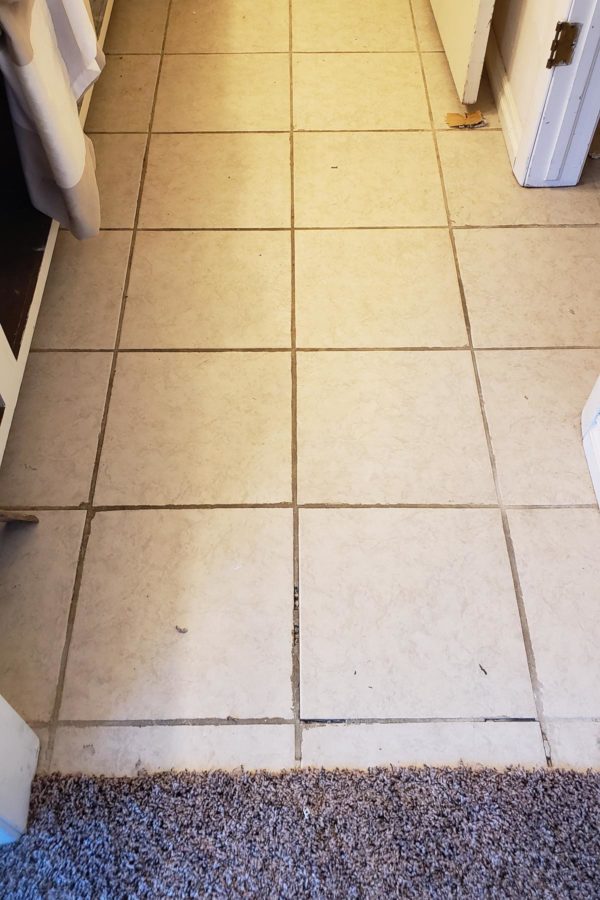
The brand new tile was installed incorrectly and the grout is coming out. I don’t even know how that happens!
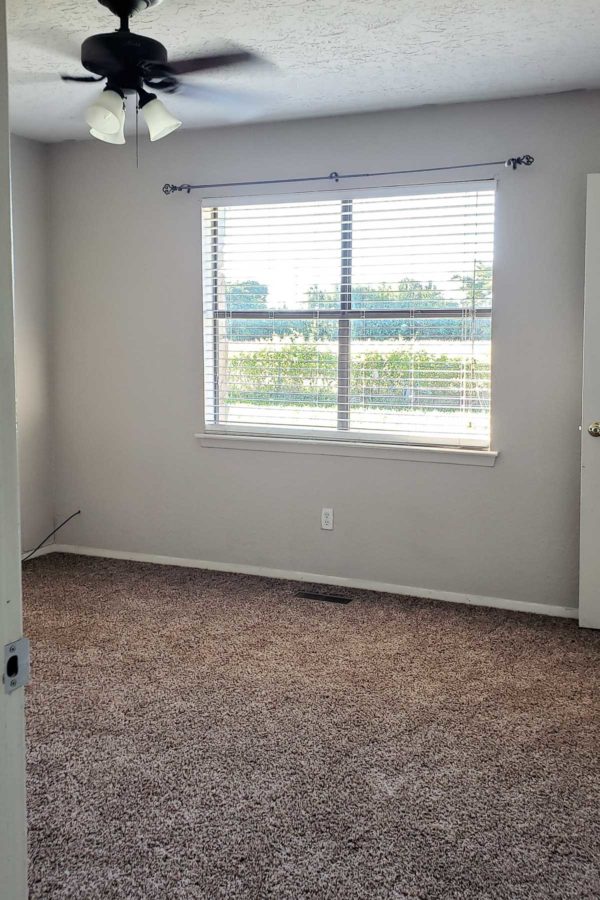
The other two bedrooms also mainly need paint and trim repairs along with some random electrical work on things like cable lines just coming right through the drywall. It’s nuts.
Whew! That’s all the main spaces inside. It’s hard to explain how bad all the painting is throughout the house, but I’m sure you’ve noticed some of it. In the picture right above, you can see paint all over the outlet cover and trim.
In addition to painting every surface in the house, we’ll be replacing all the doors and knobs, many light fixtures and switches, and repairing or replacing trim in many areas. Plus the minor detail of the bathrooms and kitchen!
Every closet needs some attention and organization, which is just fine with me!
It’s quite a project, but hopefully, you see the same potential that we do.
What’s Next
The dining room and living room updates are already underway. I’ll have a post next week showing you what a difference just caulking and painting correctly made in the dining room!
A paint sprayer is being delivered this afternoon, and we’re going to test it out and perfect our skills on the shed next weekend. We can learn how to use it before tackling the rest of the house.
I’ll do a tutorial based on what we learn painting the shed. The sprayer should save a ton of time and money, so we’re pretty excited about it!
I have a list of several tutorials we’ll cover from the house, but if you hope to see something specific, let me know in the comments below!


Kim V says
We had our tub professionally repainted. While it looked great, it was rough to sit on when you were bathing. I think it’s very hard to get a smooth finish with the paint even with all the sanding that was done. You’ll definitely need a bathmat if planning on bathing children in the tub.
Melissa George says
That is REALLY good to know, Kim! I was planning on doing the tub after the wall tile, but maybe we’ll do it first in case it doesn’t go well! Thanks!
Dian Owens says
This is a big undertaking, but what a complement that your brother trusts you, and you’re a great sister for agreeing to help! Girl, I chuckled when I read that the closets need organization. (That’s why you took on the project, right?) Paint has always been a friend to my budget. And, paint can cover a multitude of past sins. My 25-year old cottage has a stippled ceiling throughout. Since mine isn’t as drippy as your brother’s ceiling, I painted the ceiling in my master bath, using the “Wooster Professional Super/fab R243 9″ 1 1/4″ Nap for Extra-rough Surfaces.” I chose Sherwin Williams 7007 Ceiling Bright White in Satin finish, I love that the satin finish reflects light so well and shall use it throughout the rest of the house. The finish almost looks pearlized. Some of my walls are SW 7042 Shoji White (Satin finish) and the others are SW 50% Anew Gray (Satin finish). Both are mixed in a base of Extra White. The 50% Anew Gray is a light neutral greige. Looking forward to seeing your finished design!
Melissa George says
Yep, I’m totally in it for the closets. 🙂 You’re right, paint is quite the semi-affordable blessing. And we’re actually using Shoji White on the exterior of the house, starting with the shed tomorrow morning!
Kellie says
Dian, thanks for posting the detail about the roller nap. I have some painting projects coming up and even though our texturing isn’t as thick as what you describe, I think I’ll give that roller a try. Love the white paint recommendations too. I’ll get some samples of those.