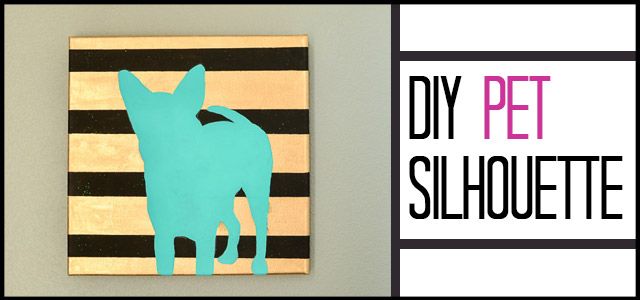
Please tell me that I’m not the only one that has had a project go wrong in a hurry? Last week, I decided to try out some Silhouette Double-Sided Adhesive Sheets that I’ve had laying around since last year. I wanted to cut out a silhouette of our dog Maddie for a 12×12 canvas and then fill her silhouette with glitter. It was going to be ADORABLE and EASY.
The finished product is pretty adorable, but things did not go well along the way. But, now I get to guide you guys in what NOT to do so that you can make a custom pet silhouette for yourself or as an amazing gift! The same technique would work to create silhouettes of your kiddos.
Step 1 is finding the perfect picture. Straight on from the front doesn’t work well because there won’t be any definition in the face. I picked this adorable puppy pic, then ended up changing it for a reason I don’t even remember 🙂

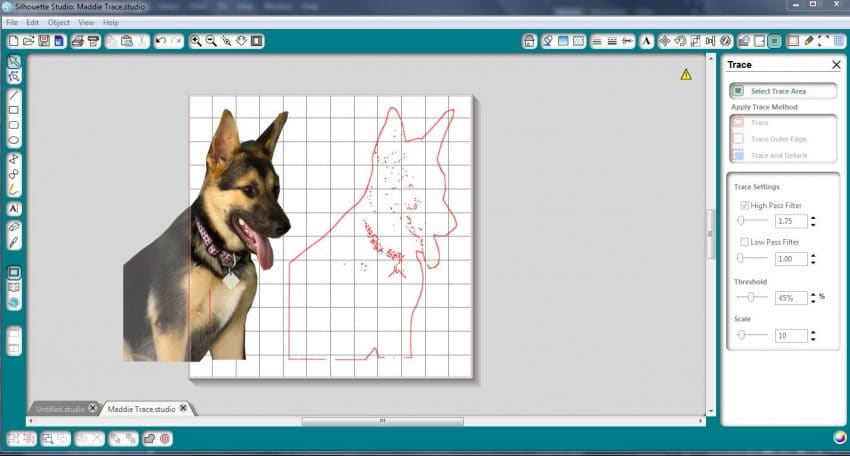
Next up, I had to get a shape to cut that matched the outline of my photo. I wasted time tracing Maddie in Photoshop, then trying to use the trace function in Silhouette Studio. Then I wasted more time trying to adjust the trace settings and clean up the automatic tracing because it was never just a clean outline of Maddie. So frustrating!
Here’s what it looked like when I cut her out in Photoshop and then used the trace function. When I tried to clean it up and connect the outside to make a solid line, it just wasn’t happening!
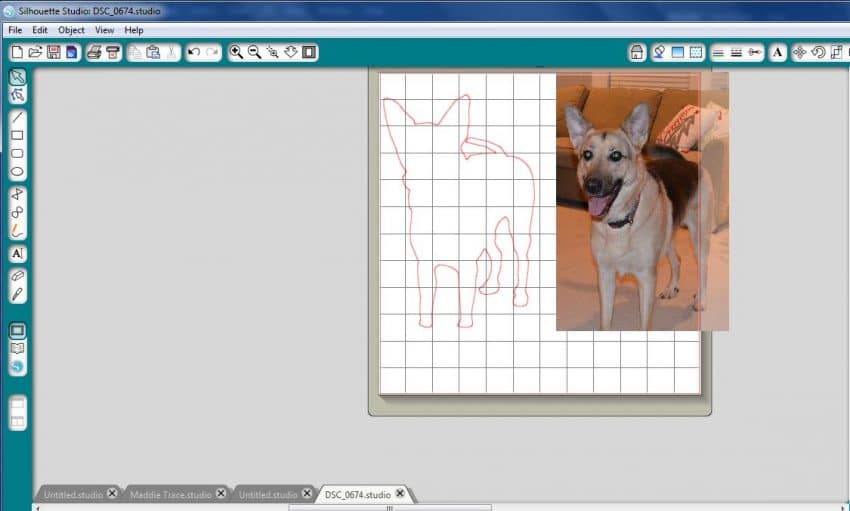
Finally, I figured out that if you work smart instead of hard you can have your outline in just a few minutes!
I opened the original image in Silhouette Studio, and then used the curve shape tool to trace the outline. After selecting the tool (it looks like a tipped over 8), you just click around the outside of your image until you make it all the way around. Once you are finished, you can edit individual points if you got a little off. Easy peasy!
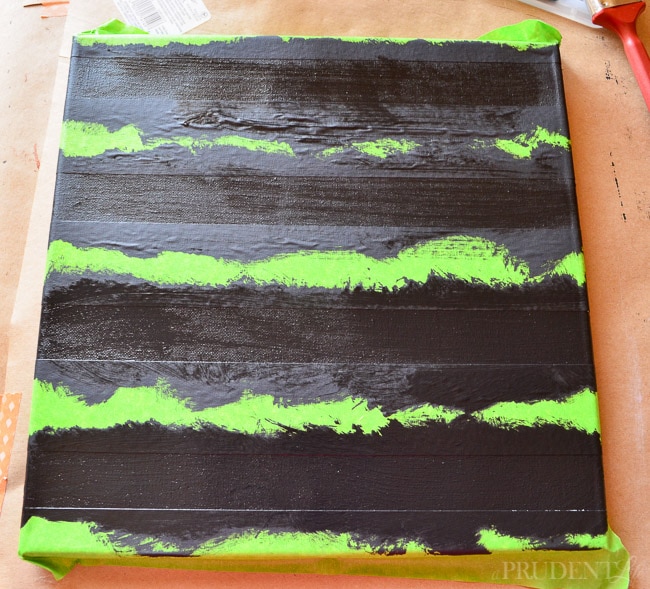
 So that was the first barrier conquered. Once I knew I could cut Maddie out, I switched gears over to painting the background of my canvas. I went with gold and black stripes using some wide frog tape, black craft paint, and gold Liquid Leaf.
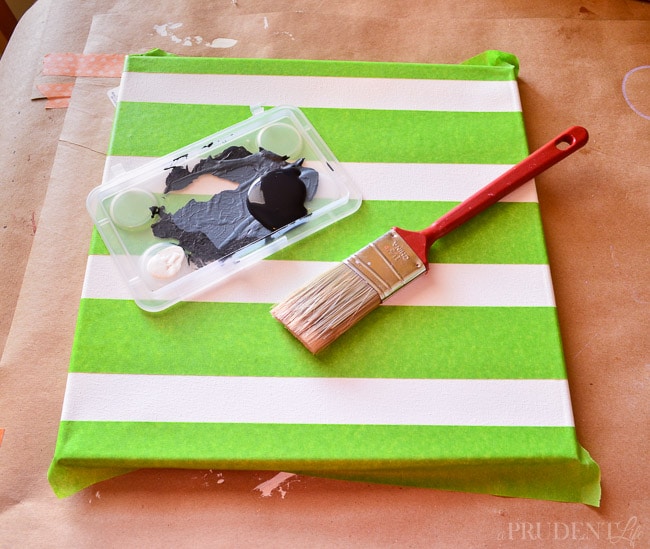
I had to do some minor touch-ups, but the frog tape worked pretty well.
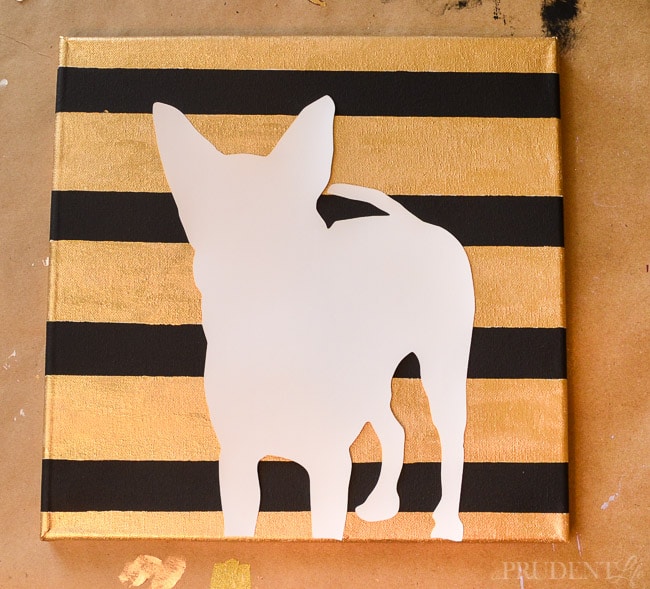
Before the black finished drying, I pulled up the tape and filled in the blank spaces with my gold liquid leaf. Then I laid my cutout on the canvas to see how it looked. At this point, I was thinking this was going to be my favorite project ever!
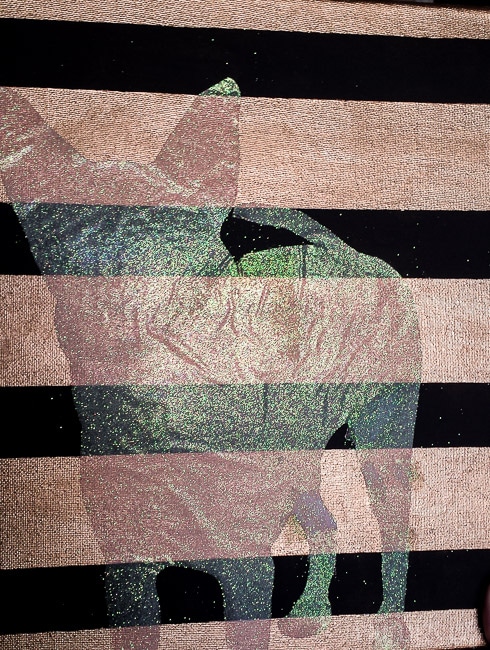
BUT…..when I attached the double sided adhesive to the canvas, I could not get it to lay flat. I kept thinking I could push the bubbles out the edge, but they’d come right back. I glittered it anyways, thinking it would get better or I could work them out.
WRONG! Maddie looked like a pug instead of a German Shepherd! The colors are off in the photo below, but I wanted it to show all the wrinkles. It was actually worse in person!
I let it the project sit for a few days trying to decide what to try next. I was in the zone and forgot to take a picture of the next FAIL, but Mod Podge didn’t work to calm the wrinkles either. I even pulled the entire design up and tried to re-stick it. Another glittery mess later I realized it just wasn’t going to happen. So sad!
As a last ditch effort to save the project, I decided to try tracing the outline of the adhesive in pencil and then pulling the adhesive off entirely so I could just paint the canvas.
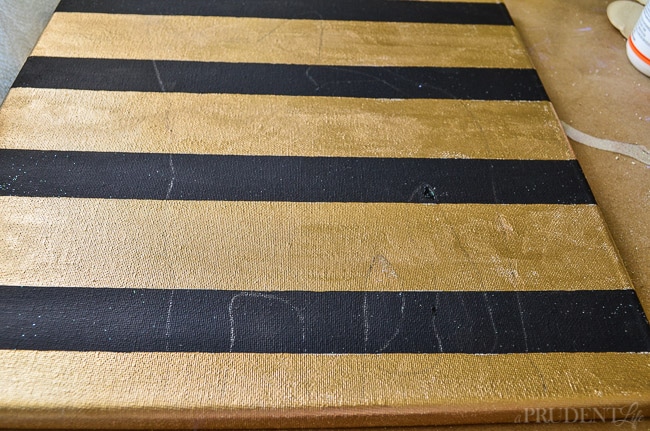
It worked! Well, I could see MOST of the pencil marks.
By this time, I was not feeling sparkly. Instead of painting an adhesive into the outline to glitter, I went with craft paint.

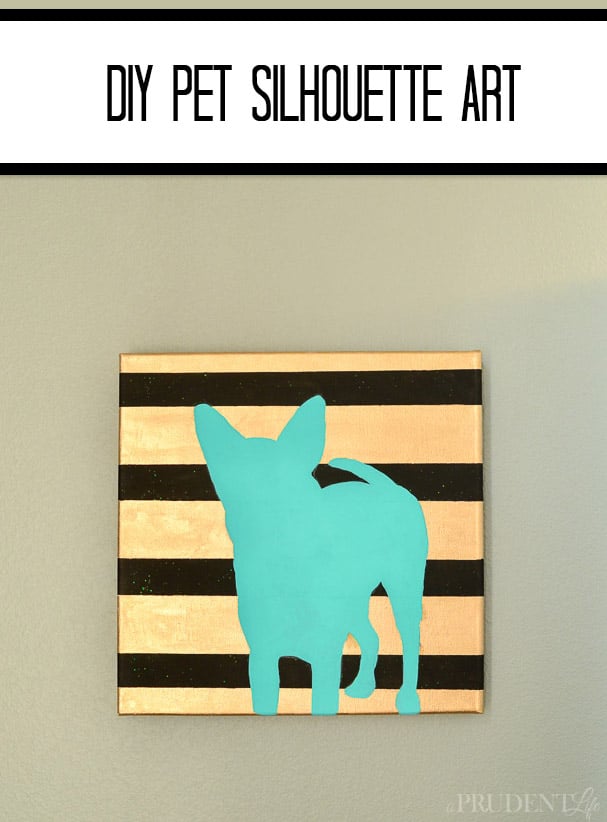
I knew my new art was going to hang in the office, so I picked out a color that would complement the space and started painting. It was SO much better than my wrinkly mess! I thought it would take a long time, but the first coat was more like 10 minutes. I had to be patient and do a couple coats to cover the black, but what was a couple hours when this simple project had been lingering for days?
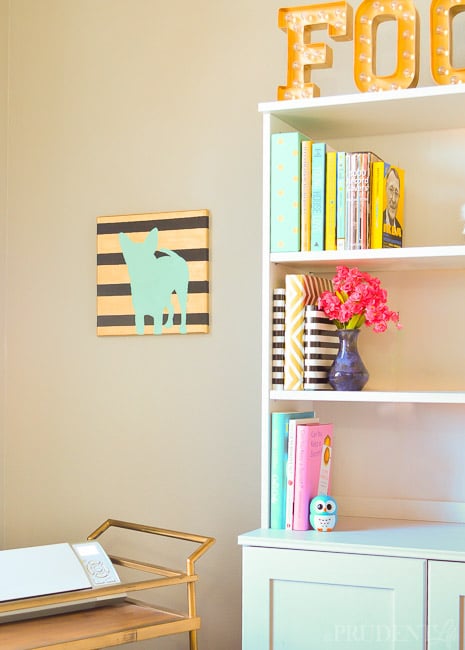
After everything was dry, I couldn’t be more thrilled with the way my new art turned out!
Isn’t it perfect in the office next to my marquee letters?
Instead of buying the adhesive sheets, next time I’ll use contact paper or vinyl to cut out my shape to trace. I still have some of the adhesive sheets left, so I may try them again, but on a harder surface versus wood. Lesson learned!
Now that I know what to do, I’m going to make another canvas for the other side of our office bookcases! I’m thinking I’ll use that cute puppy pic I showed you at the beginning.
Have you ever had a project go horribly wrong and turn out okay after some persistence?
*Amazon links are affiliate links – you pay the same amount to shop at Amazon and I get a small referral fee to help support the blog.Win-win!

Angela, blue i style says
This *almost* makes me wish I had a dog 🙂 What a frustrating process trying to make the adhesive work… but the end result is just so cool! Way to stick with it rather than chucking it out the window – your patients paid off big time! 🙂 Thanks for linking up at The Creative Circle! I hope you’ll join us again this week!