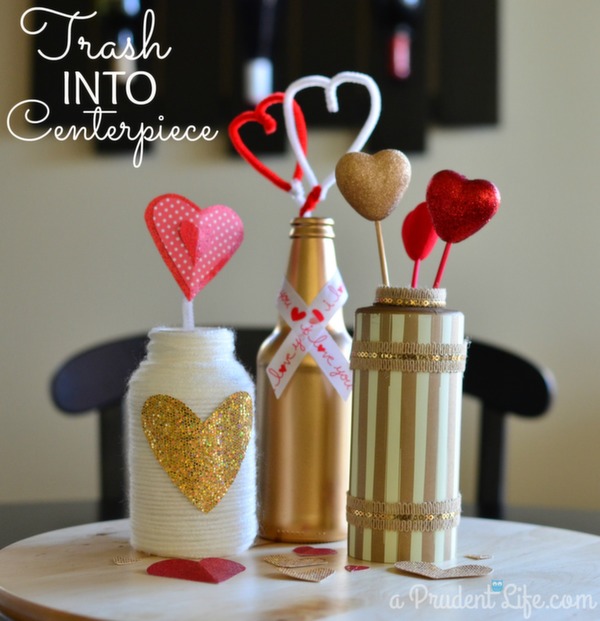
I hate throwing away or even recycling glass & plastic containers. It seems so wasteful! Instead, I try to wash them out and stash them for future projects. Today I’m going to show you how I turned three items that were headed to the recycling center into a frugal Valentine’s Day centerpiece.
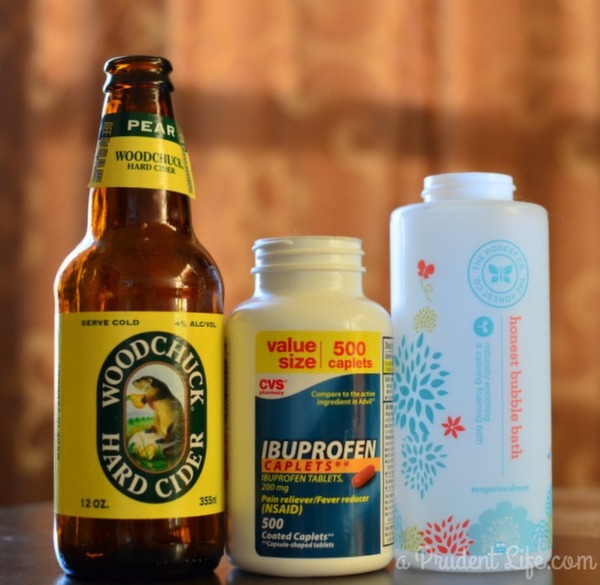
I started with a bottle of Honest bubble bath, a large ibuprofen bottle, & one glass beer bottle.
Looks like a bunch of trash after a weekend, right?
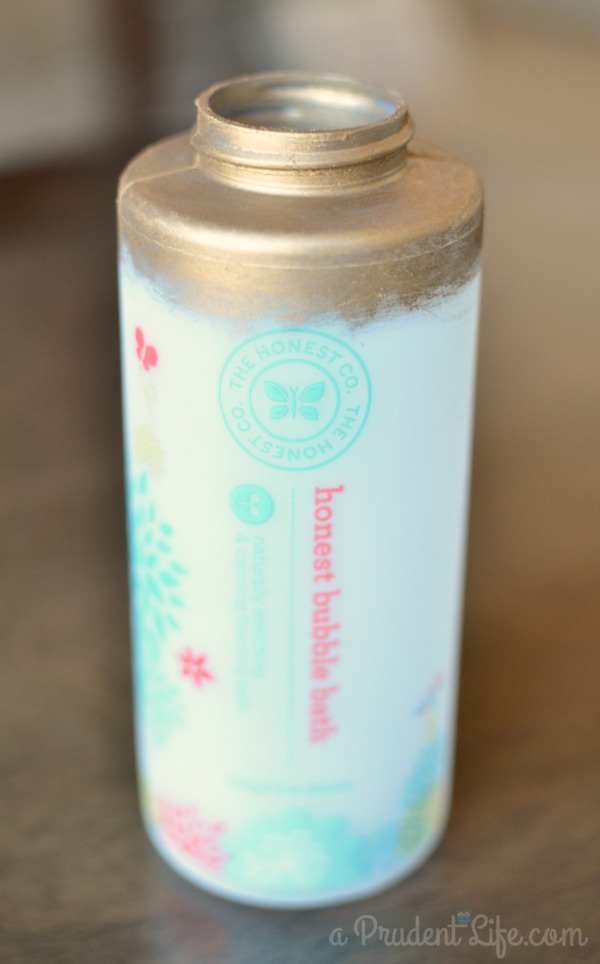
Let’s start with the Honest bubble bath. The Honest Company is already great about minimizing packaging waste & using non-toxic ingredients, so I was really glad I could give this bottle a second life.
First step was painting the lip & top of the bottle.
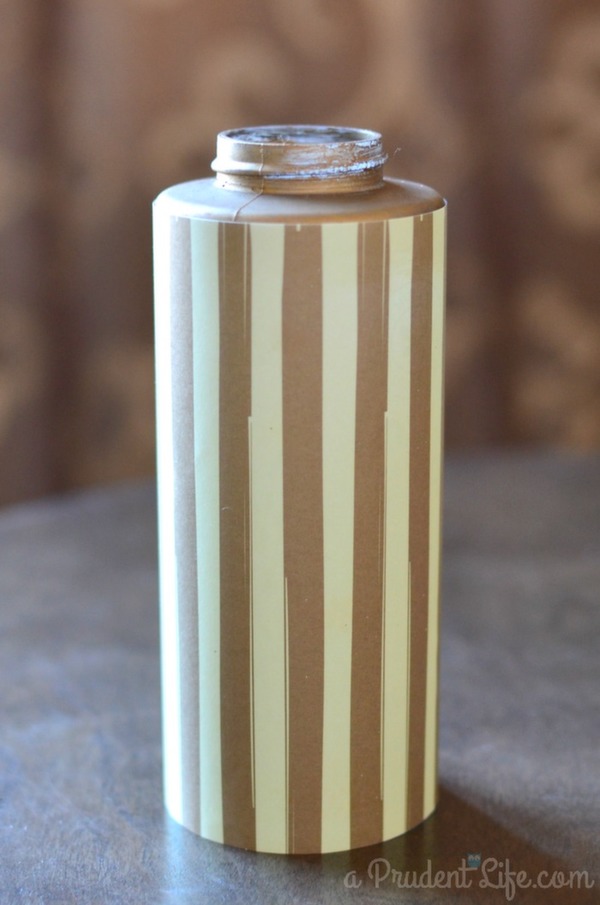
Next, I cut a coordinating piece of scrapbook paper & wrapped it around the body of the bottle. This paper came as part of a pack I already had on hand from the Dollar Spot at Target.
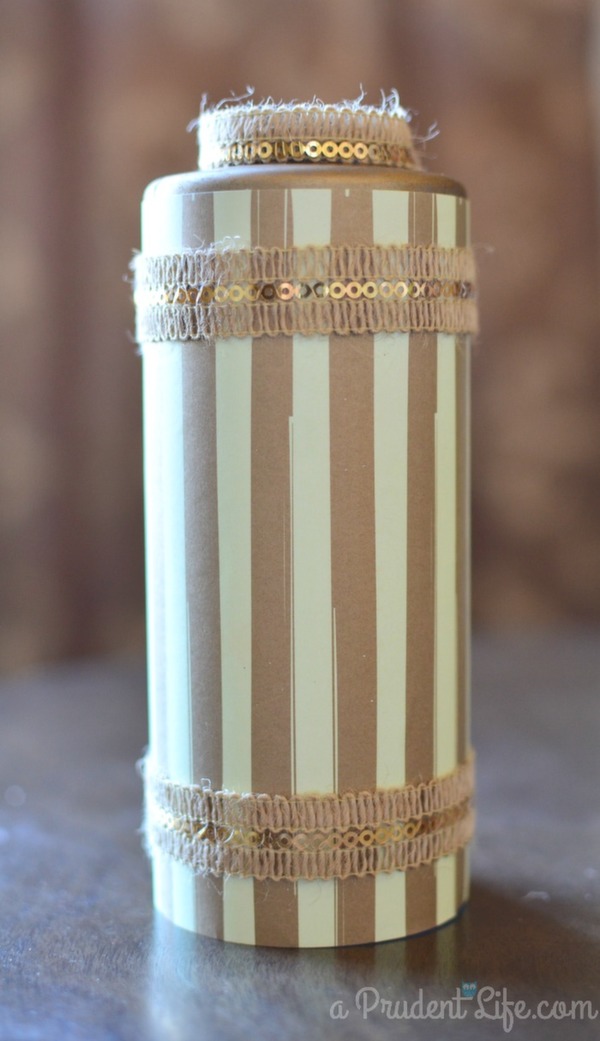
I glued some ribbon around the lip of the bottle to conceal the screw top ridges. I also added two bands of ribbon to the body of the bottle to finish the look. This burlap/sequin combo ribbon came from Hobby Lobby – it was only $1.50 for the whole roll!
Next up, I tackled the ibuprofen bottle. I decided to use some yarn to give the bottle a soft feel.
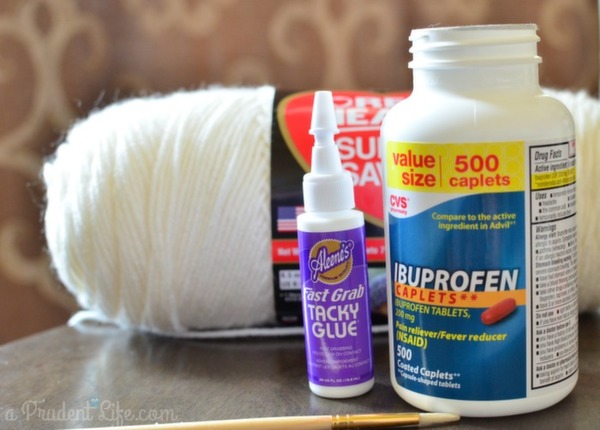
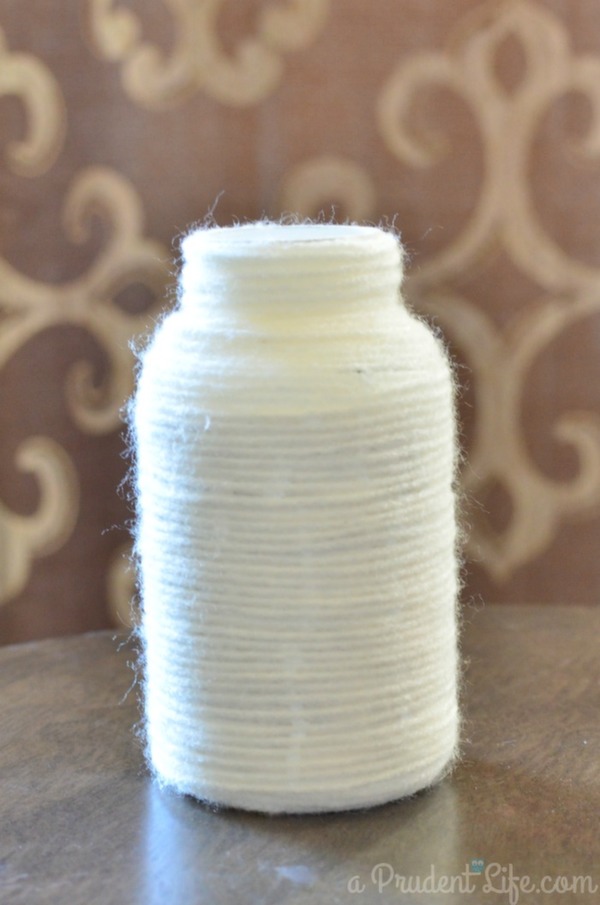
I started at the bottom and spread glue about an inch up all the way around. Then, I started wrapping round and round and round. Working in one inch increments was perfect with the Fast Grab glue. I think you could also do this project with regular school glue. I should have either removed the label or spray painted the bottle a solid color before I started with the white yarn. After the first layer, I could see the color variation underneath between the dark & light parts of the label. To fix that problem, I just added a second layer of yarn and the problem disappeared!
Once both layers of yarn were done, I cut out a heart from a super sparkly piece of fabric I found with the felt squares at Hobby Lobby.
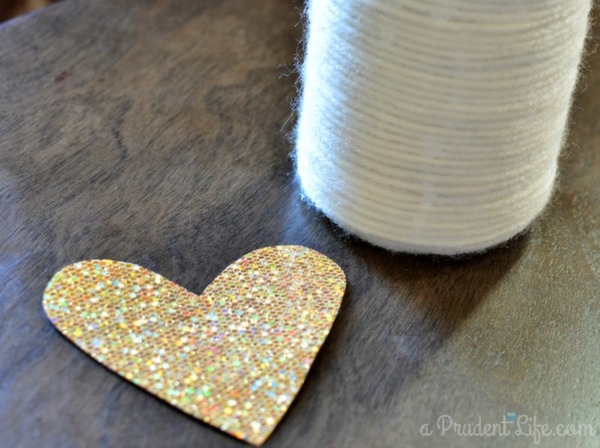 Stay tuned for the final result of vase two!
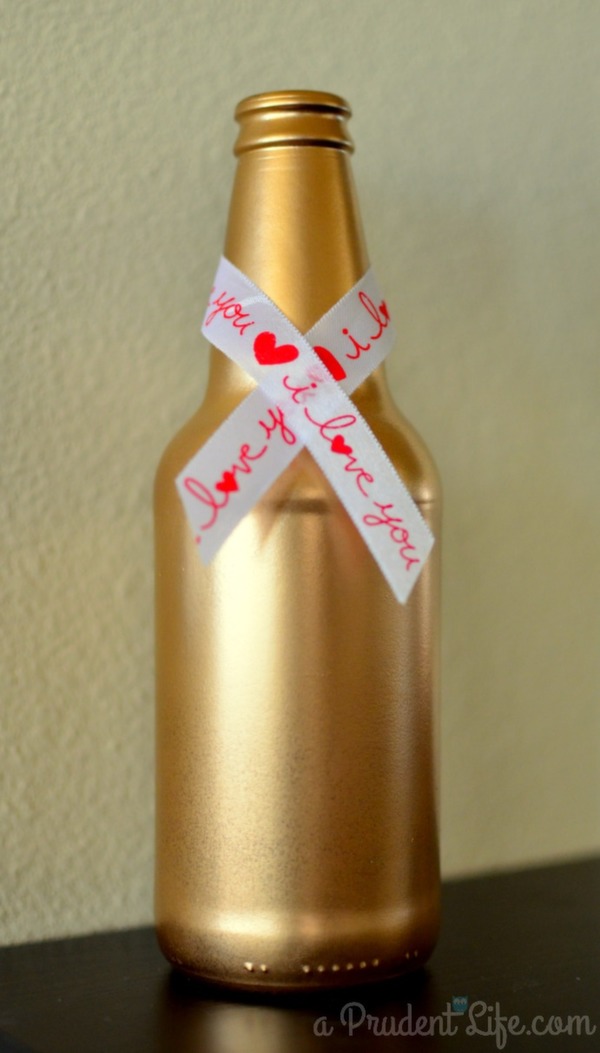
Vase number three was also an easy transformation. I started by removing the label from my bottle. I peeled off as much as I could with some water, then used a little fingernail polish remover to get rid of the stickiness that was left.
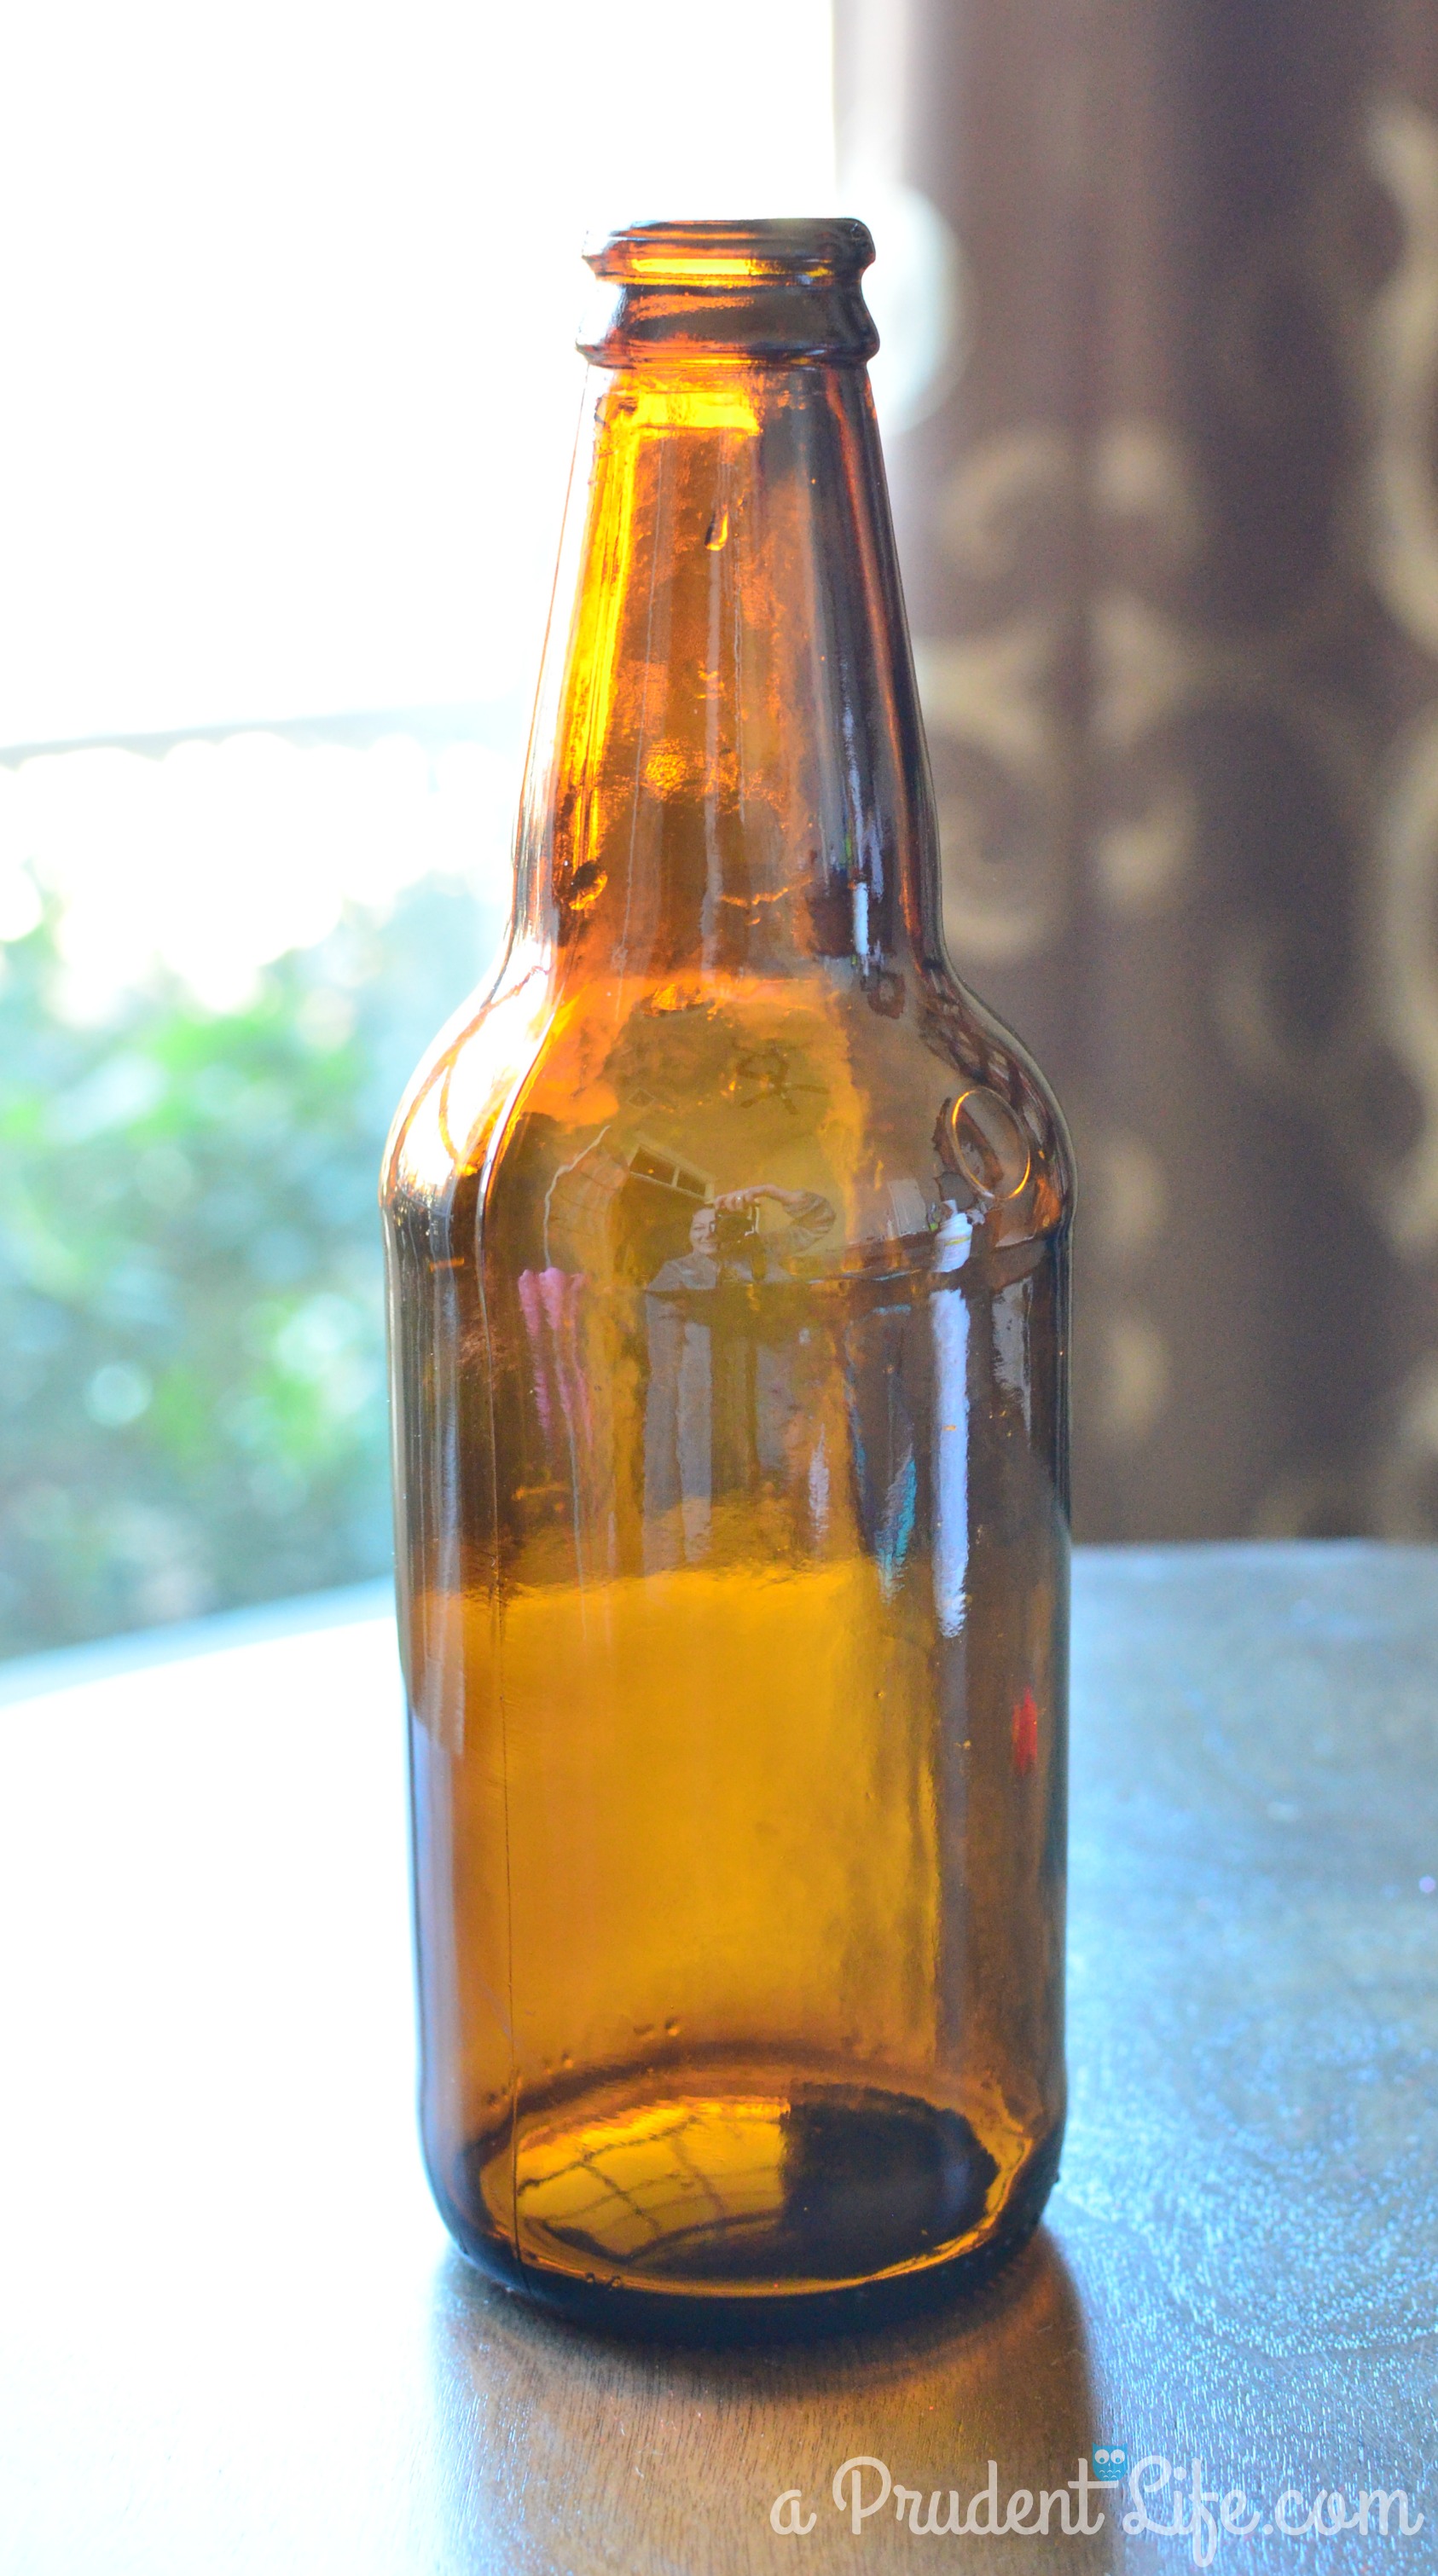 The amber bottle was actually pretty good looking once the label was removed. But, in order to make it fit in, I needed to add a little sparkle. I took it outside and applied one coat of Krylon Metallic Gold spray paint. Much better!
I also added a small piece of Valentine ribbon around the neck.
 All three transformations were fast & frugal – my favorite combination! Before I called it a day, I made a couple heart shaped “flowers” from pipe cleaner. Here’s a little tutorial!
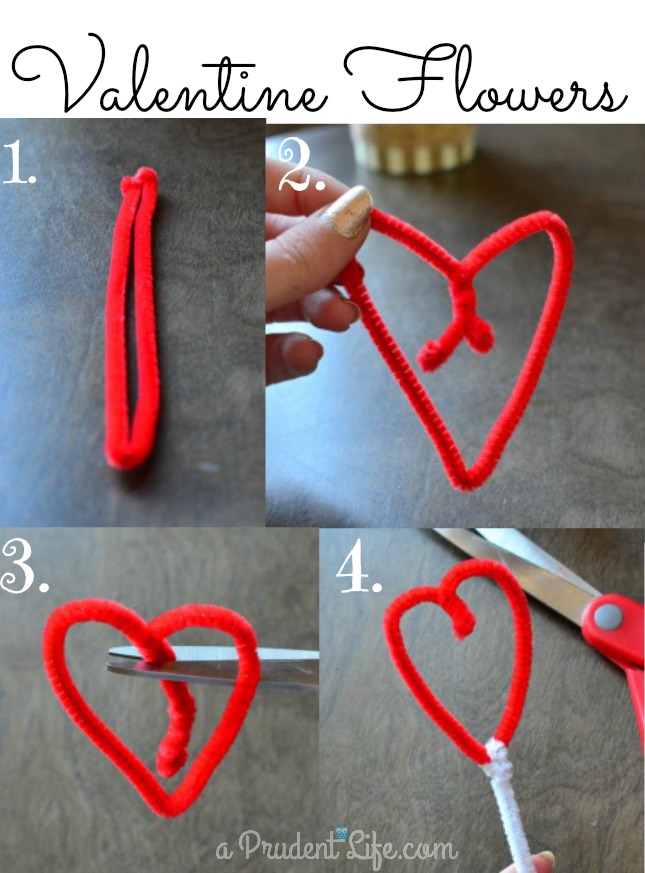
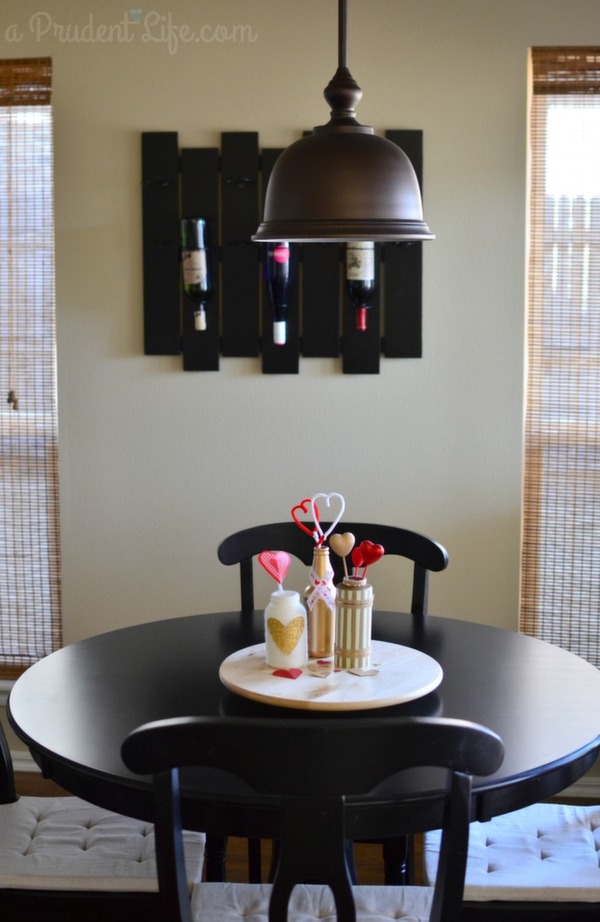
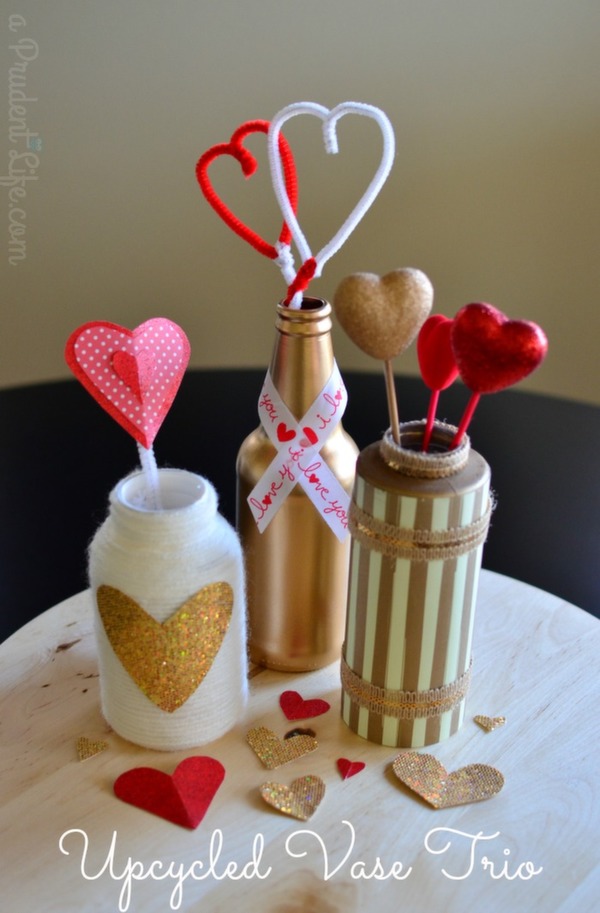
Okay, are you ready to see how it all came together? In addition to the pipe cleaner hearts, I added some foam heart picks from Dollar Tree and I glued a paper heart to a pipe cleaner for the yarn vase.
I had almost everything on hand to complete this project.
Here is a breakdown of what I spent:
Ribbon (Hobby Lobby): $1.50
Gold Sparkly Fabric (Hobby Lobby): $1.50
Pipe Cleaners (Target): $1.00
Foam Heart Picks (Dollar Tree): $1.00
Total Cost: $5 for an entire centerpiece!
If you needed to purchase the spray paint, yarn or scrapbook paper, it would add a few dollars. It only takes a tiny fraction of the spray paint, yarn & ribbon, so you’ll have plenty left for more crafting!
Here’s one more look at the finished project!
If you love this project, I’d love you to subscribe to my blog.
There is a field to enter your email address and/or follow me in the right hand side bar.
Have a great week!

melissa@polishedhabitat.com says
Thanks! I stressed more about the lighting than most other things when we built the house, so lighting fixture compliments are some of my favorites 🙂
Katie @ Addicted 2 DIY says
I love this! So creative! I need to take a spray painting class from you. Your paint job on the beer bottle is flawless!
lorraine williamson says
I LOVE THIS IDEA MAY USE IT IN MY OWN KITCHEN THANKS FOR SHARING VISITING AND FOLLOWING FROM SAVE MONEY MONDAY
Alyson from Starting Over @ the Dirty 30 says
I love gold accenting things but they just don’t go with our decor at home. But I love these and I could always use a different color paint:) We recycle plenty, so I would have no problem finding bottles to use:)
melissa@polishedhabitat.com says
Definitely! You could get a completely different (but still great) look with a different color palette. I’d love to see them if you try it!
Shelly says
What would’ve thunk it! Creative! I’m pinning it to our board! Thanks for sharing on DIY Sunday Showcase!!
Shelly
minettesmaze.blogspot.com
melissa@polishedhabitat.com says
Thanks Shelly!
Sonnet @ SohoSonnet Creative Living says
Love this!! Super cute upcycle idea and lord knows I have a ton of bottles around my house. Great project Melissa
melissa@polishedhabitat.com says
I know, it’s amazing how many bottles we end up with too! Thanks for visiting Sonnet!
Katie @ Upcycled Treasures says
What a great upcycled project and they all turned out adorable! Thanks for sharing at The Makers!
melissa@polishedhabitat.com says
Thanks for hosting & for stopping by Katie!
Dee Williamson says
I have decided that I am going to stalk your blog because this stuff is totally up my alley! Love it. It’s a one-of-a-kind.
melissa@polishedhabitat.com says
What a smile inducing comment! 🙂 Thanks so much Dee!
Corey @ Tinysidekick says
I would have never guessed that these started with those bottles. Great upcycle! Thanks for sharing at The Makers!
melissa@polishedhabitat.com says
Thanks for stopping by Cathy! I’d love you to link up at my Thursday S.T.Y.L.E. Party while you are here!
Gloria // Simply Gloria says
Melissa, you are so creative! I love the colors and everything about these vases. I have to say that you have great taste! Thank you for sharing this fun craft at the Show Stopper party this morning! Pinning (=
melissa@polishedhabitat.com says
Thanks so much Gloria!
Sarah says
How cute! I love how you up-cycled all of these, great job!
melissa@polishedhabitat.com says
Thank you Sarah!
Shelly says
What a great way to reuse bottles!! I think I need to go dig in the recycling bin now!
Thanks SO much for linking up to Hit Me With Your Best Shot! Hope to see you again, soon!
Gabriella says
Melissa, I really loved this idea! There are so many creative gals on-line, and I love their work, but I ‘m not sure I could do it myself (lack of time) – I’m fairly certain I can make something like this, though! Thank you!
I’m actually featuring it on my blog tomorrow and sending folks your way for the instructions! Keep up the good work!
melissa@polishedhabitat.com says
Thank you Gabriella! I’m glad you liked the project and really appreciate you featuring it!