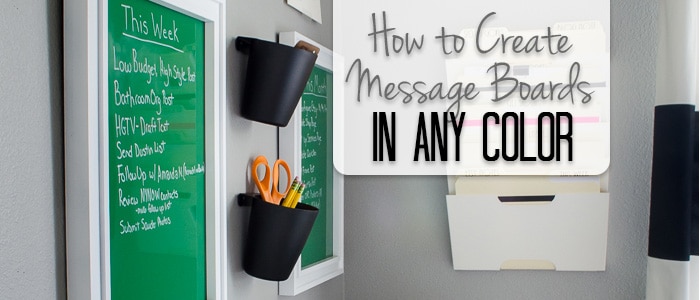
Our office makeover is very close to complete (now done, see it here) and I’m ready to start showing you pieces of it! One of my favorite new things was the least expensive AND fastest project in the room. Did you know you can turn any frame into a custom message board in about 10 minutes of hands-on time? Just think of the possibilities – how fun would this be in school colors for a dorm room!?!
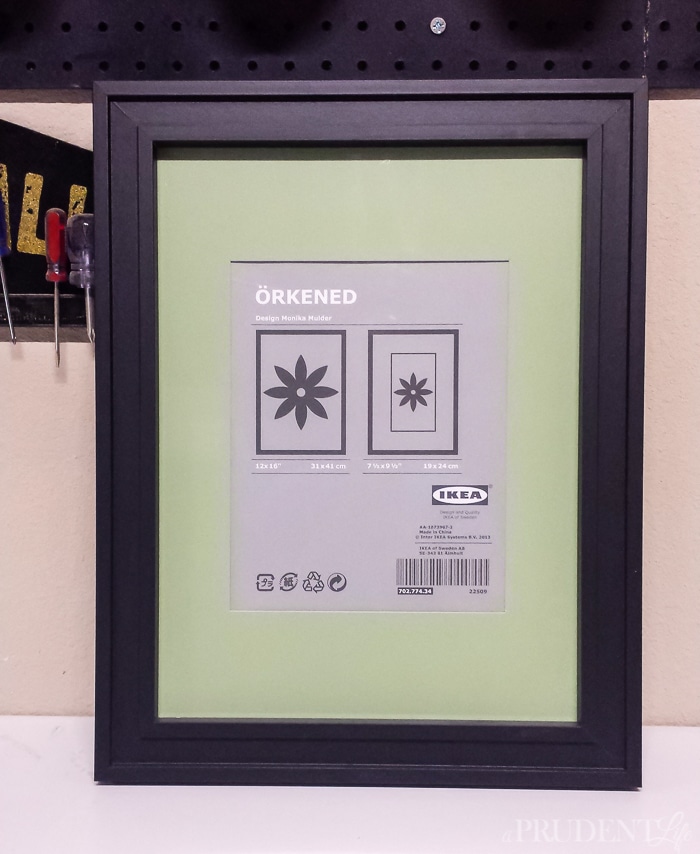
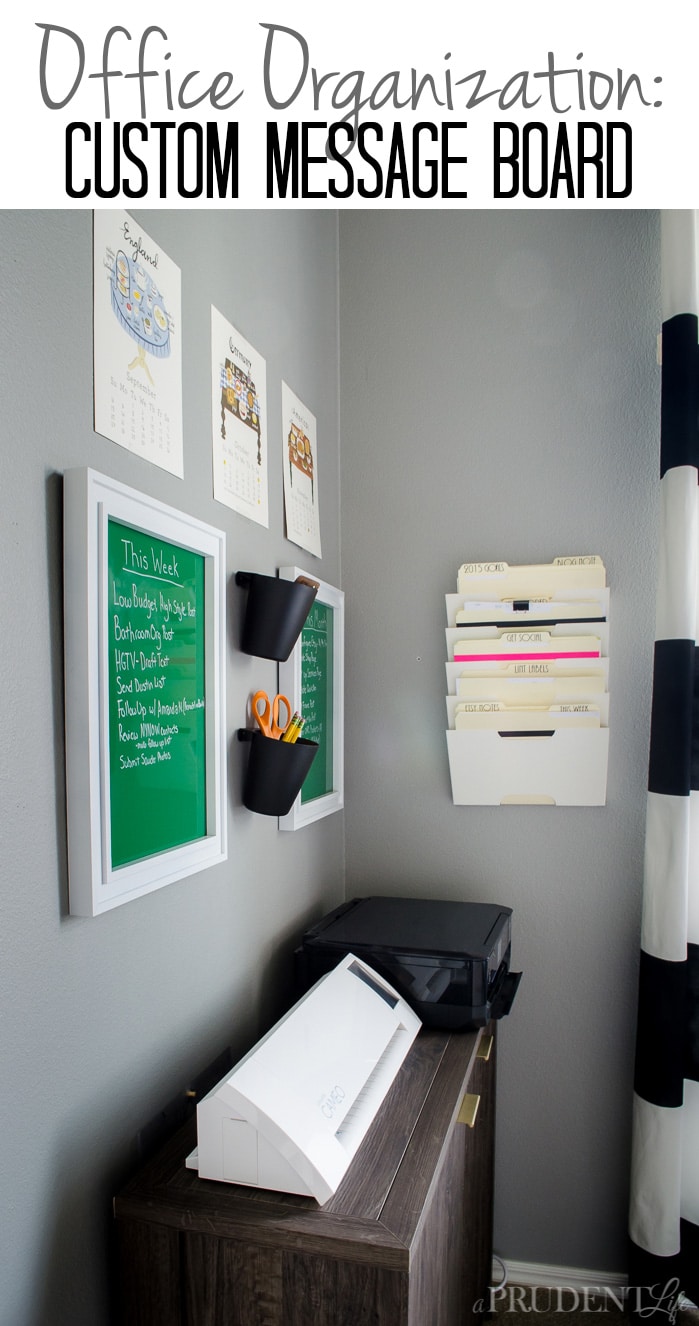
I wanted a matching pair of boards to hang over my printer stand, and found some IKEA ORKENED frames on sale for $7.99 that fit my space perfectly. I just got them a few weeks ago, but it looks like they might have been replaced by the KNOPPÄNG series as I couldn’t find the ORKENED online anymore. But, this project will work with any frame! If you aren’t looking for a matching pair, you might see what you can find at thrift stores or garage sales to save even more.
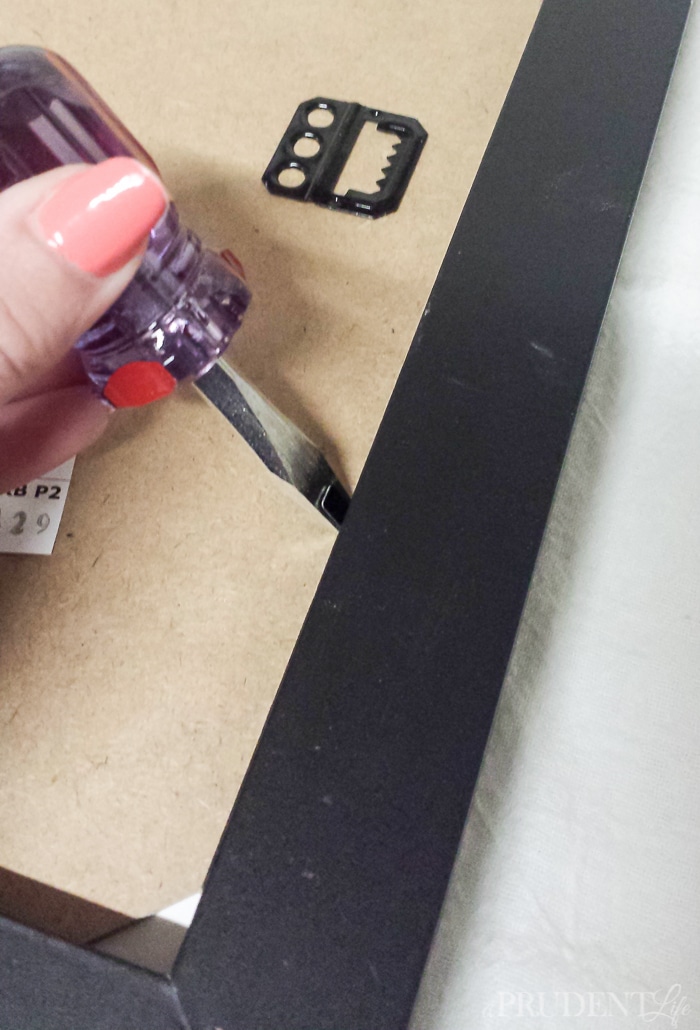
Start by separating your frame from the glass or plexiglass (I tested the project and both work!). If you have a stubby flathead screwdriver, they make it extra easy to fold up the metal tabs used on the back of some frames.
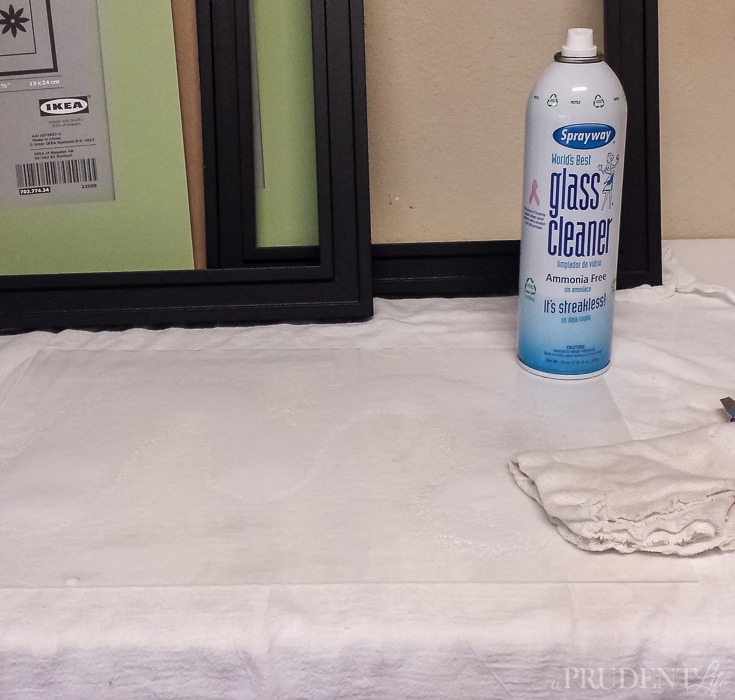
Clean both sides of the glass really well before moving on. When I worked in the frame shop at Hobby Lobby, we used Sprayway cleaner (affiliate link) and it’s been my go-to glass cleaner ever since.
Random trivia for you – I met my husband at Hobby Lobby. He also worked in the frame shop and had to train me when I started!
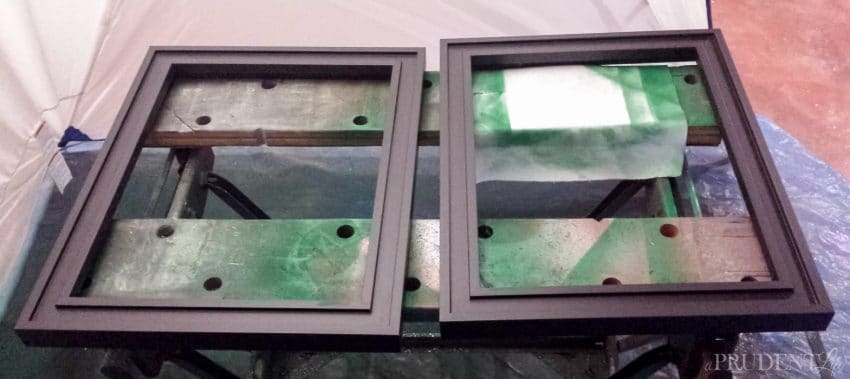
With your glass clean and dry, spray paint one side of it in light coats until you have even coverage. I used the same Rust-Oleum Emerald Green that I had leftover from painting the office chairs.
If needed, also spray paint the frame the color of your choice. I thought I was going to use the frames black, but realized the corner felt too dark, so gave them a couple quick coats of white paint.
When everything is dry, reassemble your frame with the painted side of the glass facing IN. So, you’ll be writing on the actual glass surface, not the painted surface.
If you use a medium to dark color for your writing surface, I found the perfect solution to not being able to see black dry erase markers.
Amazon sells some fine tipped, highly rated white chalk markers that work perfectly as dry erase markers on glass and plexi-glass. They were a bit of a splurge at $14 for a 4 pack, but using them, I can read my board from my desk and they really add to the custom look.
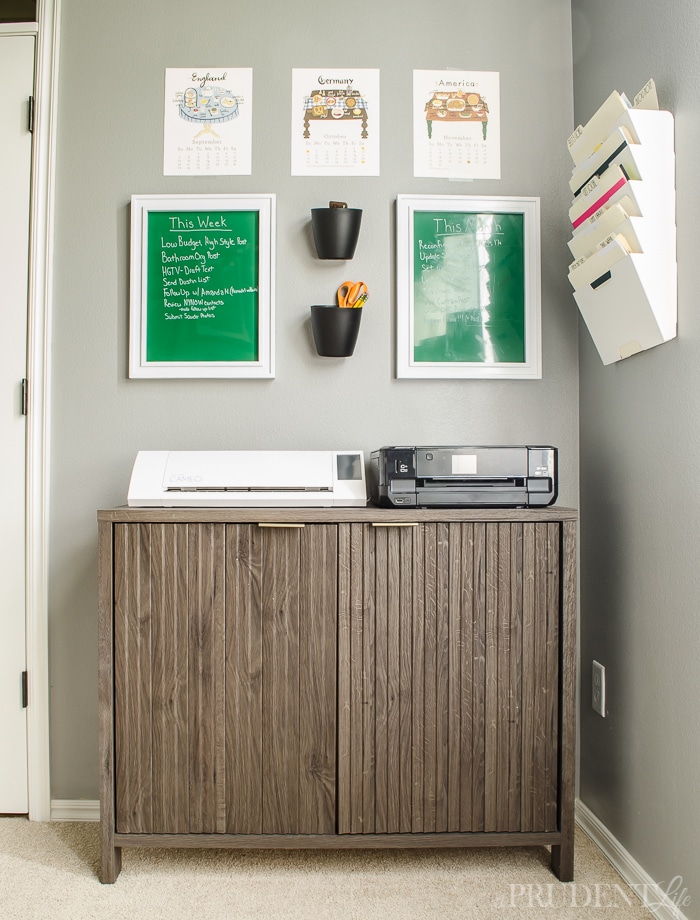
So far, I’m using the first board for things I must get done in the current week, and the second board for the bigger pictures items I want to get accomplished in the next month. Being able to see the boards from the desk is helping me stay on track with the things that are truly priorities versus the smaller things that pop up and end up eating all my time.
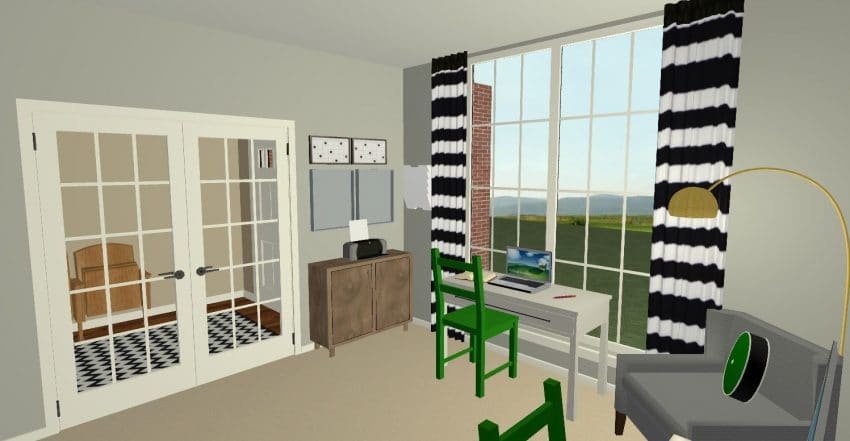
Just for fun, remember when I shared the 3D design plans for the office? Here’s what this corner looked like on the computer.
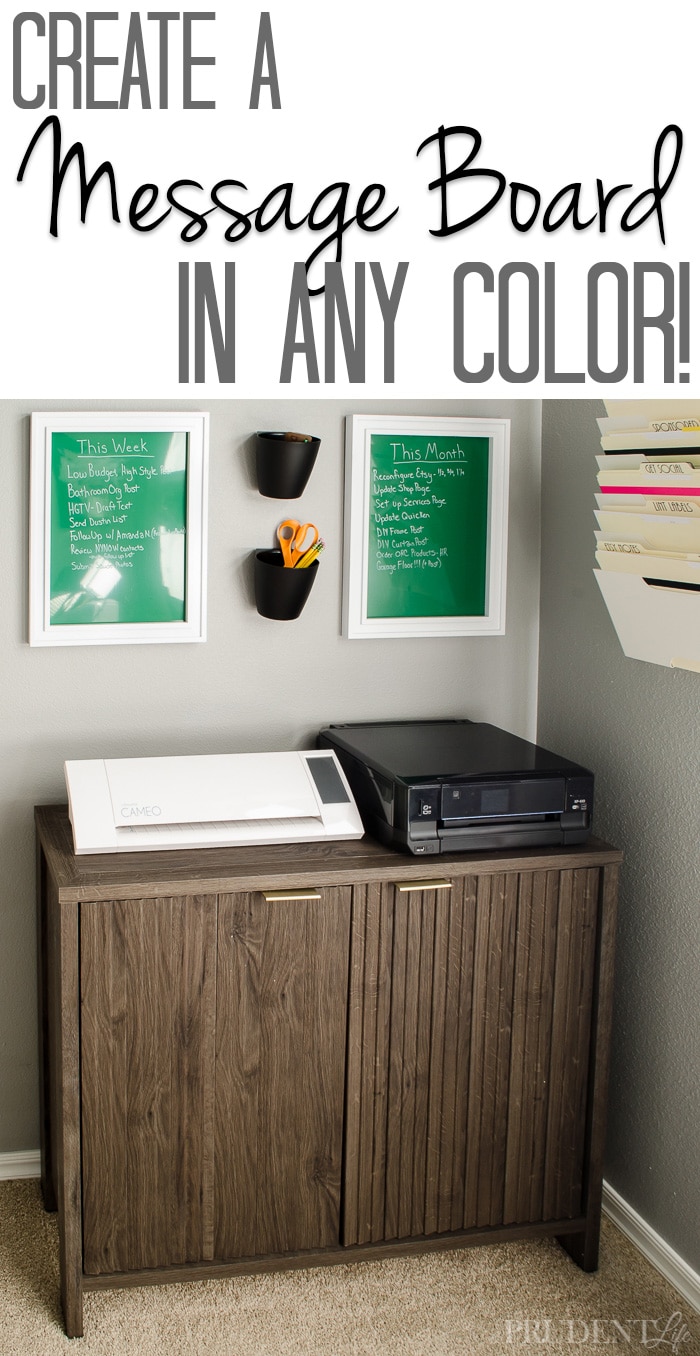
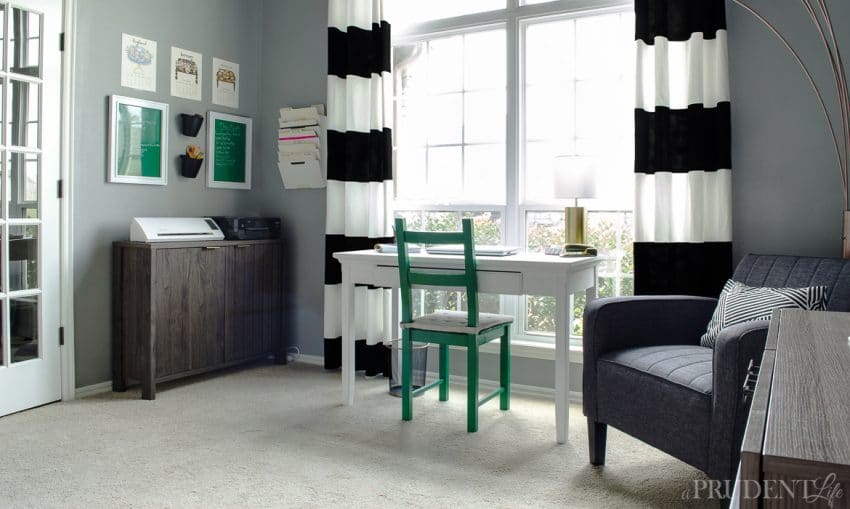
Here is a sneak peak at the real life version! Pretty crazy, right?
What do you think? Do you need one…or ten…of these boards in your life?
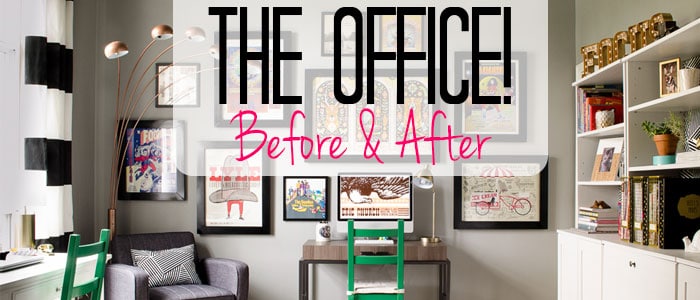
Next stop, the full reveal! Click the pic below to see all the photos.
Post shared at: Classy Clutter, Hit Me With Your Best Shot, Remodelaholic



Lindsay (Sincerely, LMS) says
Oh my goodness, I LOVE THIS!!!! I would love to learn more about the program that you use to make your 3D designs – that sounds so fun! And, how crazy alike do those two pictures look? I’m obsessed with your curtains and totally need some for my office! Can’t wait to make one of these!
Melissa George says
Hi Lindsay! So glad you love this easy project. AND I’ll have a tutorial on the curtains next month- they are just white IKEA curtains spray painted with black stripes! Once we figured out how to match the stripes on both panels, the process wasn’t TOO bad 🙂 The software I used is called Chief Architect – I have the Home Designer Suite version right now, but am saving up for an upgrade to the Pro version. It is NOT totally intuitive, but with a load of patience and forum reading you can do some amazing things!