
I shared the whole laundry room makeover last week, but the post already had so many pictures it would have been overwhelming to add all the organizing and storage ideas to that post.
While I’m thrilled with the way the space looks, it was even more important that it worked well for us!
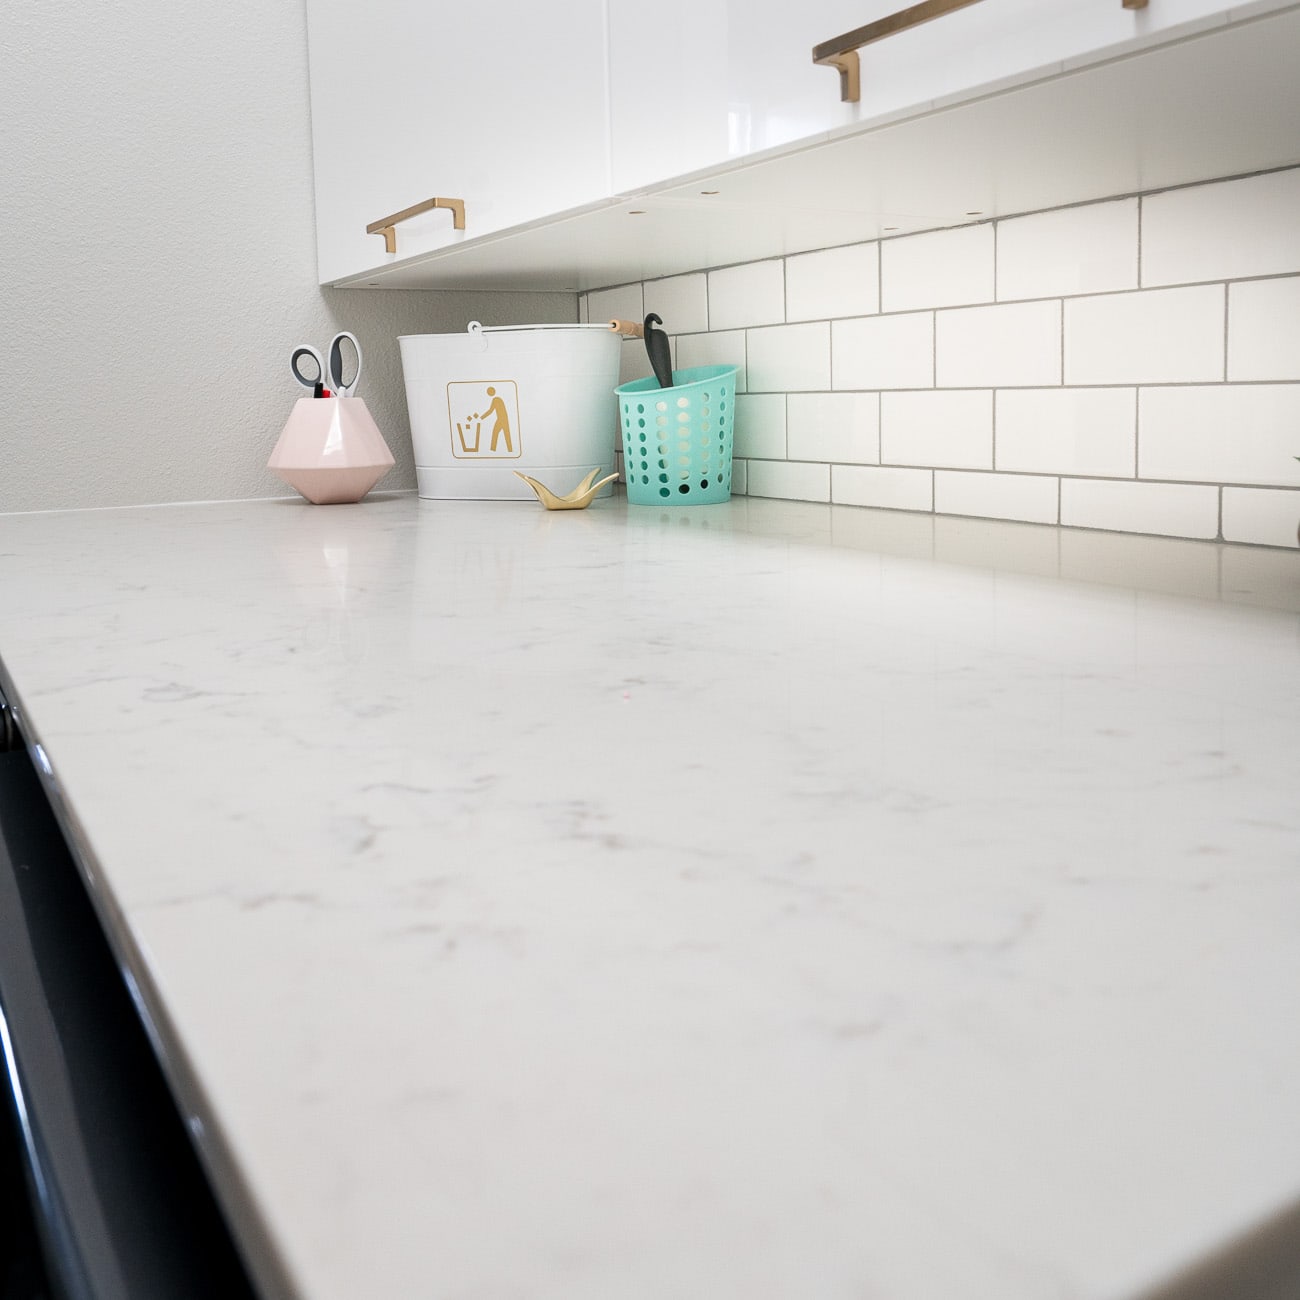
The driving factor of the whole remodel was to add a laundry room sink and a countertop over the washer and dryer, so let’s start with those.
I wanted to keep the countertop mostly empty to be used for folding clothes, but there were a few essentials I added. I used my pink geometric vase to keep some clothing-related items in easy reach.
Here’s what I included:
Scissors for removing tags and loose threads
A Tide Pen because I’m a mess
A Dry Erase marker for noting anything that shouldn’t be dried on the washer glass door
Quick-drying fabric glue for emergency repairs
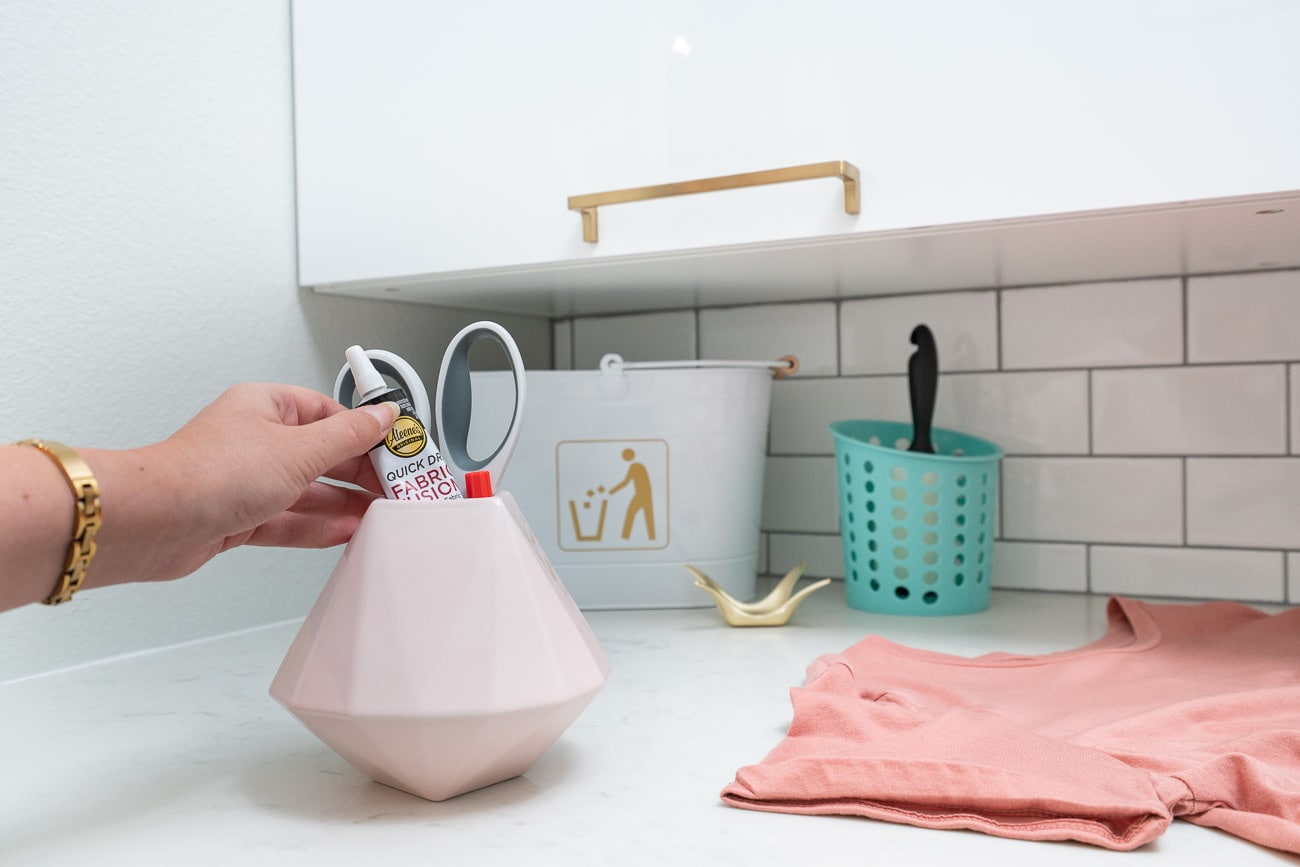
Next to the vase, I cut a cute trash label with my Cricut for a metal container from the Target Bullseye Playground. It’s perfect for lint and other trash.
The last item on the counter is a lint roller for last-minute dog hair removal. Since the laundry room is right next to the garage door, it’s the perfect pit spot to make sure we leave the dogs at home.
Our old washer/dryer had a slanted top so things were constantly falling off of it – from socks to cell phones. The big flat surface is such a joy now!
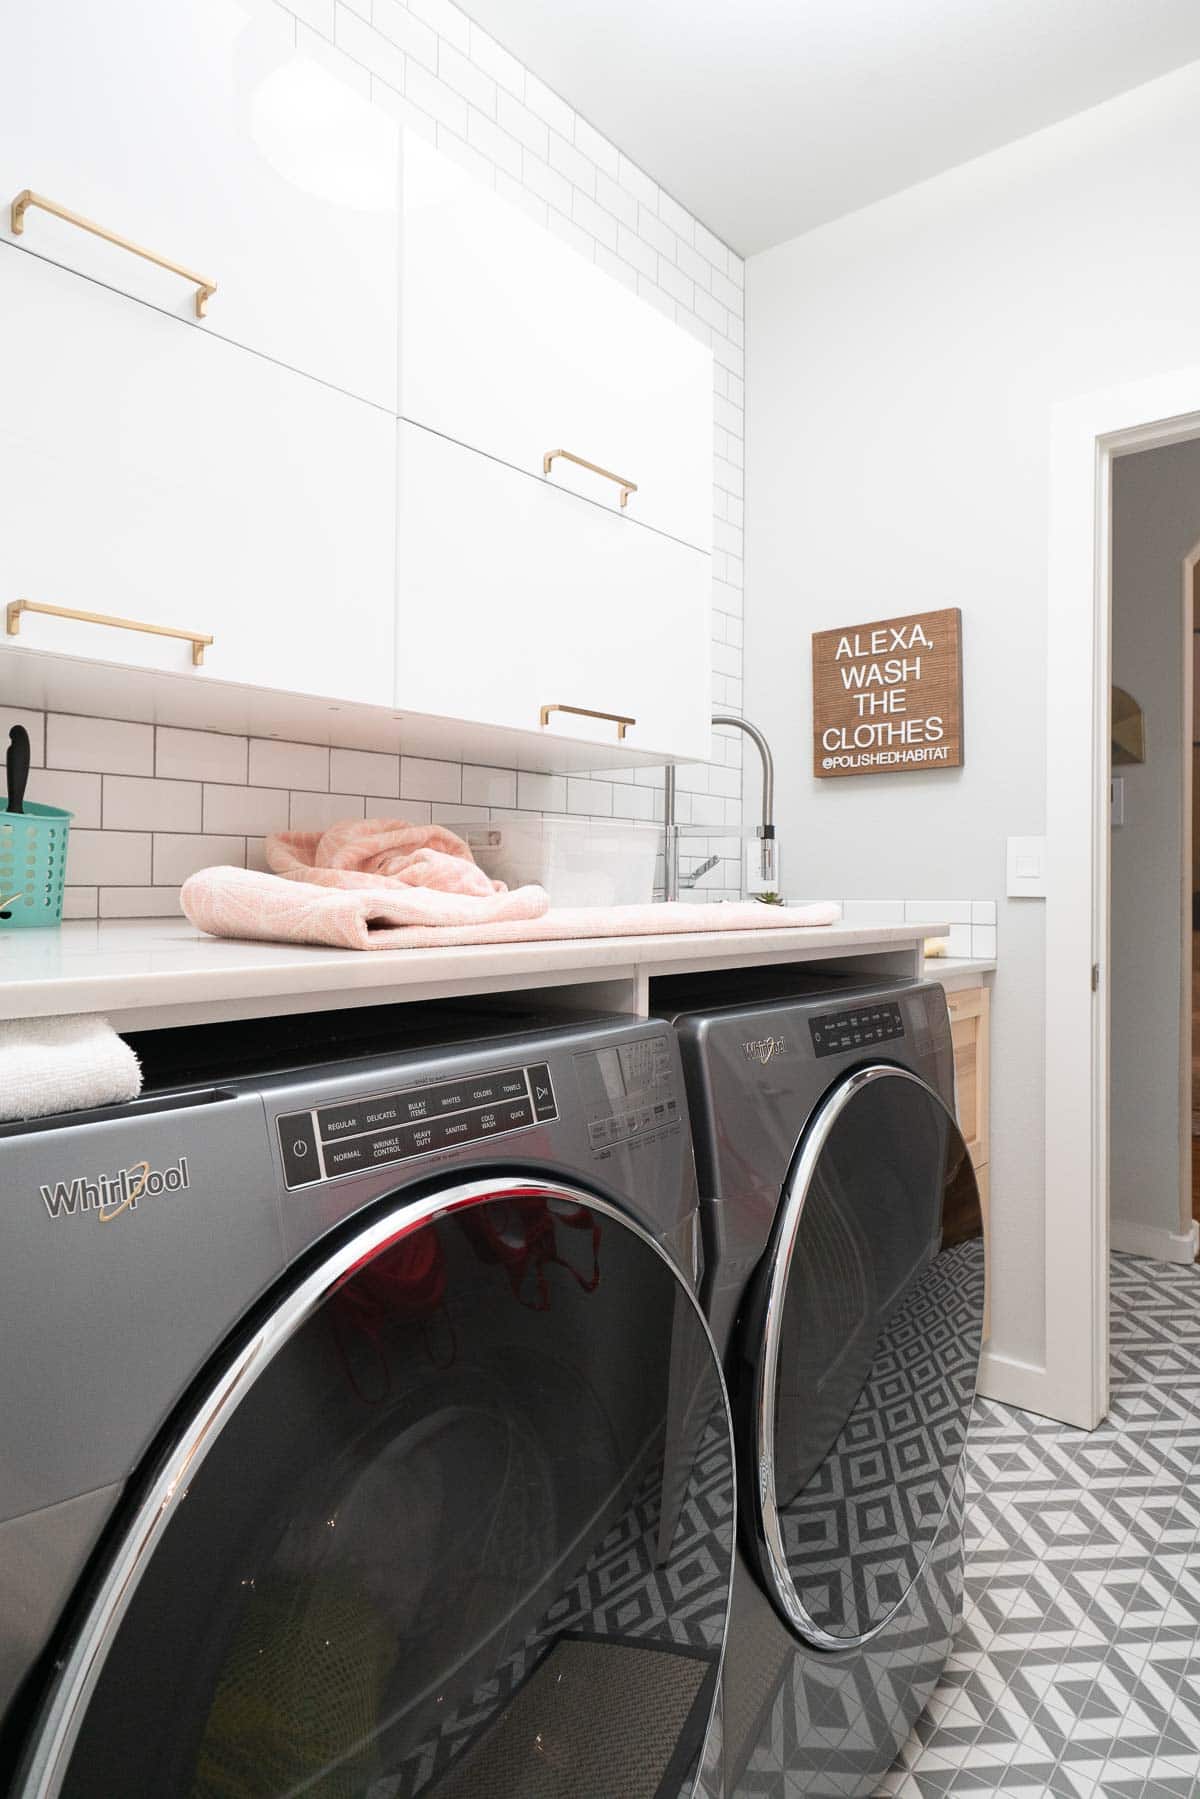
If you already have front loaders and don’t have a counter over them, I can’t recommend it enough. It doesn’t have to be fancy or expensive, even getting a piece of MDF cut to size at the hardware store will change your life.
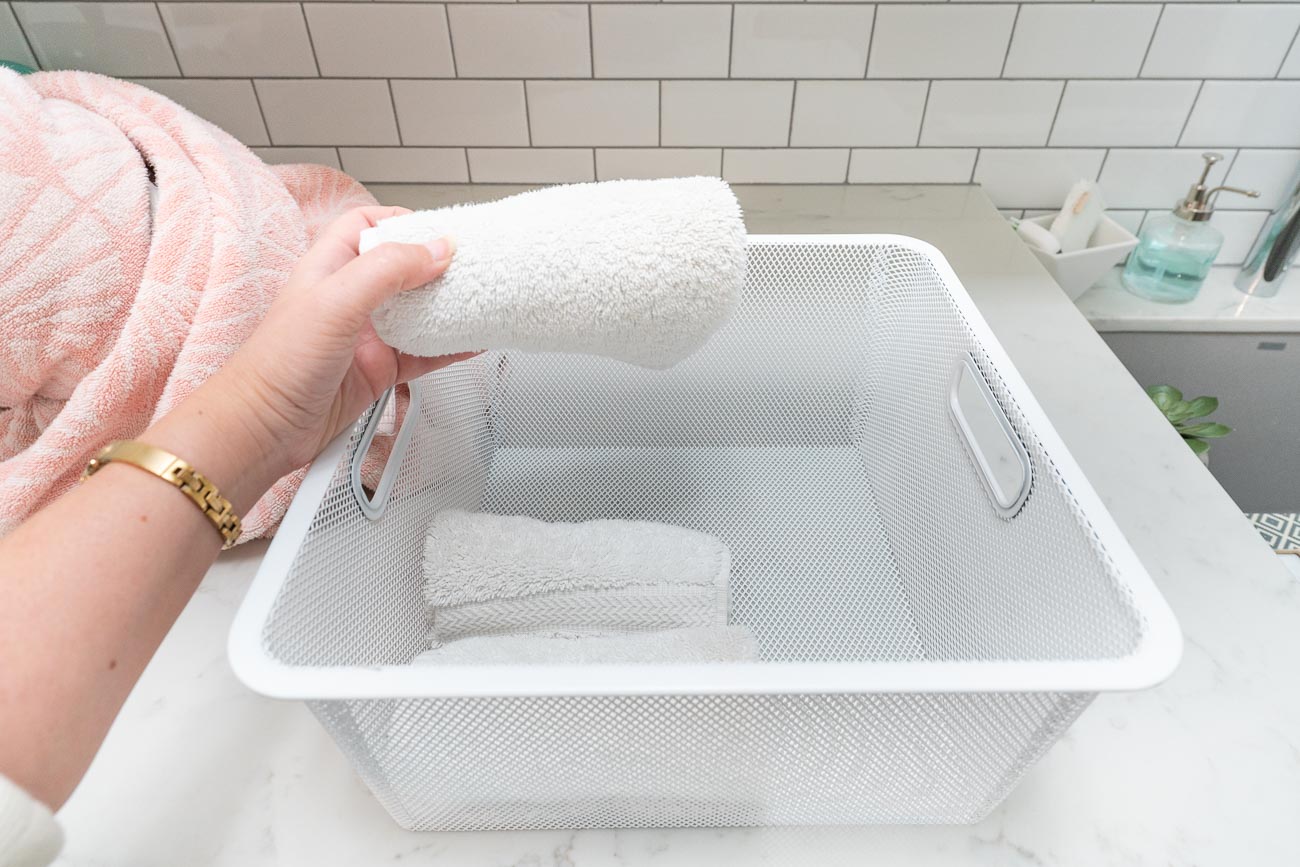
We’ve been folding things smaller since I organized the dresser drawers . It was working well once they were in the drawers, but awkward to keep folded in the laundry room as we folded the whole load. To solve that problem, a got two white bins from Target, one for each of us.
As we fold, we separate items into our own bins. Not only does it keep the items folded right, it’s easy to put away the folded clothes and undergarments because we each just have one bin instead of many loose items.
I use the same bins to take my rolled washcloths to the bathroom.
That covers what we do with the folded laundry, but what about the hanging stuff?
Before, we had a clothing rod over the small countertop. I could barely reach it AND when the rod was full, you couldn’t access the counter. The placement would never work with a sink, which was part of the reason we opted to go no-sink when we originally built the house. Hanging space for stuff coming out of the dryer was essential to me and I didn’t see any other options.
Thank goodness I’m older and wiser now.
I had a wild idea to use double towel bars from IKEA on the wall opposite the machines and it works even better than I hoped!
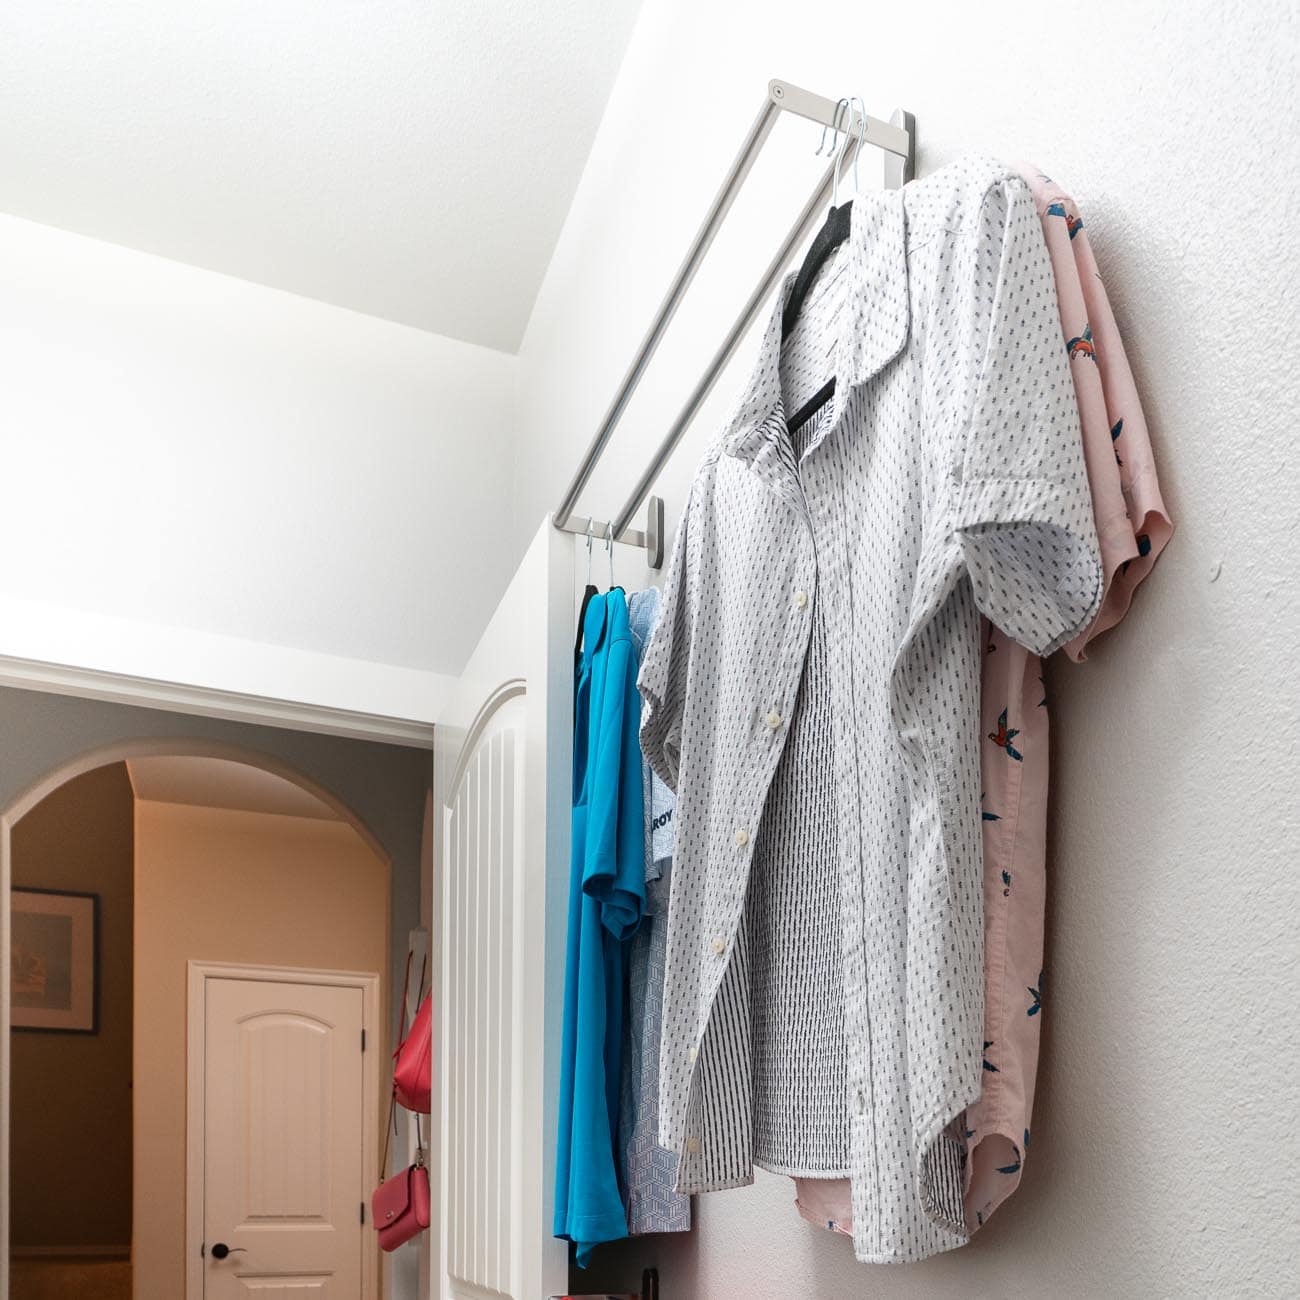
We can even separate our clothing as we hang it!
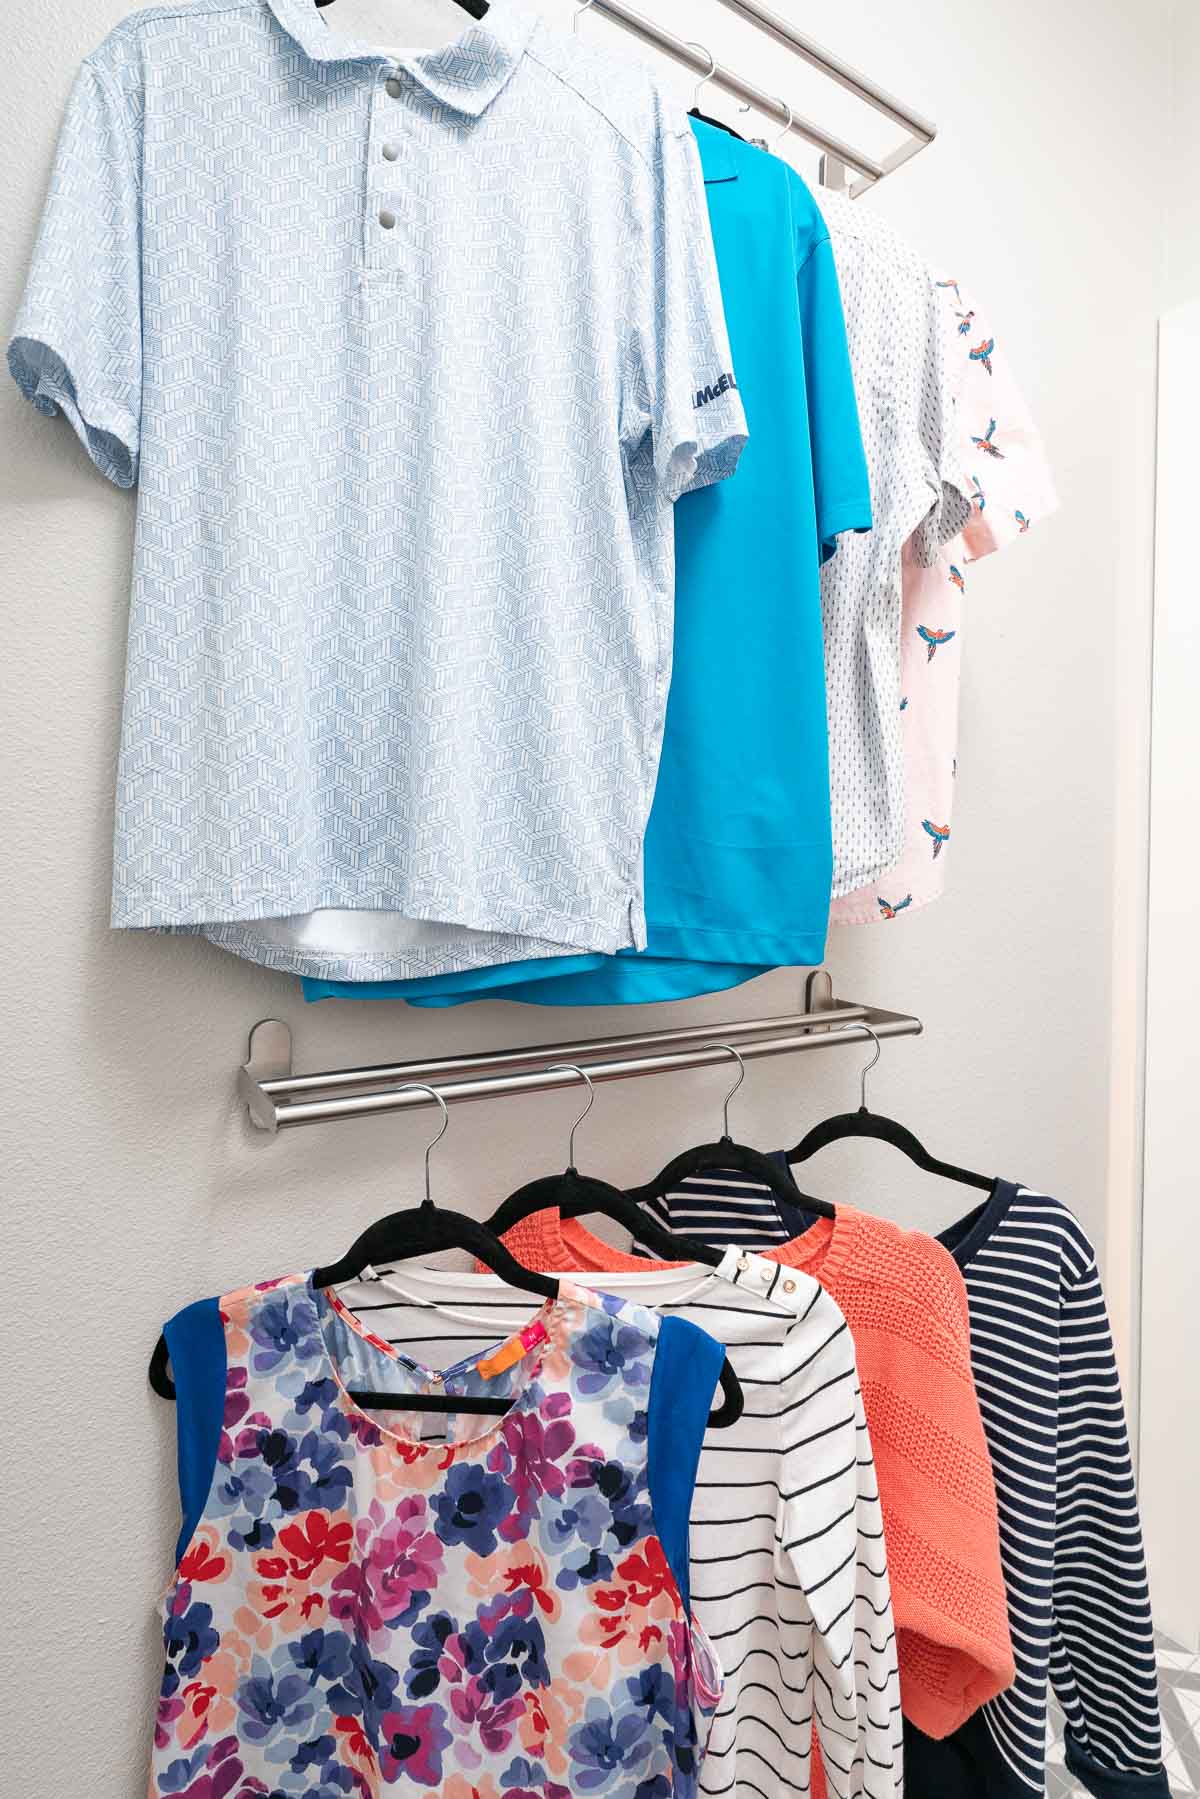
The bars also double as drying racks, which has already come in handy. Before, hang-dry clothes ended up taking over the dining room, with items hung over all the chair backs. Now we can keep the laundry in the laundry room. What a concept!
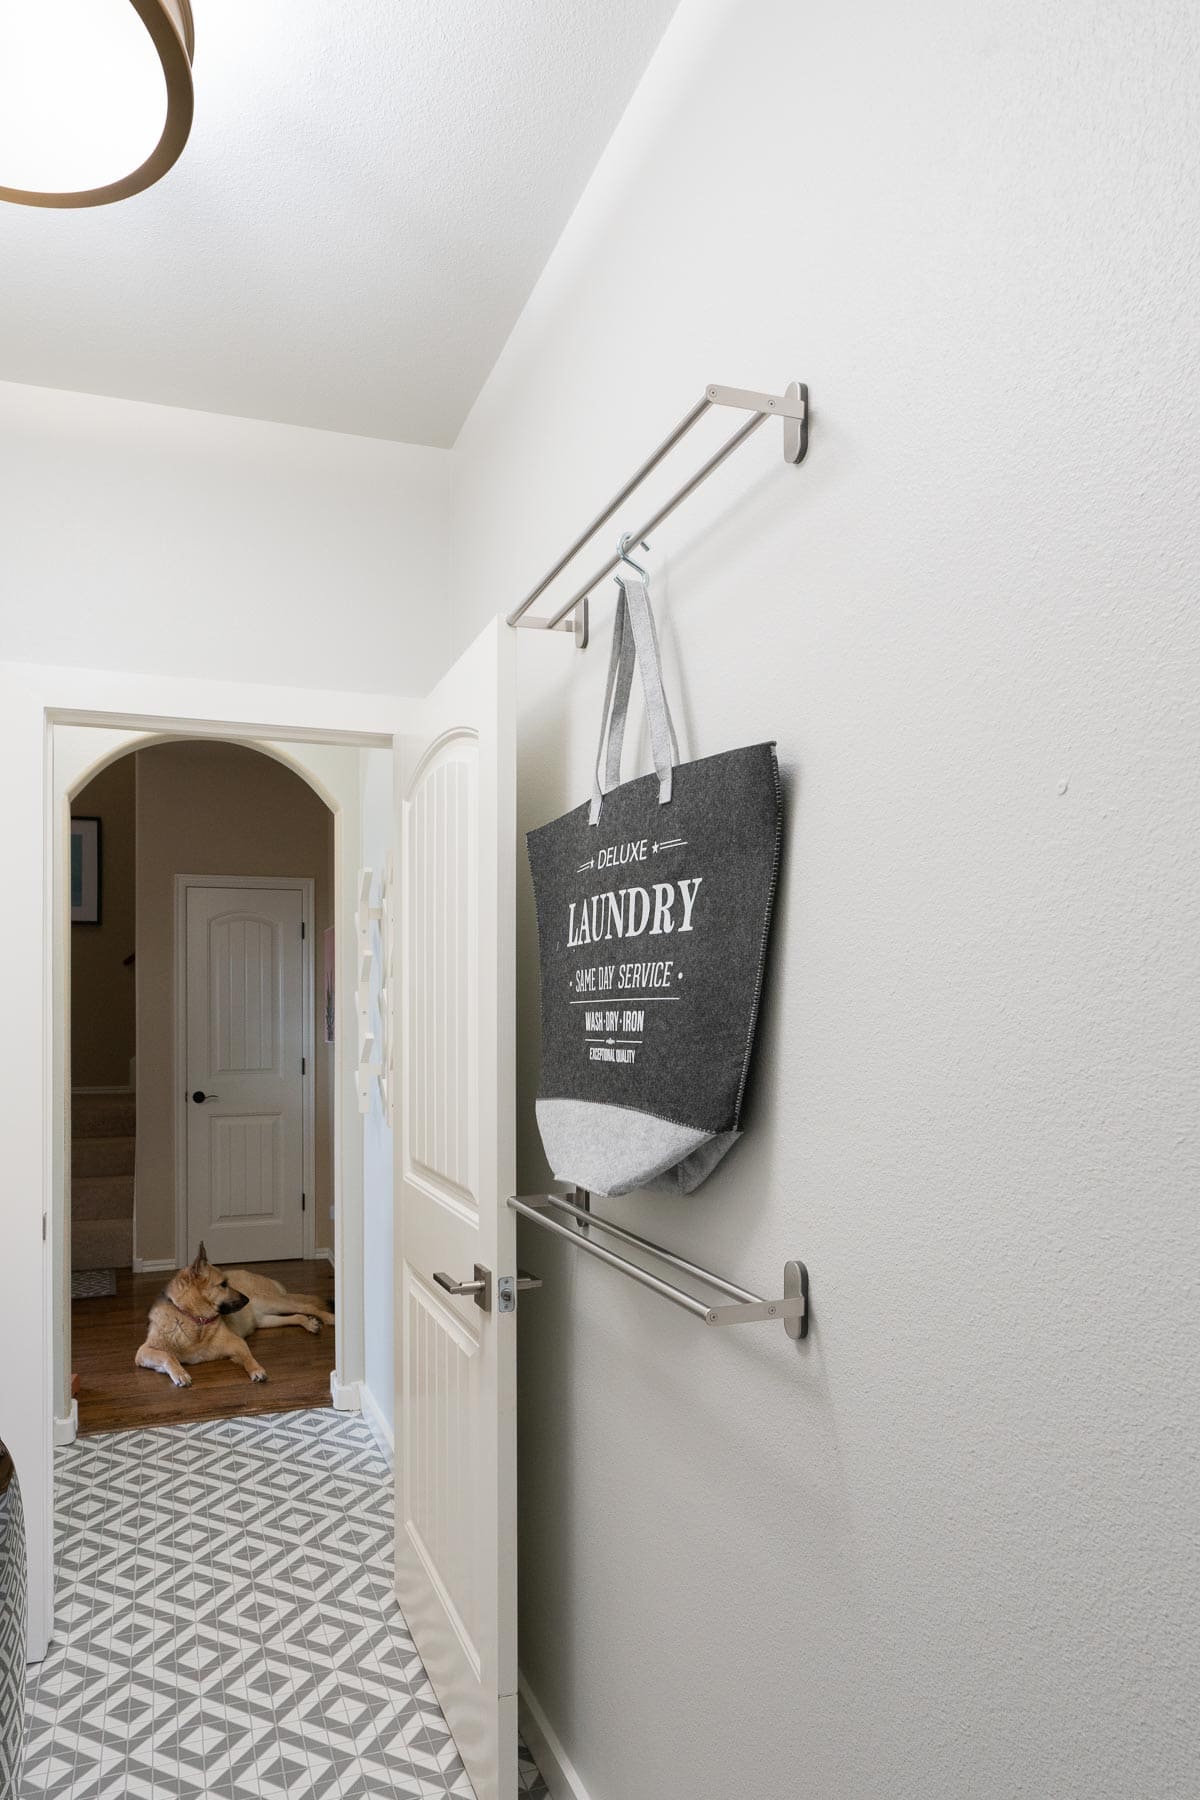
I found a really cute laundry bag at Ross to hang on the rods as functional art when we aren’t using them.
Our laundry hampers are in the master bathroom, and it always seems to take me at least two trips to pulls items out of them for washing. Now I can grab the tote and fill it up to transport a whole load right to the washer. It’s the most helpful when I’m washing towels and gathering hand towels from the bathrooms.
Moving back to the main section of the laundry room, we’ve got the brand new sink area.
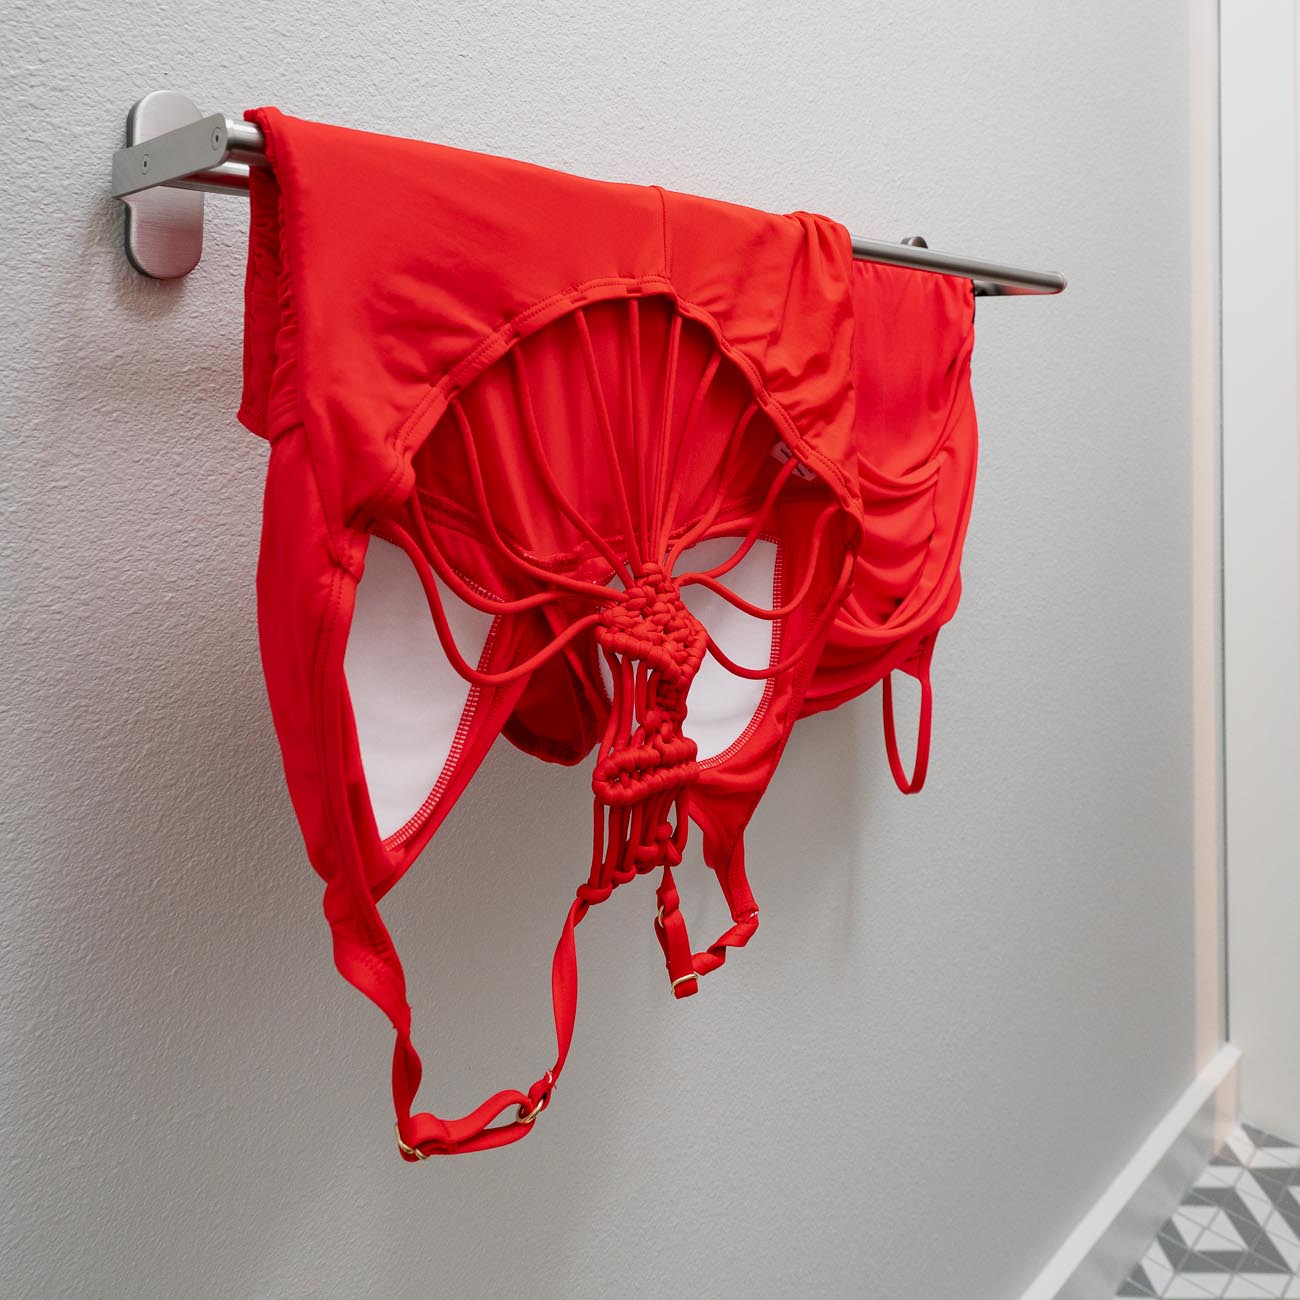
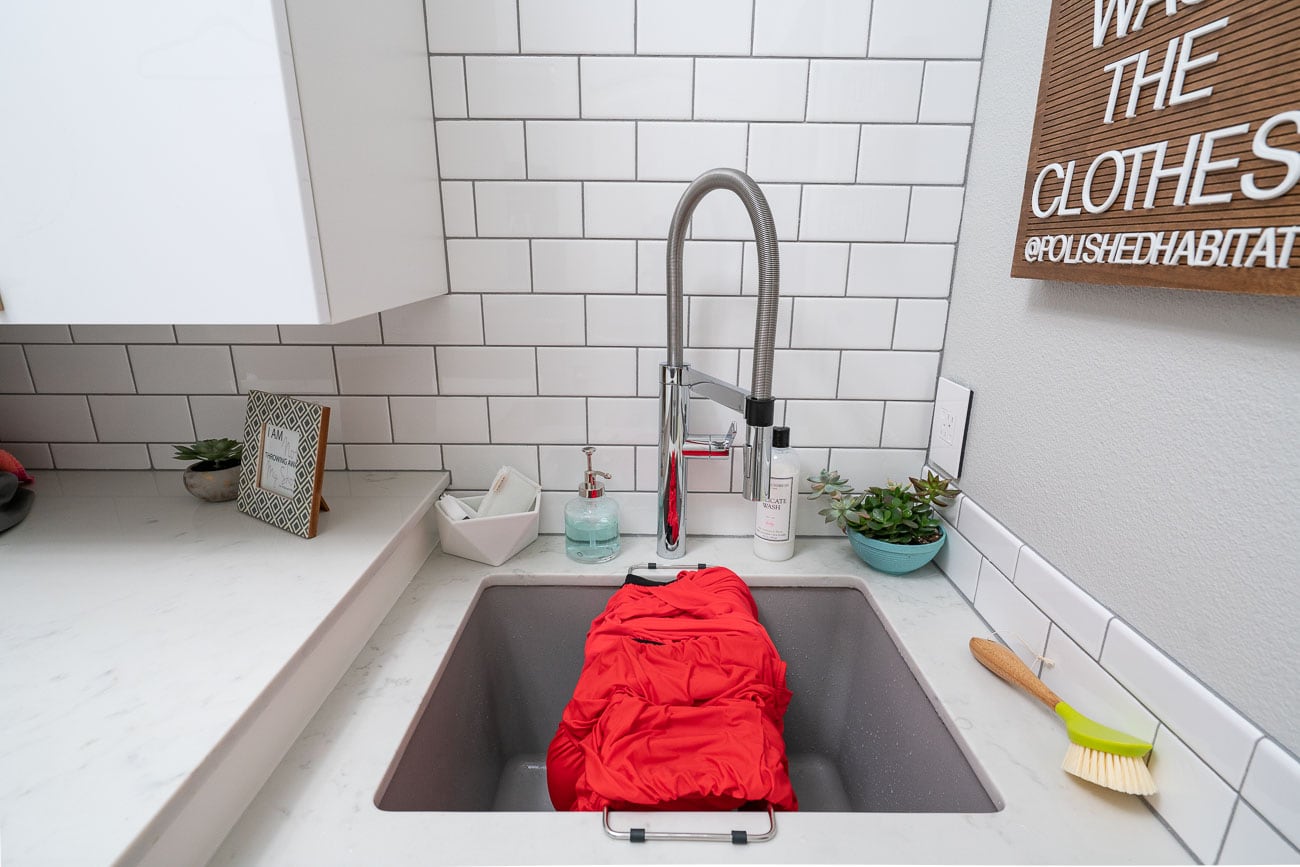
The first little organizing magic here is the optional metal tray you can get for the BLANCO LIVEN sink.
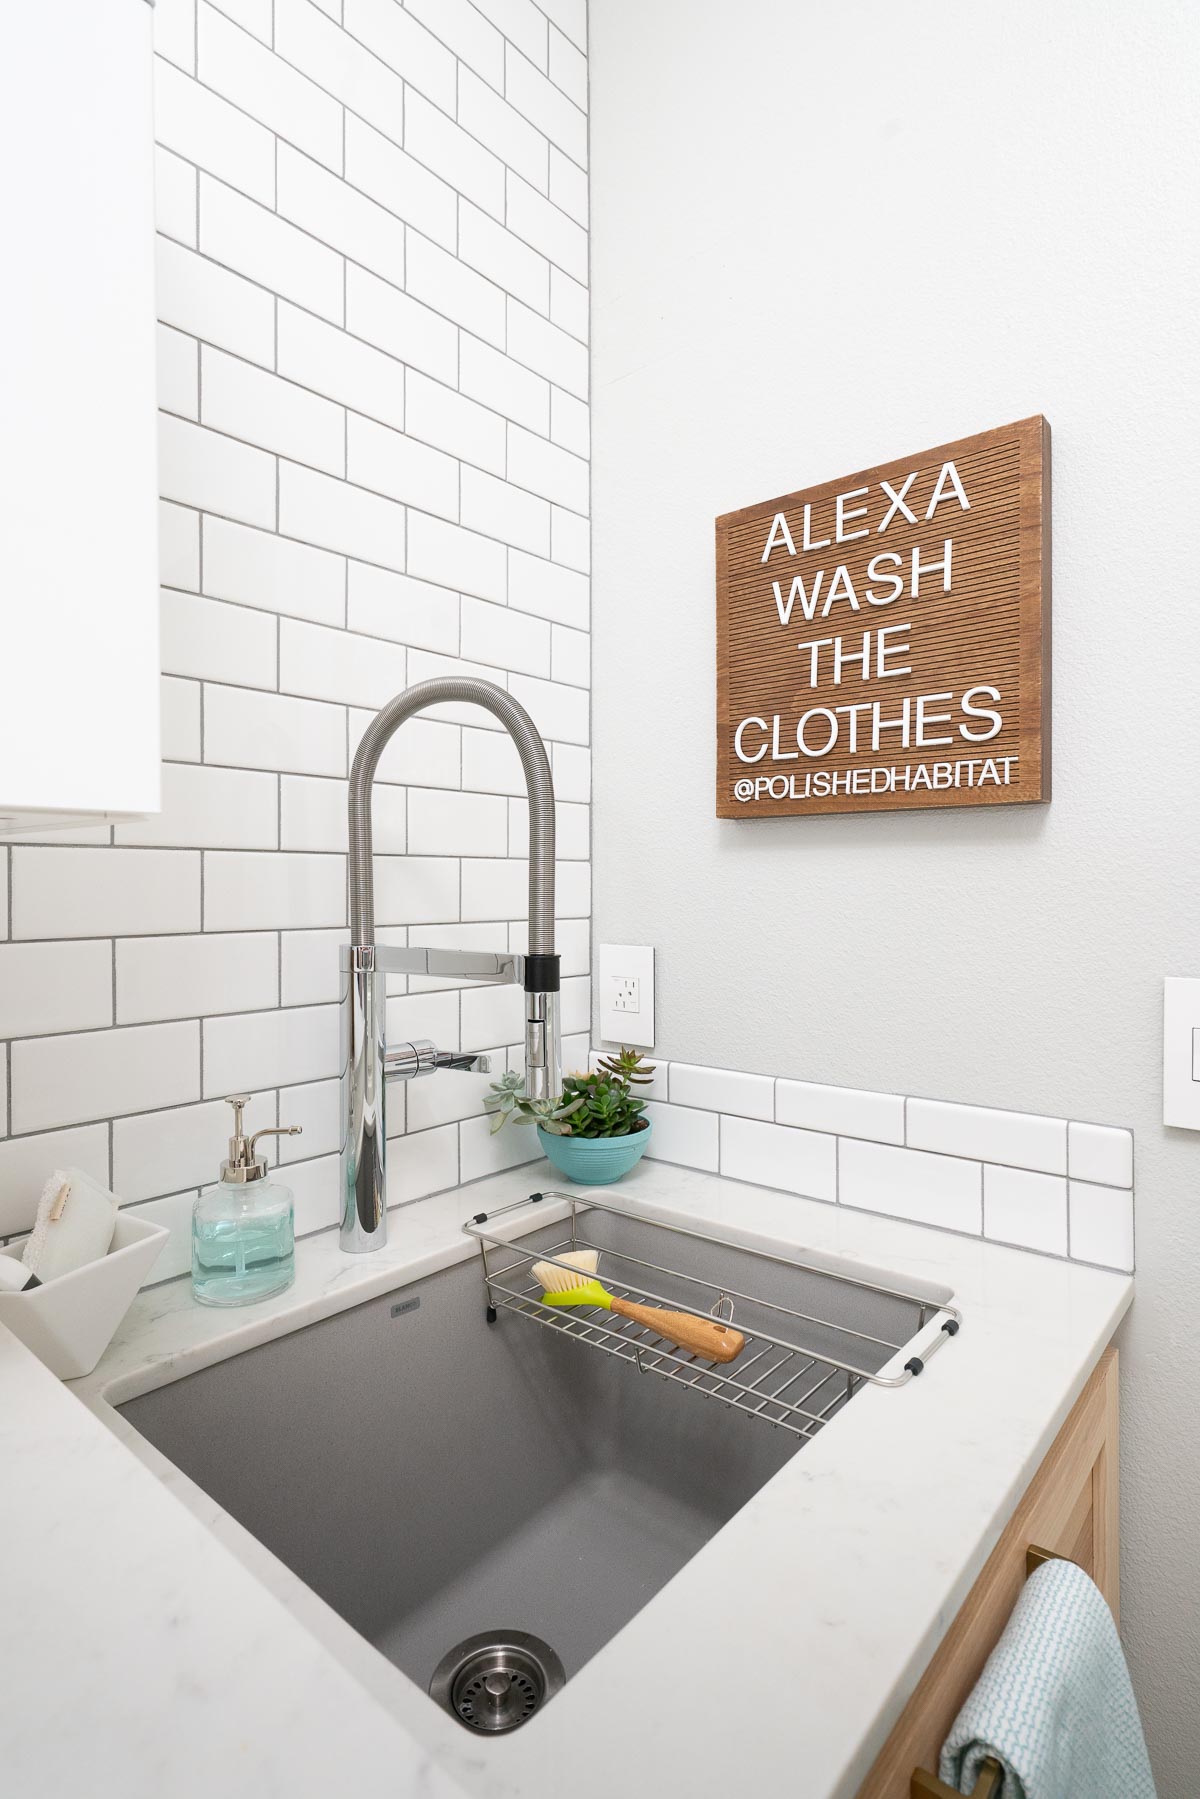
I’ve laid my bathing suit over it to hang dry when I hand wash it, used it to hold drying paint brushes, and even to dry fresh garden veggies after I wash them!
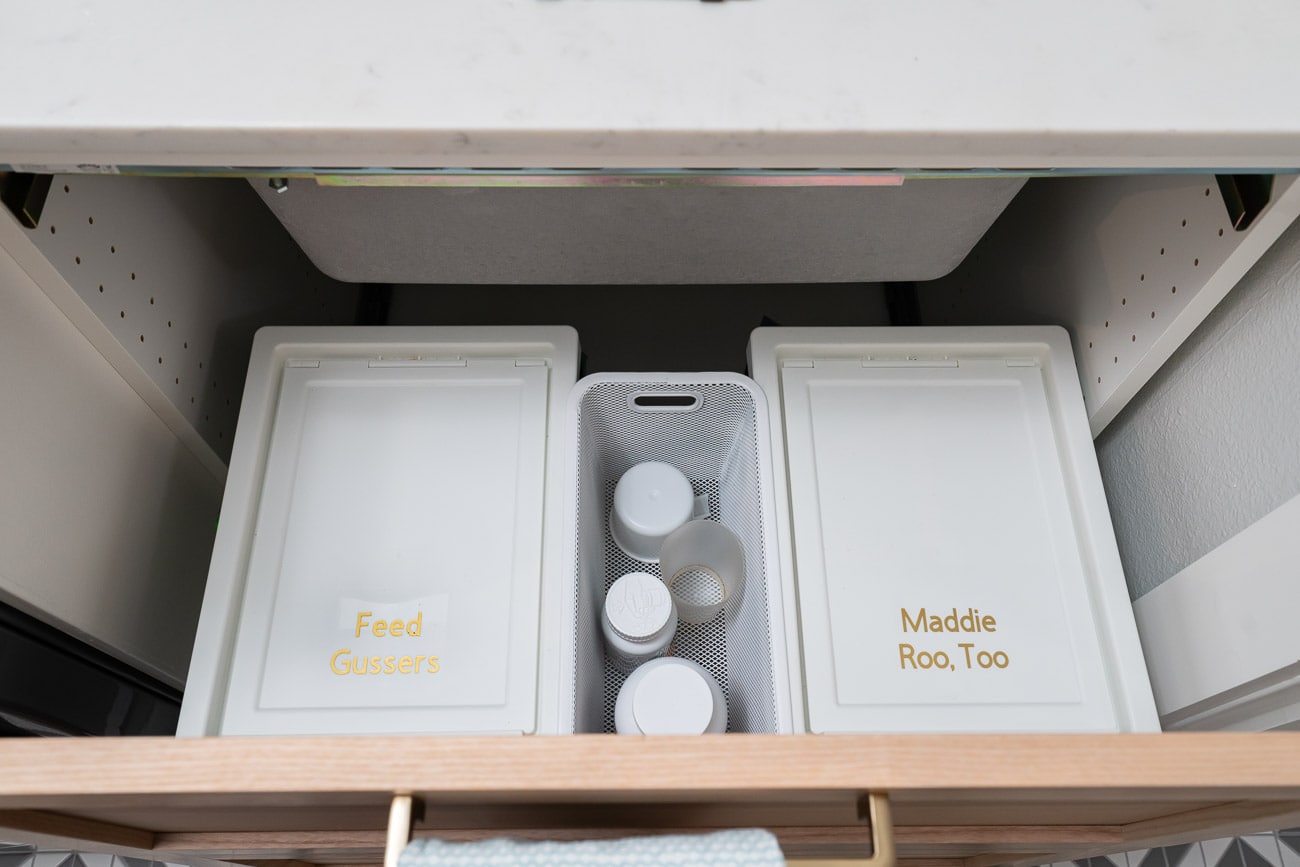
This cabinet area has always been used to hold dog food, and after thinking through the house, it still made the most sense to be stored here.
I decided to use a pull-out recycling cabinet from IKEA to create a custom dog food station.
We had to customize the cabinet several ways to make everything fit, including notching out the metal drawer back for the plumbing and building up the space between the cabinet and the countertop with wood in order to let the food containers slide under the super-deep sink.
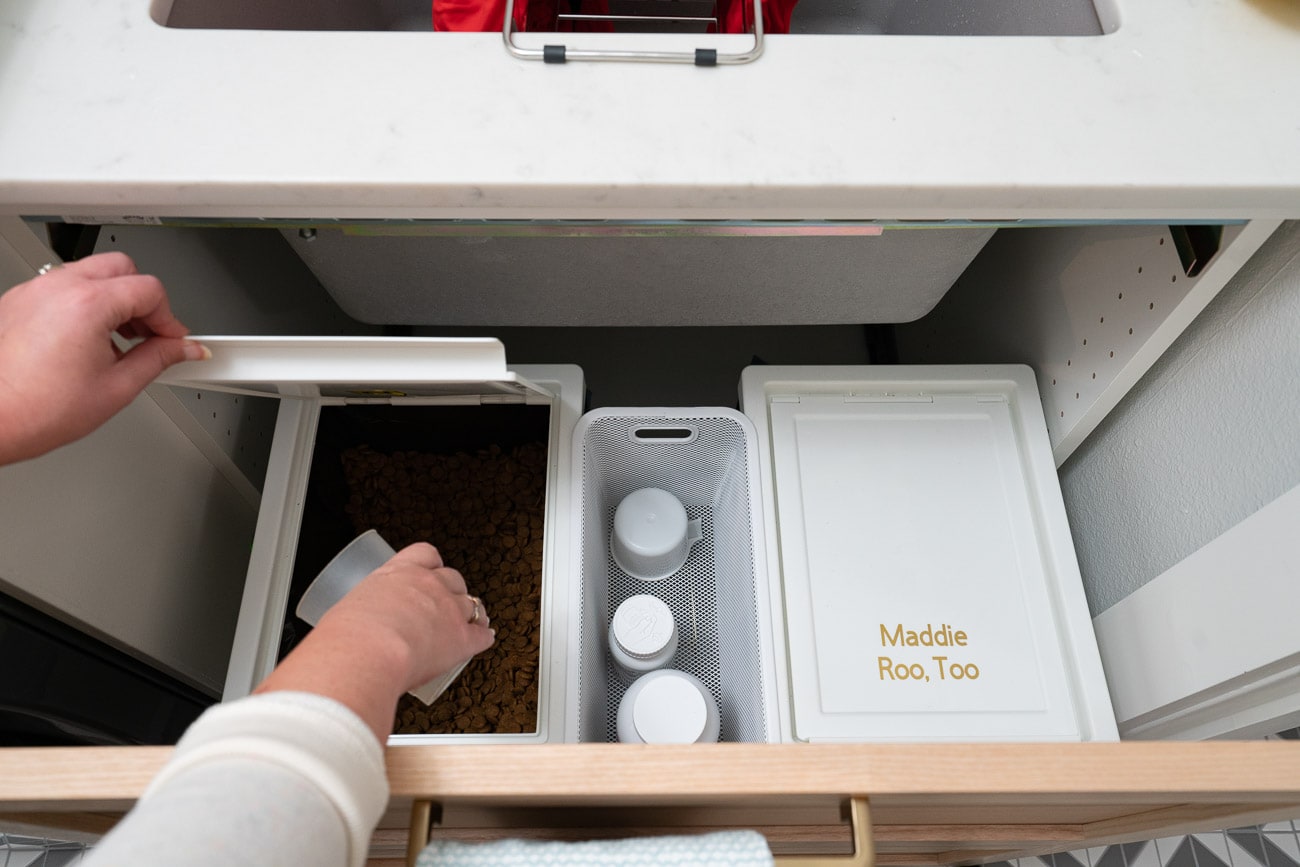
On top of that, look how tiny the clearance is for the drawer to open. We were SO lucky it worked.
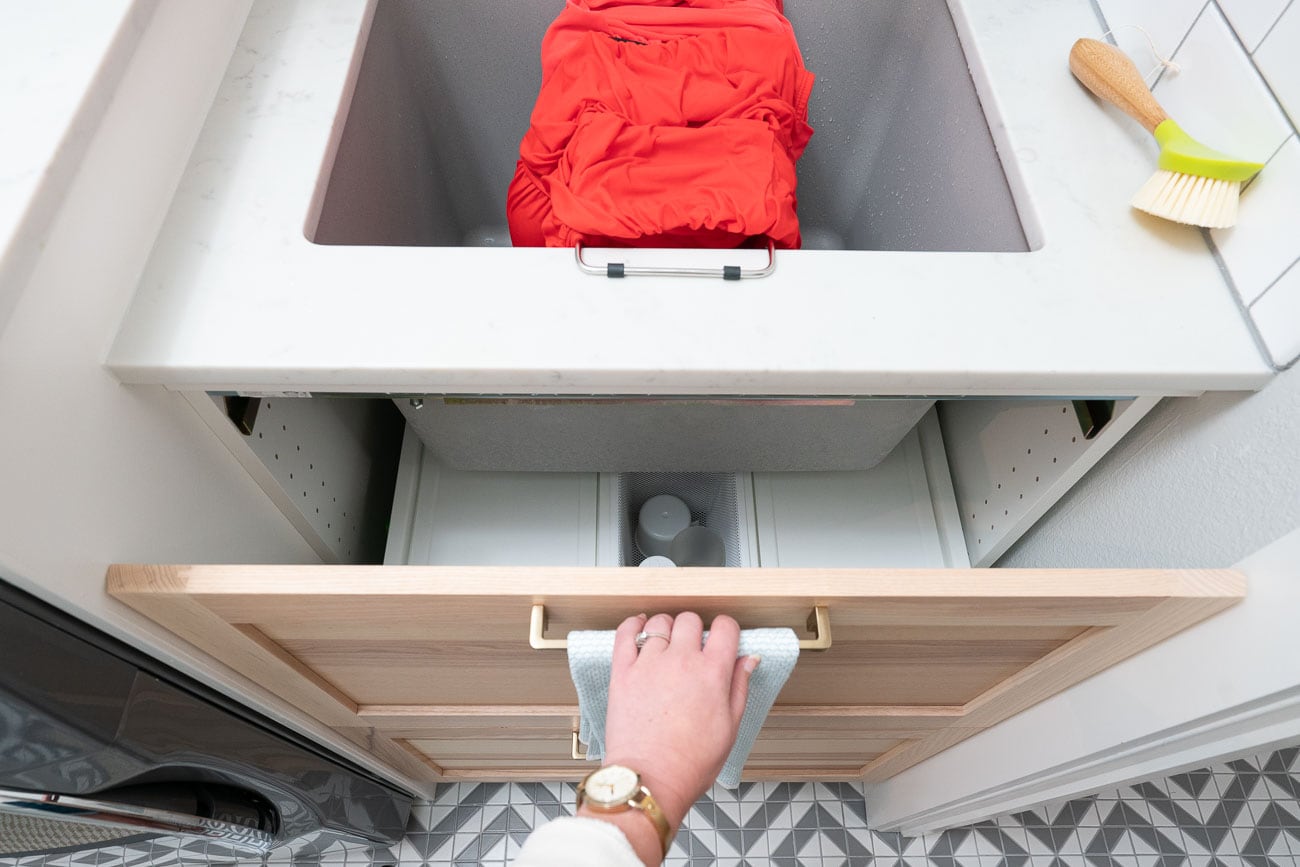
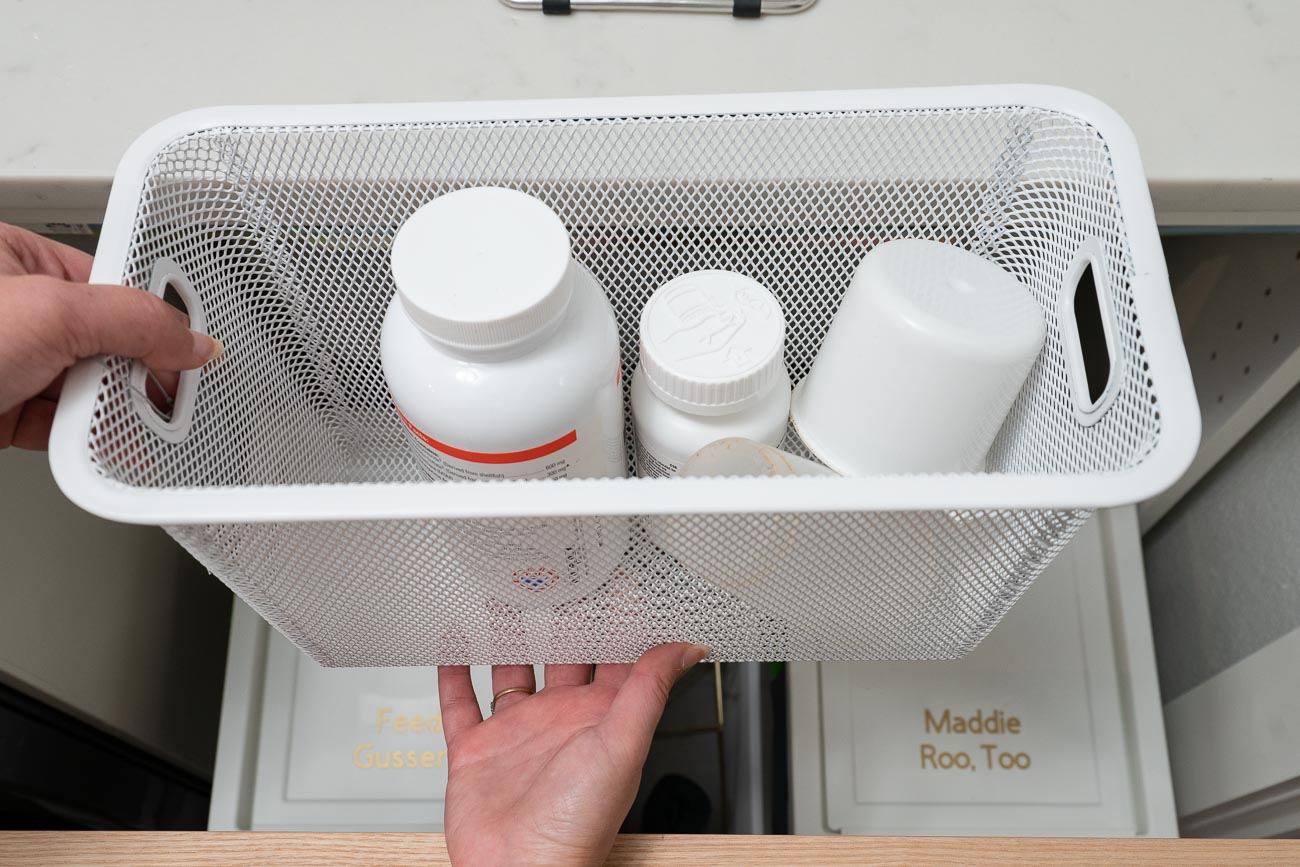
Between the food containers, I used another metal basket from Target for Maddie’s hip pills and their food scoops. It hangs perfectly between the two food containers so we don’t have to reach all the way down over the tall drawer front. It also creates a double layer of storage in the middle since we can store less used items under the basket.
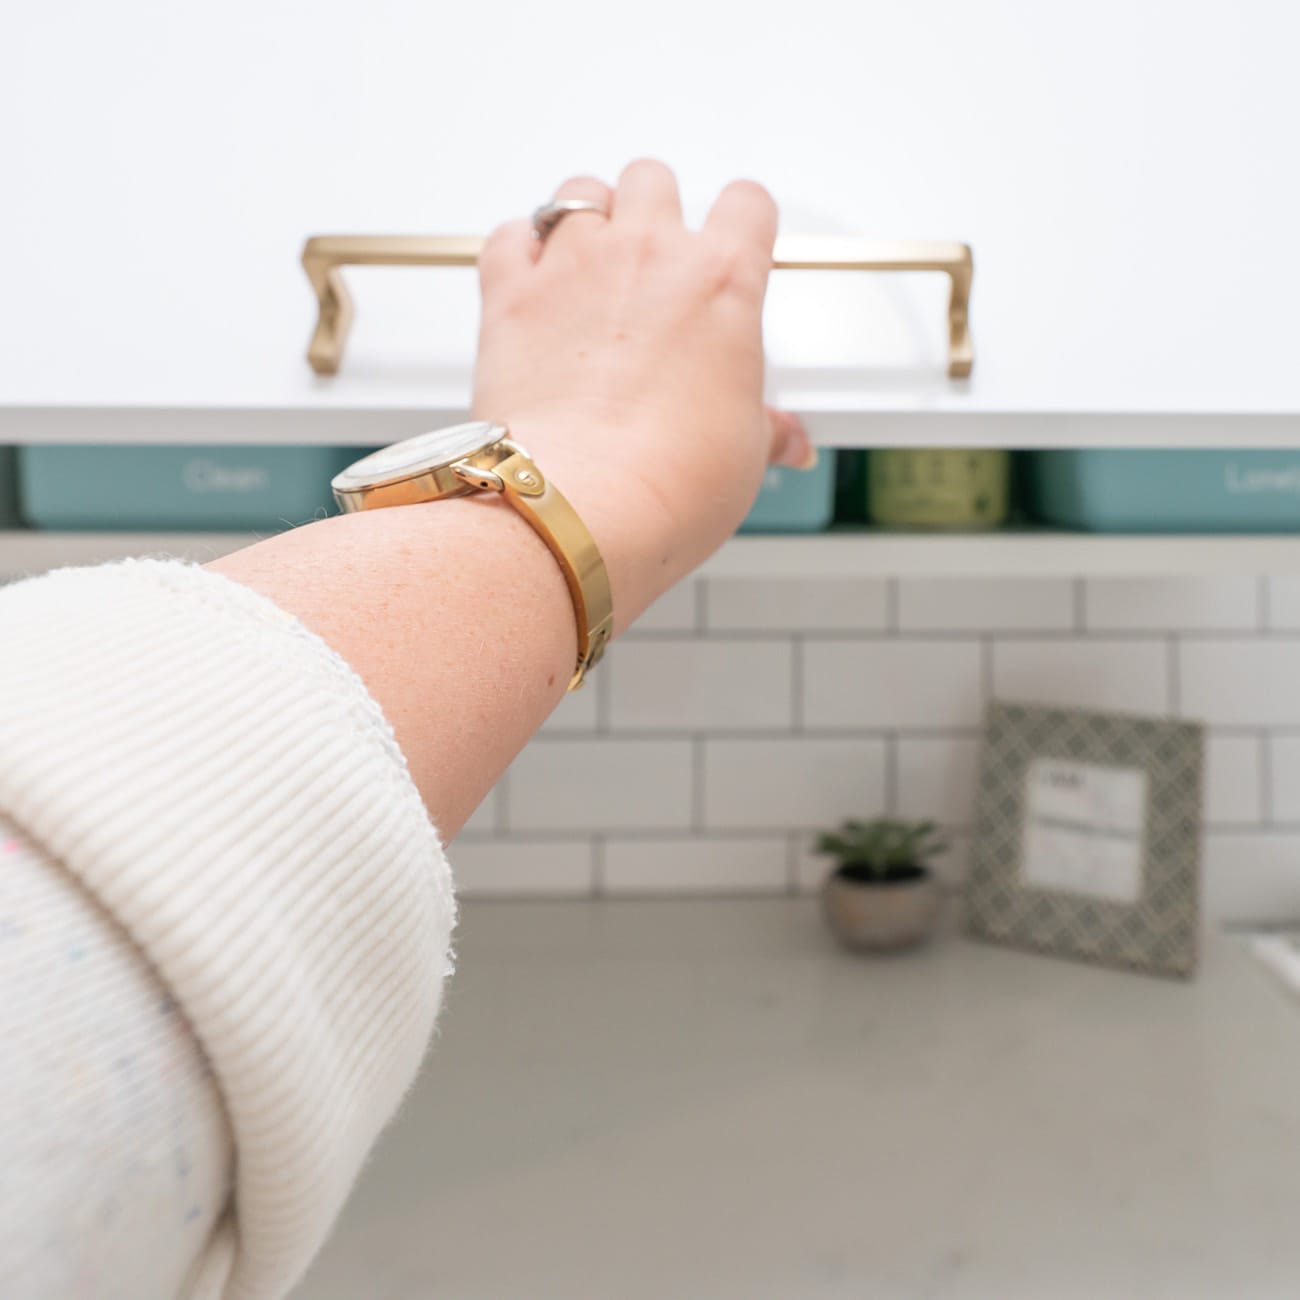
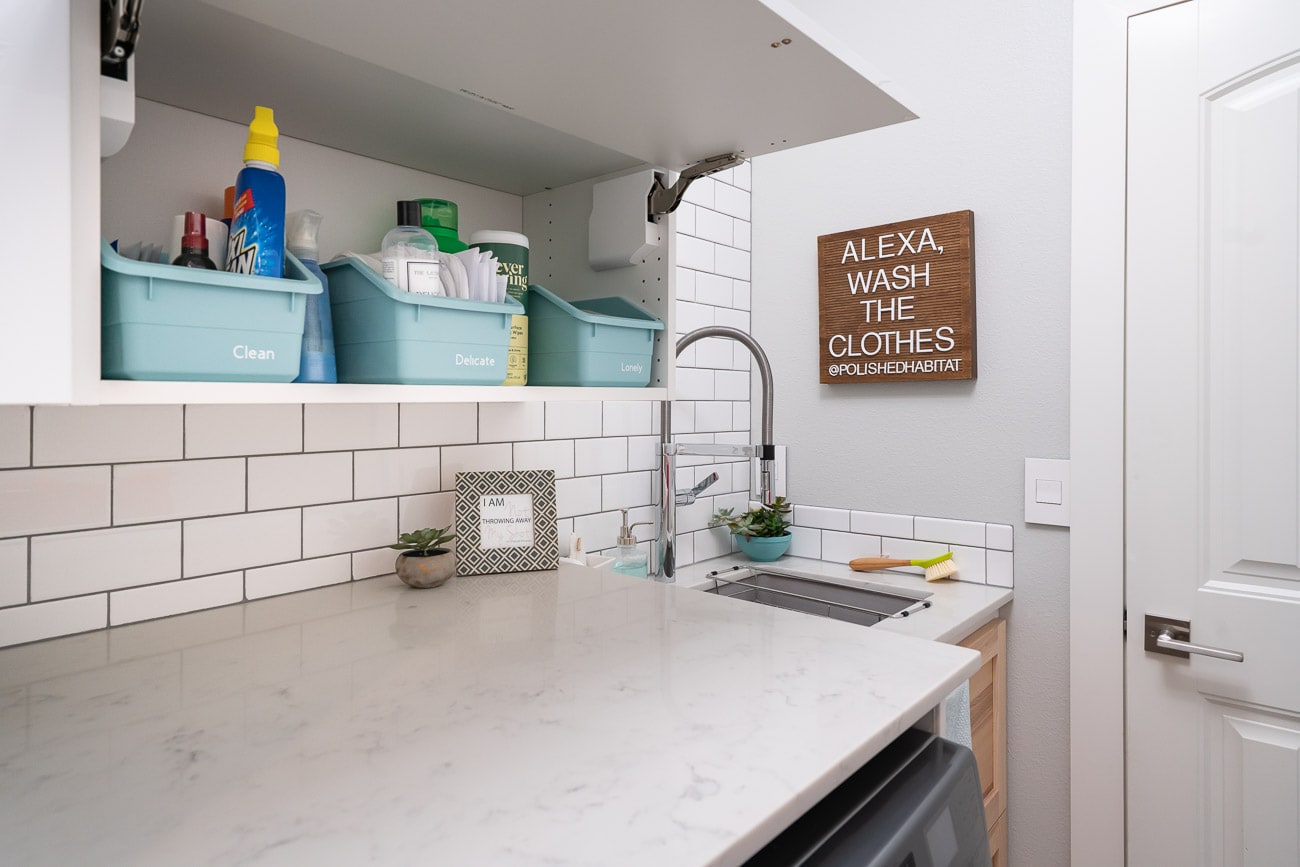
Lastly, we’ve got the new wall cabinets to talk about!
They’re deeper than the old cabinets, which makes them way more functional for us. Plus, I can actually reach the upper shelves. We determined where to hang them based on me standing in front of the washer and reaching. Don’t be afraid to make custom decisions like that!
Before we bought the cabinets, I listed out everything I would like to store in them. I knew we weren’t utilizing the old ones well and I didn’t want to make that mistake again. In fact, only the bottom two have things that were in the laundry room before, the top two are truly new storage spaces. Woo hoo!
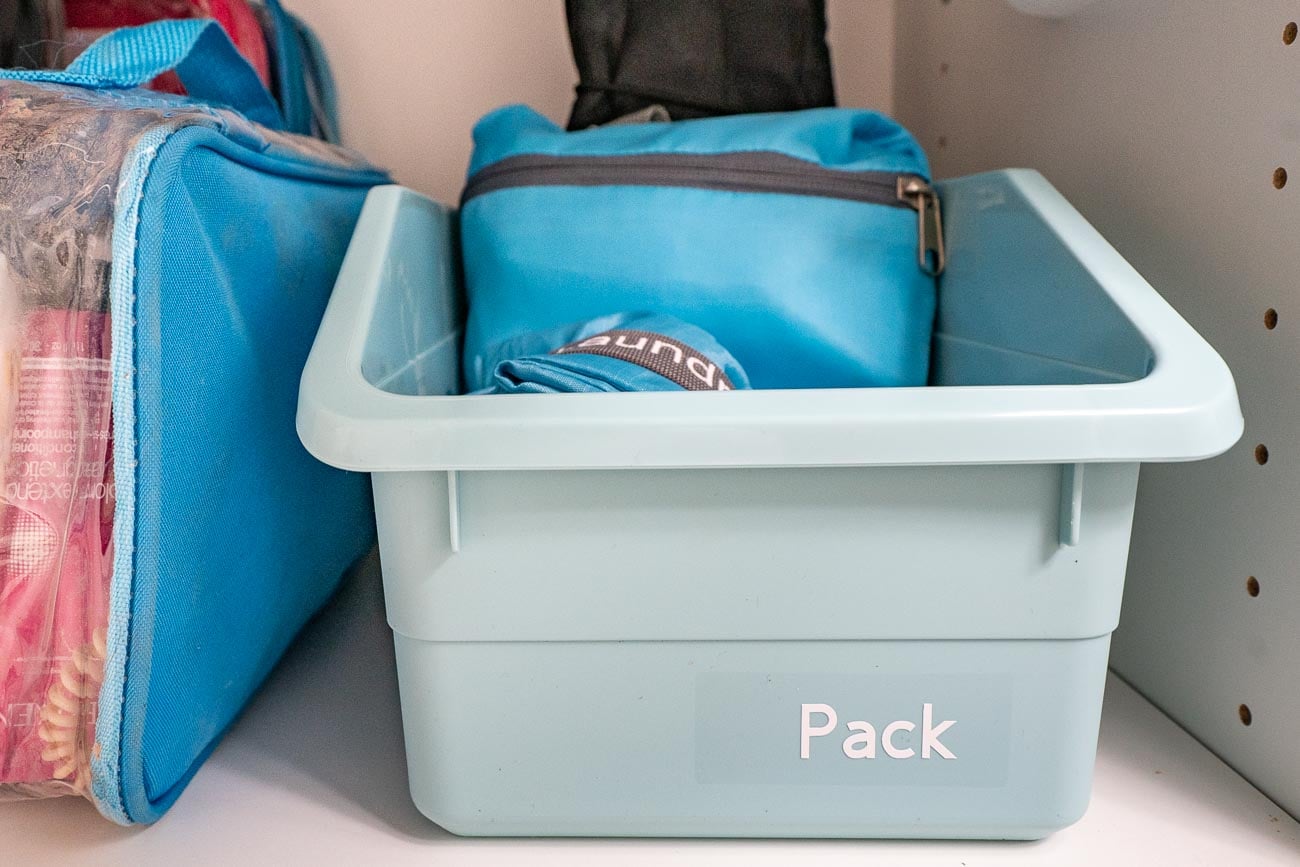
Let’s peek at those first. On the upper left, I made a home for my EZPacking packing cubes and travel accessories. The cubes were taking up one of my purse slots in the master closet, so I guess I get to buy another purse now. 🙂 PS: Don’t forget to use POLISHEDHABITAT15 to get a discount on your own cubes.
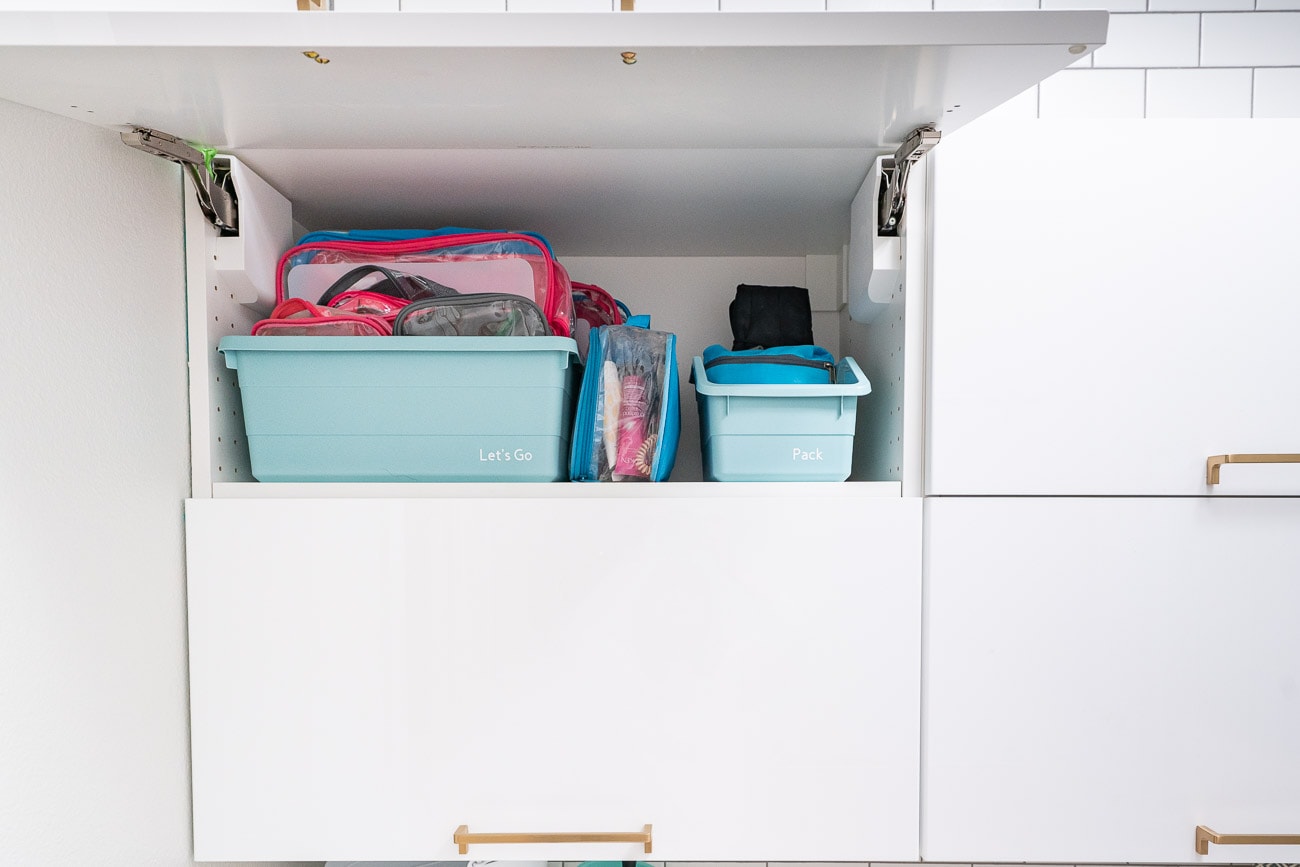
I’m REALLY excited that I can pack and fold clothes into the cubes before trips right in the laundry room so close to our closet!
The other top cabinet solved a different clutter problem for us. When Corey started going to the gym, his gym bag starting living on the floor of the tiny entry next to the laundry room.
Since that’s also a hallway between the main part of the house and the laundry room/closet/master bathroom, I’d be stepping over it constantly. And you could see it from the front door. It was a little thing in the scheme of life, but making me crazy.
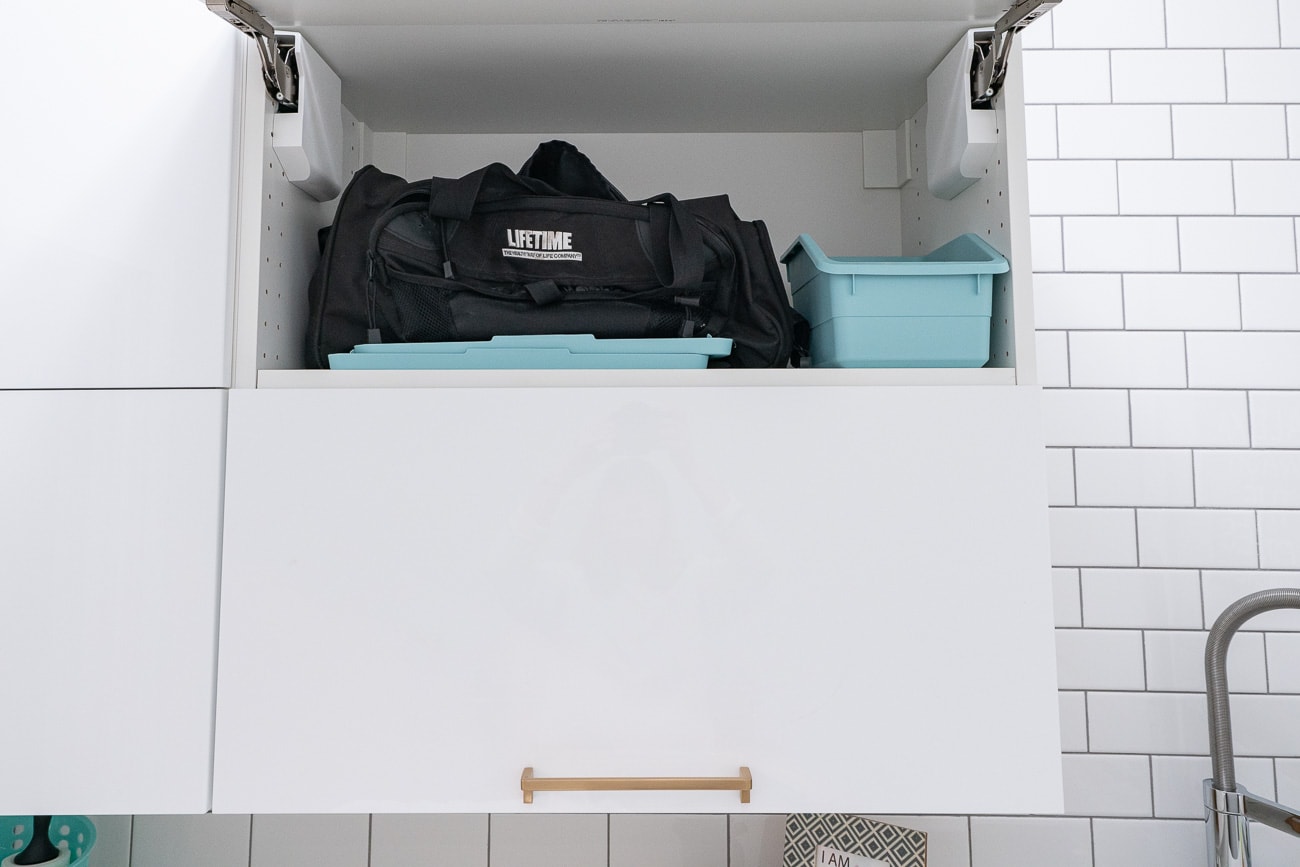
Crazy enough that I was willing to dedicate one of the laundry cabinets for it. SO WORTH IT! There’s a bit of space next to it with a container that I haven’t filled yet, but I’m leaning toward using it for flower arranging supplies.
In the lower left cabinet, I added the extra lint rollers (Maddie sheds so much we have a Costco pack of them) and other clothing care items like the spray wrinkle releaser and steamer. A gallon of distilled water for the steamer and shoe protector spray are both tucked in this cabinet as well. 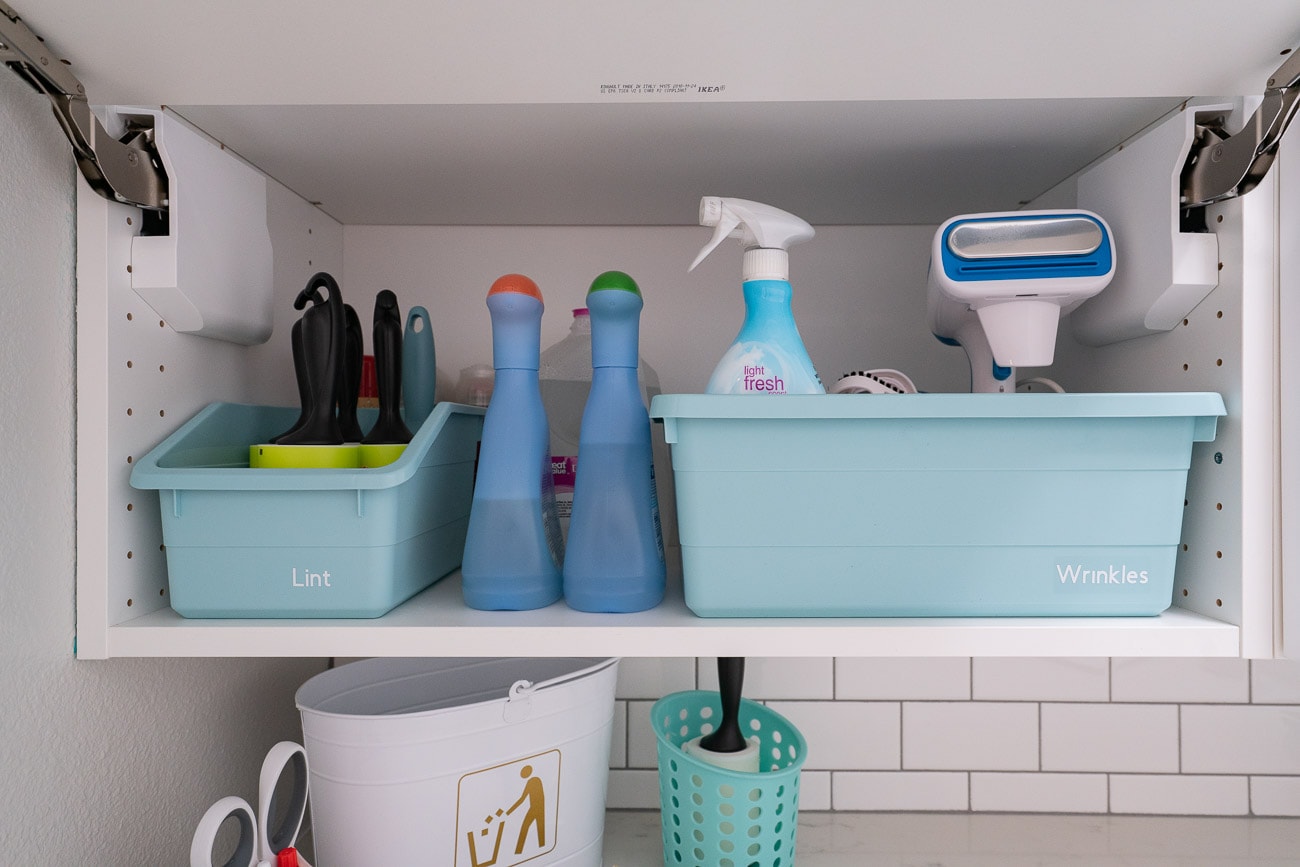
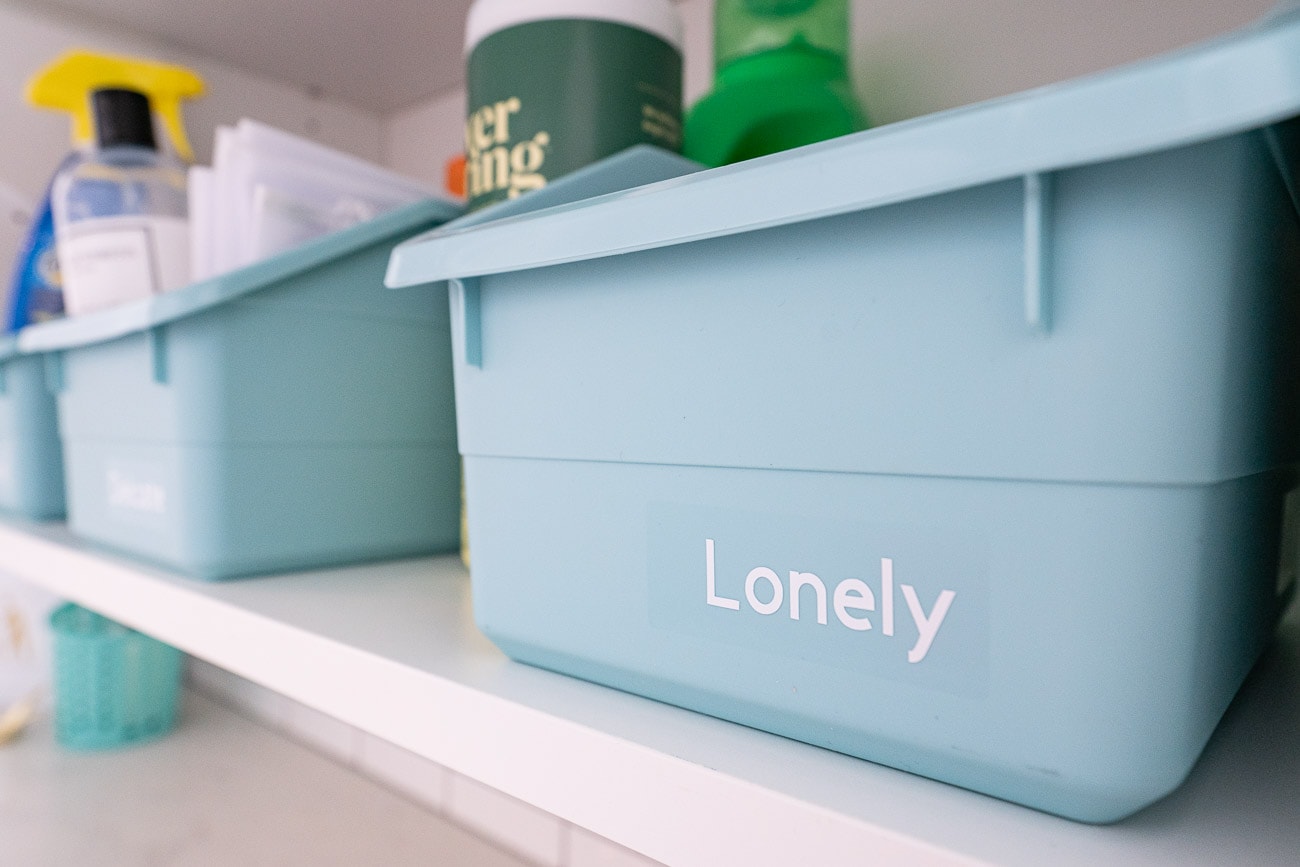
The final cabinet holds the actual laundry items.
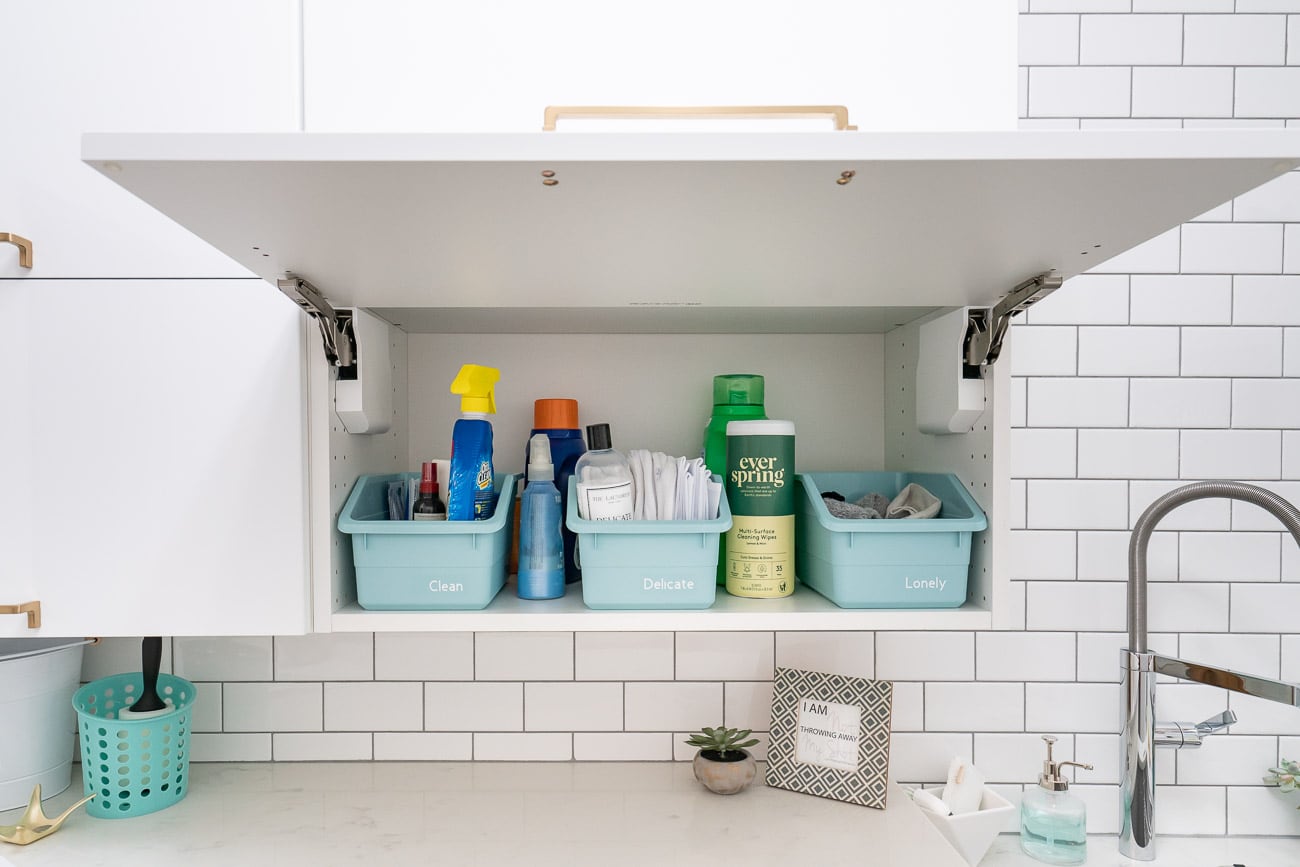 The first bin has stain removers and washing machine cleaning packets. The middle bin holds mesh lingerie and sweater bags. Then the last one is the new home of our lonely socks. Anything that comes out of the dryer without a match goes into the bin.
Previously, we also had a bin of laundry pods, and I expected to have one here.
Then the washer we picked out has the “Load & Go” feature that I thought seemed like an unnecessary option. You dump 60 ounces of liquid detergent into a container at the bottom of the machine and it dispenses it as needed based on each load of laundry. What a crazy luxury!
I wasn’t even sure if we’d use the feature since you can also use the traditional dispenser or pods, but I wanted to test it out while everything was under warranty. I’m 100% hooked and now think the engineers were brilliant! Although, I can imagine myself at a vacation rental forgetting to put soap in the washer.
It’s nice that the container of detergent can be at the back of the cabinet because I rarely have to refill the machine.
Whew! That’s all the storage and organization we’ve added to our small walk-through laundry room. I’m officially marking this project as complete.
I guess that means the only thing left to do in this space now is….laundry!


Susan says
You did a great job?????? I love the pictures of your dogs, too cute??
Melissa George says
Thanks so much, Susan!
Yvonne says
Absolute laundry heaven ? some great tips that I will be putting into practice forthwith. Thanks a bundle. ?. From Wales UK.
Melissa George says
Happy to hear it! And PS: I’ve been to Wales and absolutely adored it, both the landscape and the people! It’s been 20 years and I NEED to come back!
Martina says
I am a huge fan of organizing, though not naturally organized, I have found myself as a mom of a large family (#8 coming in December, ages 23 down to 2) finding a huge sense of peace in implementing, maintaining, and changing systems as the needs of the family change.
My question about this design has to do with one big issue not addressed. We, too, have a laundry room passthrough (shared with our pantry door on the opposite wall to boot – what a terrible design to begin with!)…how do you manage repairs for your appliances?
We have large front loaders that when we’ve had serviced have to be taken out all the way from the wall…because we don’t have a lot of room to work with, I imagine putting a tap over the washer and dryer that’s permanent wouldn’t work with allowing the tech to get back there and fix the problem. Can you help me out and explain how that works for you?
Melissa George says
Hi Martina,
That’s an excellent question and one we REALLY grappled with as well. We were especially concerned with not being able to reach the shut-off valves quickly if there was a leak. I went through all kinds of plans in my head, down to making a little door in the vertical support. In the end, I asked the countertop guys about it while they were here making the template. They said that they would just attach the counter with a silicone caulking around the outside so it would be really easy to score the silicone and pop the counter up. If there is a leak, we’d shut the water off at the street and then pop off the countertop. It’s still not ideal, but I’m hoping the huge functionality it brings will be worth it.
Jenn says
Where did you purchase your cabinets? I want long ones like this for my laundry room but I’m having a hard time finding ones!! These look perfect for my vision!
Melissa George says
Hi Jenn, they are from IKEA! We did splurge on the most expensive glossy door option and really like them. We added the hardware ourselves and it’s from Atlas Hardware.
Jenn says
Awesome! Thank you so much! I was wondering if they were Ikea! It looks wonderful! Absolutely love it!
Joanie Thomas says
Here’s a detail you didn’t address and I’m really curious about. Inside the cabinets the labelling on the blue bins is so perfect, and large. How did you achieve that? PS. just to show what a geek I am, I was immediately lusting for the little white bin on the counter, with the “trash” emblem. Now, I have an idea of what a Cricut does! My cousin just got one and I had no idea what it was for.
Melissa George says
All those bins were labeled with the Cricut too! I just used white permanent vinyl. I’m not sure which model your cousin got, but for labeling around the house, the small Cricut Joy is perfect. I LOVE my fancy Maker model too, but 90% of what I do, including everything in the laundry room, can be done on the Joy and it’s more affordable while taking up less space. This post has a little tutorial with step by step photos of making the labels you see everywhere in the room – https://www.polishedhabitat.com/cricut-joy/
Charlene says
I have been trying to get a cubbie built around my washer/dryer in order to install a counter and no one wants to tackle this project. So I may have to do this myself. Have no previous carpentry experience but am kind of handy. Did you connect the MDF panels to the wall behind the washer/dryer? Or did you use some sort of cleat at the back? Thanks in advance
Melissa George says
Hi Charlene,
We did essentially build a cleat along the back of the wall, just screwing it into the studs. The MDF pieces were attached to the back wall as well, maybe with a L-bracket? I think we made L’s out of scrap wood to attach to both the support and the back wall. It was all a bit of figuring it out as we went so my mind is a little fuzzy on where we landed. If you’re handy, I think you can definitely do it! The trickiest part was just making sure everything was level across so the countertop guys had a solid surface.
Keep in mind too that you’ll lose access behind the washer/dryer and think about the heat from your dryer. We left a couple of inches for airflow above the dryer, but check with the manufacture of your for safety guidance. After talking to our countertop installers, we all landed on them caulking the countertop into place, but not using extra adhesive because we know that at some point, we’ll have to pop the whole counter up to repair or replace the units. In theory, we should be able to score along the edges and lift it up without breaking the stone. Just wanted to clarify the downsides! I absolutely LOVE having the counter, but I still worry about the day we have to get behind it. 🙂