Although this post was sponsored by HomeRight and contains affiliate links, all the opinions, ideas, & lessons learned the hard way came from my own sweat and tears. See my full disclosure policy here.
Do you ever decide to do a project, thinking it will be quick & easy, only to find out you have thrown yourself into a huge “learning opportunity” instead? So goes the story of my bench makeover, and how I learned to refinish furniture.
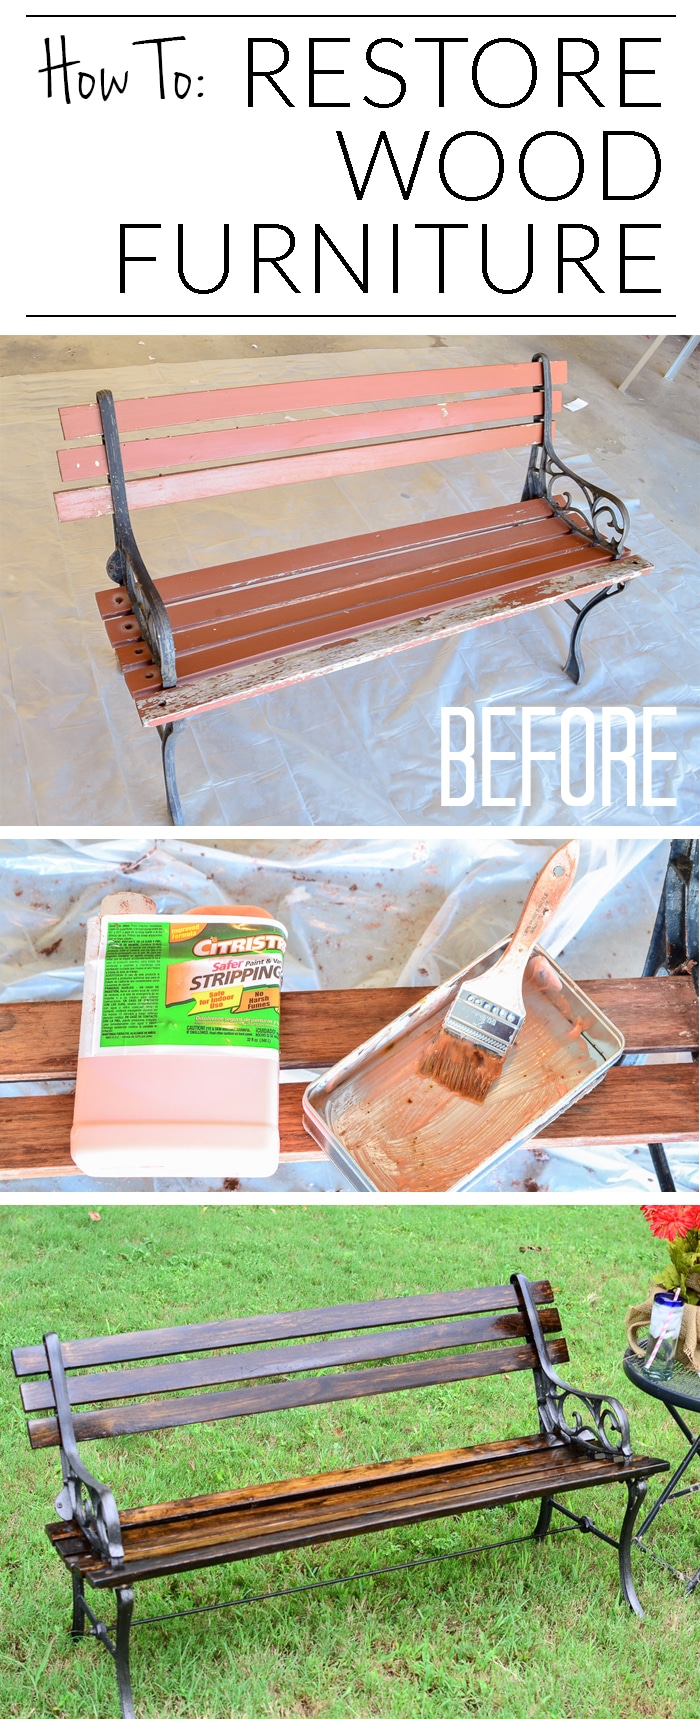
My parents had a wooden park bench that needed a new coat of paint. “What a perfect project to try out my new HomeRight Finish Max Pro Fine Finish Paint Sprayer,” I thought. “I’ll just tape off the arms, spray away, and be done in under an hour!”
Uh….No.
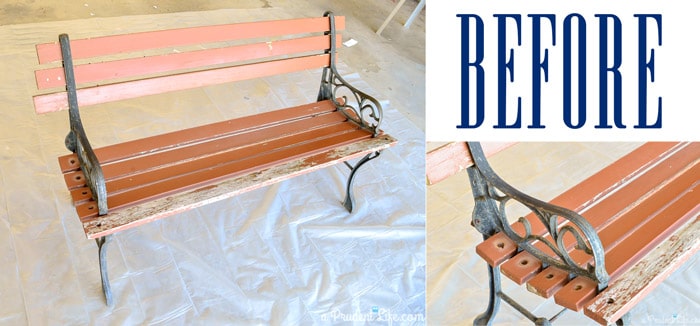
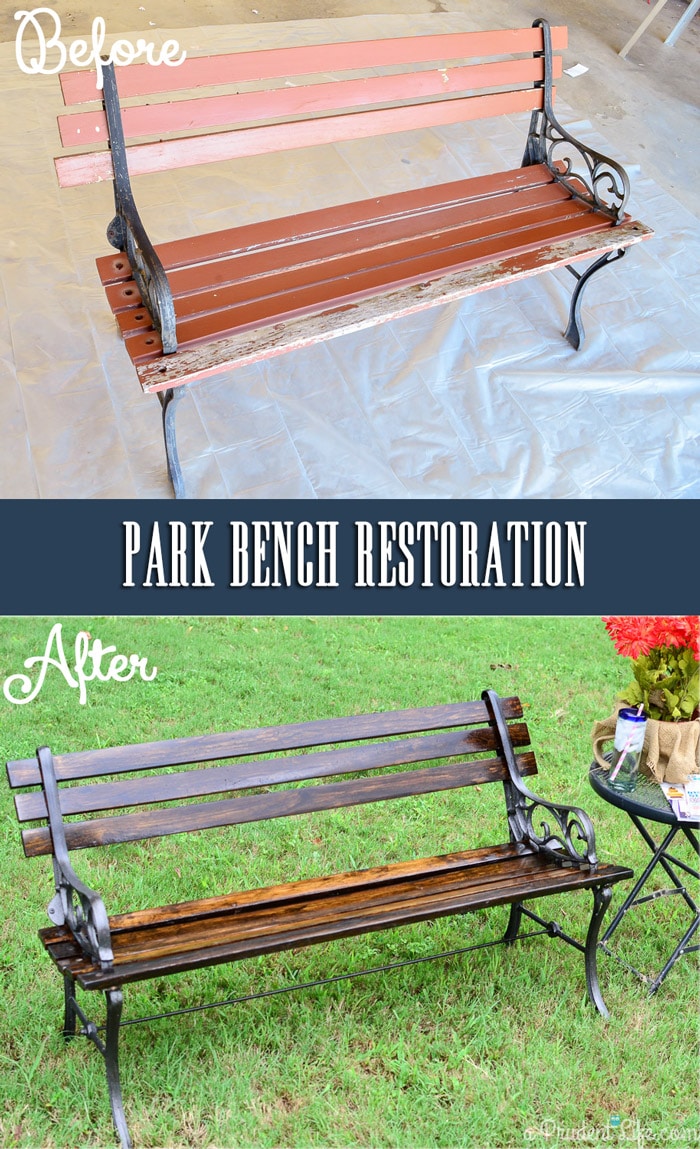
After I got the bench to my house, I realized it was in worse shape than I thought. In some areas, the raw wood was exposed. There was also some water damage. Now, I could have taken the easy way out and just bought new slats, painted them, and been done with a great looking bench. But, I’m stubborn.
I decided to strip the old paint, sand, and reuse the original boards. Between the stripping and sanding steps, the old wood looked amazing. I really lost my mind and decided to stain the wood instead of painting it. Perhaps it was the paint stripper fumes? Staining meant adding even more steps to my “quick & easy” makeover.
Times like these, my stubborn nature is quite beneficial. I was determined to restore this bench! In the end, like many challenging things in life, all the effort was totally worth it! Plus, I learned all kinds of things to share with you.
Beginner’s Guide to Refinishing Furniture
1) Safety First – This process involves chemicals, dust, and some noise. Make sure you have appropriate chemical-resistant gloves, a mask, eye protection, and maybe even ear plugs.
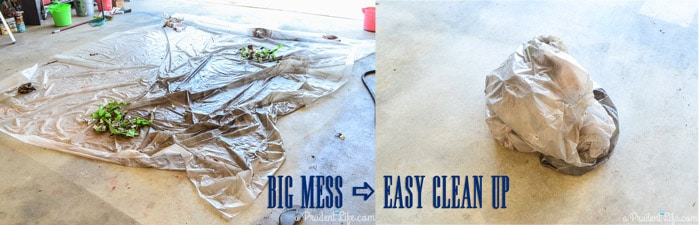
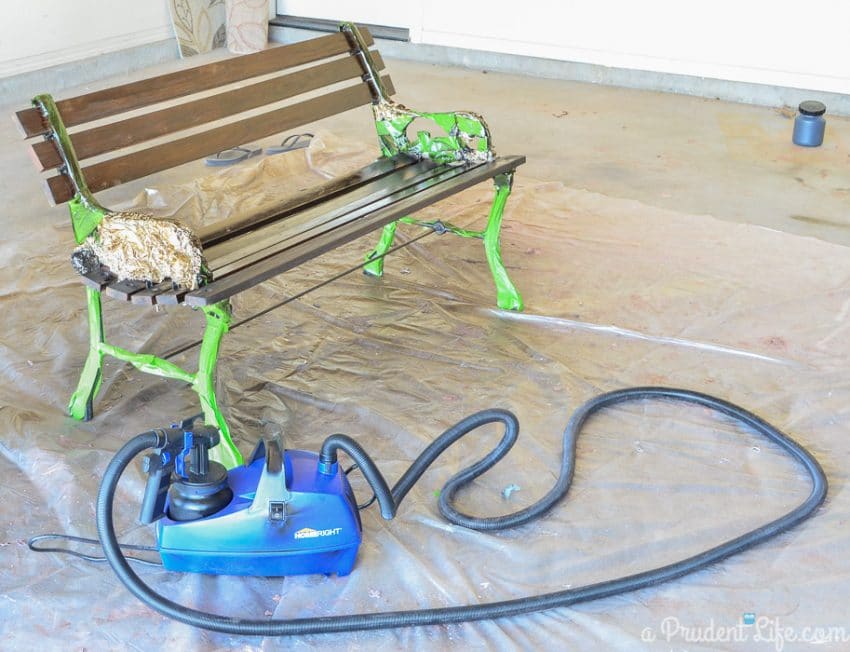
2) Prep your work space – I knew I was going to be using the paint sprayer in the garage, so I grabbed a cheap plastic drop cloth to work on. What I didn’t realize at the time was the brilliance of that plan! Stripping paint is pretty nasty, and made a big mess. When I was done with the project, I was able to roll up the drop cloth and trash the entire mess in a minute.
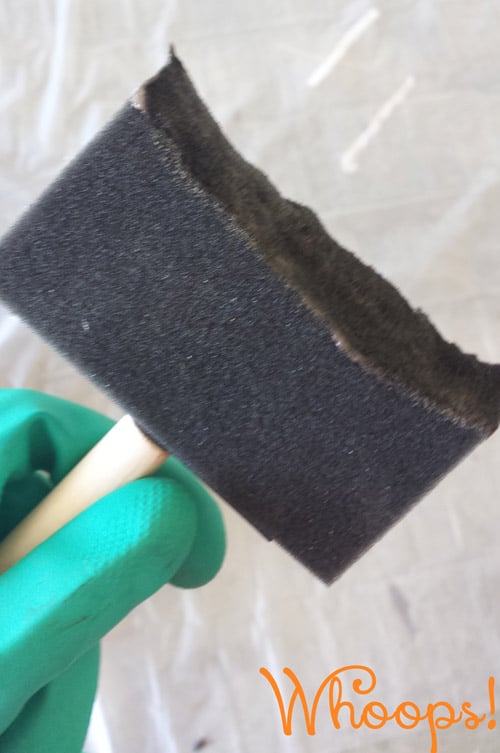
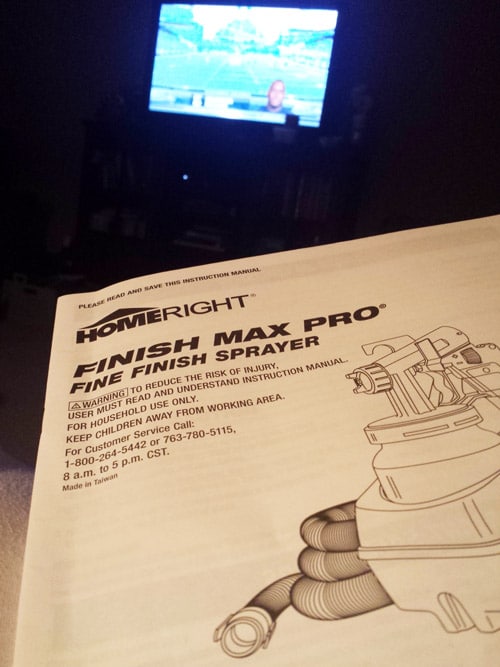
3) Read, read, read! I have this bad habit of assuming how to do things and jumping right in. I’m certain I wouldn’t have learned the hard way that Citristrip eats foam brushes if I had read the full label.
Required Reading List
Paint stripper instructions/precautions
Wood conditioner instructions/precautions – There is a minimum & maximum time to wait between application & staining
Stain instructions/precautions
HomeRight Finish Max Pro instructions for use & cleaning – If I hadn’t read these, I would have missed the brilliant tip from HomeRight to use water in your sprayer to get comfortable with the spray before you switch to paint or stain! I did my reading while watching football.
Varnish/Poly instructions/precautions
Mineral Spirits instructions/precautions
Ideally, you should read each label the first time in the store so you don’t have to go back over and over like I did. It seems like each step I started, I needed to go back for something else.
Before using each product, read the label again. I used the wood conditioner once before on my starburst mirror and almost messed up by planning to apply it one day and stain the next. No go – the product I had requires the stain to applied within 2 hours.
4) Proper tools & supplies will do 90% of the work – This one is SO important that I’m going to break it into sections.
Paint Stripping
When I was staring at the various paint stripper options at the store, I remembered that I had seen a product called Citristrip recommended over and over for being less stinky & more effective than other paint strippers. Yep, those bloggers were right. It’s a miracle in a jug.
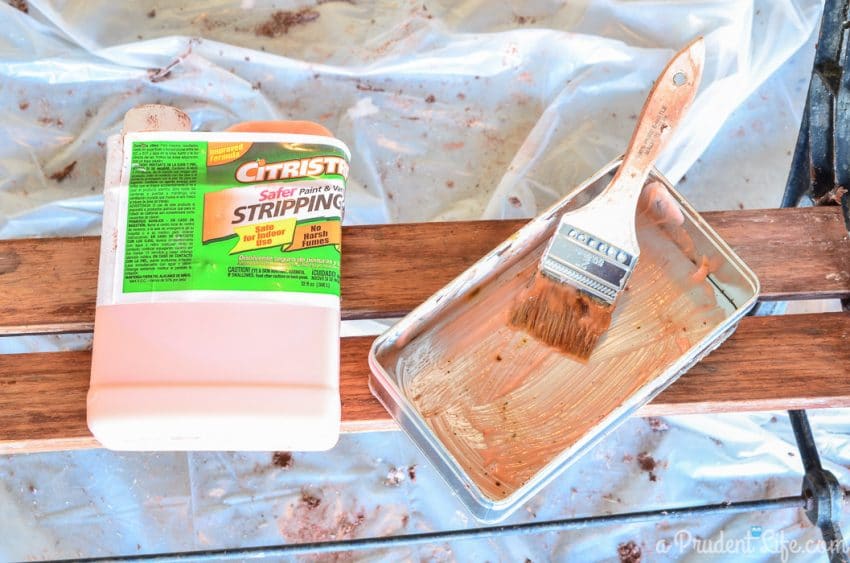
You’ll also need something to scrape the paint once the stripper has worked. I found the paint scraper section and then was stumped. There were metal options, plastic, and then even some things called stripping pads. I got really lucky with my decisions and will go with the same tools next time – a multi-tool & pack of the pads.

I used the multi-tool to get rid of all the paint chunks, then used the sanding pad to get rid of the excess liquid. It was the perfect combo!

Sanding
Possibly because I’m a wimp, I HIGHLY recommend getting a handheld sander. If your wood is in bad shape, you will have to go over each piece with different grits of sandpaper. A powered sander does the work for you. Mine was under $40 and worth every penny! I have since switched to this sander for most projects because you can use normal full sheets of sandpaper cut into 4 pieces instead of buying the special-shaped pieces. The shape of the Octo is still handy in some cases though.
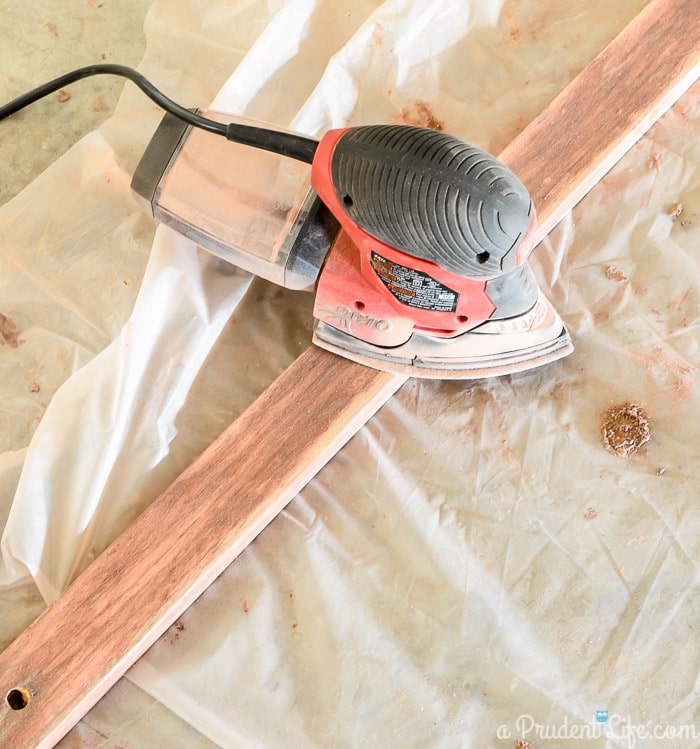
I used a coarser grit paper, followed by a finer grit on each piece of wood until I was down to smooth bare wood. I reassembled by bench so I could spray it all at once and really test the sprayer’s ability to get between the slats. 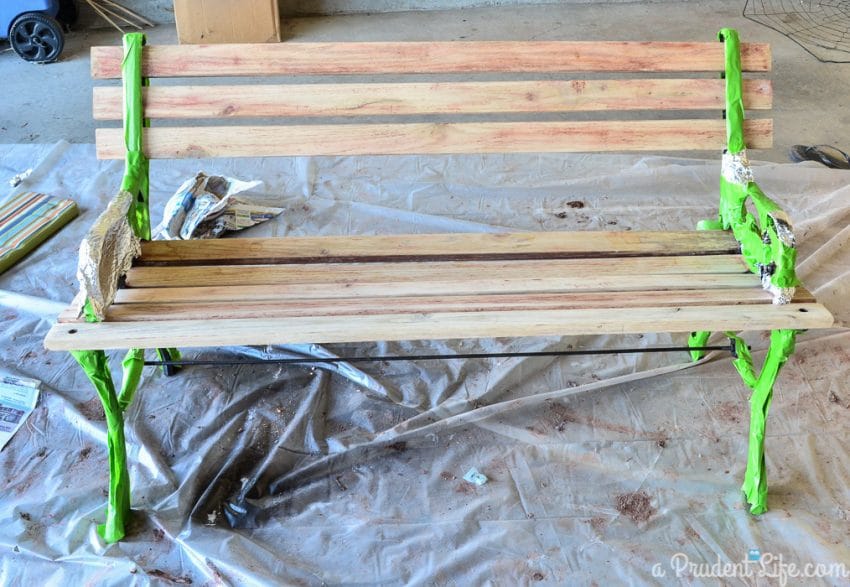
Pre-Staining
You’ll need wood conditioner, stain, and a sealer for stain. All three will depend on what type of project you are doing (indoor/outdoor). Make sure all three are compatible. For example, there are separate wood conditioners for water based & oil based stains. Make sure you use the right one, with the right brush.
Stain
To apply the stain to a small project, you could use a foam brush. As I mentioned, when I was going to paint the bench, I was excited to use my paint sprayer. Did you know they can spray stain too?
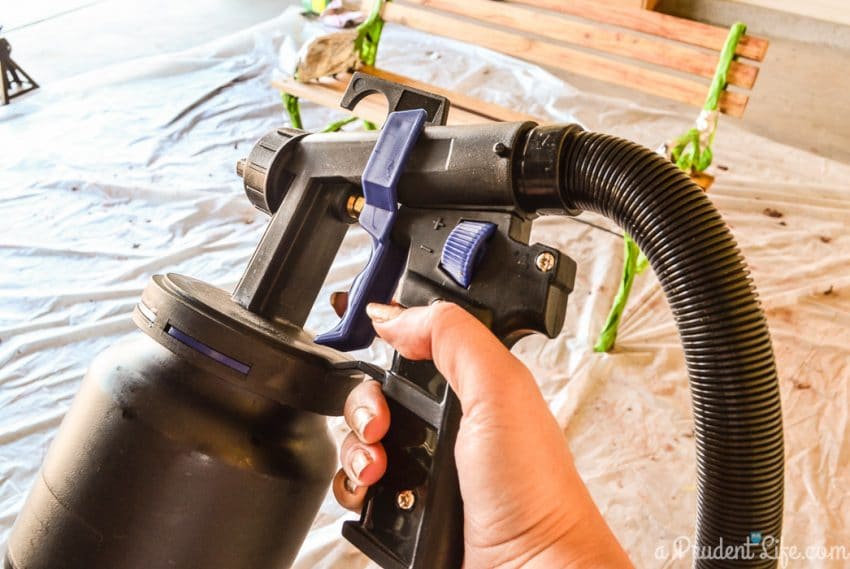 Amazing! With a brush, it’s hard to apply stain evenly. With a Finish Max Pro, it goes on beautifully. Not only is it even, don’t blink or you’ll miss the whole process. I was done painting the entire bench in about a minute. One. One minute. I was almost depressed because I wasn’t done playing with my new sprayer! I wanted to spray more! But, it was hard to be depressed when I was so impressed!
PS: Did you notice how long the Finish Max Pro hose is? I could make circles around the bench spraying the front and back with no worry of running out of hose.
Post-Stain
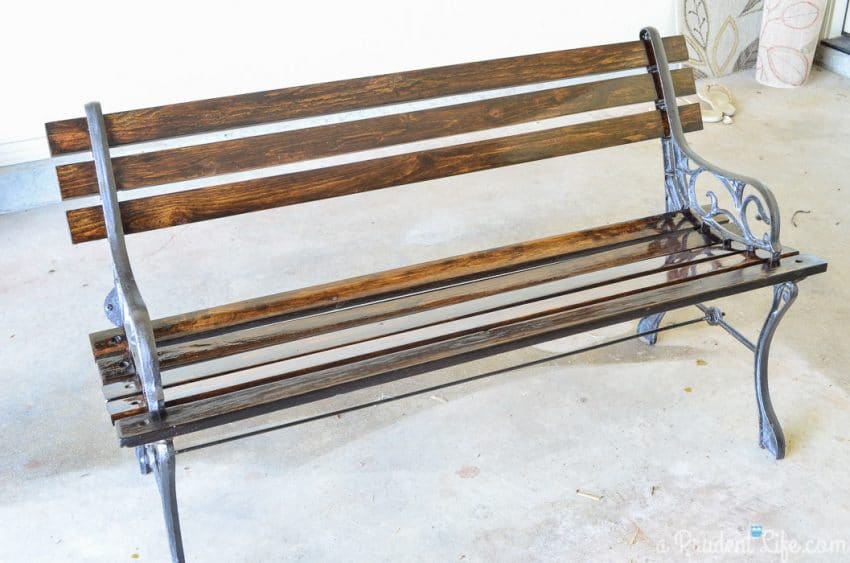
Outdoor projects like my bench need special varnishes with UV protection called Spar Varnish. Polycrylic is great for indoor projects. You’ll also need a bristle brush made for oil based products. The varnish was like the secret sauce. I missed taking a pic of the dried stain, but it was a little dull. The varnish made everything shiny & beautiful.
Finish Max Pro Clean Up
I was afraid that having to clean the HomeRight Finish Max Pro would counteract the time saved during the staining process. I had read & heard from friends that it was easy, but I admit being a little skeptical. I used the tutorial from Katie over at Addicted 2 DIY for both staining & cleaning. She recommended mineral spirits and said they would instantly clean the stain from my sprayer. She was absolutely right!
Clean up was quicker than it normally takes to wash out a paint brush! Make sure you read Katie’s full tutorial. You’ll also want to have a disposal plan for your used mineral spirits. A glass jar with a lid works well. The product is EXTREMELY flammable, so treat it with respect!
Final Thoughts
Refinishing furniture is absolutely doable, and completely worth it. Taking your time and reading ahead will save you tons of time and frustration!
Don’t forget that you are working with hazardous materials. Appropriate protective gear & proper disposal are vital.
The Finish Max Pro is pretty close to vital if you are going to be doing a big project or multiple projects. It is easy to use and easy to clean. Have I mentioned how fun it is? I’m a fan of instant gratification, and having a project completely transformed from raw wood to a stained beauty in under a minute was incredible. I’ve been looking at everything in the house differently now – I want to spray it all! Using the sprayer was truly the only step in this bench project that was quick and easy.
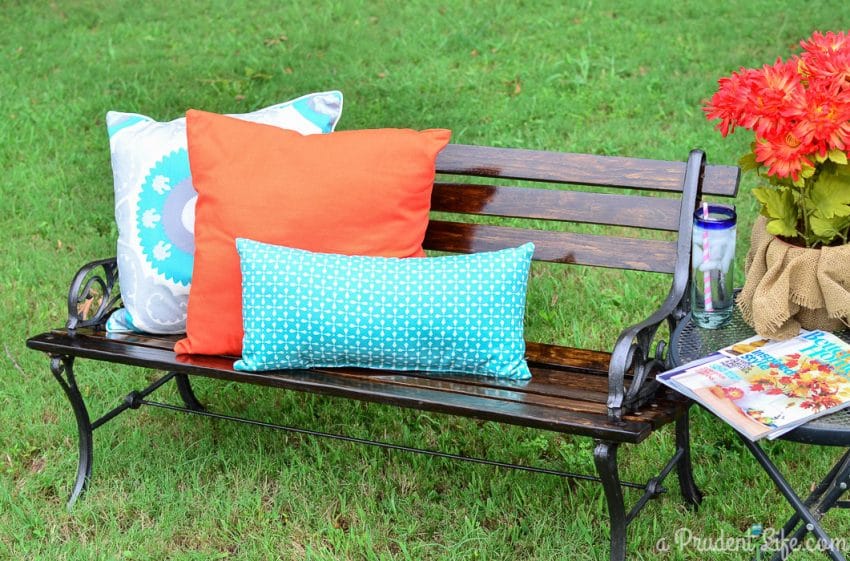
I’m still in disbelief that the gorgeous wood in the photo below was hiding under the chippy old paint. It just needed some love!
For more furniture makeover inspiration, make sure you are following my Furniture Project board on Pinterest!

Darla Bunyan says
Thanks soooooooo much for the chance!!!! I want one of those sprayers big time! I had no idea it could do stain! I am on a staining kick right now!
Diane R. says
Great tutorial…I would love one of these babies! I have the exact same bench and I love it.
Jackie Bowers says
Thank you so much for showing us how you revived the bench! I have two of those benches that I’ve been wanting to restore sooooo badly!
If I win, I know it’s possible to finish before next year!!!
ha ha ha ha!
Also, I Really appreciate your tip about thinking ahead on the clean-up! I am also probably going to have to do these projects in my kitchen! (No shop yet! That is about 4-5 yrs down the road!) So quick and easy clean up is going to be essential!
You are definitely one of my inspirational women I follow! Also to prove to my husband that other people have projects they’ve had to put off for a while!!!
THANK YOU! THANK YOU! THANK YOU!
Katie says
Great tutorial, Melissa. I admit … I rarely read instructions and usually end up mad. Also, I need one of these. :-). Just entered!! Thanks for the giveaway!
Melissa @Silhouette School says
Wow! That looks amazing! I love the transformation and those pillows look stunning on there! Just the pop the bench needs!
Courtney @ Crafts by Courtney says
What a great job you did on this bench, it looks awesome! The whole setup looks perfect.
kate says
What a beautiful change! Looks amazing! Thanks for the chance to win
Bette @ Somerset Lane says
that’s quite the job but it turned out great!
Samantha says
Amazing job on the chair. I feel your pain on the paint stripping…I had a similar mess when I decided I was going to redo my dining room table and had to take the paint off first, I used the same orange bottle of mess and boy was it messy…..it worked with perseverance but an hour into it and I was thinking “Oh dear what did I just start”. Love the dark brown stain and how it all turned out.
Jeff Madison says
I appreciate your tip on taking the time to prepare your workspace before you refinish your furniture. I would imagine that taking the time to properly prepare the space would make sure you don’t end up causing an even bigger mess. We have some furniture that needs refinishing but it may be a bit out of my league so we may hire a professional to do it for us.
Claire Bondy says
I have the newer version of the HOmeright sprayer and it is a Godsend! Haven’t tried it with stain yet, but I may now 😉
Melissa George says
We love it for painting, but staining is extra amazing because you don’t have to thin it!
Sydney Holder says
So all you did to the metal was to brush with Spar Varnish to get that deep glossy finish on it?
Melissa George says
Gosh, this is embarrassing, but I can’t remember for sure. I’m pretty sure I used this product: http://www.rustoleum.com/product-catalog/consumer-brands/stops-rust/hammered-spray/ on the metal handles because I had some left over from spray painting our light post. I must have been so focused on the wood portion of the project that I totally forgot to talk about the metal. I’m so sorry for the oversight. I will say that the spar varnish needs to be reapplied to the wood at least every year if your bench is in the direct sun. We didn’t reapply it to my parents and it’s looking pretty shabby again after two years in the Oklahoma sun.
Sydney says
Not to worry about the oversight. The Rustoleum makes perfect sense. I know your article is older but I’ve got my eye on a decrepit bench almost exactly like yours so finding this tutorial was extremely timely for me. Thanks for your prompt reply. I’m looking forward to snagging this bench and having some fun with it. Thanks again.