While I’m convinced my personality is FAR from minimalist, I’ve also learned that there is power in decluttering and organizing the spaces around you. I’ve talked before about how much easier my mornings have been since I removed all the unnecessary items from the cabinets under the bathroom sink. That same positive feeling happens each time I declutter a new space!
Step 1 of the organizing process doesn’t always get enough attention because we’re too excited about the pretty end result. But without the decluttering step, getting and keeping an area organized is a challenge.
There are a couple different approaches depending on the time you have available.
Option 1: Quick Decluttering Tips – The Microwave Version
You know those frozen meals that have two sets of instructions? The microwave version totally works in a pinch, even if the slower version may taste a bit better.
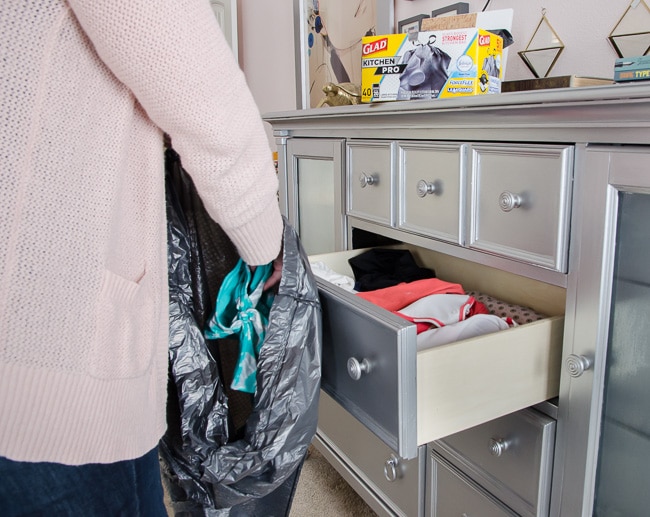
Grab 2 trash bags and 1 large tote bin, marking the bags as trash and donate, and the bin as sell.
Set a timer for 15 minutes and race around the house trying to fill up your bins and bags. Start with the areas that frustrate you most during the week.
For the trash bag, outdated toiletries/makeup, worn out clothing/shoes, and out of date food are possibilities.
The donate/sell containers are up to your discretion and it’s even fine if you only have one or the other. Just double up for bag/bin you select so you’re still getting rid of 3 containers of things total.
We tend to donate adult clothing because it doesn’t do well at garage sales here, and I love being able to take that bag to my trunk right away. If you hate dealing with selling things, donate it all and if you love participating in local sales group or garage sales, you can sell everything.
Just be aware that the danger of selling is that the stuff doesn’t leave your house right away.
We’re lucky enough to have ample attic space, so I add items to garage sale bins throughout the year and keep them out of sight in the attic.
What you don’t want to do is gather 3 bins of things to sell and then leave them in your entryway for 6 months.
It just amplifies the clutter the problem by focusing it on one area that will constantly bring you down when you enter the house.
Trust me, it’s spoken from a recovering entryway hoarder. 🙂
Option 2: Optimal Decluttering Tips – The Oven Method
The quick method is great to do on a regular basis but to REALLY do the best decluttering work, try the oven approach. You might be a bit more satisfied, just like an oven-cooked meal.
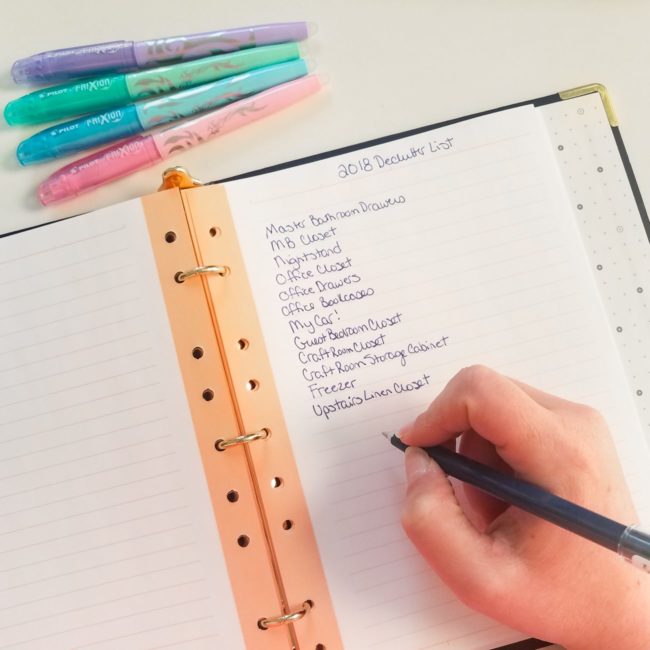
Make a list of rooms in your house, breaking them down into manageable areas. For us, the living room would be one space, but I’d separate the kitchen into cabinets, drawers, pantry, and refrigerator/freezer.
Try to break things out enough that none of the items feel overwhelming on their own. If you’re anything like us, you’ll probably still have a few intimidating things on the list.
For me, the most frightening places this year are the office closet and attic.
The great news is that you’ll also have some less scary spaces on your list. I know my nightstand drawers are beyond due for a decluttering, but I can tackle them in 30 minutes while watching Netflix.
When you have your list of spaces, commit to REALLY decluttering at least one of them per week until you’ve finished the list. You can pick and choose and go for the quick wins on hectic weeks, and conquer the challenging areas on weeks you have a little more time and/or energy.
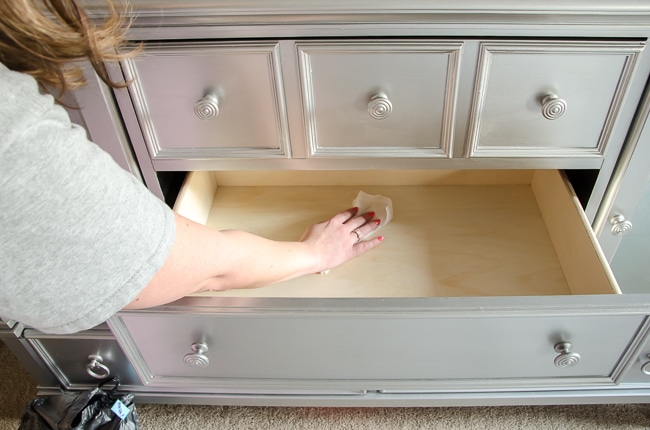
The ABSOLUTE best way to get rid of the most clutter during this process is to take EVERYTHING out of drawers, cabinets, or closets.
If I went and looked in my nightstand right now, I’m certain I could find a few things to pull out that I no longer need.
But if I take EVERYTHING out and focus on only returning the items I really need/want in those drawers, I guarantee I’ll identify more items to get rid of.
It’s a magical mental shift between choosing what to remove and choosing what to keep that has worked for me for years.
Plus, it gives you a chance to do a bit of cleaning!
You may also find items that you want to keep, but that don’t make sense in their current location.
Working through your whole house like this will leave it not only decluttered, but more functional because along the way you’ll inevitably decide to relocate things to places that make more sense.
Feeling overwhelmed by the idea of working through every spot in your house?
Start small by identifying the top 3 to 5 spots in your house that feel cluttered and commit to finishing those over the next 4 weeks. After that, I bet you’ll be hooked and want to continue, but if you don’t that’s okay too. You’ll still have made big progress!
While it would be ideal to leave each decluttered space perfectly organized, I think it’s a good distinction that decluttering alone is worthwhile.
Depending on your needs, organization projects can require a budget and more time, while decluttering is FREE.
Although finding things to sell would be a great way to raise money for the organization step!
I hope this gives you some encouragement that the most important part is just starting somewhere, and that any progress is worthwhile progress.
What area of your house are you going to declutter next?
If going through your clothes is on your list, I’ve got some tips specific to purging clothes in this post, so head there next! OR is PAPER and incoming mail your issue? Here’s how I finally solved that problem at our house.
If you thought this post was helpful, can you do me a favor and click the image below to pin it to your organizing or cleaning board? Let’s spread the word and help everyone else declutter too!


Felicia says
Melissa, you have made Fridays so much fun!! I actually look forward to your Fast Friday posts. Thanks so much!! This has helped me so much with the Winter blahs!
Melissa George says
That makes me so happy to hear Felicia! Those Winter blahs seem to be hitting everyone extra hard this year (me included!), so I’m relieved the posts/emails are helping you!
Mari says
This microwave/oven method really makes sense to me! Thanks for simplyfing what seems to be a never ending chore.
Melissa George says
I’m so glad that visual was helpful!
Diana Lopes says
I simply love these tips! They’ll definitely make my organizing much easier. Thanks!
Patricia says
I did the oven approach for about six months (closets alone took forever!) I bullet journaled what I had to do each week/month and gradually worked my way along. I’d planned on finishing every closet, cupboard and shelf on the top floor of our house when my husband (who had health issues prompting our upcoming “someday” move) told me he needed to move NOW. And in the next month and a half, I microwaved through the rest of the house (just the parts I had to do) and we moved from a four bedroom two story with basement into a two bedroom condo with absolutely nothing packed away in storage lockers. And this only worked because I’d been nibbling away at this for years.
Years earlier I’d decided when we did move, we’d pick out just what we needed to move into our new home and leave the rest to be sold in an estate sale (family had a free shop the house day first) and the leftovers got donated.
Every now and then I’ll think of something like “I wish I still had champagne flutes for New Year’s eve”. Except not really. I bought a couple packs of all purpose wine glasses from Ikea that can go in the dishwasher and they’re just fine. And that’s true of anything I might “miss”. I almost never used it or I would have moved it. And that’s true of 98% of your stuff. If you love it, use it and value it, you’ll keep it.
It also helped me stop shopping. I mostly don’t go into stores anymore. I gave away so much stuff I don’t want to buy back the junk I gave away for free.
Melissa George says
What a blessing that you had done SO much work before the downsizing! And it’s great to hear that you rarely even being to miss the things you purged. I definitely agree with you for all the things I donated from our kitchen last year.