 This is a great project that could be adapted for any season. My version was just under $20. It could have been $10 if I waited for one of the frequent half off sales. I rarely buy anything at Hobby Lobby full price, but sometimes when a great idea, a holiday deadline, and big blank wall collide, you just have to go for it! Besides, the finished product is three feet wide so even $20 seems pretty reasonable. I’m a excellent rationalizer – can you tell?
Here’s what you need:
*Chipboard Letters from Craft Store
*Scrapbook Paper
*Double-sided Adhesive
*Exacto Style Knife
*Craft Paint & BrushOptional: Staple Gun
Step 1:
Paint just the edges of your letters a dark color that coordinates with your selected paper. I like a dark color because it helps the letters pop off the wall. I used a deep brown. Sorry I missed a picture of the painting process, but it was pretty straightforward. Kiddo’s could even do it for you since you’ll be covering the front – neatness is not required.
TIP: Do NOT stack your letters on top of each other OR on paper towels to dry. Trust me. Next time I’ll try wax or parchment paper.
Step 2:
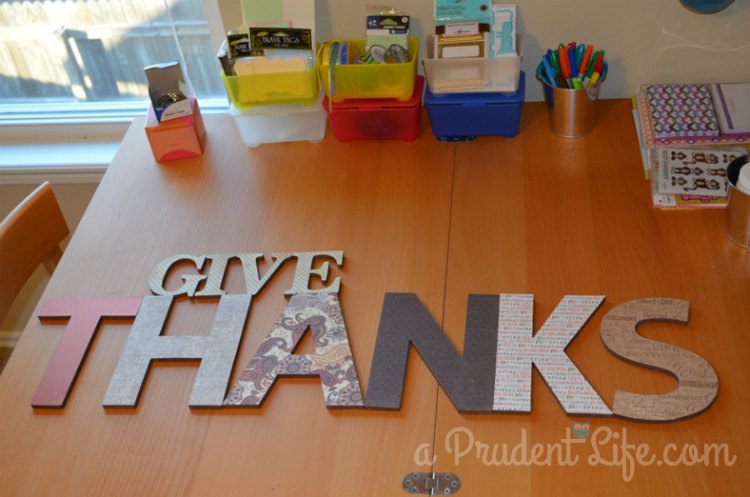
Plan your paper. I’m glad I did this because I like the effect of the GIVE being one consistent paper. I think the little letters may have been overwhelmed if each was different. However, you’ll notice I forgot to to follow my plan for the other letters! Oops! 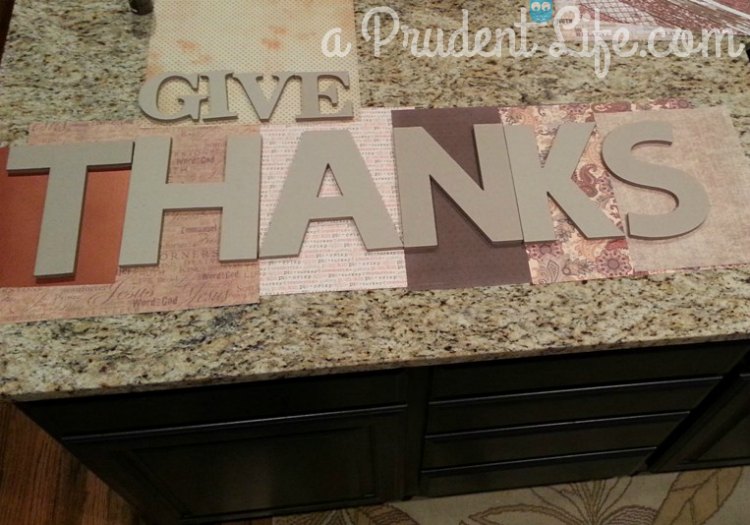
Step 3:
My original plan was to decoupage the paper to the letters, but I didn’t like how the first small letter was going. Not sure if it was my technique or just a bad idea. Luckily, plan B was much better. I used one of my favorite tools – the glue dot dispenser! Run a row of dots along the outside edge of your first letter. Make sure you are working on the FRONT of your letter. 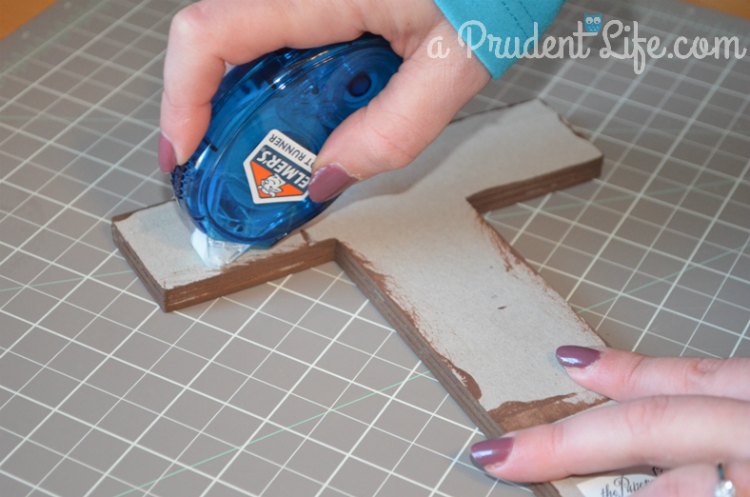
Step 4:
Press the letter firmly to your chosen paper. 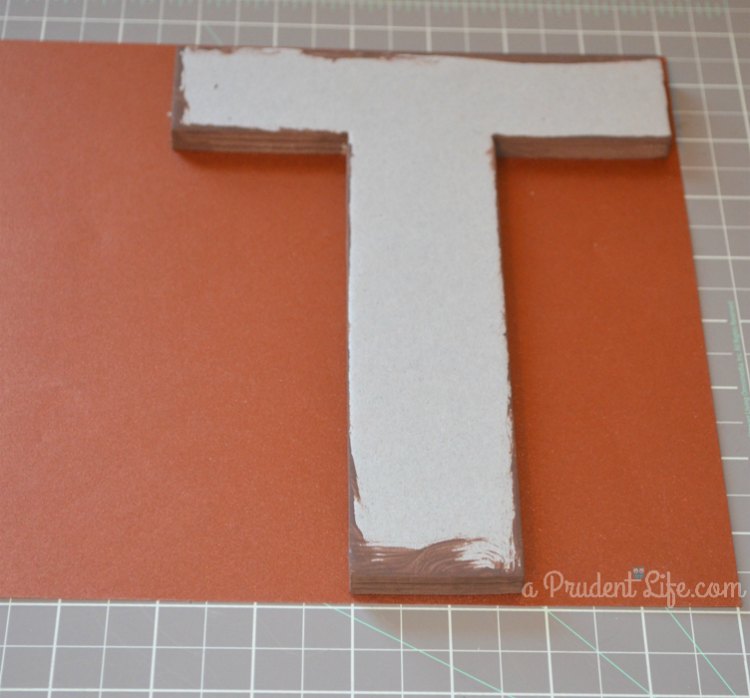
Step 5:
Carefully cut out your letter using an exacto style knife. This part is not for the kids! 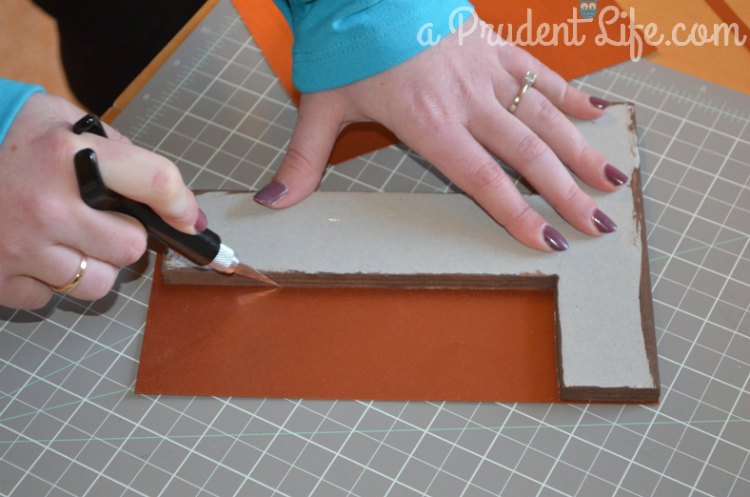
Step 6:
After admiring your first beauty, start back at Step 3 for your next letter. Rinse & repeat until all of your letters are finished. 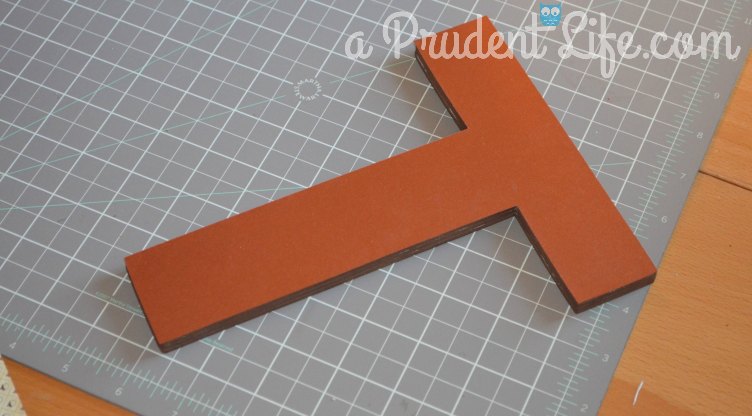
Step 7:
You could hang each letter now using normal spacing. I decided that I liked the look of having all the letters squished together, so we flipped everything over and stapled them. The staples we had were almost the same depth as the sign, so we improvised with some pieces of cardboard. We ripped a box apart and placed pieces just in the area we were stapling. It worked really well and no staples came through the front. Whew! 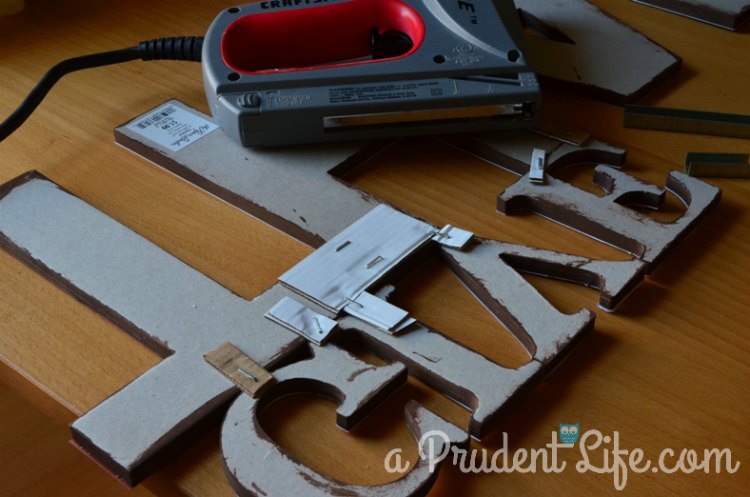
Step 8:
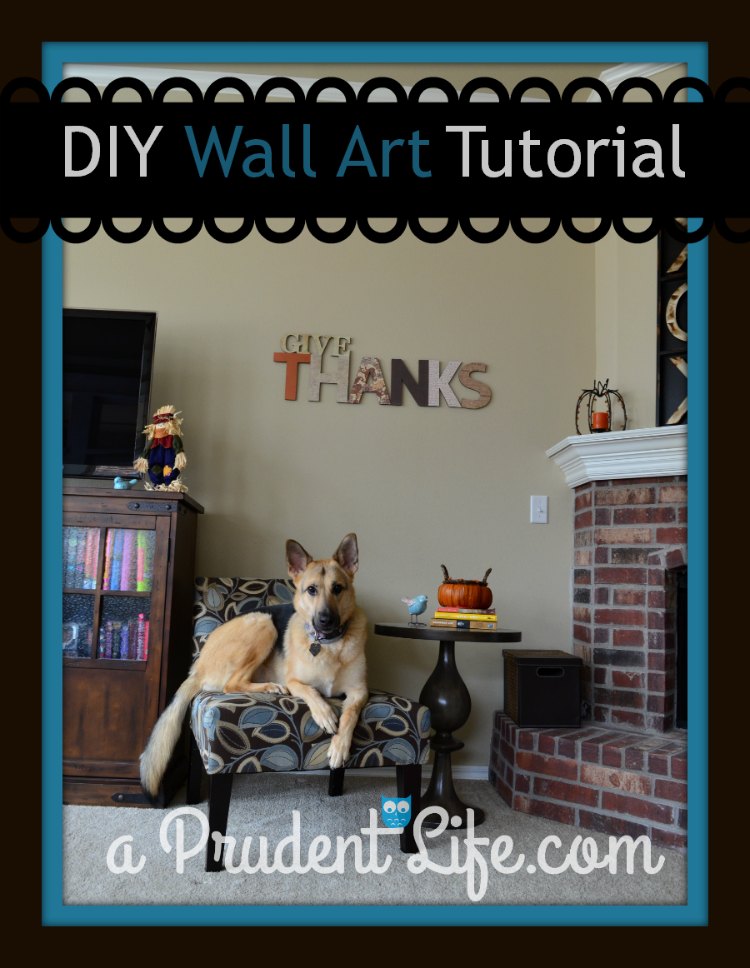
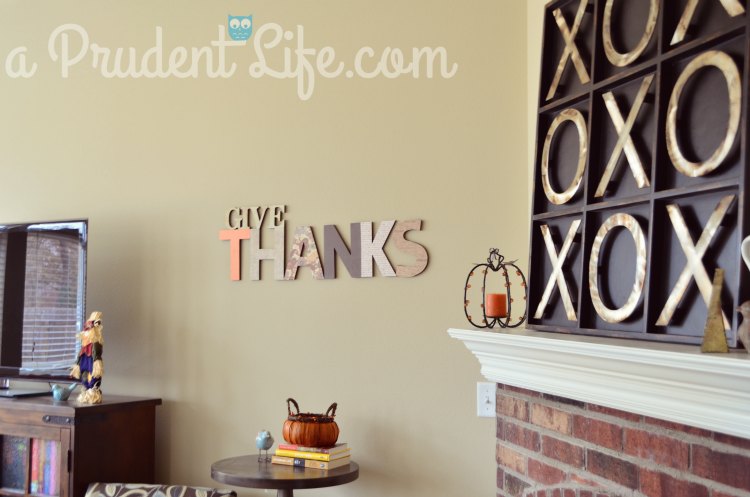
You should now have a complete beautiful piece of custom wall art. For hanging, I found some 3M Command Poster Strips that are like a magical combination of Command hook adhesive & Velcro. They are working great! Here is the finished product – mine is 12 inches tall, 37 inches wide, and doing a excellent job filling in a previously blank spot in our living room. 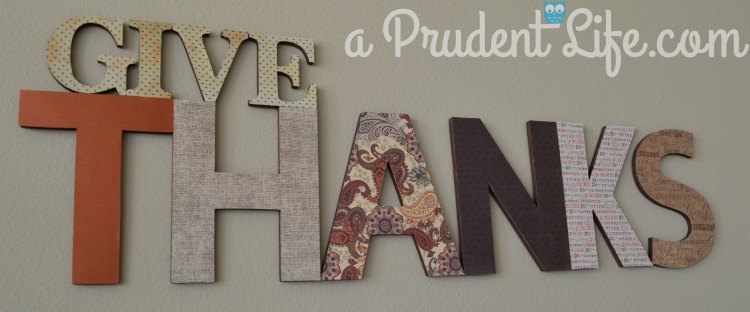
 I needed something to add some height to the middle of the picture. I think Maddie did a great job.
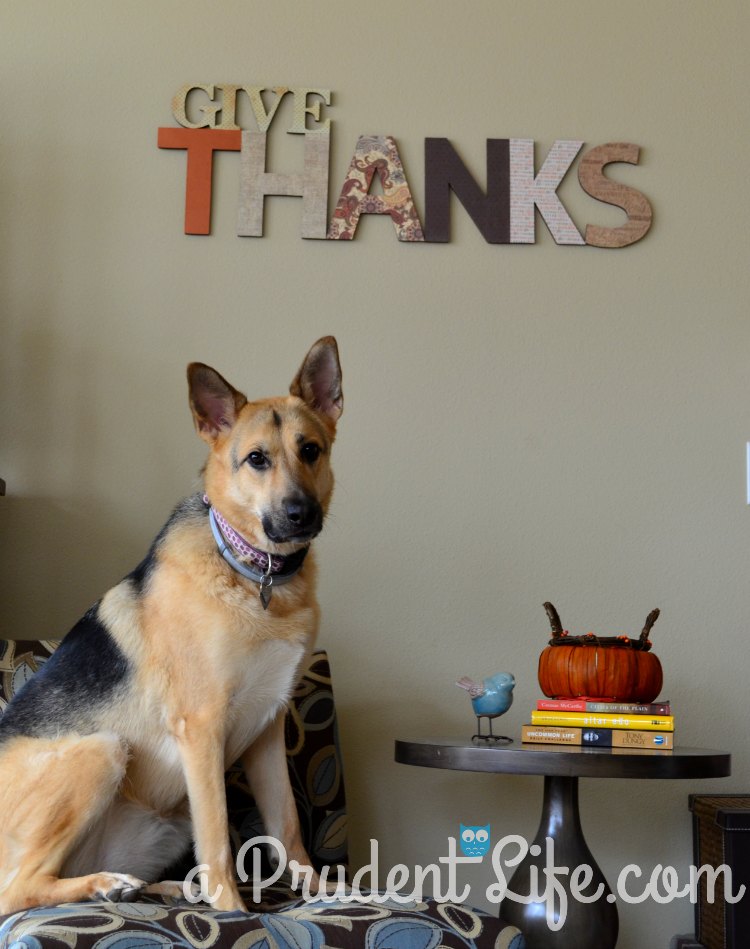

Amanda Michelle says
Too cute! I’m bookmarking this for next Thanksgiving. 🙂
melissa@polishedhabitat.com says
Thanks Amanda! If I wasn`t so obsessed with Christmas decorations, I would have been super sad to put this away. Can`t wait to get it back out next fall.