
Each season, I love to add a little something to freshen up our home décor. At the same time, not being intentional with those minor additions can turn into major clutter over the years. Now, I try to stick with decor that adds function or has personal meaning. In today’s new post, I’ll show you how I updated a simple wood tray to create a piece of personalized summer decor using the Cricut Joy.
The tray will be a decoration behind our stove most of the time, but also doubles as an easily accessible try to carry s’more goodies to the backyard or to gather ice cream sundae toppings after a family dinner.
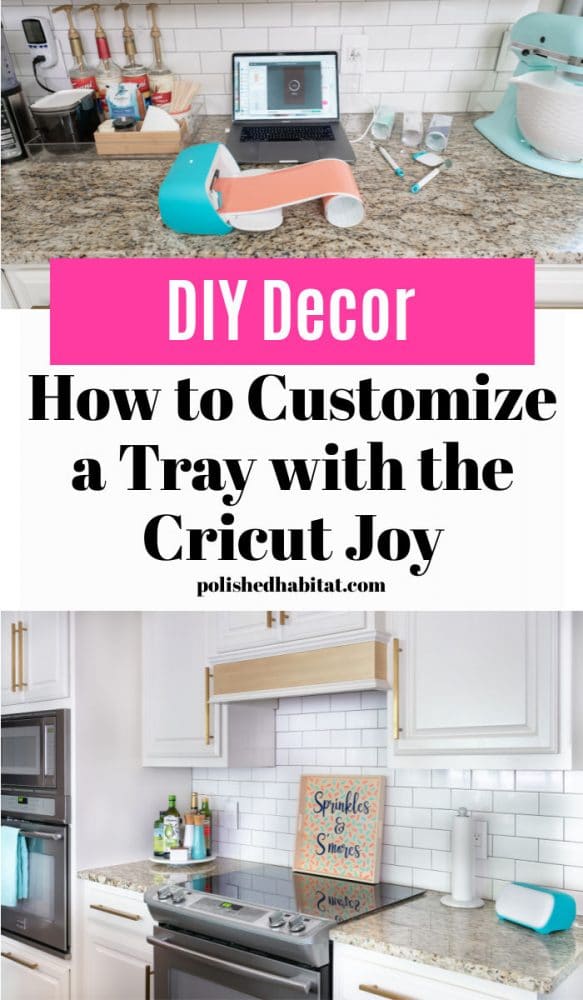
If you’re familiar with the Joy, you may be thinking there is no way that the machine’s small size will let me decorate a large tray, so I can’t wait to show you how easy it is to use on larger projects.
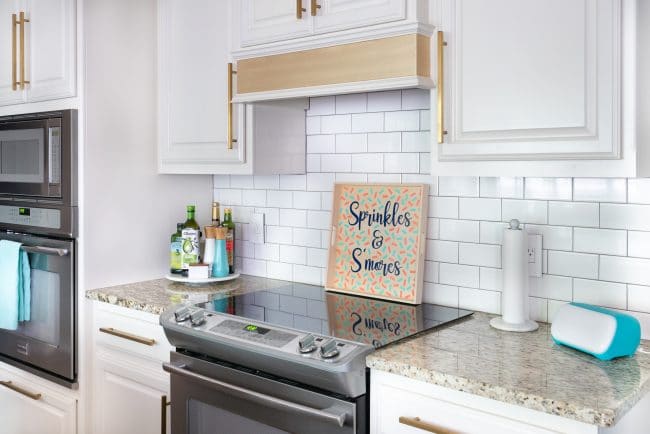
To start, you’ll need a plain tray. I bought these, but you can also thrift or DIY one. I debated painting the whole tray white before beginning, but I opted to leave the raw wood for some contrast since it’s going against the white subway tile backsplash.
You’ll also need Permanent Smart Vinyl because it’s water-resistant, Transfer Tape, a weeding tool, and of course, the Cricut Joy with the regular blade. PS: If you have an Explore Air or Maker series machine, you can do this project too! I just wanted to highlight that it was possible with Joy.
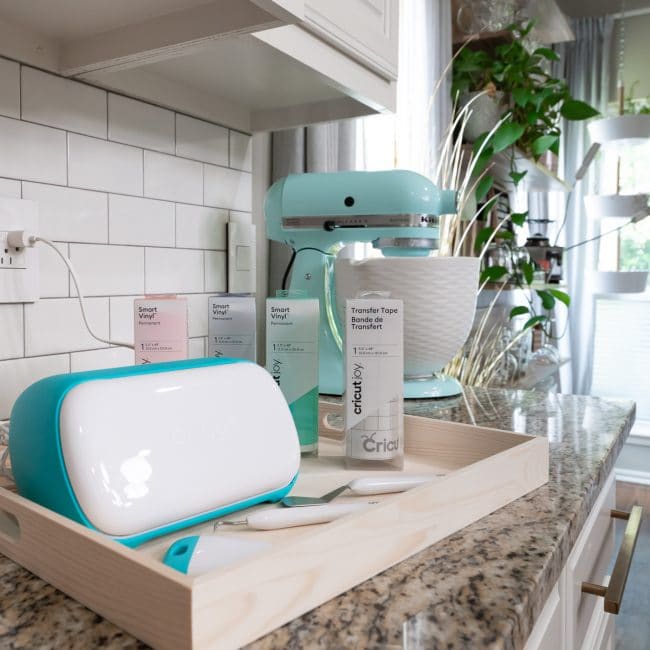
I picked three summery vinyl colors – Blue, Mint, & Coral – that coordinate with our kitchen. I love that you could do the same project in totally different colors for your own house.
If your house also needs a Sprinkles & S’mores tray, you can grab the design right in Design Space. But it’s also very easy to personalize your tray for any season using different phrases. For example, I might need to make a “Hot Chocolate Bar” tray for winter using Christmas colors!
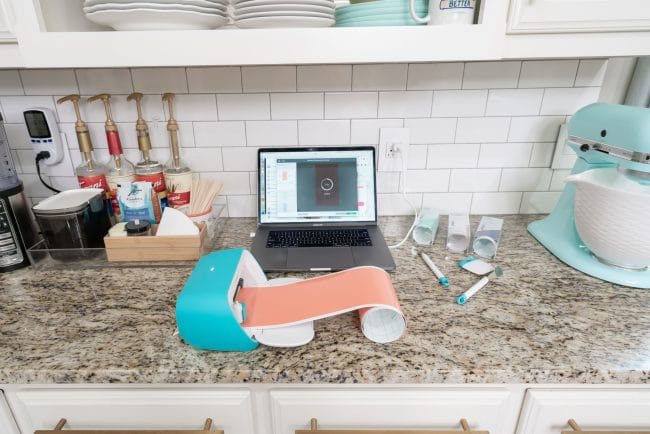
If you’re using my design, just click Make It once you’ve followed the project link. Design Space will guide you through the cutting process, letting you know when it’s ready to change colors.
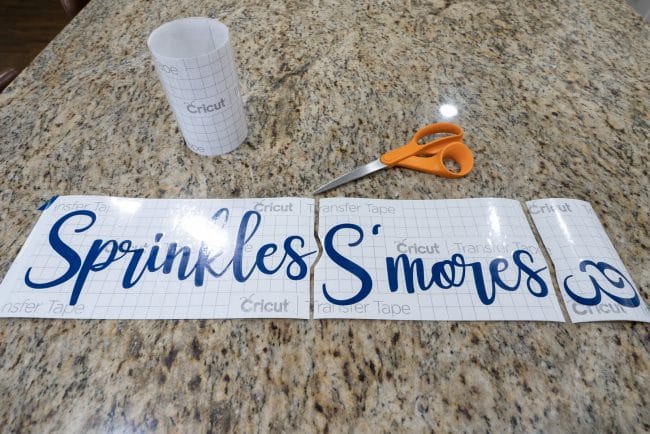
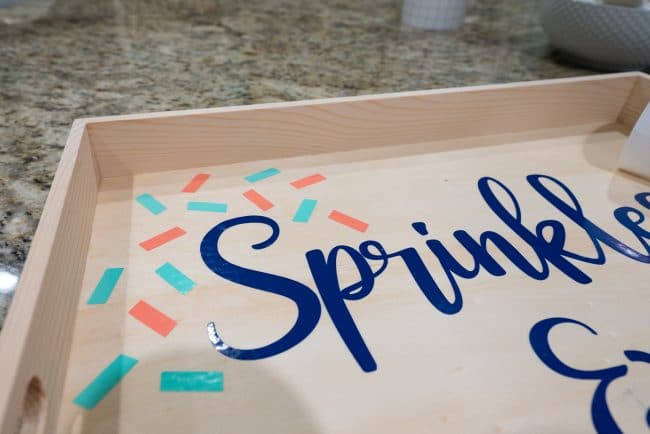
After all three colors are cut, grab your words, weeding tool, and transfer tape. Remove any vinyl that isn’t part of the phrase with the weeding tool.
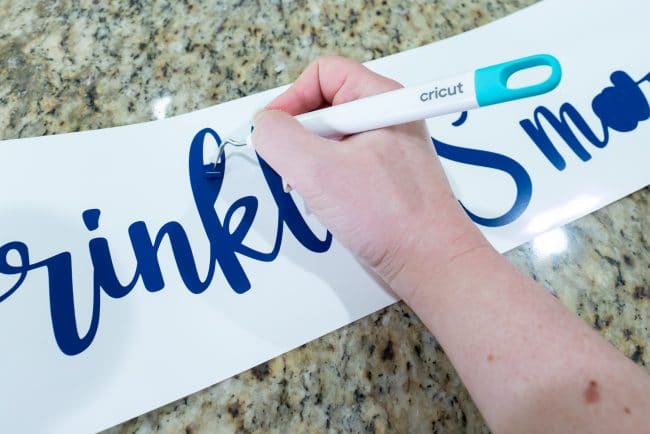
Then, apply transfer tape to the entire phrase before cutting the words apart into the individual lines that will be transferred to your tray.
Grab a tape measure and find the middle of your tray. It’s easiest to start with the middle row of your phrase and work outward.
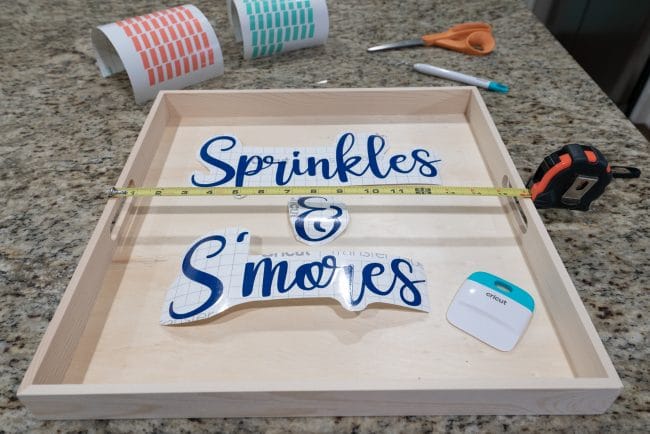
For each row, separate the transfer tape and backing, making sure the vinyl stays attached to the transfer tape. Stick the design to the tray and then peel back the transfer tape, leaving only the vinyl on the tray.
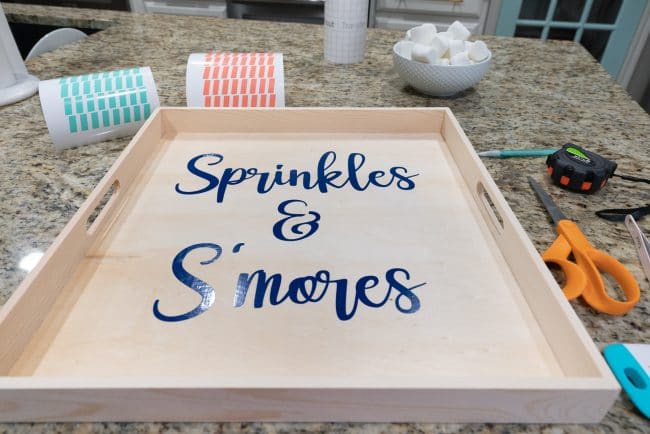
Once you’re done with the words, the rest is easy and fun!
I did NOT use transfer tape for the sprinkles. To minimize the amount of vinyl needed for this project, I stuck with the default settings in Design Space, which gathers all the individual pieces of vinyl within the design and puts them as close together as possible. For example, I only need a 5.5″ x 10″ piece of Coral Permanent Smart Vinyl to create a zillion sprinkles for the large 16″ x 16″ tray.
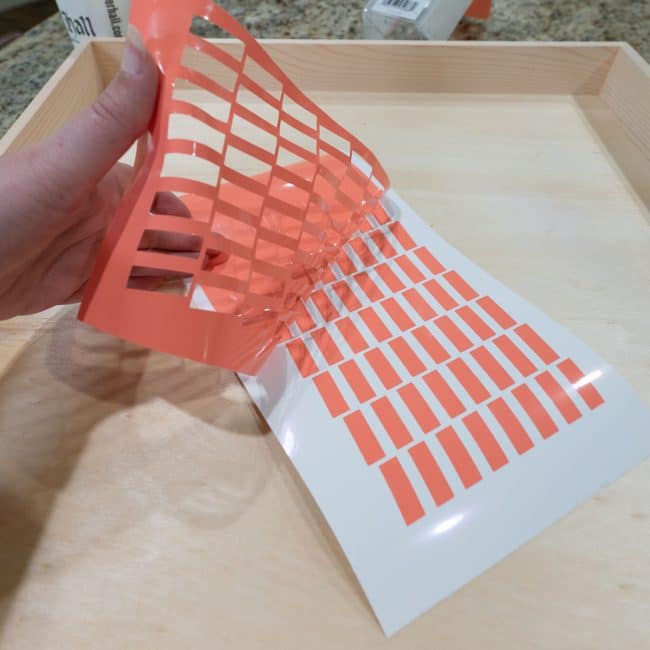
I alternated between mint and coral, placing only a few of each color before swapping back to create a random design. That may sound painful, but it was fun and I felt like a kid getting to apply a bunch of stickers. It’s a nice relaxing activity to do while listening to an audiobook.
Once the last sprinkle was applied, my tray was ready to put to good use!
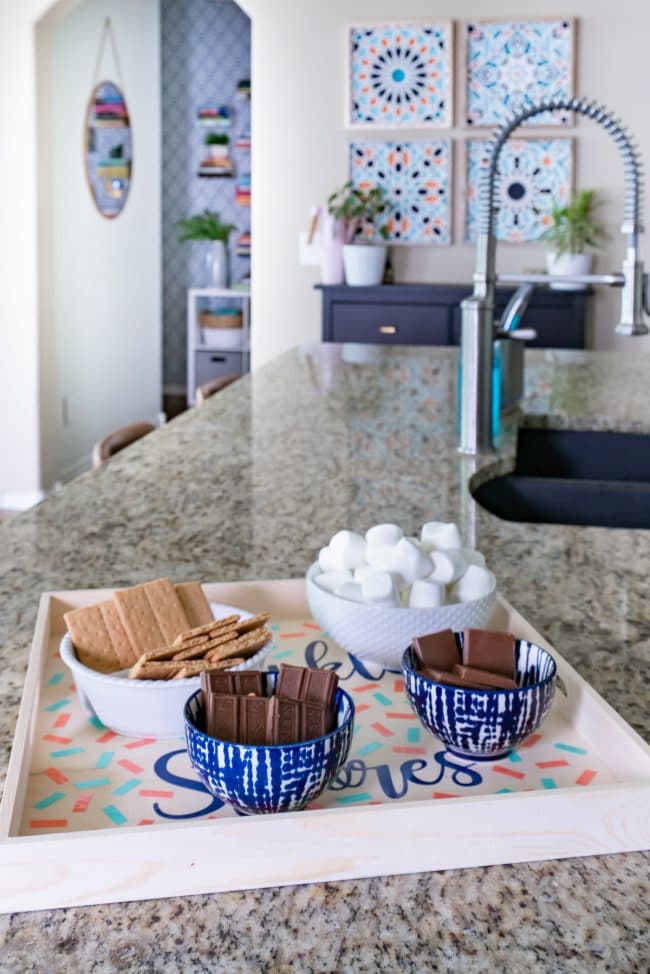
While it’s functional on s’more or ice cream nights, I love how cute the tray looks in the kitchen as art the rest of the time. I choose colors to complement our existing kitchen decor, as seen below. But, you don’t need to change anything in Design Space to update the colors to match your own kitchen – just insert your preferred vinyl colors during the cut process.
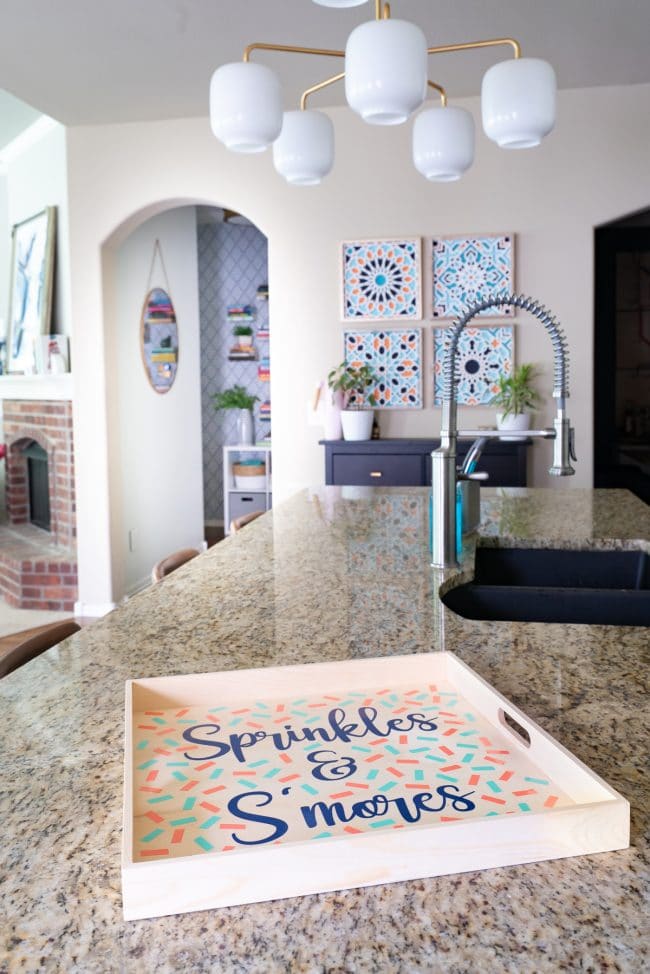
Here’s what it looks like where we store/display it above the stove. It’s cool to see what a big design I was able to make with the small Joy! For more info on the Joy and a step-by-step guide to working with vinyl, check out this post next.

Ingrid Langseth says
I have a question on the four “wall tiles” in the background. Are those purchased or made by a creative? The colors are so pretty! Thank you for any information you can share.
Melissa George says
Hi Ingrid, they’re made out of wood and were a cheap find at an Old Time Pottery Store (discount store with random rotating things like Tuesday Morning). I wasn’t there looking for kitchen decor, but they were too pretty to leave behind! Sadly, there isn’t a brand or anything on them and it’s been several years since I found them.