
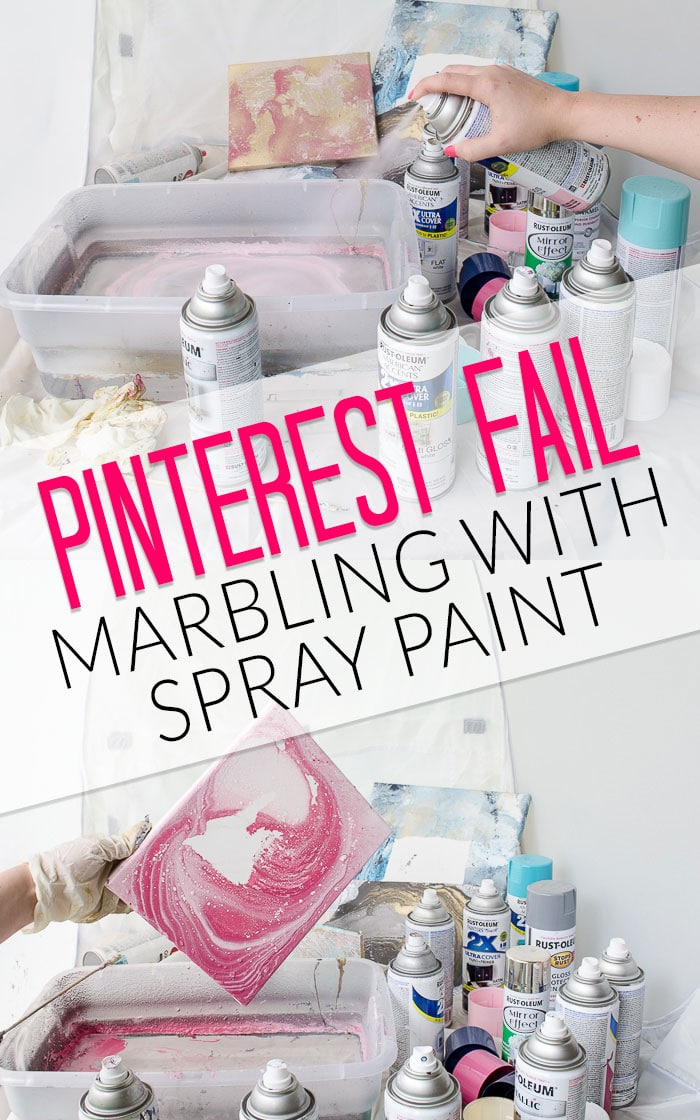
Sometimes projects just don’t work out. I always show the ones that go well, but I thought it would be fun (and helpful) to show you this week’s total fail.
The word on the internet was that you could create a fun marble effect on all kinds of things using a tub of water and some spray paint. Since spray paint is oil based, the paint floats on water. Then you can dip your object into the paint and create something beautiful in minutes.
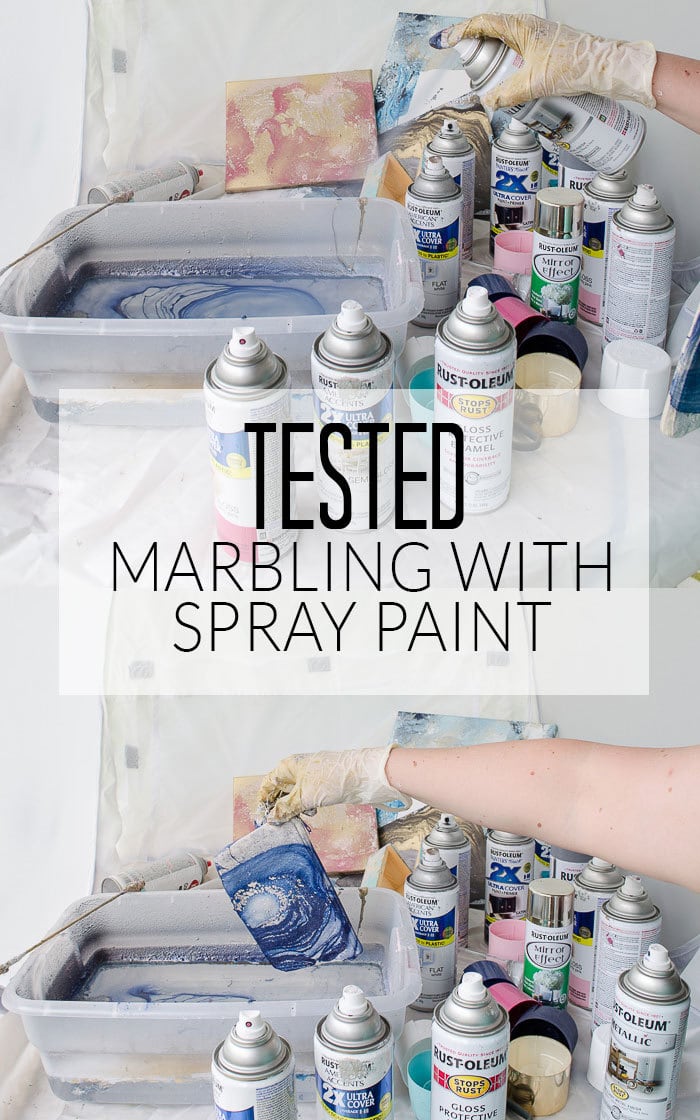
I had visions of gorgeous coasters and vases and wall art and even a little wristlet. I was thinking of all the fun Christmas gifts I could make and mentally checking people off my shopping list. I had big dreams and tons of spray paint.
Everything started off pretty well.
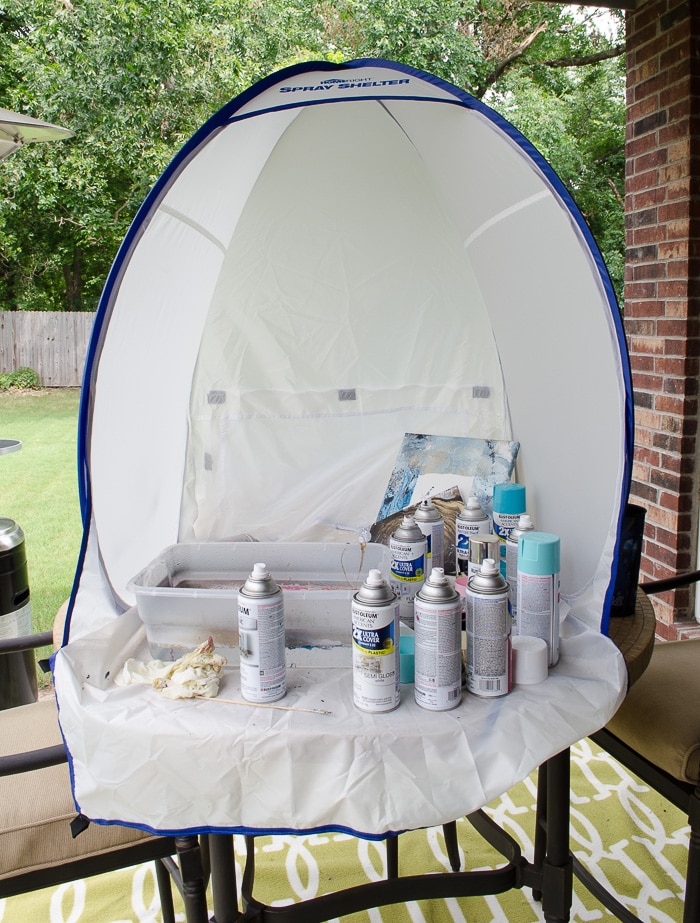
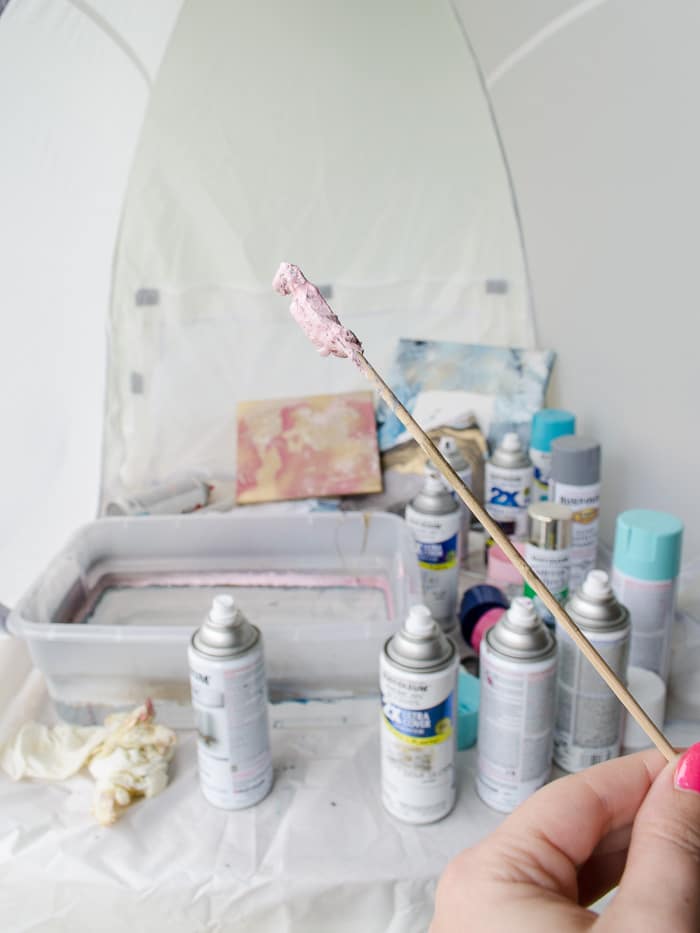
I got a station all set up with a $1 shoe container to hold my water, lots of spray paint, and a wood BBQ skewer to move the paint around on the water.
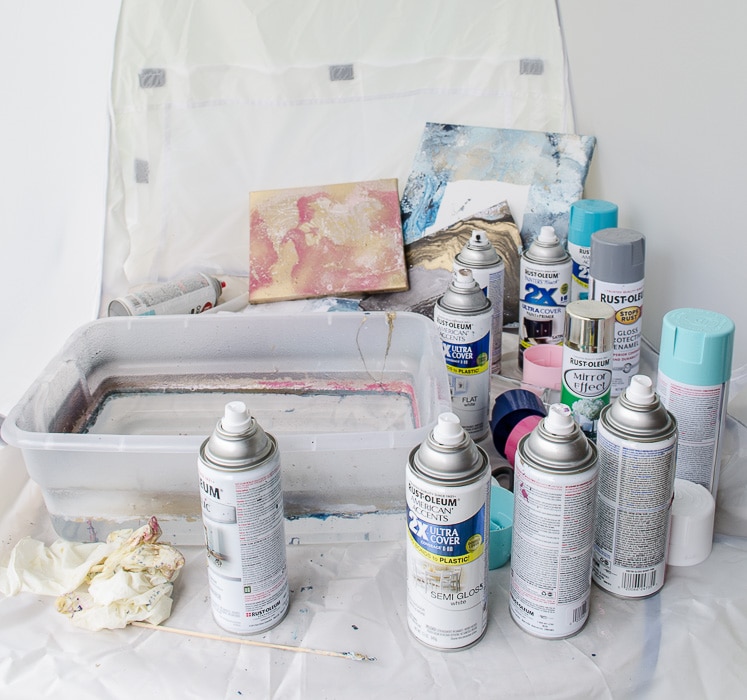
Gloves and a mask are both pretty essential, so if you decide you want to try this yourself, make sure you have them handy!
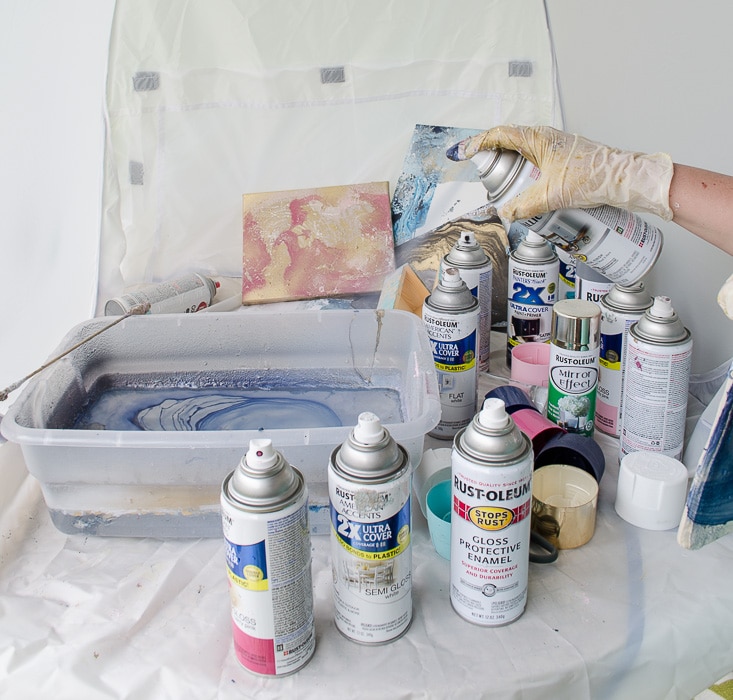
I put everything on the back patio table in my new HomeRight small Spray Shelter. I may love this one even more than the full size shelter! This post is NOT sponsored by HomeRight, but I wanted to mention that this product was the most successful part of the project!
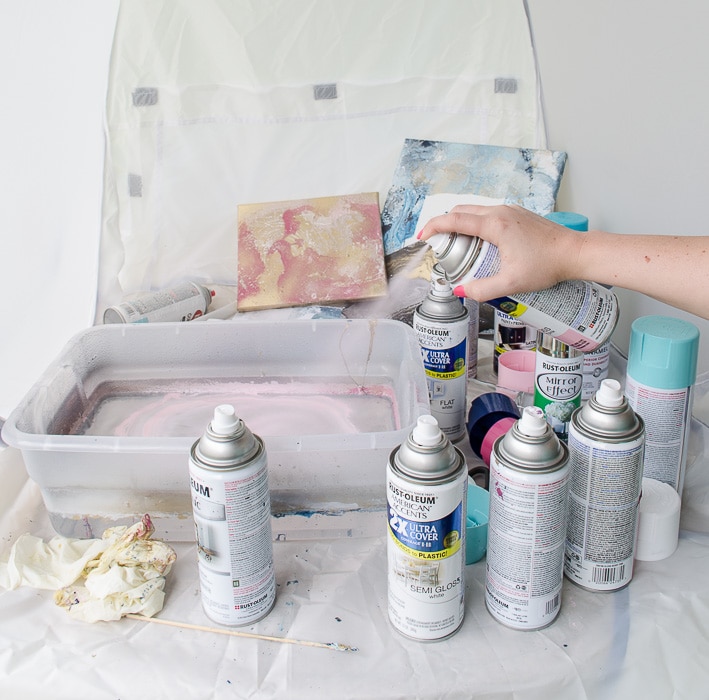
My first tip is to make sure you shake all the paint REALLY well before you get started. If you don’t, the pigment will be uneven. Plus, you don’t have time to shake once you start. The paint dries FAST on the water.
I found that spraying at a bit of an angle gave me the best shot at rings of color versus ending up with a solid color, but the results were hugely inconsistent for me. Especially between colors. Each color made a different pattern. I’m the first to admit that I’m really not good at random, so all the unpredictability threw me off.
When I tried to move the paint around a bit to get more of a marble effect, it all just attacked the skewer and wouldn’t let go. PS: Not sure where the gloves were in some of these pictures, you definetely need them for dipping. I must have taken them off when I was using the camera.
With the skewer method out, I tried lots of different angles and spray patterns. Quickly alternating two colors of paint (one in each hand) did create a pretty pattern in the water, so definetely try that if you are brave enough to attempt this.
The dark metallic blue paint had the best effect straight from the can. Look how fun it was!
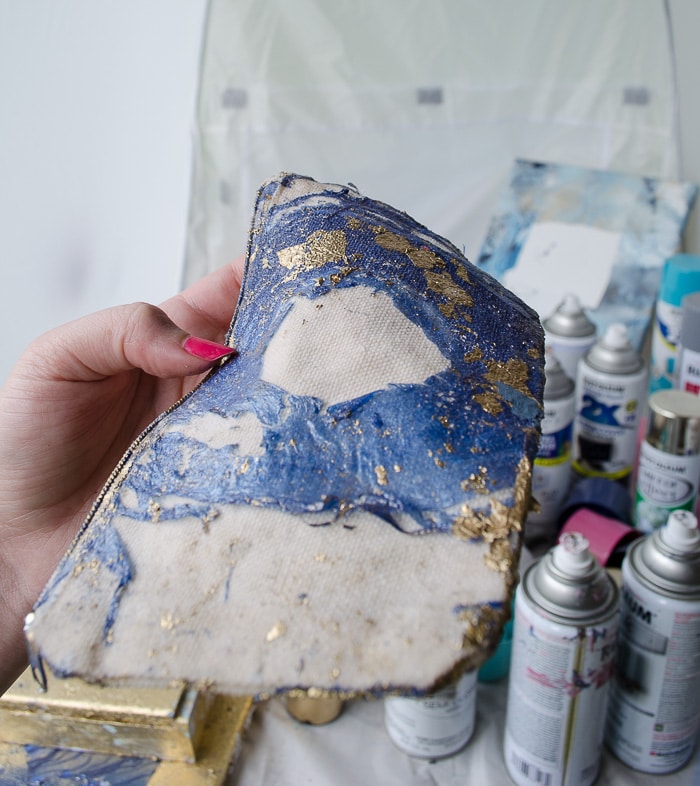
I thought the blue made the PERFECT design to dip a canvas zipper bag as a cool gift item.
Ah! It looked like it actually worked!
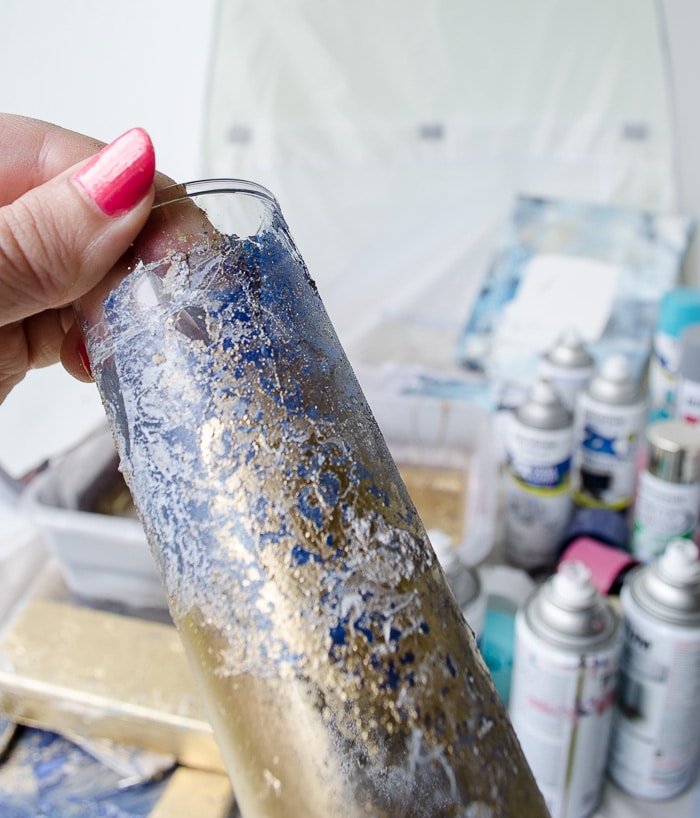
Except it didn’t. There were some bare spots. I dipped it back in using gold paint and it got even worse. The paint fell off in some places and could easily be peeled off in others. So sad!
But it wasn’t just the pouch that was the problem. The paint really disliked glass as well. It didn’t want to stick, and when it finally did, it wasn’t good.
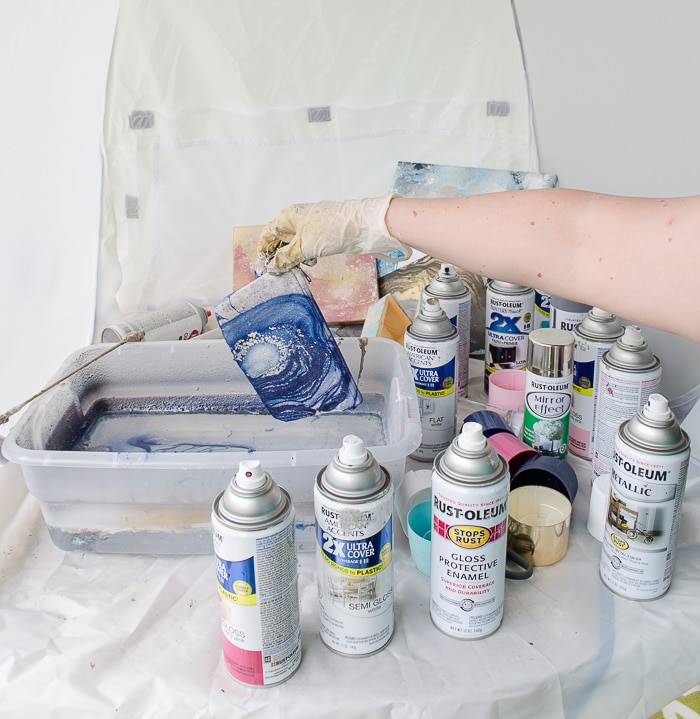
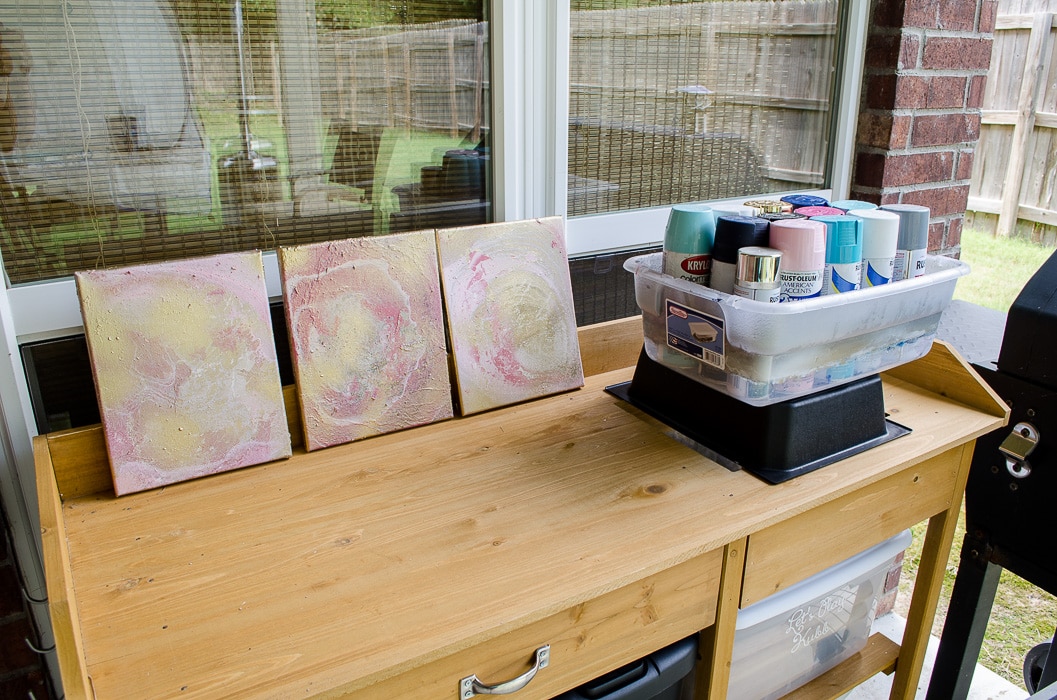
The most cooperative surface was art canvas, but as you can see in the photo below, even that had issues. It would work perfectly for most of the canvas, but then would have a big, ugly blank area. 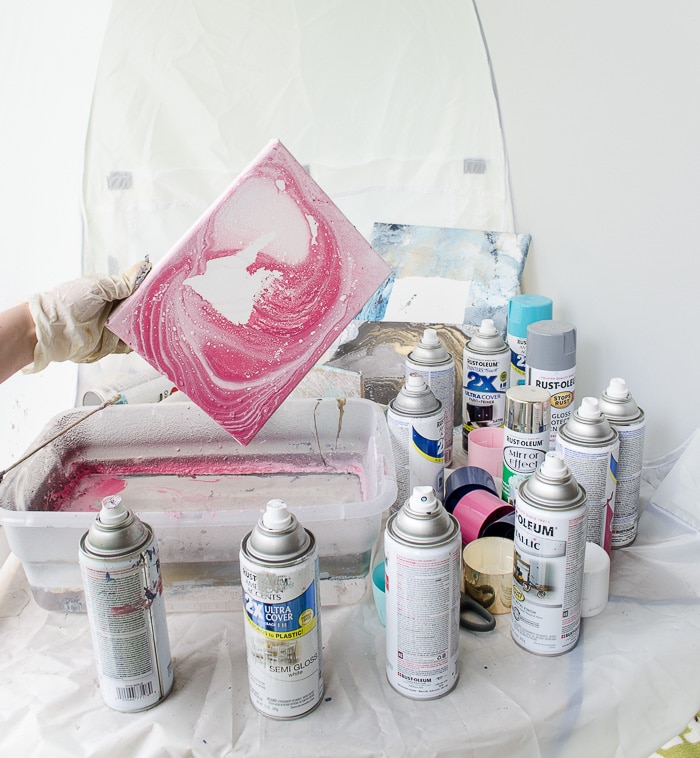
I tried various lengths of time in the water and various dunking depths, but nothing was working quite right. The most effective was quick shallow dunks, so maybe start there?
Now, the one factor (other than my lack of marbling skills) that could have been an issue was the temperature. It was almost 90 degrees outside, so maybe the spray paint was drying even faster than normal? I couldn’t move fast enough to avoid chunks of paint coming out of the water.
Oddly enough, I’m still tempted to try this again one day.
I’m very curious if I’d having better luck starting with primed surfaces and if the temperature outside was a bit lower. But for now, we’re calling this one a FAIL!

Nadine N. Bone says
Love that you shared the result of this experiment – it turned out quite beautifully, actually! It’s great to see such a liberating post that makes internet be less about staged perfection and more about authentic creativity and unintentional beauty. Keep it real 🙂
Melissa George says
Thank you, Nadine! It’s a tricky balance between providing pretty, pinnable inspiration, while still showing life’s imperfections as well. Even though I wish the project would have worked, I appreciated having an example to show that experimenting and trying new things is good, even when they aren’t perfect. Thanks so much for your thoughtful comment!
Deb says
I’m wondering if you put a little oil in the water, would that work? I have not tried it with spray paint, just the little bottles of oil paint they sold decades ago for painting plastic models. Acrylic paint might be fun to use, too.
Melissa George says
Great suggestion! I wondered that myself, but wasn’t sure. I’ll definetely try it next time since you had the same thought – maybe it the’s answer!
Linda says
Hi Melissa! I love your posts! Too bad this didn’t work out for you, live and learn. It sounds like a great idea though.
Keep up the good work. Your friend in Broken Arrow.
Melissa George says
Thank you, Linda! I’m feeling pretty determined to play with it again and figure out how to make it work!
Arlene Baker says
Great post! It’s just as educational to see the ones that fail as the ones that succeed. And it encourages those of us who fail often (namely, moi) to keep on going.
Vicki and Jennifer 2 Bees in a Pod says
LOVE your honesty! It’s so hard to be so excited to do a project with undesired results. We think the heat definitely played a big role in your results. We painted a board with homemade chalkboard paint last week on a 98 degree day (what were we thinking?!) and it was drying before we even finished the first coat. BTW – love the blue 🙂
Ivy says
Haven’t done this with spray paint but it works BEAUTIFULLY with nail polish! Give it a try! Wish I could share a photo comment of my creations!
clkt2213 says
I do this all the time without problesm. I don’t try to swirl the paint; I just spray up to 3 different colors and then dip away. Maybe it’s the paint you used? I usually combine rustolem x2 paint mixed with 1 or 2 colors of generic spray paint. I’ve successfully marbled paper, glass vases, lighters, table legs and more. I also due it inside my house in my craft room so maybe temperature was an issue. Keep trying because I’ve made some beautiful, cool stuff.
Melissa George says
Awesome! I will definetely try it again later this month since it is getting cooler. I think the paint was drying almost the moment it hit the water. Can’t wait to make beautiful things!