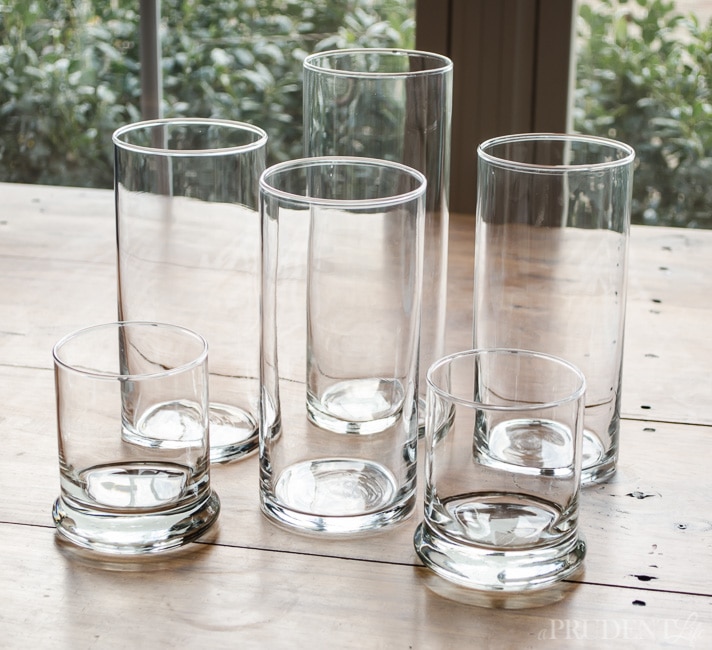
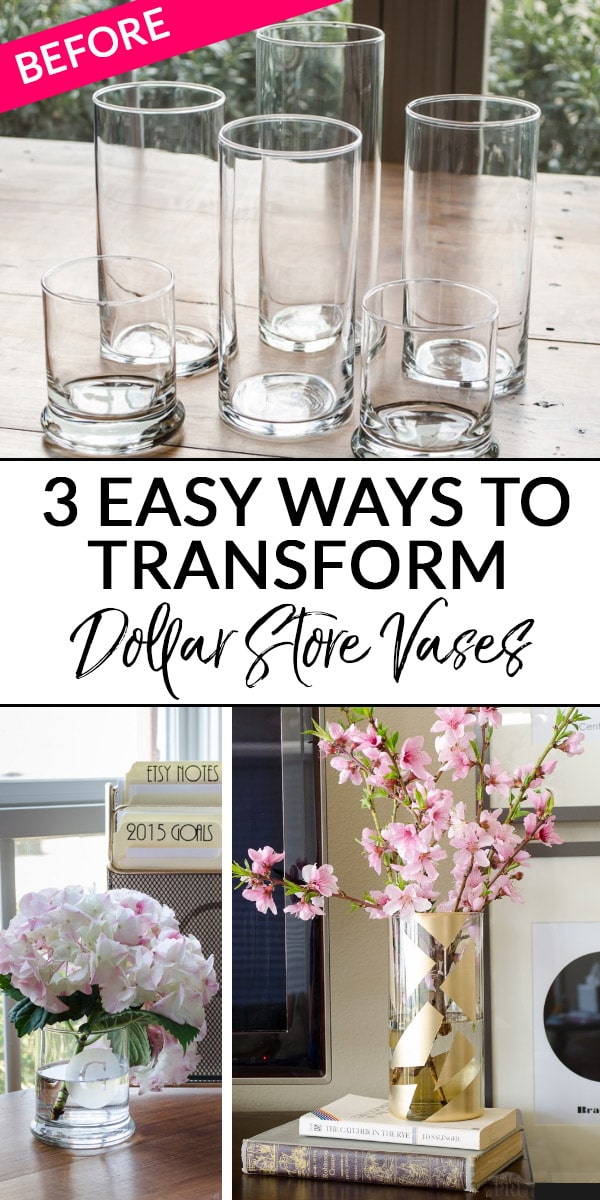
Plain glass vases seem to accumulate at our house, probably because they are such a great deal at the Dollar Tree and thrift shops. They can be pretty on their own with gorgeous flowers, but there is a limit to how many I need around.
In the reader survey, many of you were looking for inexpensive home decor ideas, so I decided to round up a bunch of vases and give them stylish makeovers.
For the short Dollar Tree vase makeover, I wanted to try out etching cream. I’ve had some in the craft room for years, but hadn’t been brave enough to test it.
I cut a stencil on my Cricut, but you could use stickers or pre-made stencils for the same effect.
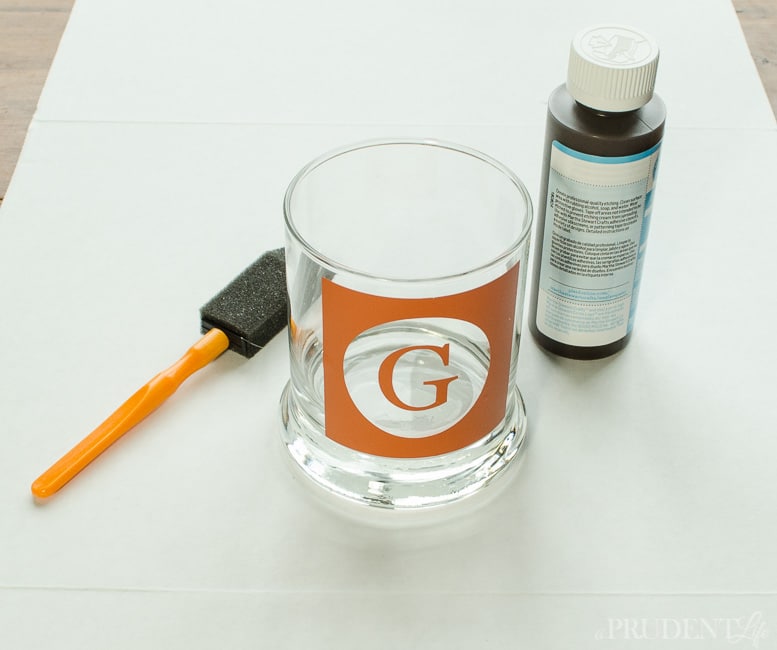
I globbed the etching cream onto the vase and 20 minutes later washed it off according to the package directions.
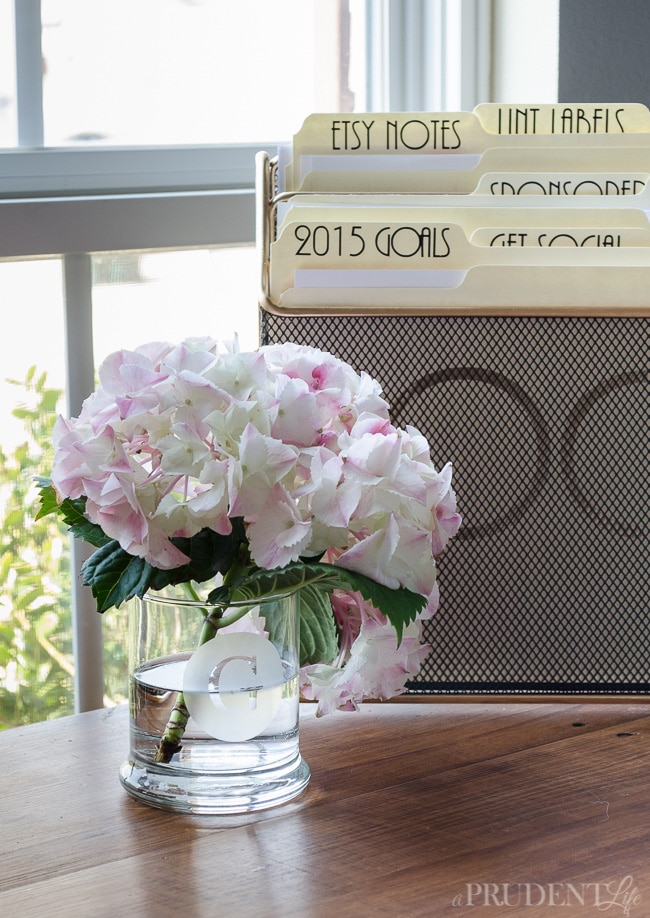
It worked even better than I had hoped. Now I have an awesome monogrammed vase for my desk that looks like it cost a lot more than $1.
Next up, I wanted to create something fun and geometric. I grabbed some washi tape and started masking off sections in triangles and quadrangles.
I also ran some tape around the inside lip so I wouldn’t accidentally paint the inside. For extra protection, I stuffed in some paper towels.
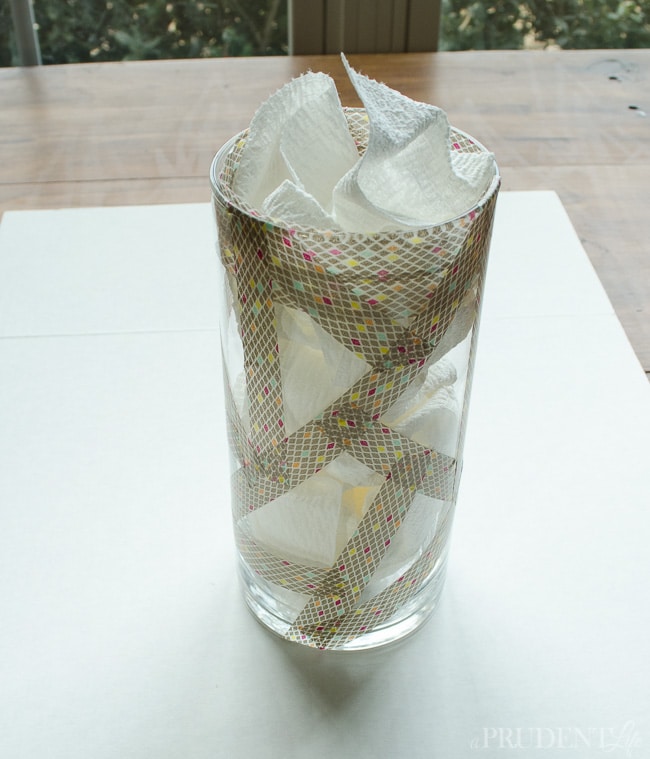
When I was done taping, I gave the vase a few light coats of gold spray paint.

After letting the paint dry for several minutes, I carefully pulled away all the tape and was left with a super chic modern vase!
It looks great with branches cut off our peach tree. But let me tell you, April is apparently when the bees fertilize the peach tree. They were EVERYWHERE. I kinda felt like I was risking my life for these branches. Once I got back inside unharmed, I decided the beautiful end result was worth the risk!

For my last glass vase makeover, I wanted to give one of the vases more of a pottery look.
This one ended up being my favorite and it was also the easiest! I started with a couple of light coats of spray paint on the top 2/3 of the vase. I used a side to side motion so the paint would end around the same spot all the way around. It doesn’t have to be perfect though.
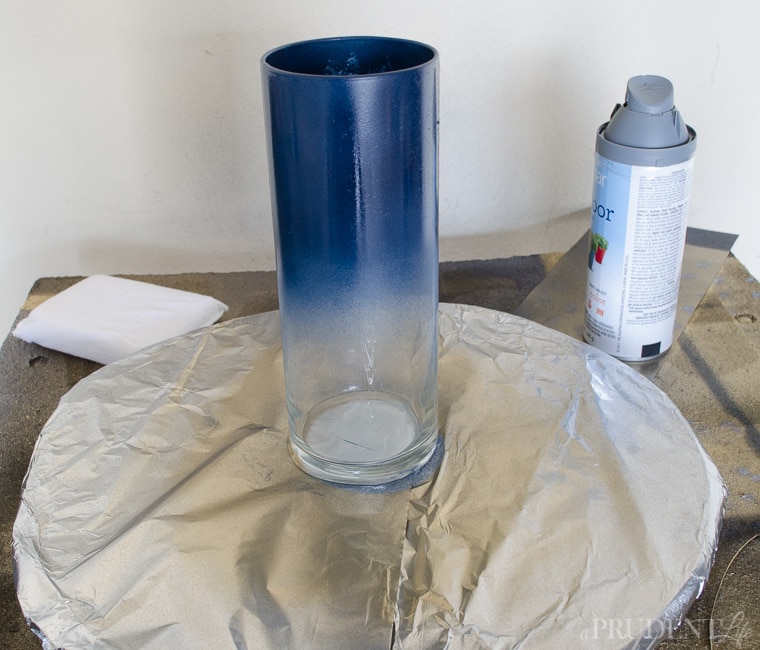
While the blue was still wet, I added gold to the bottom. The best technique I found was to start spraying before the bottom of the vase, then sweep up, stopping once a little blue was covered. I repeated the bottom to top motion all the way around.

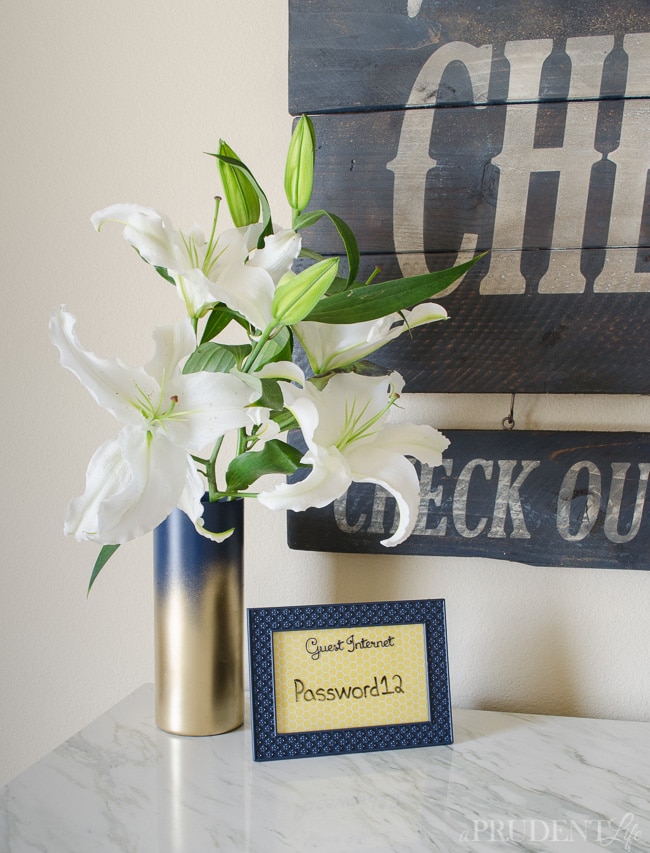
I wanted the intersection of colors to be very natural and uneven. The plan worked perfectly. I don’t think anyone would guess that this was a clear dollar store vase!
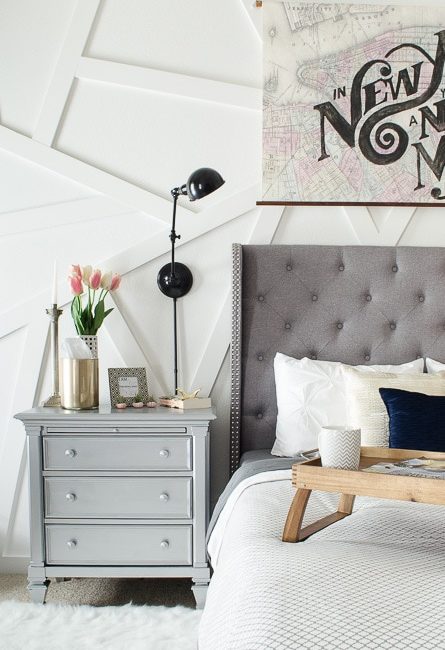
Bonus Tip: Rust-oleum now makes a mirror finish spray paint! You can see in on my nightstand below. Instead of using the large mirror vase for flowers, I use it to hide an ugly kleenex box!
If you want to try out any of these techniques later, you can pin the image below as a reminder.

Sandra Watts says
All my dishes would be great to use Finish products on. I would like to try it because it is supposed to work really well.
Ritzybee says
My favorite was the etched glass vase! So simple I will try that one!
Suzanne says
Beautiful work….is there a particular brand of spray paint that you prefer when spraying glass? Thanks so much.
Melissa George says
Thanks Suzanne! I’ve always been partial to Rust-Oleam spray paints for everything, so I haven’t tried any others on glass. I think using a satin finish paint is probably the most important unless you are just doing a solid color vase, then glossy seems to work okay. This morning I used frog tape to block off part of a glossy vase I had painted a few weeks ago so I could add design. Some of the paint peeled up with the tape. There just isn’t enough texture for the glossy finish to form a permanent bond on the glass. Hope that helps!
Linda says
Thank you for sharing your craft ideas, they are great! I love the gold vase, so elegant. I have a question about washing, though. Will the spray paint last after washing the vase? Wouldn’t it peel off after several times of washing by hand, I am not even thinking about dishwasher treatment.
Melissa George says
Hi Linda! The blue and gold version seems like it will hold up very well to gentle washing, it adhered really well and is more of a solid surface. On the geometric clear and gold, I think it probably will chip off over time since there are so many edges and the paint is raised up off the glass. It may need to be touched up or turned into a solid color vase at some point, but it will be fun while it lasts!
Charlotte Graham says
Hi Melissa! Thanks so much for posting this awesome tutorial! I came across it on Pinterest and had a go at the second vase today. It was surprisingly easy to make, although I must not have pressed down hard enough on the edges of the washi tape, because some of the spray paint got underneath the edges in some places.
I can’t wait to try the monogram one too!
Thanks again!
Charlotte
http://girlygeekgirl.com
Melissa George says
So glad you are enjoying them! The monogram is my favorite and is actually on my dining room table right now!
Karin Outen says
Which paint brands-color names did you use for your projects? Thanks!
Melissa George says
HI Karin, The gold is Rust-Oleum, I use the 2x Coverage formula in Bright Gold (this bottle: http://amzn.to/2fmR1Gb – affiliate link). I normally get mine at WalMart. The navy was most likely from that same line since it’s my go-to, but I don’t remember for sure because it’s been a couple years.