You don’t have to be an interior designer to create a beautiful open concept home. While open plans can be more difficult at first, once you start implementing the tips in this post, you’ll gain confidence as your home design comes together.
Soon, all your friends and neighbors will be coming to you for design advice!
While I keep things simple by referring to your home, the tips work whether you’ve chosen a house, apartment, condo, or townhouse.
For the best results, combine the tips in this post with the full Polished Habitat Design Method.
I suggest working through the Design Method worksheets first thinking about your open space as a whole to come up with your overall color scheme and textures, and then go back to break out the functional zones.
Open Floor Plan Decorating Tips
One of the hardest decorating challenges in open concept decorating is creating a cohesive design through the connected spaces
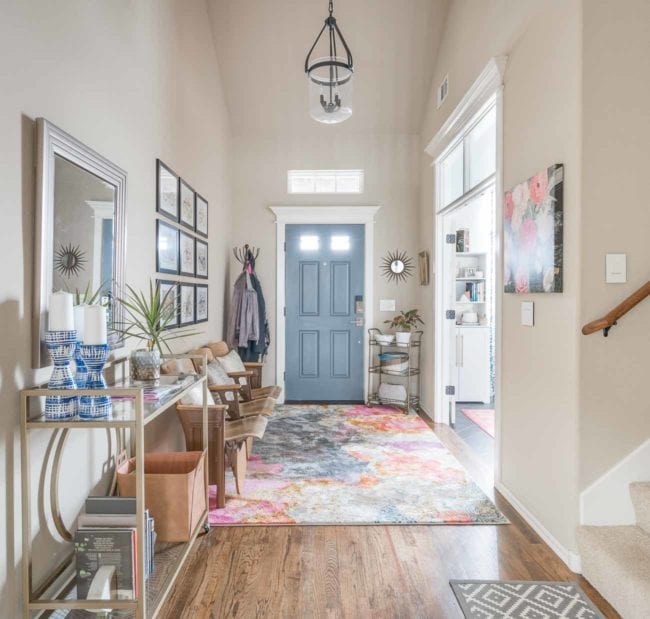
All the photo examples are from our house, so I thought it might help to see the floorplan before we get to the first tip.
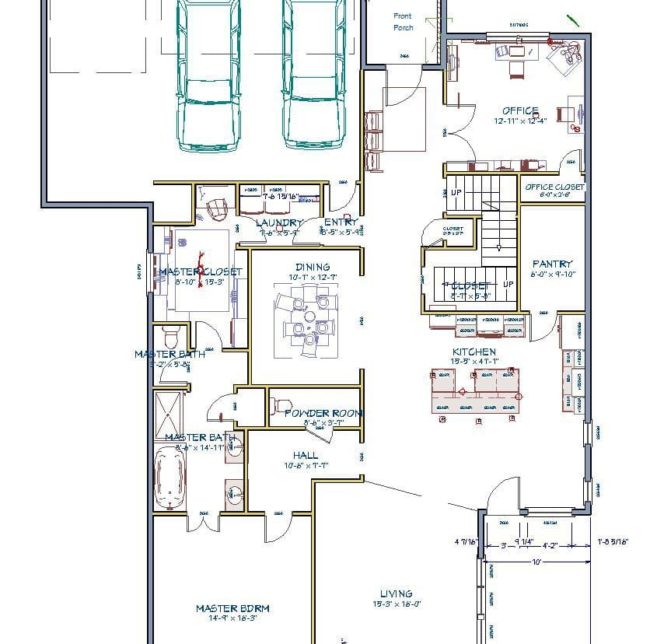
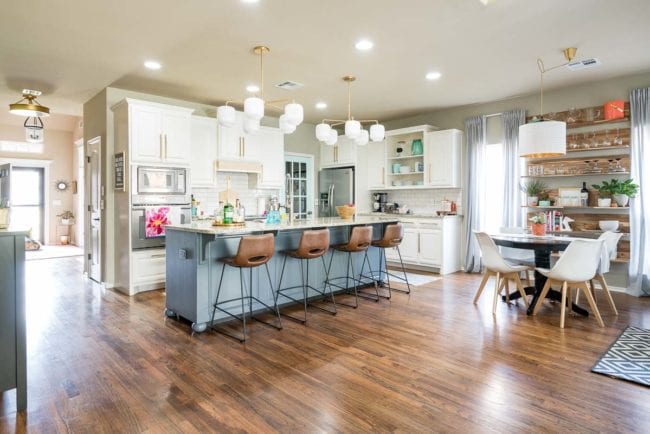
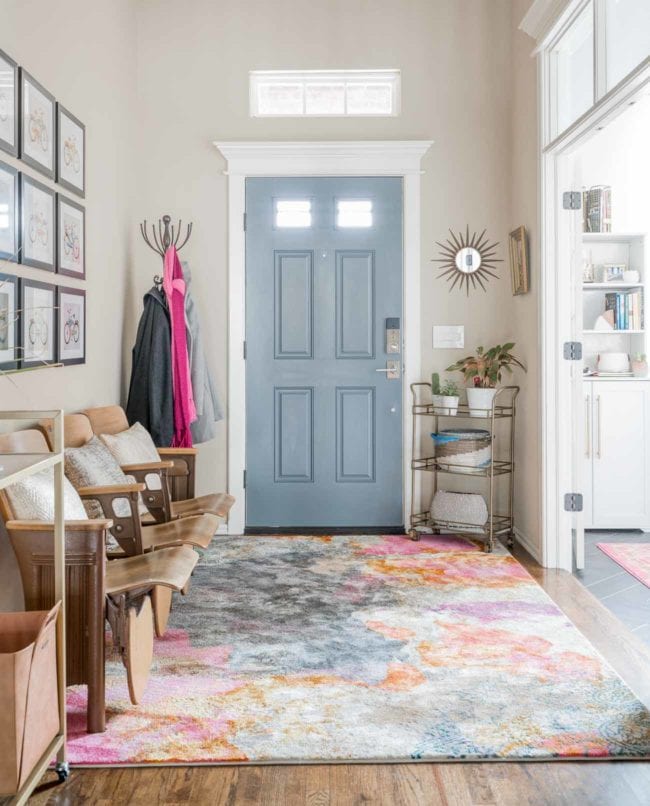
There is a clear view from the front door straight past the open dining and kitchen into the living room, so I had to figure out how to make them all work together.
Here’s the 9 tips for decorating open concept spaces!
1. Repeat colors
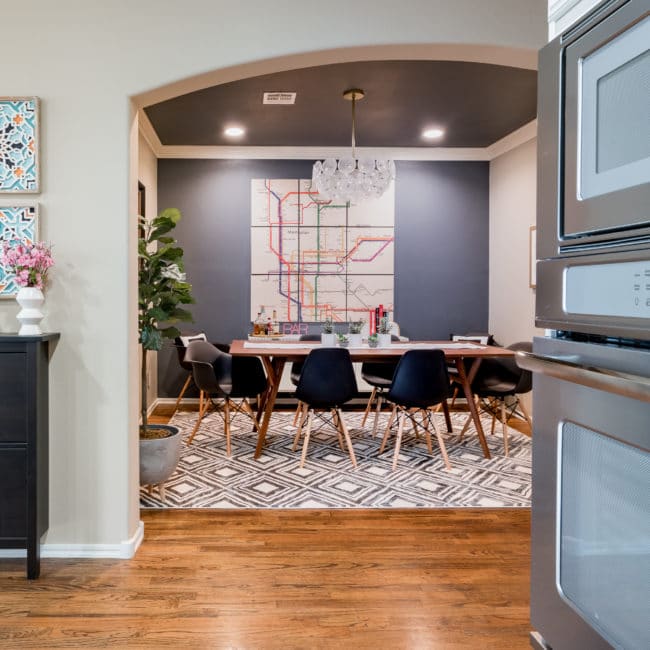
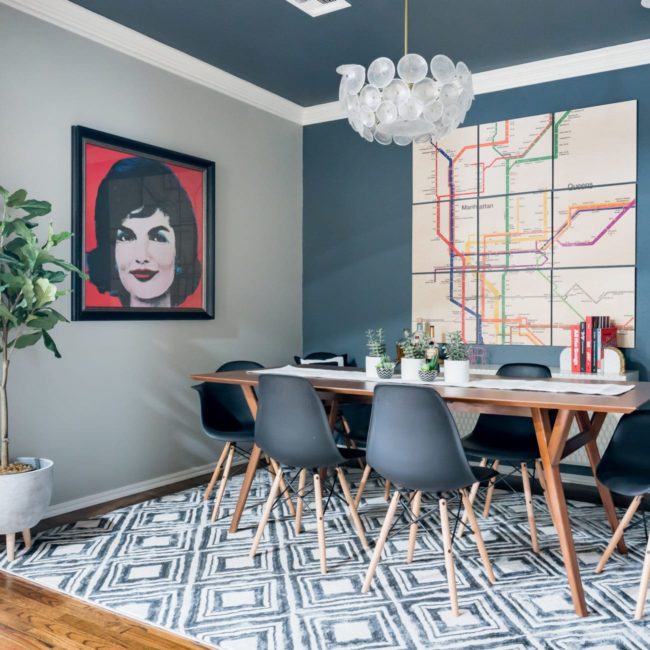
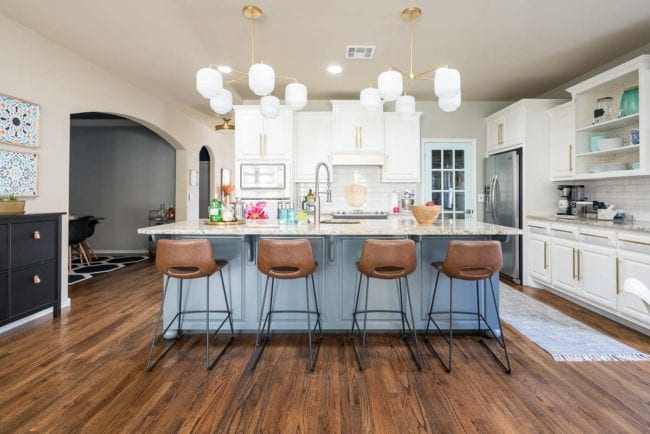
Choose accent colors that can be repeated in different ways throughout your open layout. I picked Sherwin-Williams Web Gray and used it on the front door, the kitchen island, and on the back wall of the dining room.

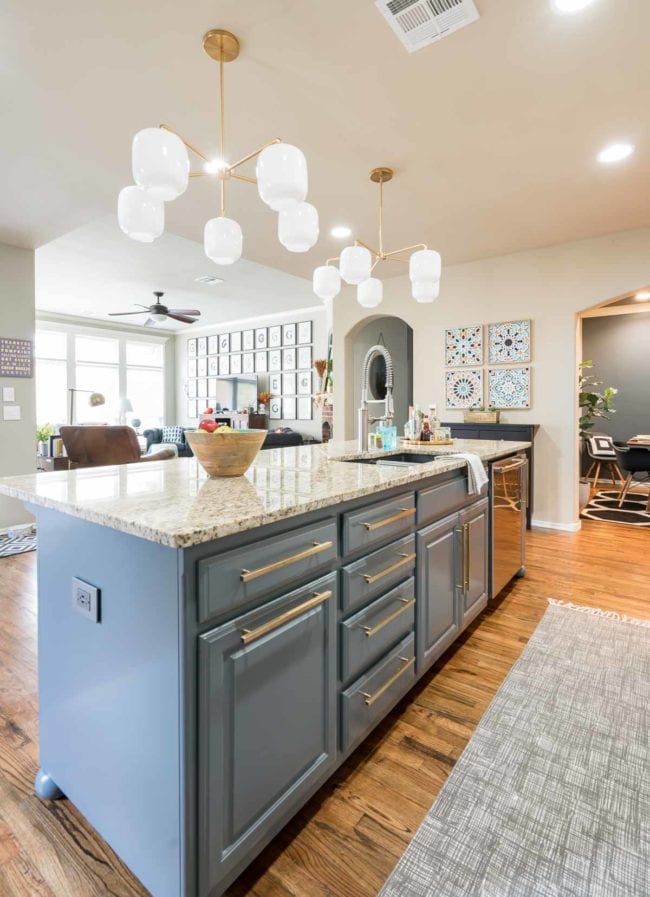
While the color changes in different lighting, using the color in different ways helps give all the open spaces some consistency while also letting them feel like unique rooms.
2. Repeat patterns
Whether your style is subtle or bold, patterns and textures add interest to your home and are an important part of your design.
With an open floor plan, you have to think about the whole space when you’re selecting patterns for rugs, window treatments, and pillows. They don’t have to be the same in each room, but you’ll want to make sure anything visible in the same view coordinates.
Like repeating color, repeating patterns can help unite your home with a cohesive style without being boring.
Our laundry room is attached to the garage entry, which is open to our main hallway. That meant whatever we choose for the laundry room makeover needed to coordinate with the open areas of the house.
Although I’ve purchased them all in different years, our new laundry room/entry tile is a very similar pattern to the rug by the back door and our large dining room rug.
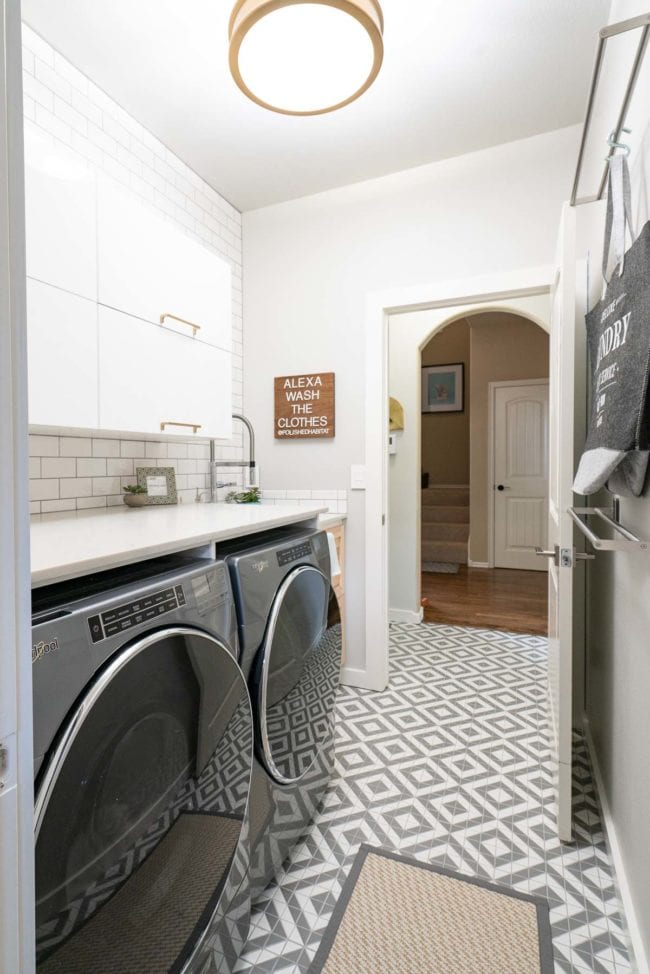
Each instance of the pattern is a little different, and you can never see more than two in one view, but the repetition still pulls the whole house together.
3. Use Consistent Flooring
Now you may be thinking that I JUST showed you our laundry room/garage entry tile touching the wood flooring so I must be breaking my own rule.
The laundry room is actually an example of following this rule. Because we were updating the laundry room and it previously shared a tile with the entry from the garage, we had to budget to update that flooring at the same time. Keeping the old tile in an adjoining space would have felt choppy and overwhelming.
As you make future plans for your home, think about how you can unite as many of the open areas as possible with one flooring surface. DON’T be the open house I once attended where I counted 5 different flooring surfaces in one view!
We choose wood to run from the front door through the kitchen, dining room and nook. In retrospect, we wish we would have found the money to continue it into my office, the great room, and our downstairs bedroom as well.
All this said, DON’T be afraid to select different tiles for different bathrooms. As long as they all flow with your overall vision for your home, it’s totally fine to have fun with a variety of finishing options for each bathroom!
4. Use Consistent Wall Paint & Trim
Open concept areas aren’t the space to get creative with lots of different wall and trim paint colors.
Keep the trim one color, and as much as you may be tempted, let the architecture of your house be your paint guide.
If you have one LONG wall that flows through multiple spaces, you’ve got to keep it one color.
I feel your pain on this when you really just want to paint one of the areas. We have a wall in the kitchen that we can’t paint without covering the whole entryway AND stairwell AND room at the top of the stairs.
When choosing a paint for the large open space, be sure to test the samples in each area as they will all have different lighting. Navigate toward a neutral color and add personality to your home in other ways.
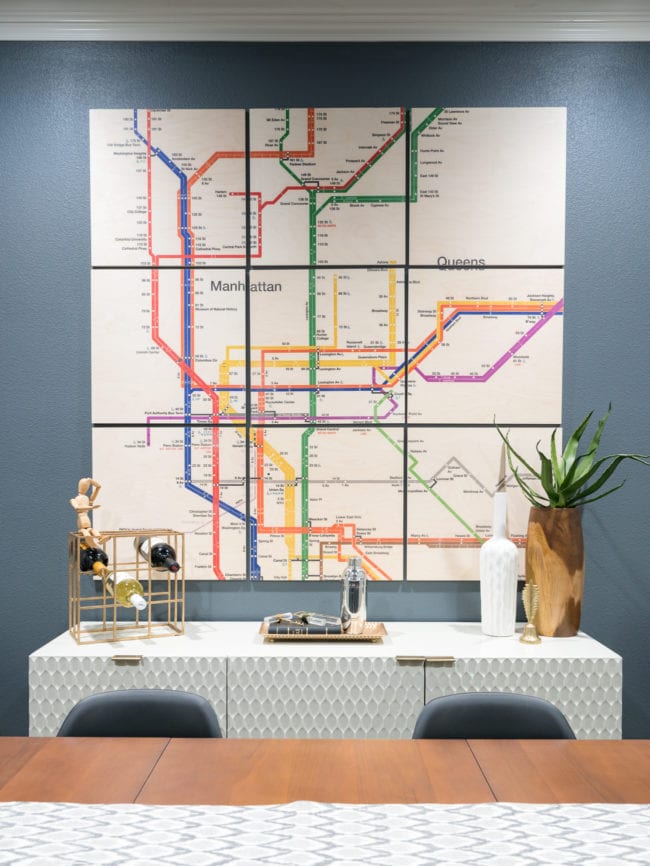
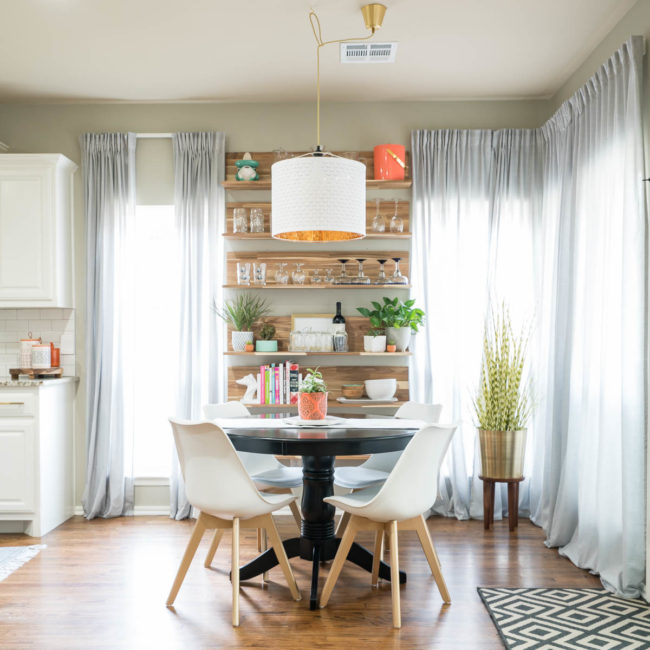
It’s not all bad news though, I promise! With most of the walls one neutral color, pick a fun accent color or wall treatment for a smaller defined wall like we did in the dining room.
5. Define Rooms with Area Rugs
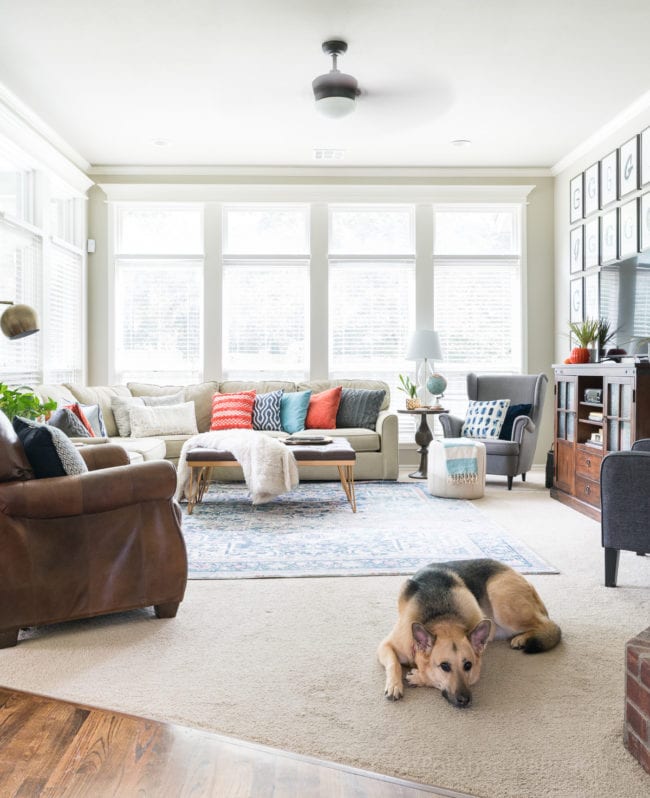
Rugs are my FAVORITE way to add style and define open spaces. If your dining area is totally open to the living area, ground each of them with a large rug.
My favorite option is when the rugs look great together but aren’t duplicate copies of each other.
6. Pick a Feature Item that Makes Each Space Unique
We’ve talked a lot about ways to help rooms feel consistent and cohesive. It’s important to have that solid underlying palette because then you can have fun mixing things up to match your personality.
Each space within your open area should have something to draw the eye and help define it as an individual room in the memory of your guest. But it should also be special to you.
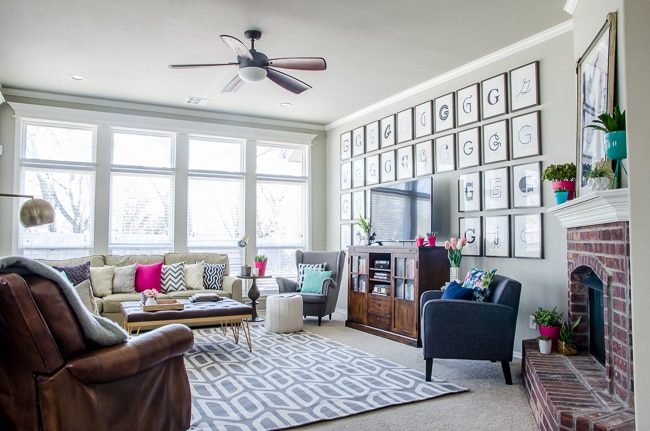
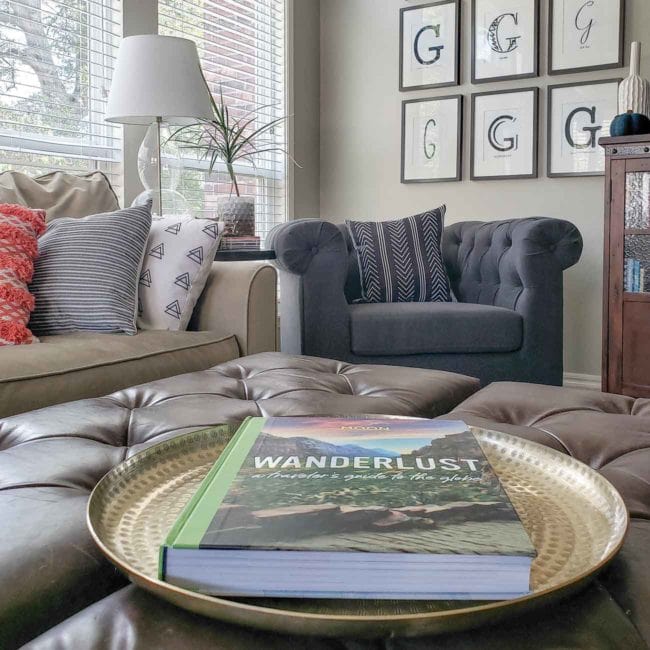
You probably already own some amazing things to feature. Ours came together over time and are a mix of DIY projects (the G’s in the living room), art purchased on vacation (Jackie in the dining room), and vintage finds (the auditorium desks in the entry).
If you’re stuck on this one, try brainstorming all the things you love. Whether that be sports, travel, books, or a certain design style, I bet it will help you come up with some creative ideas!
7. Add Warmth to Open Floor Plans
Sometimes open floors plans can feel a little cold. While that’s less likely if you’ve implemented all the other tips, there are a few more things you can do!
Adding plants to your decor always adds warmth and life.
Wood accents will also add warmth to your home. When we added the dining nook shelving, it changed the whole feel of the area in the best way!
Consider adding soft surfaces like a fabric or leather ottoman instead of a hard coffee table to continue adding softness to your home.
8. Select the Right Furnishings
As you select furniture, be sure to check the back of each piece if it’s placement will be “floating” in your room instead of against a wall.
This includes barstools. We tend to look at them from the seat side in stores while we’re judging comfort. In reality, the side you’ll see most often is the back as they are pushed against your island.
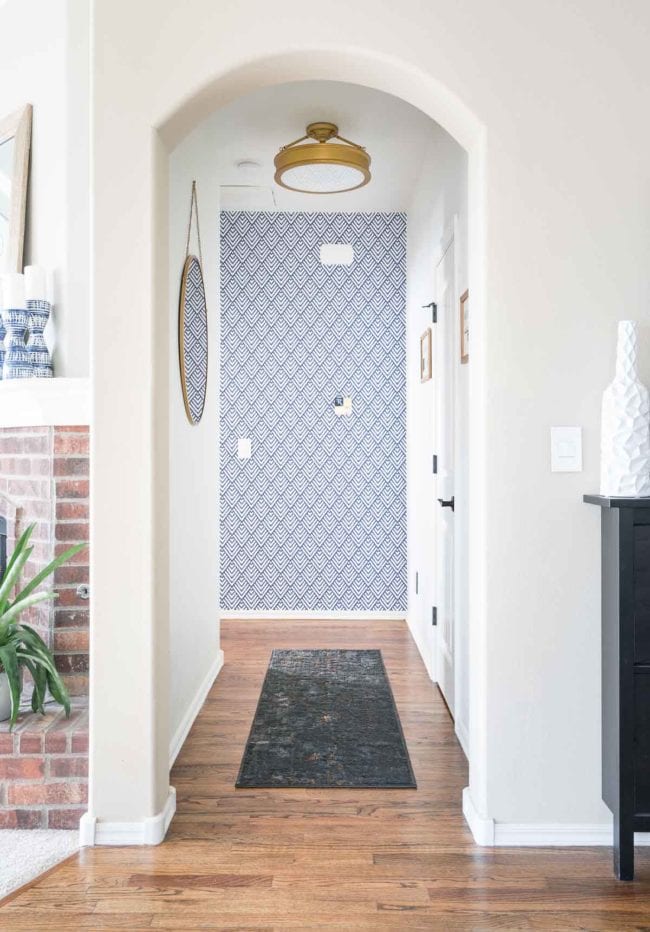
9. Add Dimension to Adjoining Spaces
With many floor plans, you’ll find a mix of wide open spaces and rooms or hallways that are attached but not AS open.
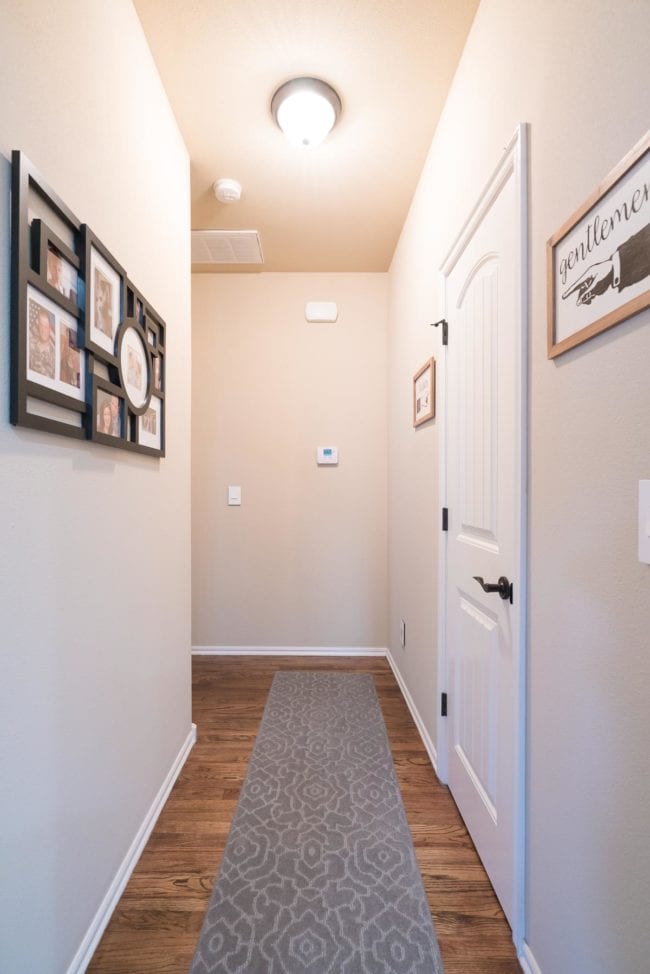
I love using those areas to add dimension and interest to our house. For example, the hallway to our bedroom is off the open space between the kitchen and living room. For years, it was just a functional beige box.
Adding a small amount of geometric wallpaper added a custom look full of personality.
The other adjoining place I went bold was my home office at the front of the house. It is a separate room and not visible from the open kitchen and living spaces. However, it has clear french doors so you can see it from the entry.
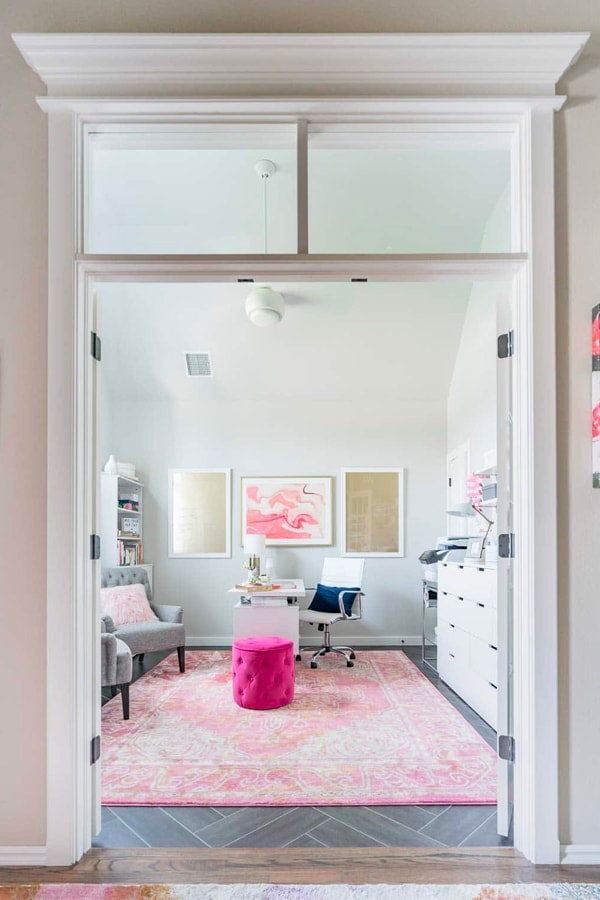
Just be sure that along with the bold pops, the rooms connect with the rest of your home. In both the hallway and the office, I use white, gray, gold to help tie everything together.
Are you feeling a little more confident with how to decorate an open floor plan now? Let me know in the comments below!

Dian Owens says
Great tips!
Cynthia says
In our seventies here we are building an open house plan! You are very good at making your points clear and interesting. By breaking it down, you make an overwhelming space seem challenging but yet fun. Thank you, Melissa.
Melissa George says
My aunt and uncle just moved into their first open plan last year, and they built it in their 70s as well! I hope you love your new home just as much as they have!
Erin says
We just bought an open floor plan home and these are all really great tips! Very happy we chose the same flooring for the entire first floor!
Melissa George says
Congrats on your new home! It’s an AMAZING start to have the same flooring throughout the first floor – I bet it’s gorgeous. I’m glad the post gave you some more ideas to continue your decorating!
Roxy says
Thank you so much for posting! I’m not the most creative and don’t the rustic farmhouse look most ppl have these days but your style perfect! Took a bunch a screen shots! Thanks for the advice and ideas!
Melissa George says
Ah, thank you Roxy!
Susan says
Very helpful tips! I’m getting ready (basement is getting dug in a couple of weeks) to build my third home that will have an open floor plan, but this one has a living room-kitchen-dining open space that has got me very overwhelmed. It will be a 33 x 24 space with a vaulted ceiling over the whole area. Reading your post is helping me think about the house as a whole and I think I feel a little less overwhelmed about the big space now. Thank you!
Melissa George says
I’m thrilled to read that you feel less overwhelmed now! That’s the worst when you’re excited but also intimidated because it takes some of the fun out of a new home. Good luck with the rest of the build!
Pat Morse says
Our under construction house has a large kitchen, dining and living space combo. The fireplace and large picture window will have built in cabinets and window seat. Should I try and match the kitchen cabinets or contrast?
Thx
Pat
Melissa George says
Hi Pat, Congrats on your new home! If all the kitchen cabinets are the same finish (for example, no contrasting island), then having the living room cabinets a contrasting color could look really nicely, assuming one or the other is painted. The only time I don’t always love that is with two different woodstain finishes. That can be done successfully, it’s just a little more tricky.
If the kitchen cabinets has two colors already (like stained outer cabinets and a painted island or vice versa), I think it looks like when the living room matches one of the two.
I hope that helps somewhat and didn’t just make it more confusing!
kirstin says
Hi Melissa, what color paint are your walls, kitchen cabinets and kitchen island? I love it!
Melissa George says
Hi Kirstin! The white cabinets are BM White Dove and the island is SW Web Gray. Sadly the walls were a premade option from a paint company that went out of business, but if you look for the term griege, you’ll find some similar. It’s nice to have that mix between gray and beige!
Tonina Zhelyazkova says
Hi there, I love everything shown in that house, just love it! Planning our project and would like to ask – what is the brand, material and color name of the main flooring? I really want it in our house. 🙂 One more time: Great Job! “Clap”
Melissa George says
Hi Tonina, the floors are hardwood – white oak with a custom mixed stain applied by the builder. We told them we wanted a classic medium wood stain and they put about six different options (just one foot square samples) on a section of the floor so we could choose what we liked best. If you go with wood floors, I highly recommend asking the flooring installer to do the same for you. It’s so much easier to get a better idea of what the stain will look like with the lighting in your exact house.
Emily says
Thank you for these tips! I really appreciate you’re real world examples. Our new build will be completed in June and I’ve been researching tips on layouts, colors and tips for a cohesive home. Thank you for sharing your expertise!