We made it! The kitchen’s cosmetic procedures are complete!
If you’re a new reader, welcome! We’re in the midst of a 6 post/5 week kitchen update as part of the One Room Challenge. Head back to see the prior weeks here before proceeding:
Week 1 | Week 2 | Week 3 | Week 4 | Week 5
So, I ended last week’s post with a brief concern over a sore throat that popped up. I thought I was getting my nephew’s cold and would have to deal with a runny nose and mild sore throat as I pushed through the last week of the kitchen.
OHMYGOSH, it was so much worse than I worried about! I went to bed right after publishing the week #5 post. Within an hour, I was full blown sick complete with major shivering. I barely left the bed Thursday-Saturday. Sunday I FINALLY felt just well enough to be bored and had an exciting trip to the living room to watch football. Monday was my first foray outside of the house, and only because we had a funeral to attend.
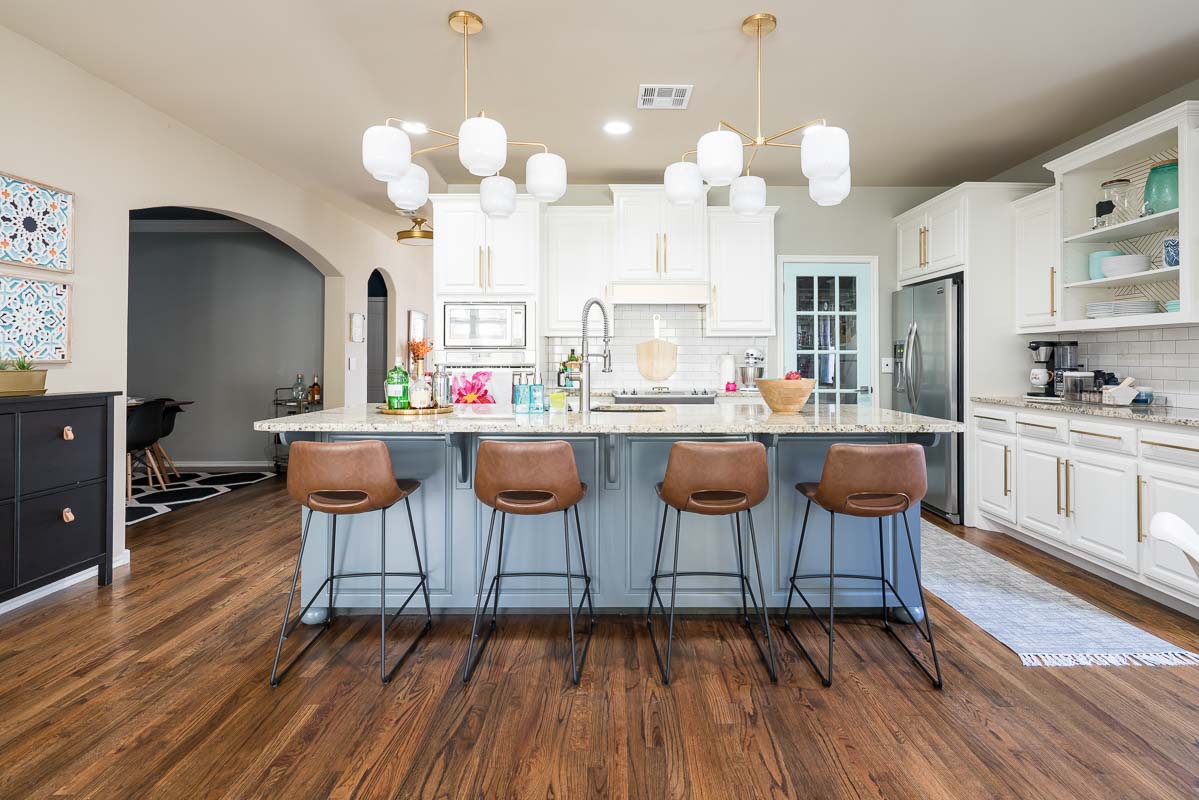
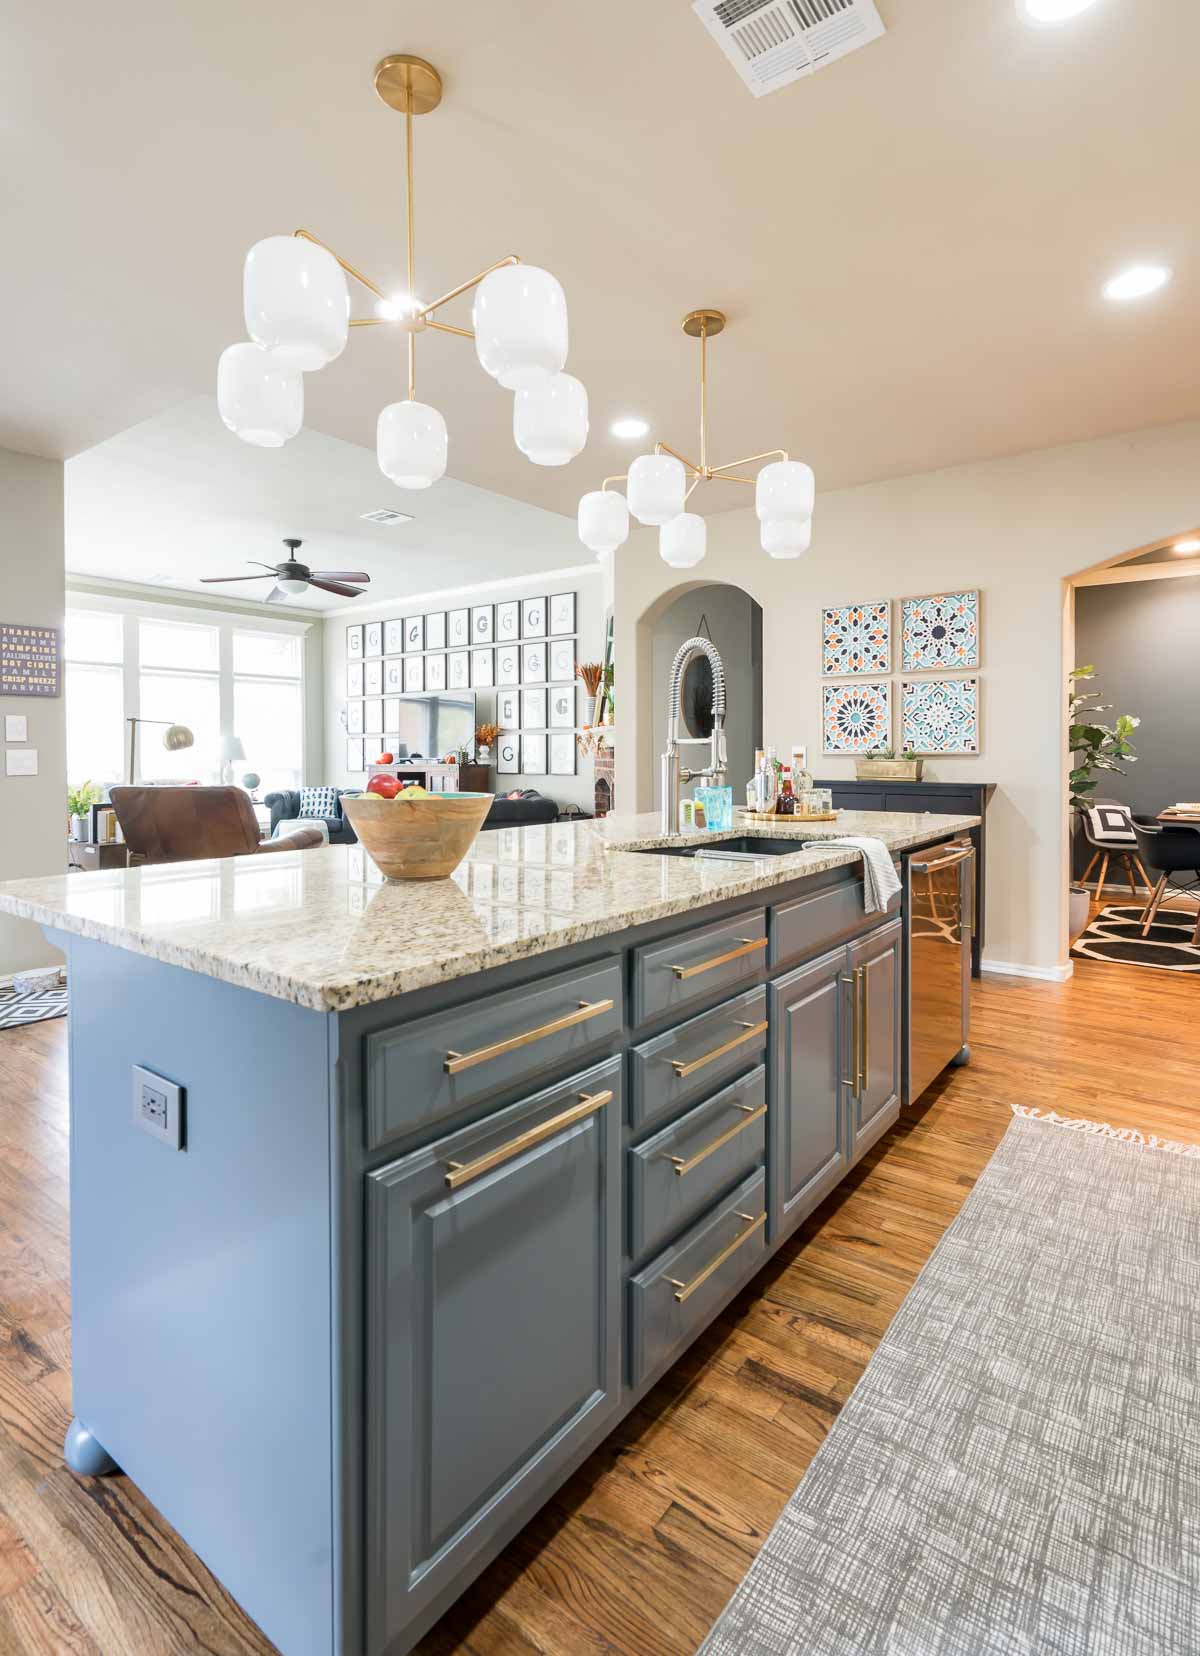
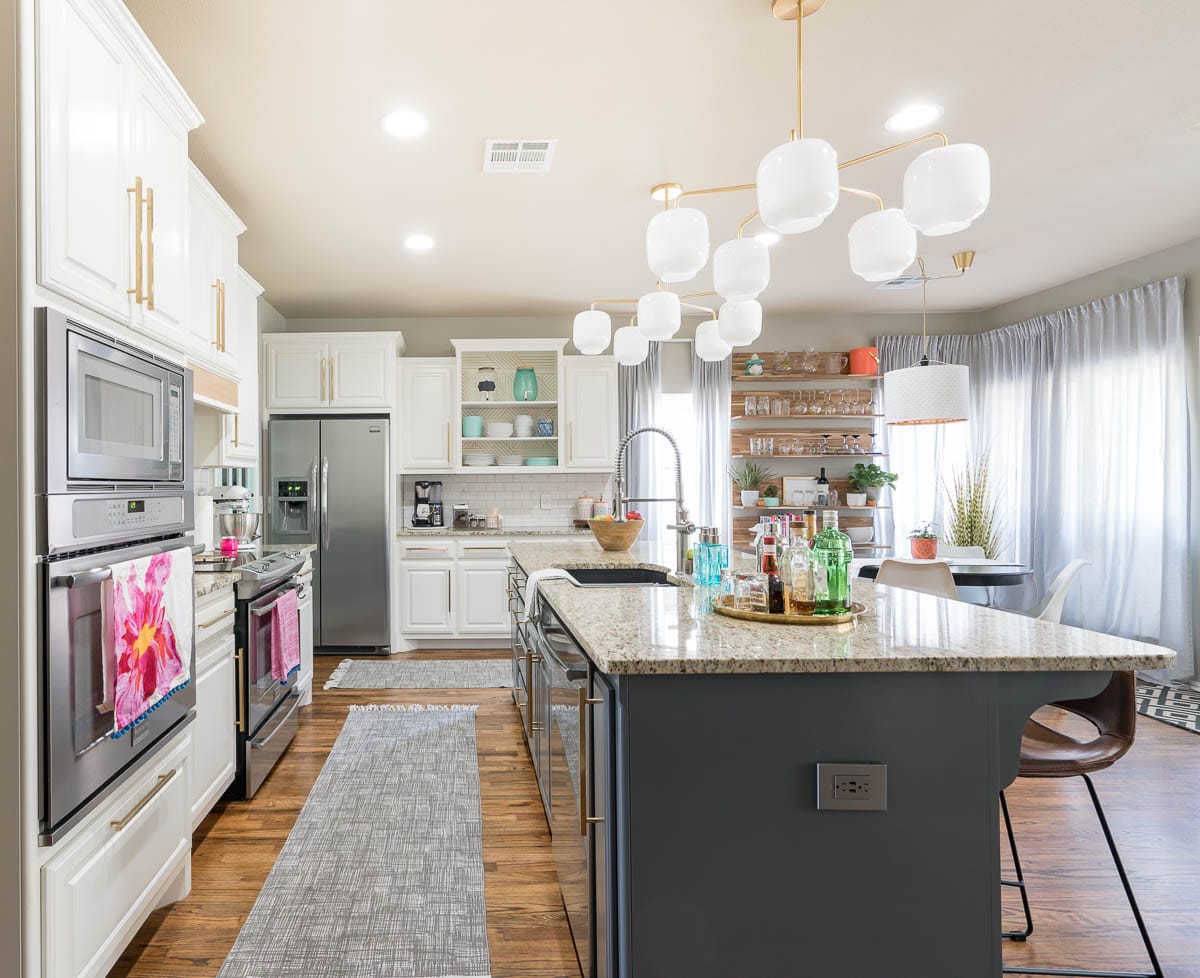
And despite all that, the kitchen area now looks like this…
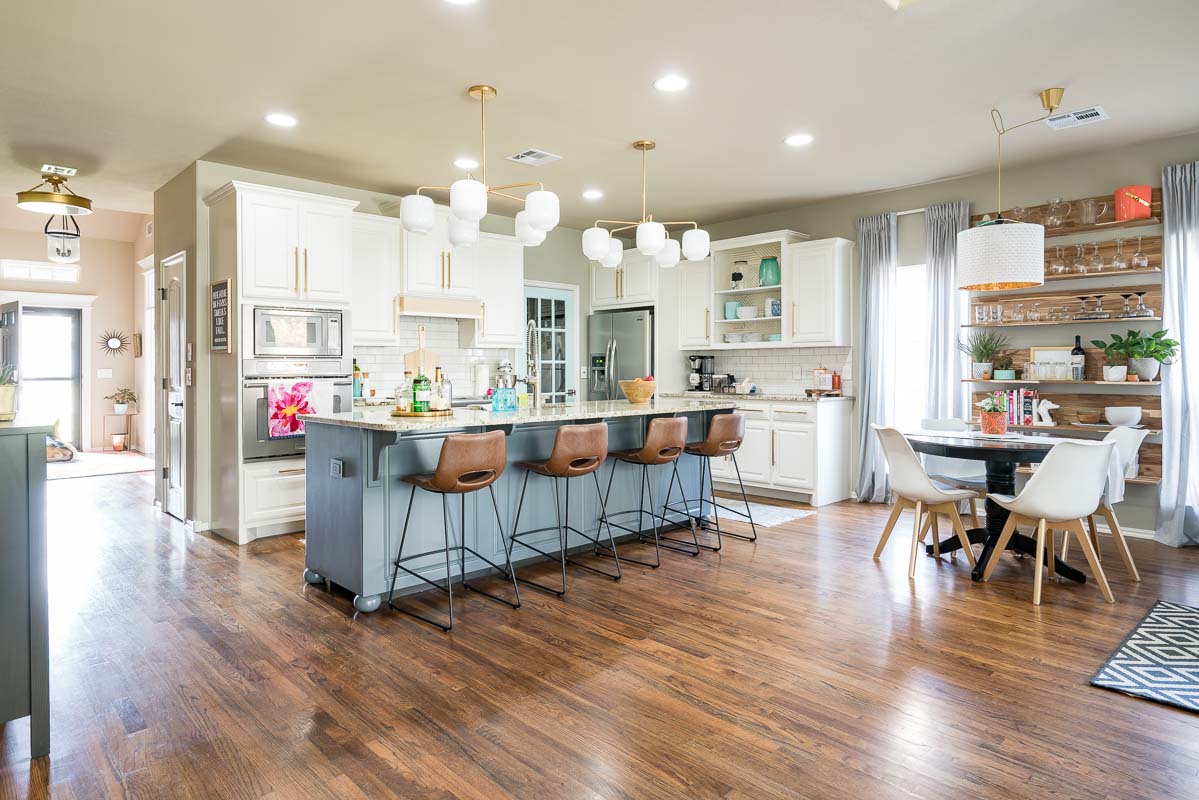
I had just enough time to decorate with things we already had and take the photos today, but with all things considered I think the end result was pretty good!
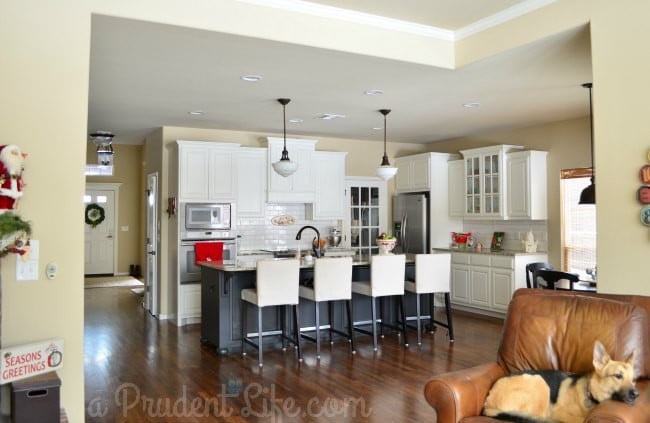
Here’s a reminder of where the kitchen started after we built the house in 2011.
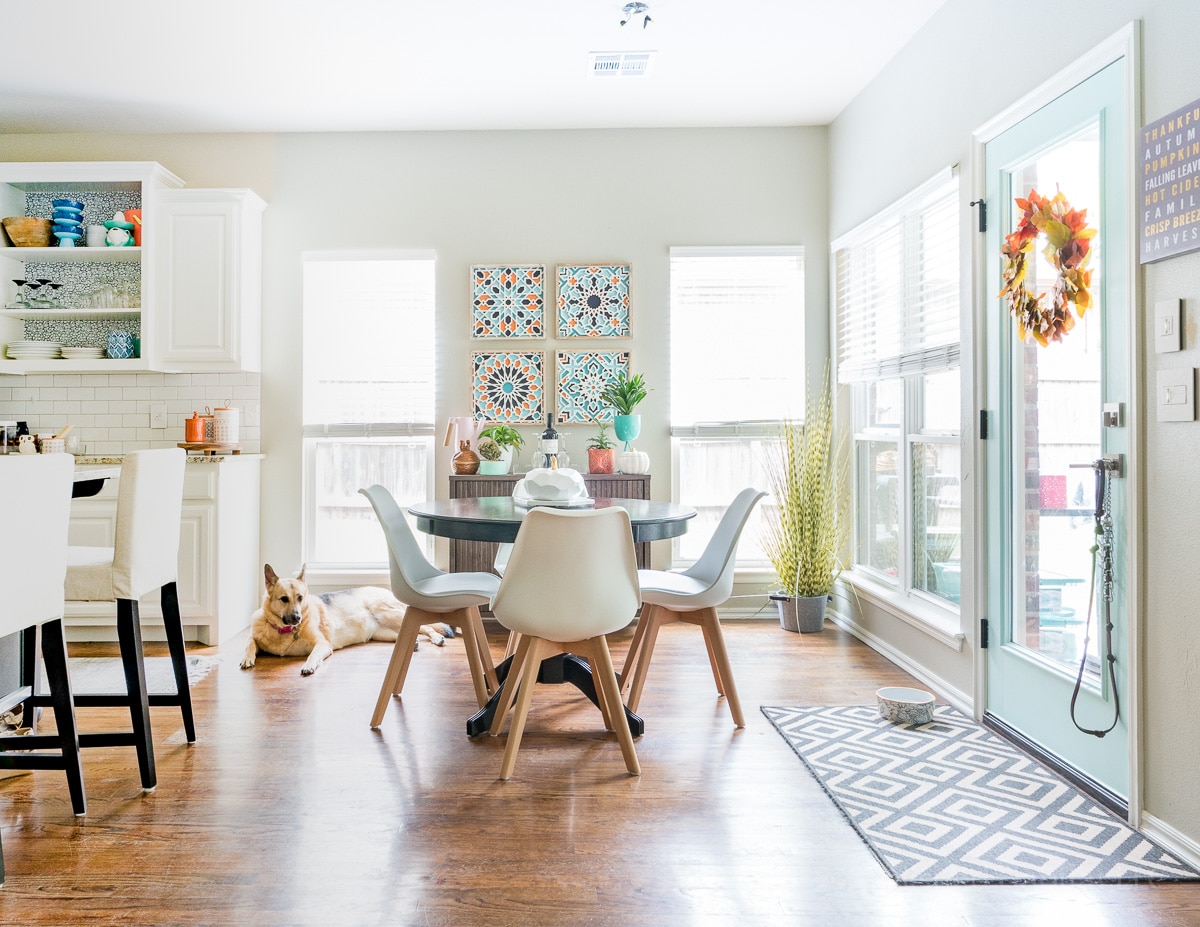
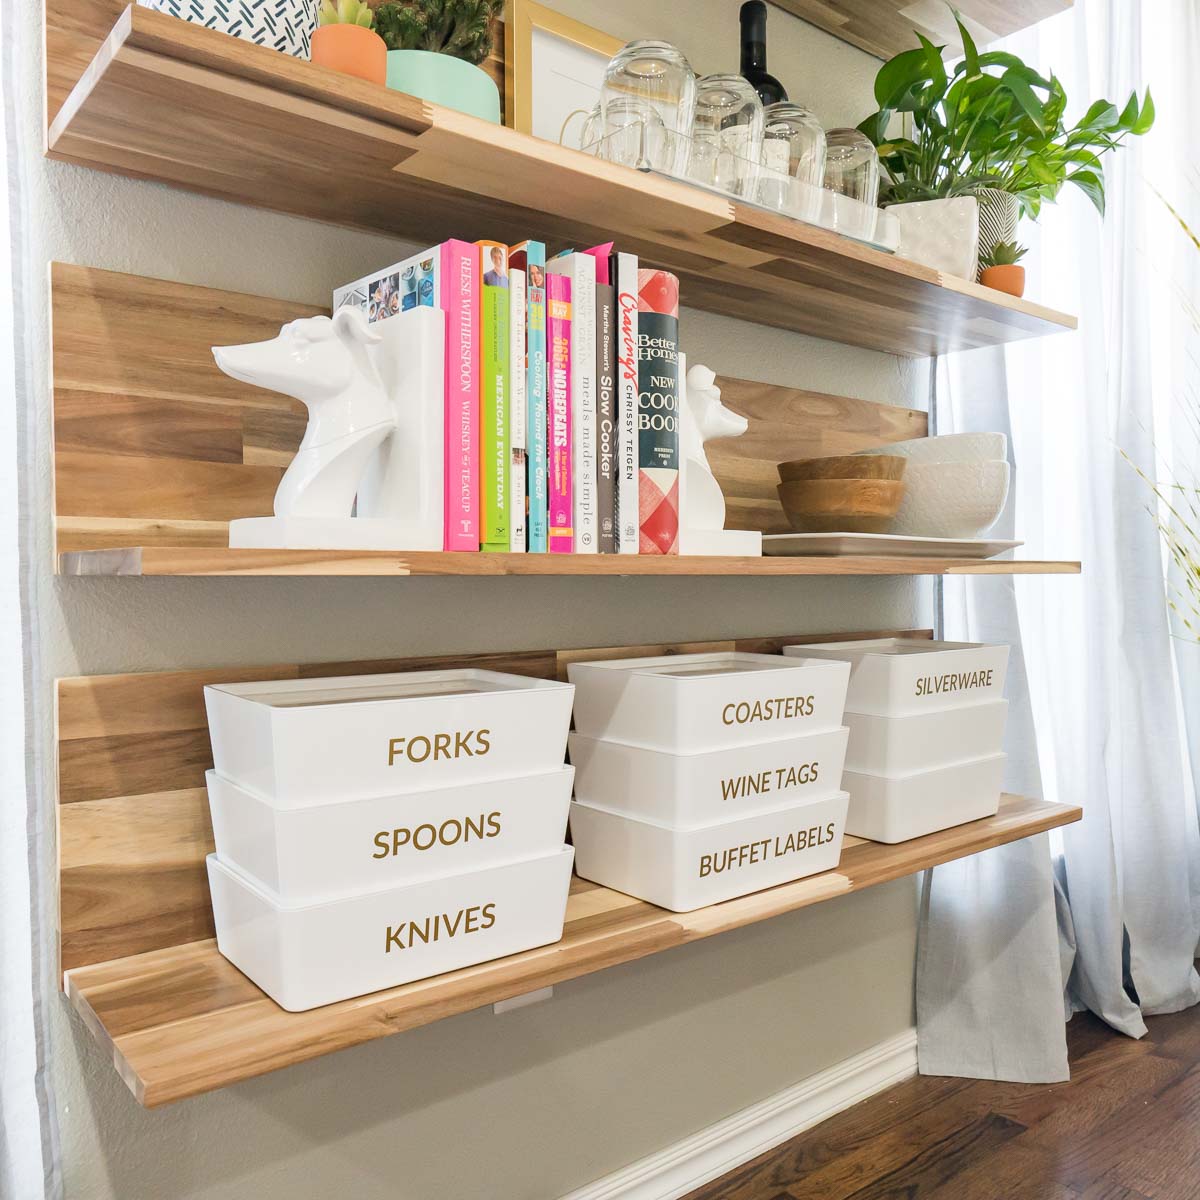
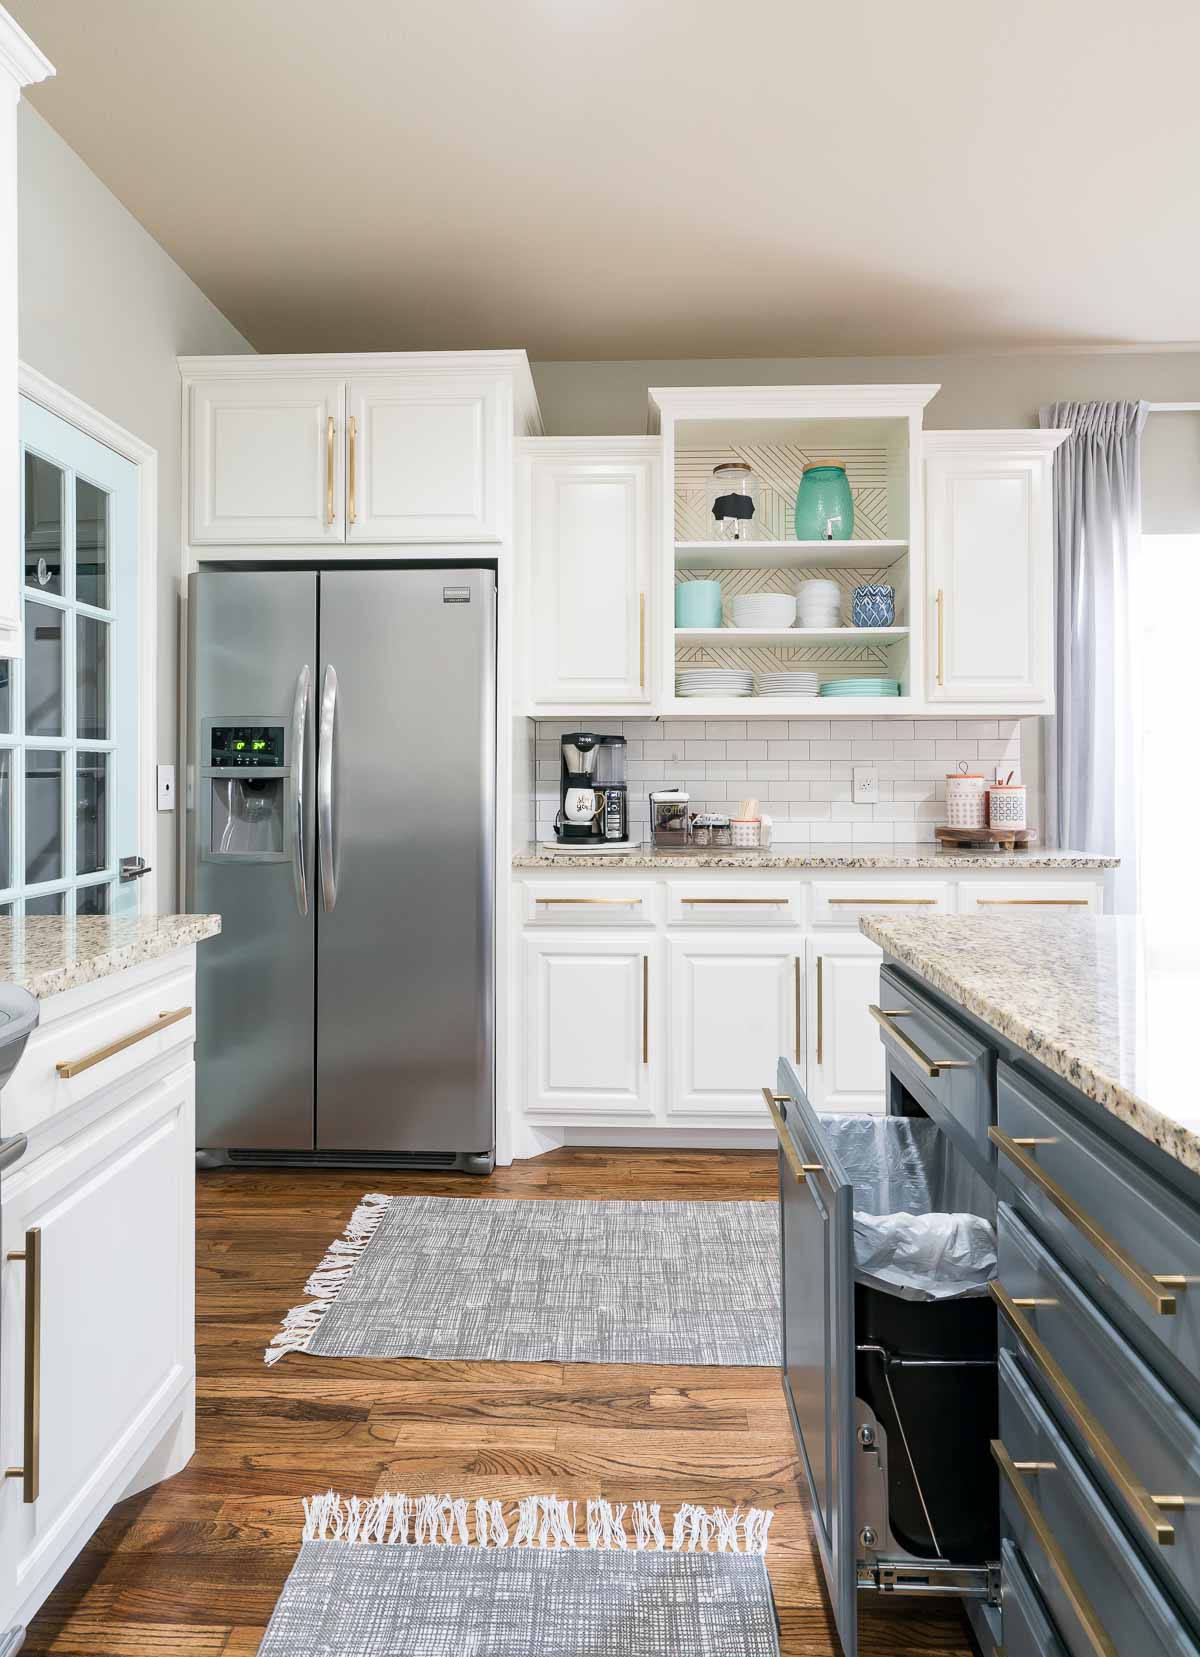
Of all the funny things to get excited about, I’m thrilled to have dedicated homes for plastic & extra metal silverware along with other entertaining items.
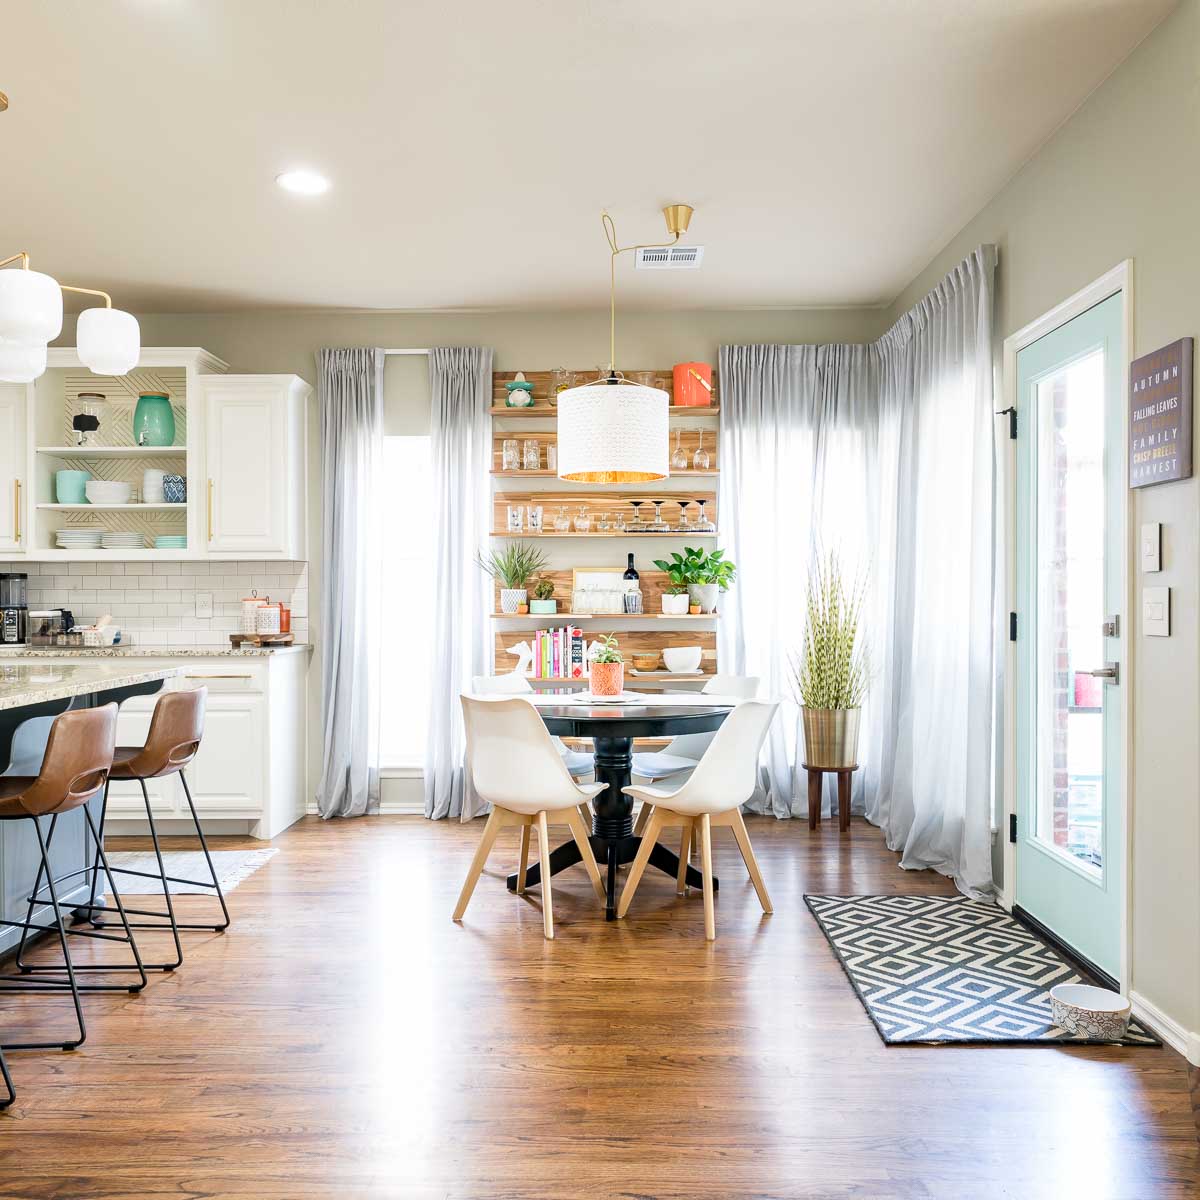
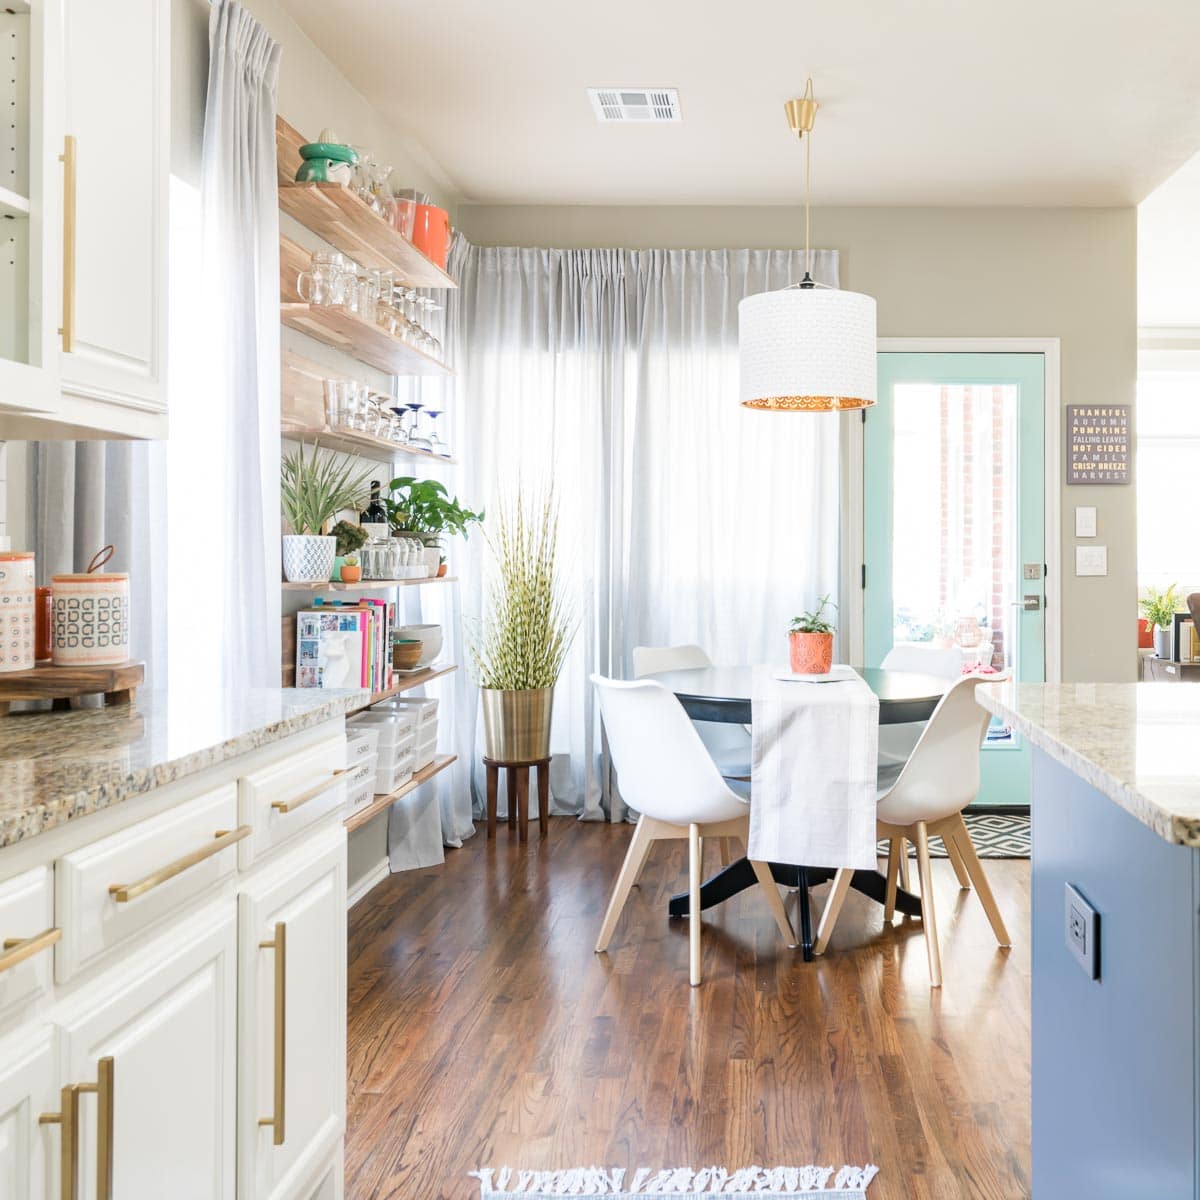
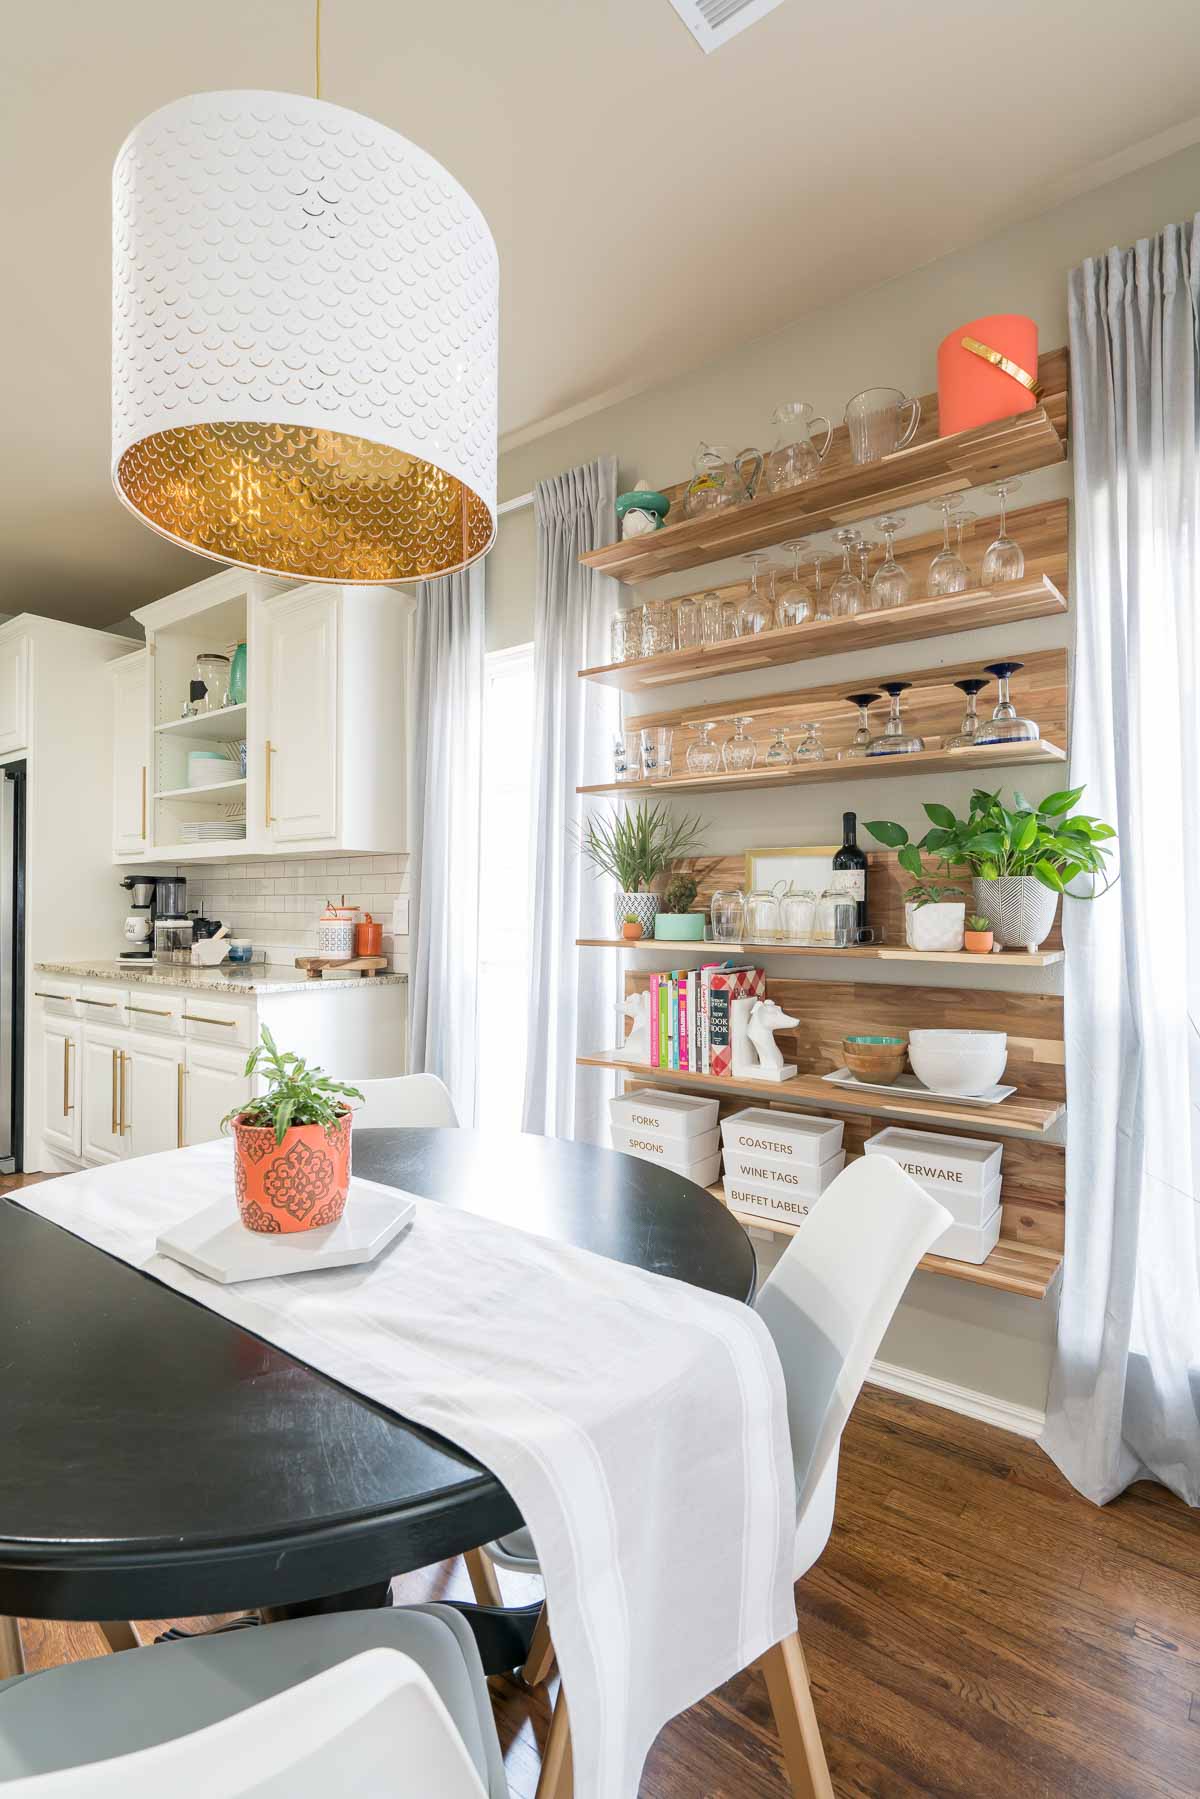
The glassware looks so nice on the new shelves!
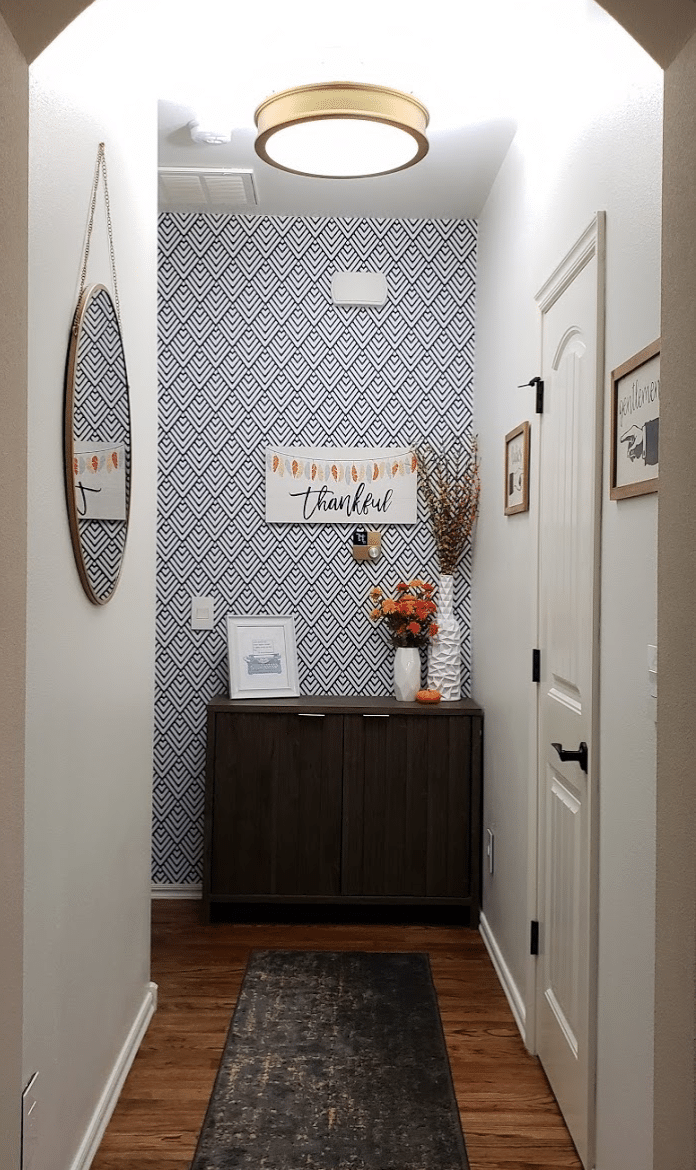
The cabinet from the kitchen nook works perfectly in the hallway to our bedroom, so we got a bonus makeover out of this ORC.
The colorful art from the before nook photo was relocated across the room. I love how it ties in the aqua from the pantry and back doors.
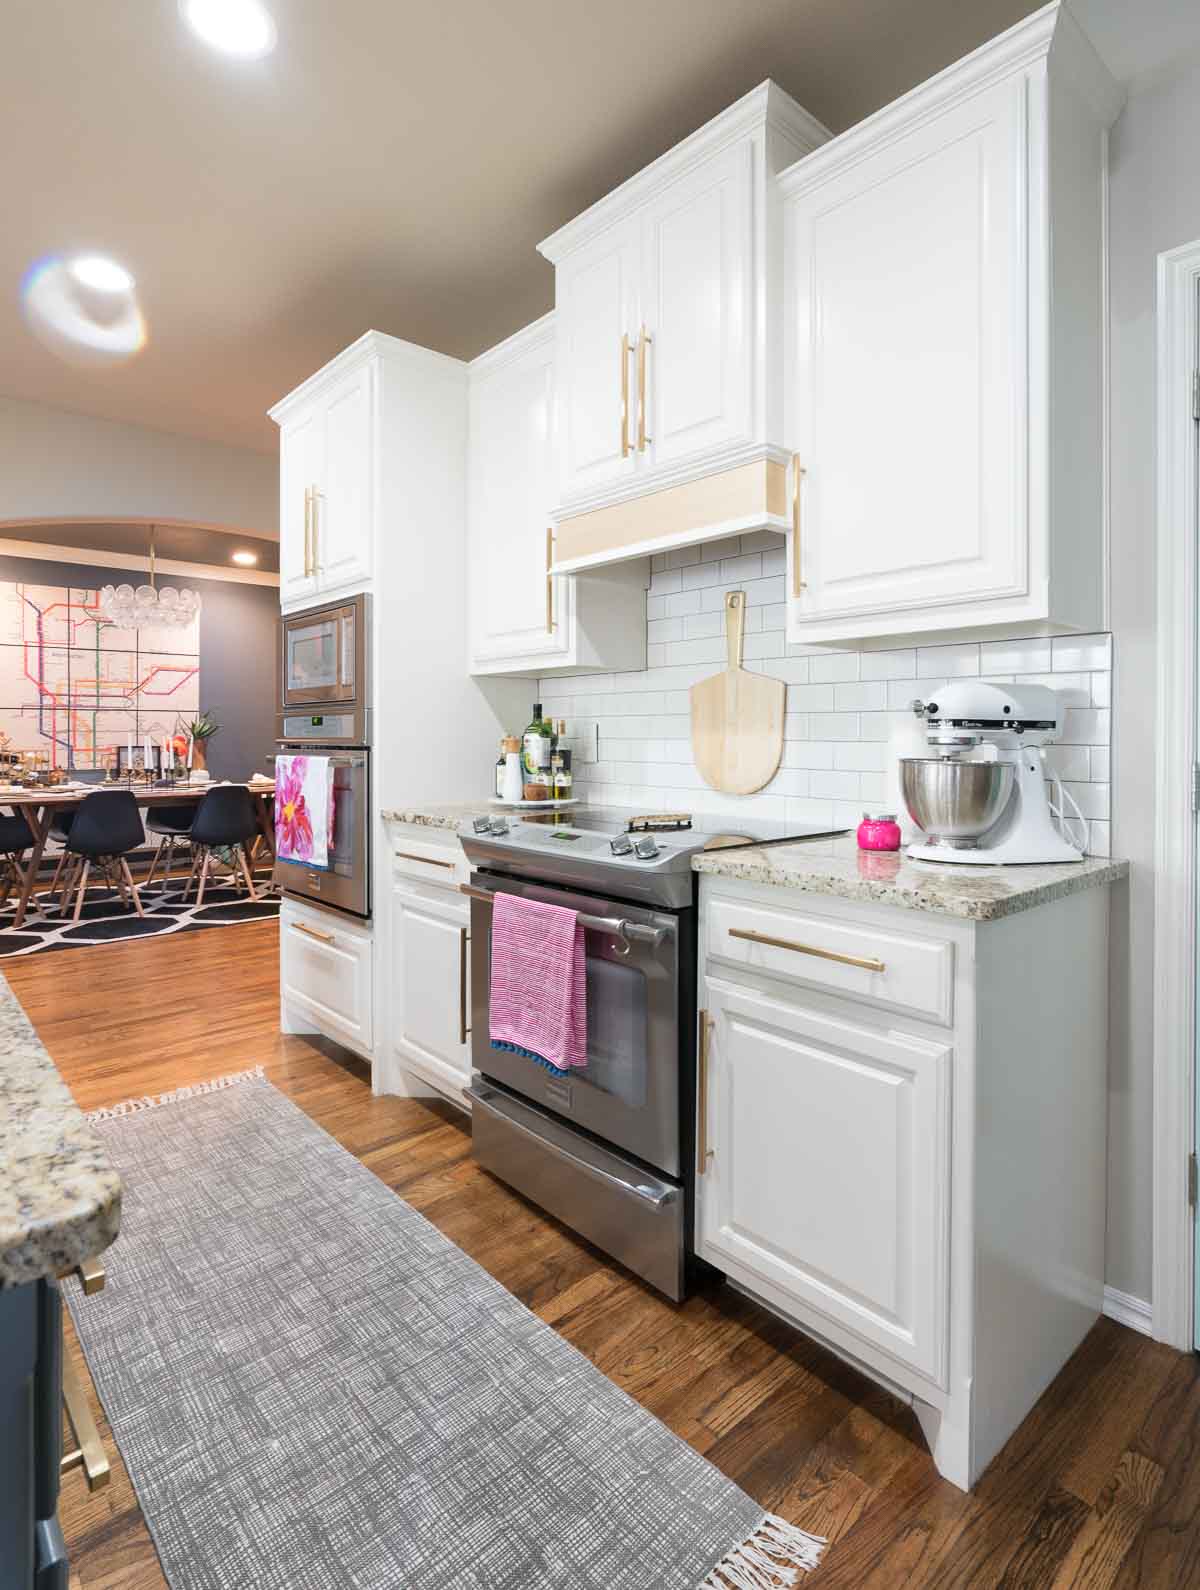
To prevent the paint from peeling in the future, we finally installed pulls!
This next change seems too small to mention, but the function is AMAZING so I didn’t want to skip it. We installed in-cabinet trash cans a few years ago, but we finally spent the extra $20 to attach the sliders right to the cabinet door. Instead of opening the door and then pulling out the trash, the door slides open now. It’s delightful.
I’m sure you’ve noticed by now, all the white cabinets have the same new hardware.
I’m so glad the other lights didn’t work out, because these fulfill everything I originally wanted for the kitchen. There are some beautiful island lights that I’ve seen used over and over, but I wanted something different. Check!
We didn’t get the hanging herb garden up because I wasn’t able to decide if it would look right. It may or may not still happen in the future. But considering we joined the challenge at the last minute, and I was sick the last week, I’m thrilled with the transformation.
Next up, read my tips on decorating your own open kitchen floor plan!
Product Sources
Island Paint: SW Web Gray mixed in Valspar Cabinet Paint
Aqua Door Paint: SW Tame Teal
Cabinet Hardware: Amazon
Island Lighting: West Elm
Barstools: All Modern
Trash Can Door Mount Kit: Amazon
Kitchen Faucet: Home Depot
Pantry Handle: Amazon
Wallpaper in Open Cabinet: Target
Nook Lighting: IKEA NYMO
Nook Shelves: IKEA SKOGSTA
Curtain Rods: IKEA VIDGA
Curtains: IKEA HANNALILL
Nook Chairs: Amazon
Window Film: Amazon
Hallway Light Fixture: Amazon (same fixture in entry hall and hallway to our bedroom)
Let me know what I missed and I’m happy to add it to the list!
Now don’t forget to check out the One Room Challenge site to see all the other amazing room makeovers that happened this round.




Johna says
Hello!
Can you please link where the storage boxes are from? I love the idea of having extra entertaining supplies better organized.
Thanks!
Melissa George says
Hi Johna, They’re from IKEA and you can find them here: https://fave.co/2ZDAJPG. Thanks!
Heela says
How are the curtains with providing privacy?
Melissa George says
Hi Heela, they’re not as see through as sheer, but you can definitely see shapes through them. They’re perfect for our kitchen that faces the back yard, but I wouldn’t use them as the only window covering on a street facing bedroom without blinds. Hope that helps!
Naia says
Hello, where did you find your hand towels in this photo? Do you know the brand or kind of flower? They are beautiful! Also the patterned stitching on the second towel is nice as well
Melissa George says
Hi Naia, I got them at Target a couple of years ago and I think they were one of the store brands that had several items similar to things you would get at Anthropologie.
MARIA MITCHELL says
Hi Melissa – can you tell me the wall colors and cabinet color paints in kitchen?
Melissa George says
Hi Maria, the white cabinets are BM White Dove and the island is SW Web Gray. Sadly the wall color was from a brand that no longer exists, but for something similar, look for a griege. The ceiling is still the original paint color because it runs continuously into our main hallway & entry. It’s more an a beige we don’t love, but it’s a big project to paint the tall entry and stairwell so we keep putting it off. Usually, we do the ceilings the same color if it a lighter shade or white if we go with a really dark color. Hope that helps!
MARIA MITCHELL says
Melissa – adding comment to above q. Did you paint the ceiling a darker shade than the walls? What color was that? Was that to add warmth? Doesn’t darker color on ceiling close room in? Obviously not because your kitchen is beautiful.
El says
Hello! I’ve just come across your website during a search for ‘how to style an open plan area’ and I LOVE YOUR STYLE! Where did you get the set of 4 square mosaics you have on the wall? They’d look great in my dining area!
Thanks,
El
Melissa George says
Thank you, El! They were an inexpensive find at a store called Old Time Pottery quite a few years ago. Sadly, they aren’t branded so I don’t know if anyone else would still have them.
Rachel says
Hello! How did you hang the Ikea wall shelves? The reviews on the Ikea website say that they are very difficult to mount. Thanks!
Melissa George says
Hmm. It’s been awhile, but I don’t remember then being a pain. We used heavy duty anchors/screws from Lowes since we knew they’d have heavy things on them. You do have to accurately measure between the anchor points so they’re all lined up with the mounting holes properly, so that could be a problem. And with anything like that, we assume there are manufacturing inconsistency and measure each shelves mounting holes separately vs assuming the same measurements for all, so that might have been an issue for others too?