Is it already time for another edition of CONFESSIONS? We have an almost seasonal problem with over the top eating out. And not even great food most of the time. We go through phases of believing it’s faster and easier to grab fast food.
It’s a pretty stupid rut to fall into, because we actually like cooking and trying new things! But it’s so easy to be lazy and not make a meal plan and grocery shop. We’re both fed up with spending too much money to eat food that isn’t nourishing our bodies.
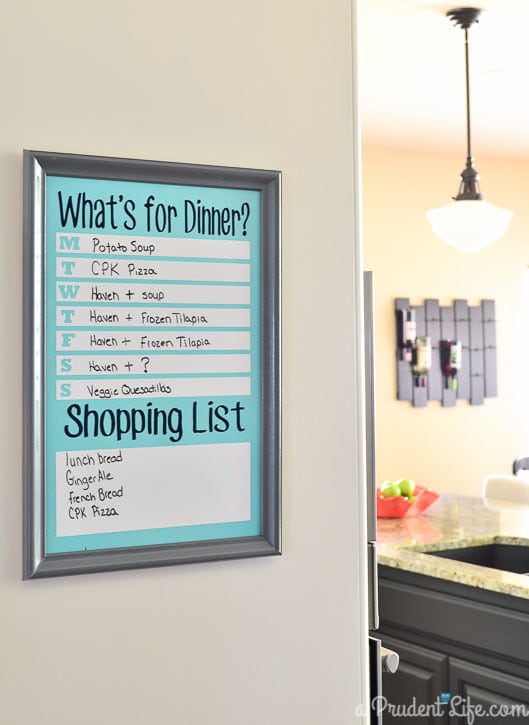
We’d much rather eat at home and splurge on better restaurants less often. In order to make that plan reality, it really just takes one small change. We’ve GOT to plan out the week ahead before it starts. Making a meal plan and getting groceries Sunday night or Monday morning makes all the difference. The DIY Menu Board I originally made last summer is the perfect tool to keep us on track.
Dry erase vinyl is perfect for this project! You can order it via Amazon with my affiliate link here.
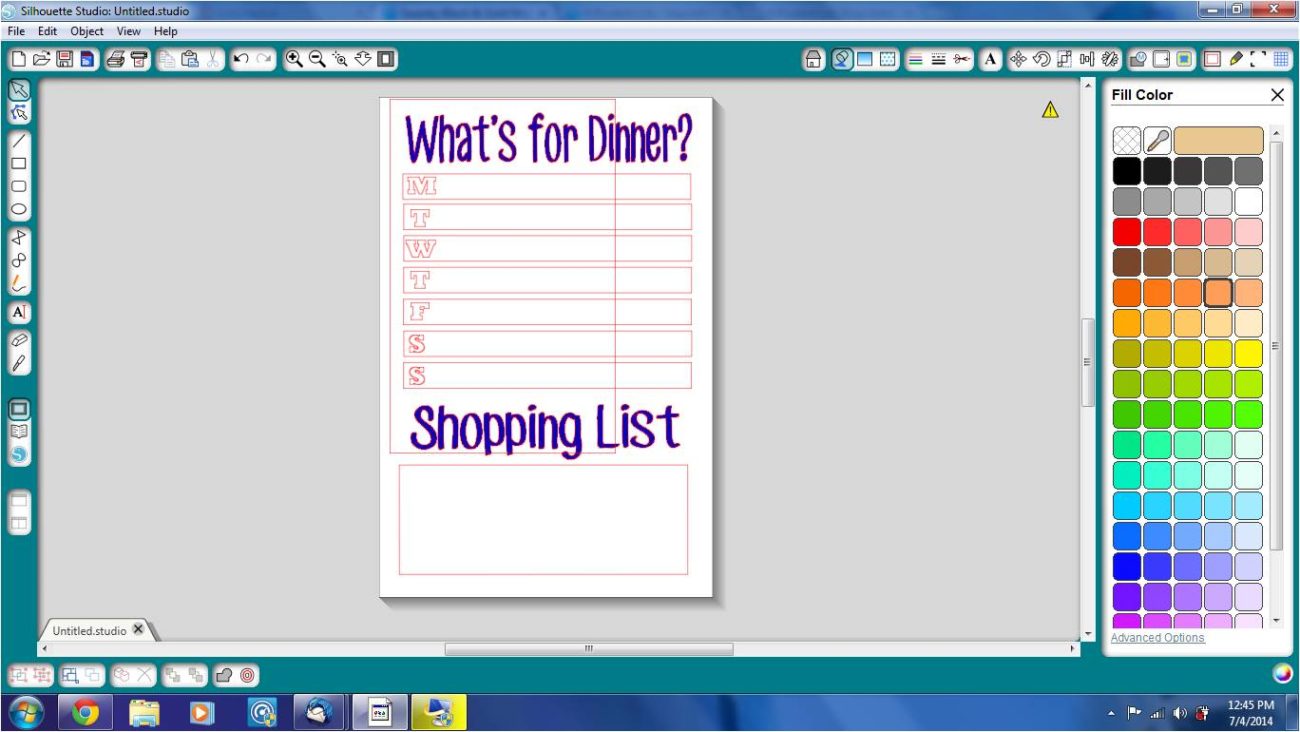
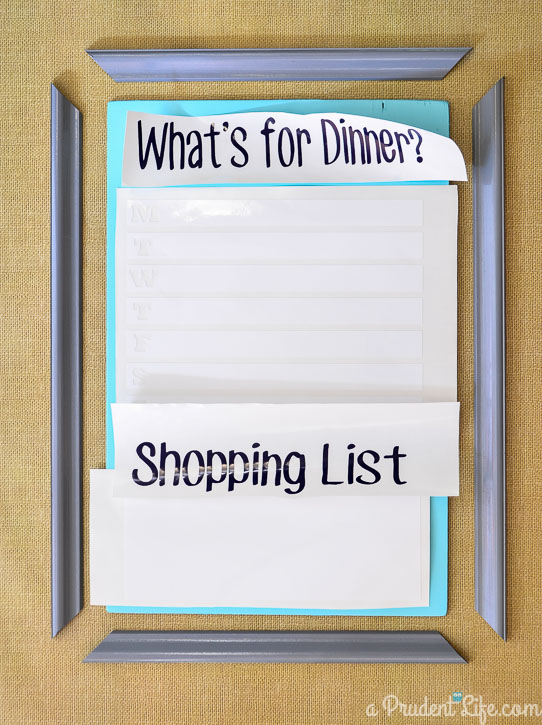
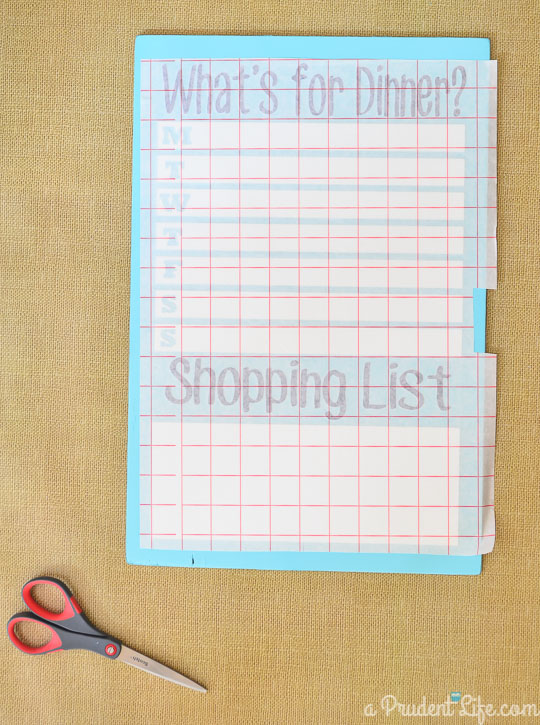
The first step was laying out a design for my menu board in my Silhouette software. When I’m designing something wider than my Silhouette can cut (I have a Portrait), I still change the page size in the software so I can see the full design at once. Once I am happy with the design, I cut it in sections. Usually this means rotating some items 90 degrees so they will fit.
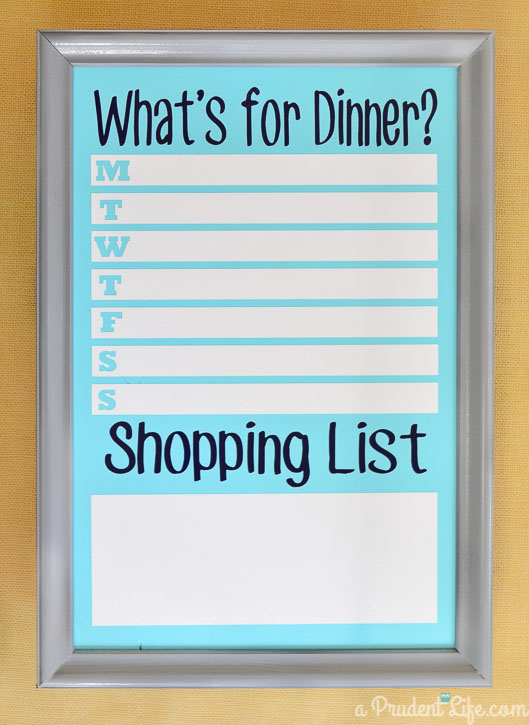
I wanted to really take advantage of being able to cut the dry erase vinyl and not just use it as a solid sheet. The design I landed on included drawing a rectangle for each day of the week. Then I added an initial for each day. Putting the letters inside the square meant the letters would be cut out and end up the color of the wood board. You can’t do that with a normal dry erase board!
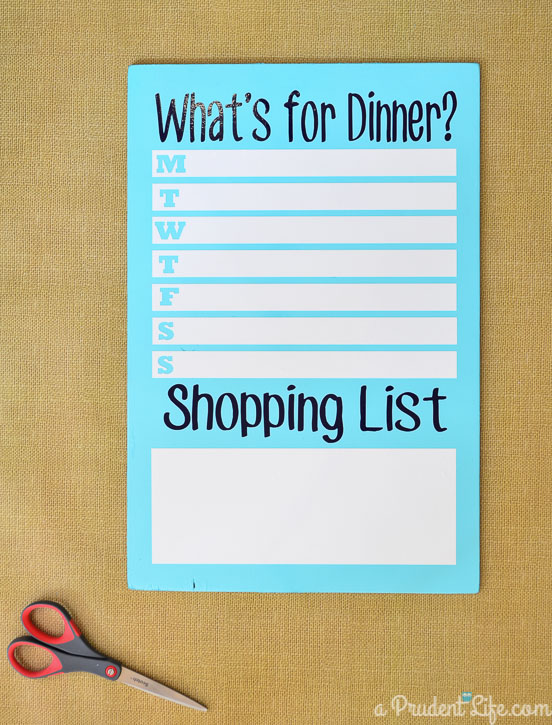
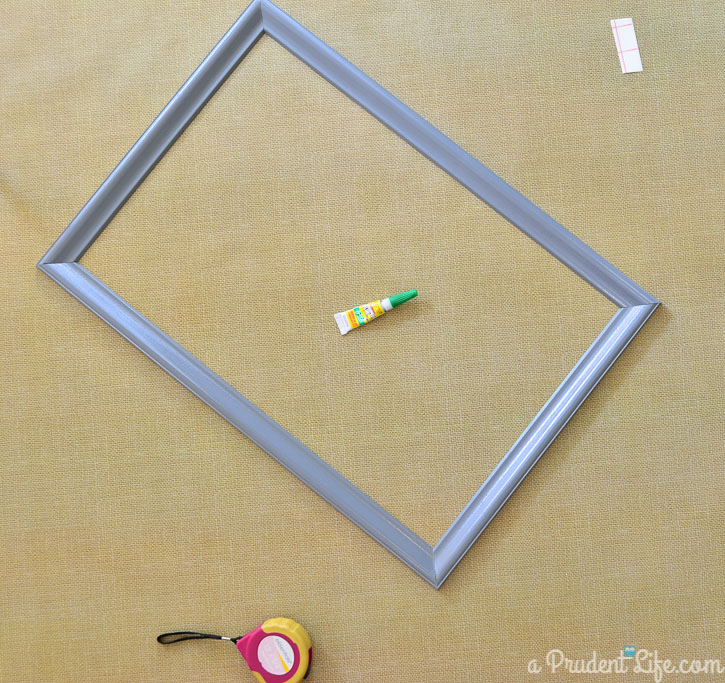
Once I finished my design, I had a piece of wood cut at the hardware store to be 12″ x 18″. We also picked up a piece of molding to make into a quick frame. We cut the molding to fit and gave it a couple coats of the same gray gloss spray paint I had left over from my cork board makeovers.
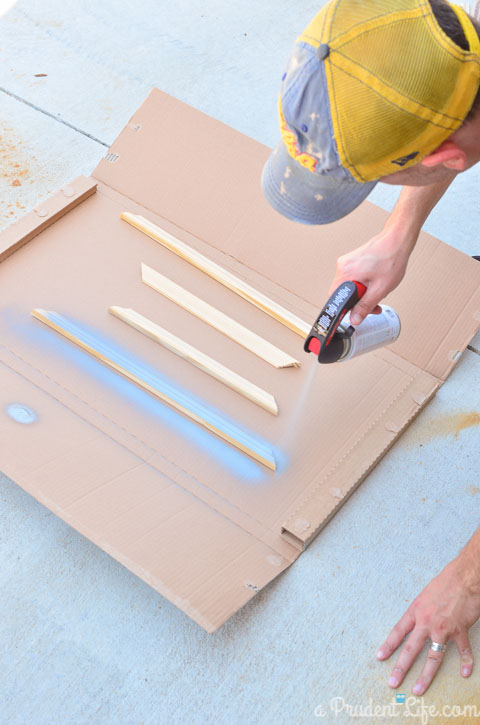
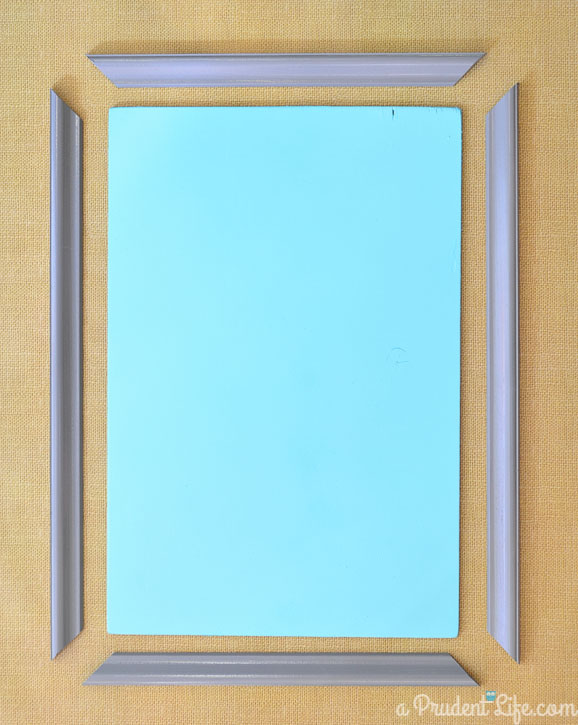
The board also got a few coats of spray paint in a pretty ocean color.
 I used a deep navy for the text. I love that I found another way to incorporate navy into the house!
We dry fit all the pieces to make sure the measurements were correct.
Instead of applying the pieces individually, we taped them into place on our kitchen counter and applied one piece of transfer tape to the entire design.
It worked like a charm!!!
With the board all vinyl-ed up and beautiful, it was time to add the frame. First, we used super glue gel to attach all four sides of the frame together. Since this is more of a faux frame and not really holding glass, the super glue was perfect.
After the frame had dried (about 30 minutes), we used more super glue gel to attach the frame to the menu board.
I let that dry over night and then used those magical Command picture hanging strips to add the menu to the end of our cabinets.
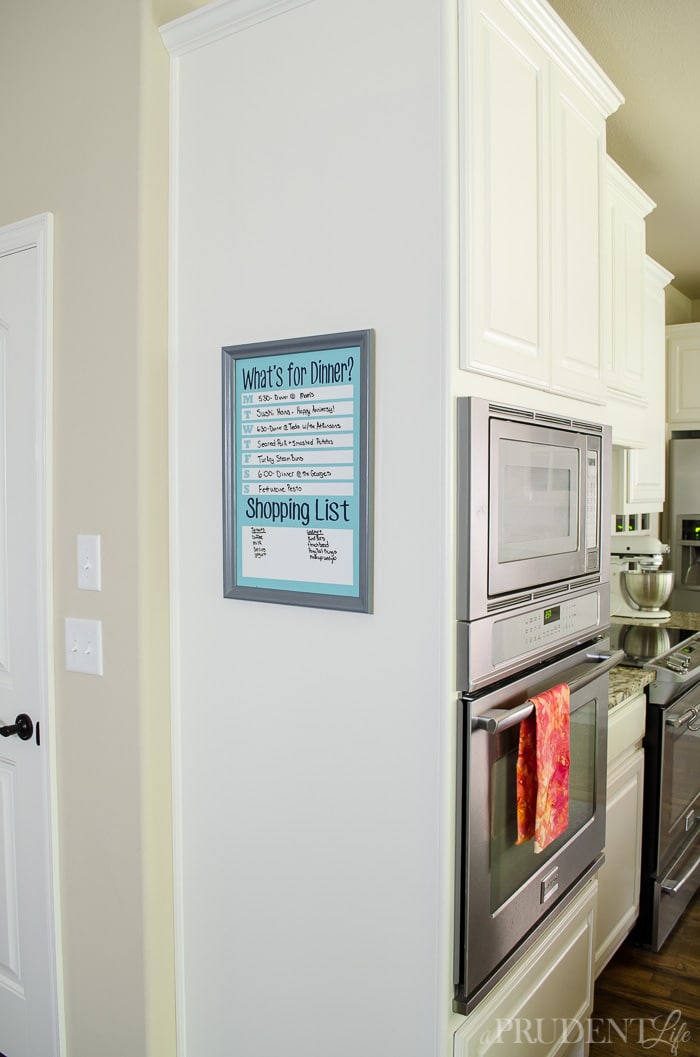
I LOVE LOVE LOVE having the board out in the open because we have to walk past it constantly and will be reminded to make a plan and then follow the plan. Plus, we’ll feel some healthy guilt if we walk past it to eat out on a day we were supposed to eat at home.
Which works well unless it’s a birthday & anniversary week like this one. 🙂
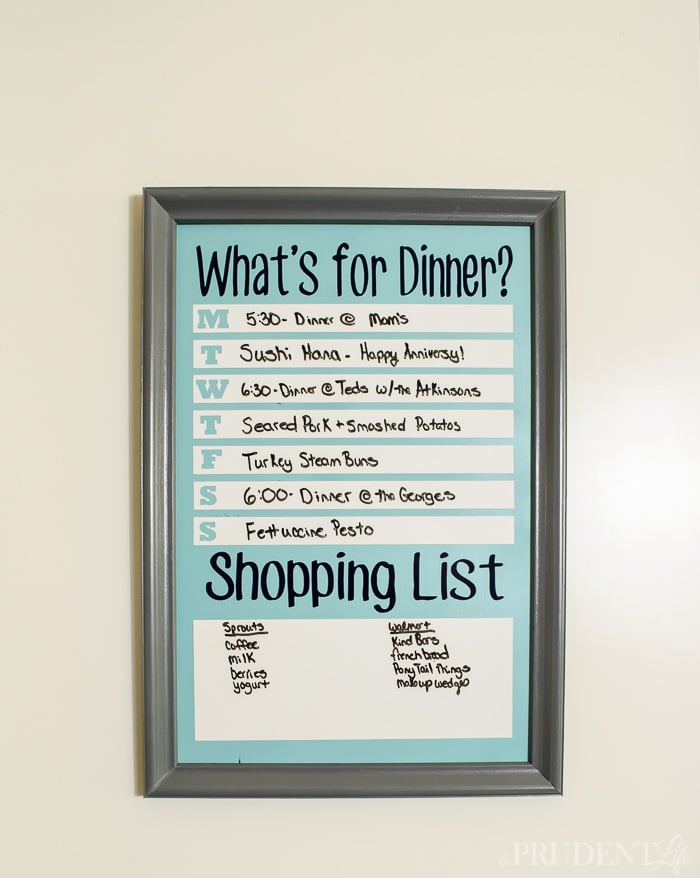
I’ve also got to say that I have been crazy impressed with how well the dry erase vinyl works. I can’t tell any difference when writing & erasing between this and the pricey white boards I’ve used in the past.
If you prefer chalk to dry erase, check out this simple idea next!

Lauren @ The Thinking Closet says
Melissa! So wonderful to meet you in person this past weekend and give you a hug. You are just as warm and encouraging as you are in blogland…. And this project is another homerun from you, my dear. I absolutely love the beachy bright color palette you chose – – and how cool that you cut dry erase vinyl with your Silhouette?! The possibilities really are endless, aren’t they? Great work!
Melissa George says
Well, let’s just have a gush-fest because I think YOU are amazing in person as well. Not many of us would be so totally warm & upbeat in the midst of trying to wrangle 20+ bloggers together for a photo! Thanks so much for your super sweet comment – you made my day!
Marly says
Cute! I’ve seen some dinner-planning boards like this. I’m bad about planning dinners out in advance; anyone know if this would help for someone who isn’t super organized?
Melissa George says
Hi Marly, different things seem to be effective for different people, but it’s been helping us so far!
Courtney @ Crafts by Courtney says
Melissa you did such a wonderful job with this!! I need one of these for my kitchen. I loved that you used you Silhouette to make it. It looks beautiful on that wall.
Corrine says
This is a great idea! I could definitely use something like this in my house!
Kimberly @ Stuffed Suitcase says
Love this Melissa! I’m so envious of all the magic you create with vinyl!
Brenda says
Love this project, so pretty and useful!
Curious, what is ‘Haven’ on the dinner menu?
Melissa George says
Thanks Brenda! Haven was the name of the blogging conference I went to. I picked the worst week ever to show our menu because I was out of town most of the week. For our own sanity, I wrote in Haven so we would remember what days I was gone & I could figure out if I needed to grab anything at the store for my husband’s dinners those nights.
Ms. Morgan says
Love the menu board! I do something similar (have a white board with the weeks menu and grocery list) but it’s no where as pretty as yours! So wonderful! I’m glad I jumped over from the DIY Sunday Showcase this morning. Can’t wait to start following you. 🙂 Hope you can hop over to visit me.
Melissa George says
Thanks Amy! I love seeing all the different ways people use the same theme. So much creativity!
Melissa @ Daisymaebelle says
LOVE this menu board! I am sharing you today on my FB page along with this great project! Life to the full! Melissa
Melissa George says
So sweet of you to share! Thanks Melissa!
Carrie This Home says
This is so adorable! I keep a weekly menu on a piece of paper but your menu board would be so much better! Thanks for sharing this at the Frugal Crafty Home Blog Hop!
Shel Harrington says
Love the idea of having the planned out meals visible and set out in a way that changes can be made but there’s still a plan. Like you, having that visual would make me think twice about ignoring the available food and opting for something less healthy and/or more costly! Thanks, Melissa!
Jennifer Graff says
I am absolutely i love wihh the dry erase menu board….but dont have a single crafty bone in my oversized body! Do you sell these? I would gladly buy one or at least the premade stickers! Please please please…my 4 daughters would love a more organized mom!
Melissa George says
Thanks Jennifer – I’ll email you!