This is a sponsored conversation written by me on behalf of Cricut. The opinions and text are all mine.
A couple of weeks ago, I shared how easy it is to make metallic labels for plastic storage bins. But what about those fabric storage cubes that are SO affordable and handy for home organizing?
They’re wonderful for storage but I’ve always debated how to label fabric storage bins so I don’t have to wonder what’s in them.
I’m trying to clean up the under stair closet, which has our tornado shelter as well as a bit of extra storage. And by “extra storage” I mean it’s a disaster of a catch-all where we stash everything from gloves to my nephew’s slime.
It’s scary on many levels right now:

I did some measuring and found inexpensive canvas bins that would fit along the top of the tornado shelter, below the existing shelf to store our gloves, winter hats, and outdoor scarves.
With some DIY labels, they’ll be perfect!
PS: After the tutorial, I linked some options if you want to buy storage cube labels instead!
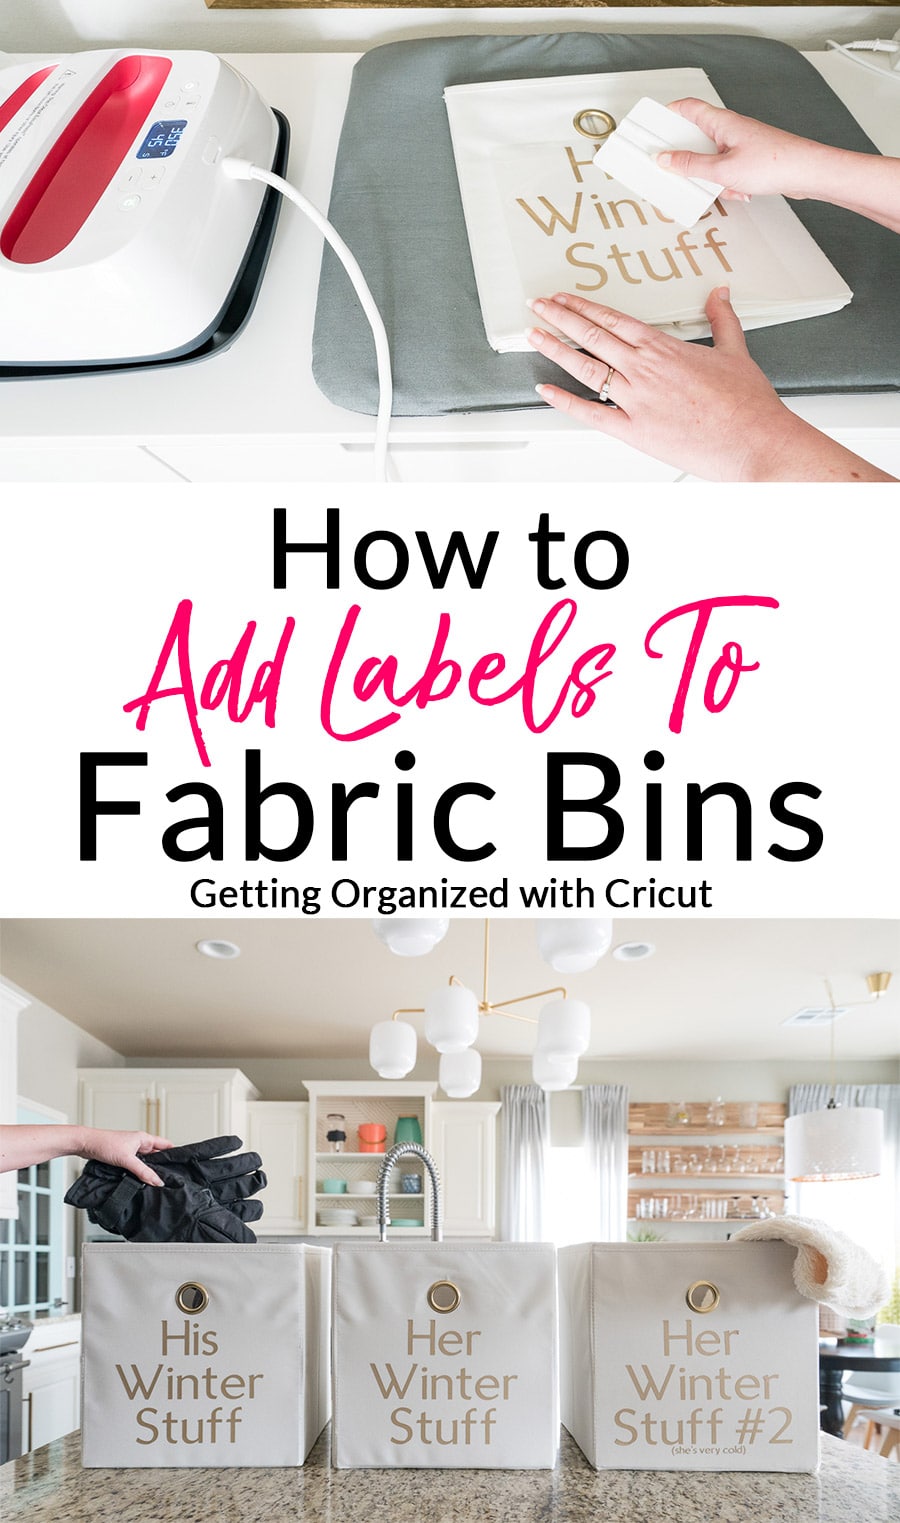
How To Make Labels for Fabric Bins
While we used adhesive vinyl for the last project, you’ll want to look for iron-on / heat transfer vinyl (HTV) for fabric projects.
The iron-on vinyl can be applied with your regular iron OR Cricut makes a tool called the EasyPress 2 that will definitely save time, and probably frustration.
We’ll get back to WHY it lives up to the “Easy” name in a minute, but I wanted to go over the little tweaks you’ll need to make to the vinyl process when working with iron-on.
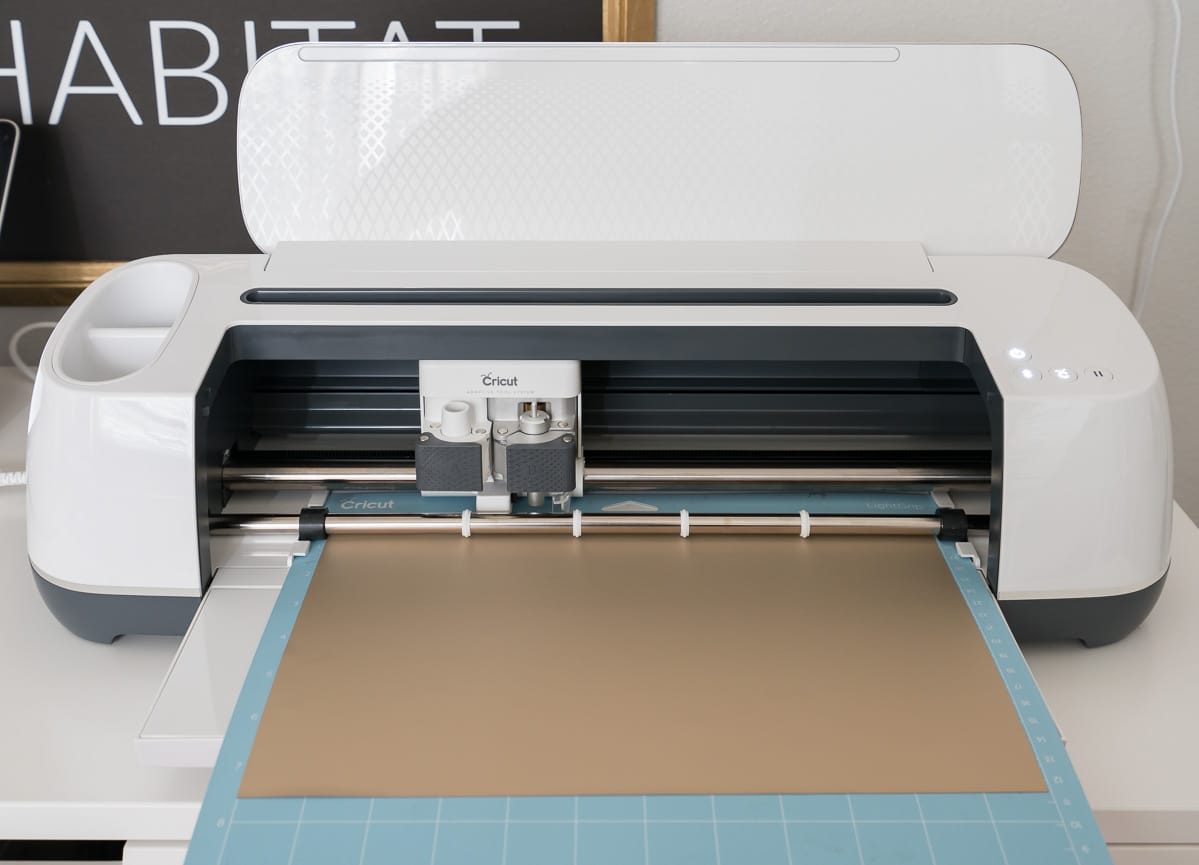
How to Cut Iron-on Vinyl with the Cricut Maker
Step 1 – Design: Create your design in Design Space as usual. I used the Brewery #2 Cricut font to type out the label I wanted for our bins.
Step 2 – Mirror: After you push the “Make It” button, you’ll need to find the “Mirror” toggle switch on the left panel to reverse your design because with iron-on vinyl, we cut from the back.
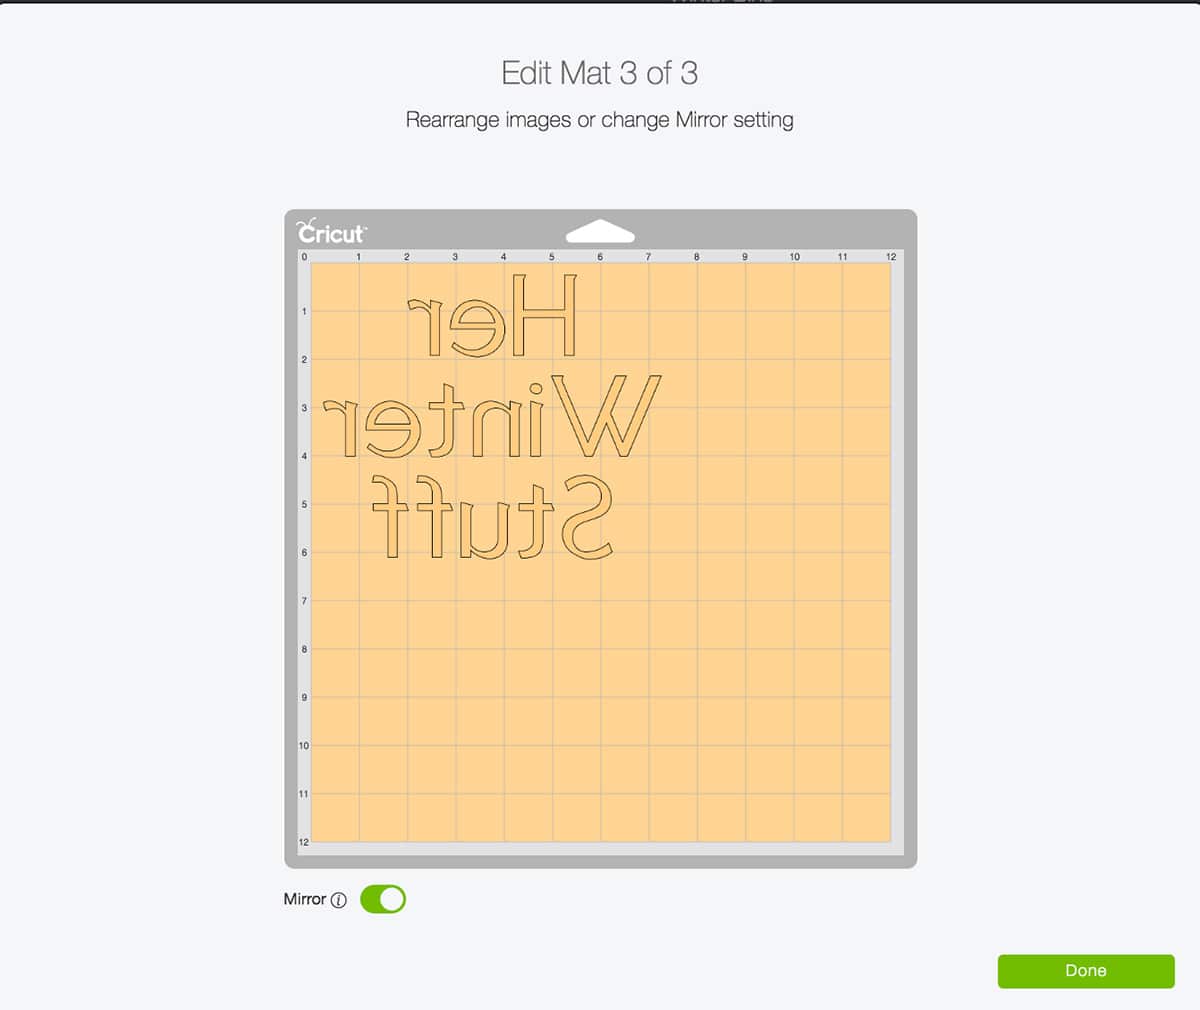
Step 3 -Reverse the Vinyl: Since we’re cutting the back of the vinyl, you also need to put the vinyl on your cutting mat with the shiny side down.
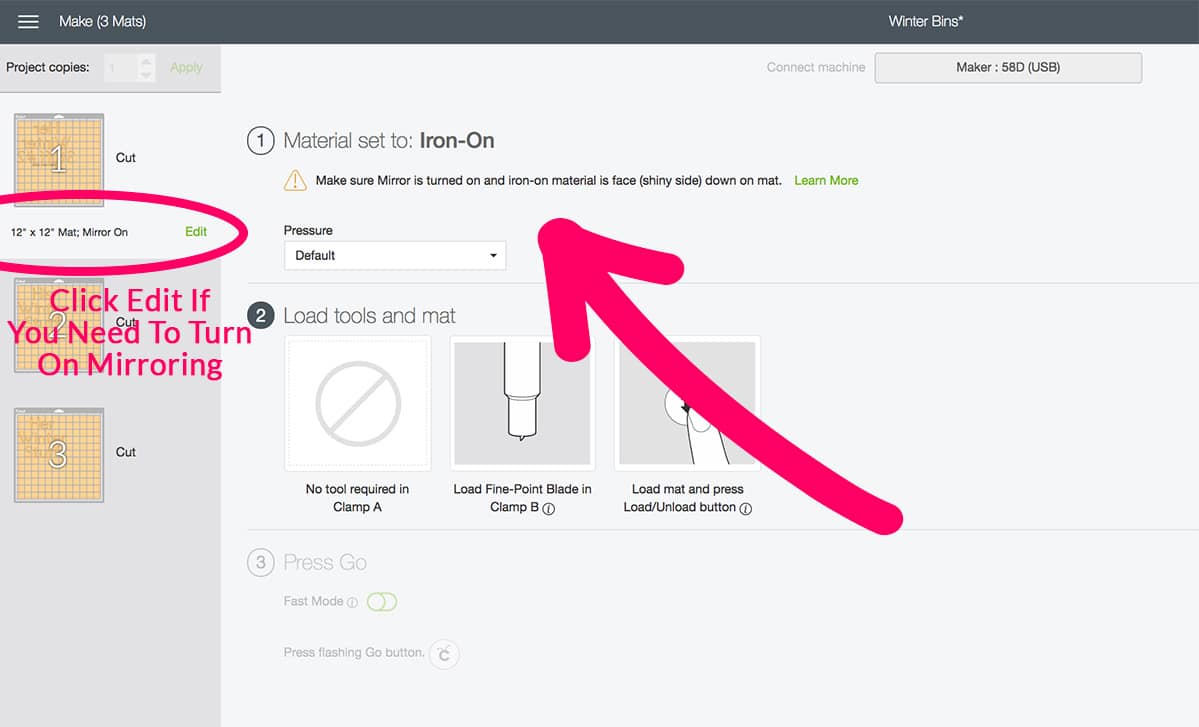
Bless Cricut, they KNOW we’ve all got a million things on our minds at once. When you select Iron-on as your material, it will remind you to make sure your design is mirrored and your vinyl is face down.
This little reminder is going to save me SO MUCH wasted material.
Step 4 – Weed: Like a regular vinyl project, you’ll need to weed away anything that you don’t want on your finished project. But you’ll be doing this from the back.
I promise all this reverse nonsense will make sense soon!
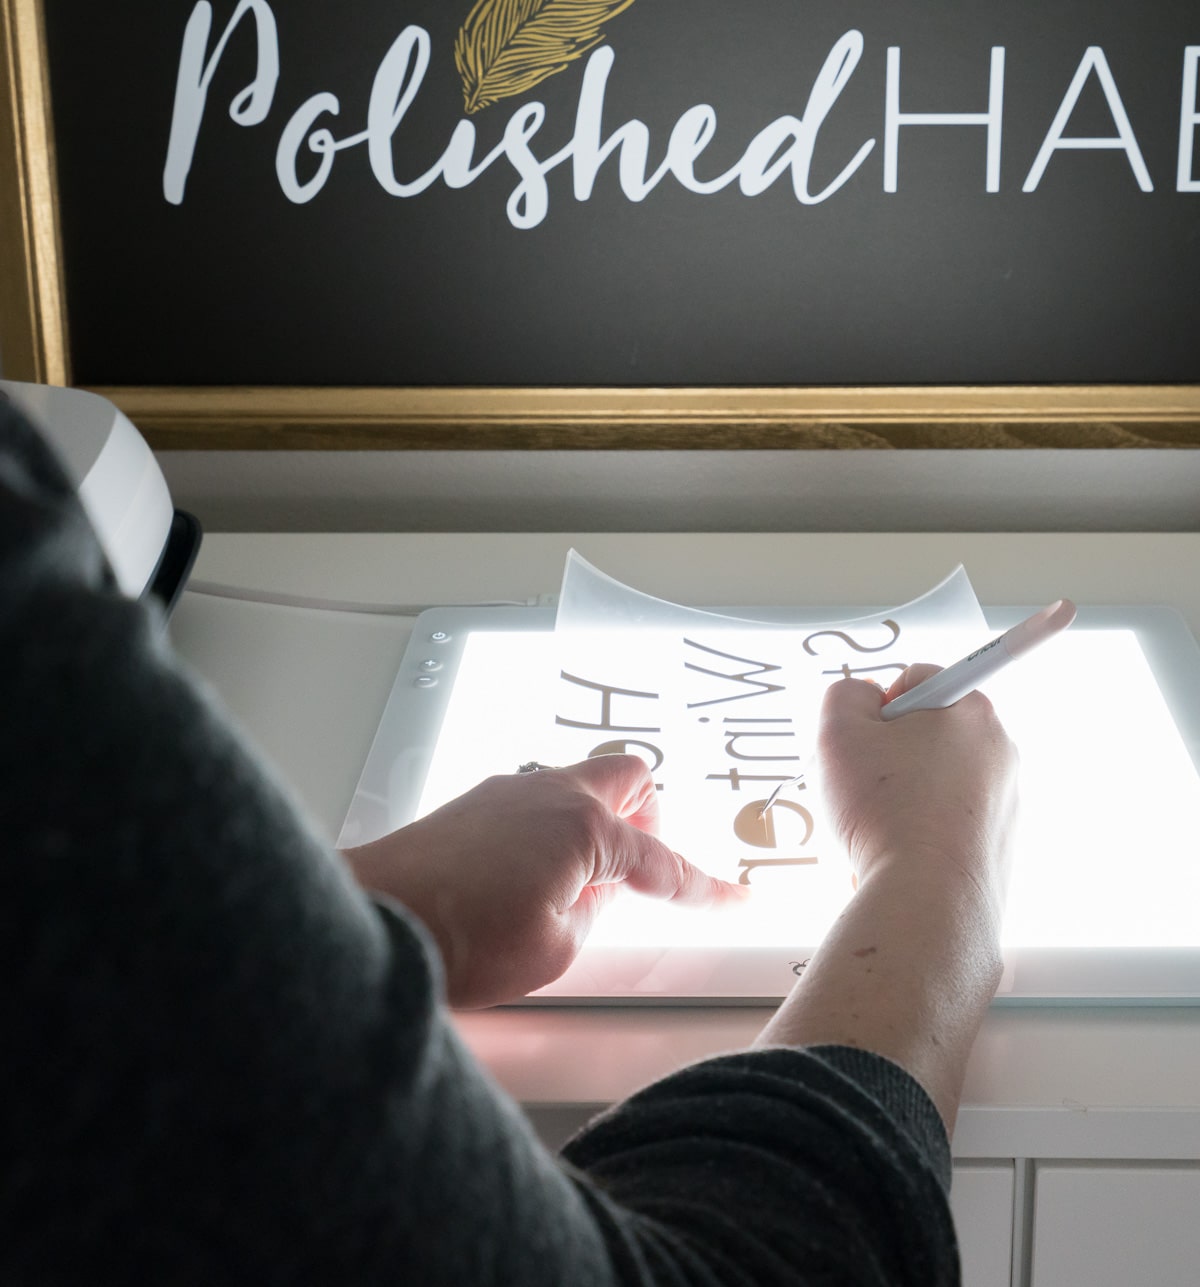
When you’re done weeding, you’ll have a clear sheet holding your design together from the front.
When you get to this point, you’re ready to finish your project by adhering it to your fabric bin! PS: If you don’t have bins yet, the IKEA DRONA Box is a great affordable choice.
In the past, I’ve always done that step with our iron, and it was usually frustrating. The iron didn’t cover the whole pattern at once and the heat was uneven.
At the time, the alternative was a giant, intimidating heat press that would take up a bunch of room in the office. An iron will still work, BUT now we have an even better option available – the Cricut EasyPress 2 line of handheld heat plates!
I’m going to show you this project with the medium 9″ x 9″ size, but it also comes in a smaller 6″ x 7″ and an XL 10″ x 12″.
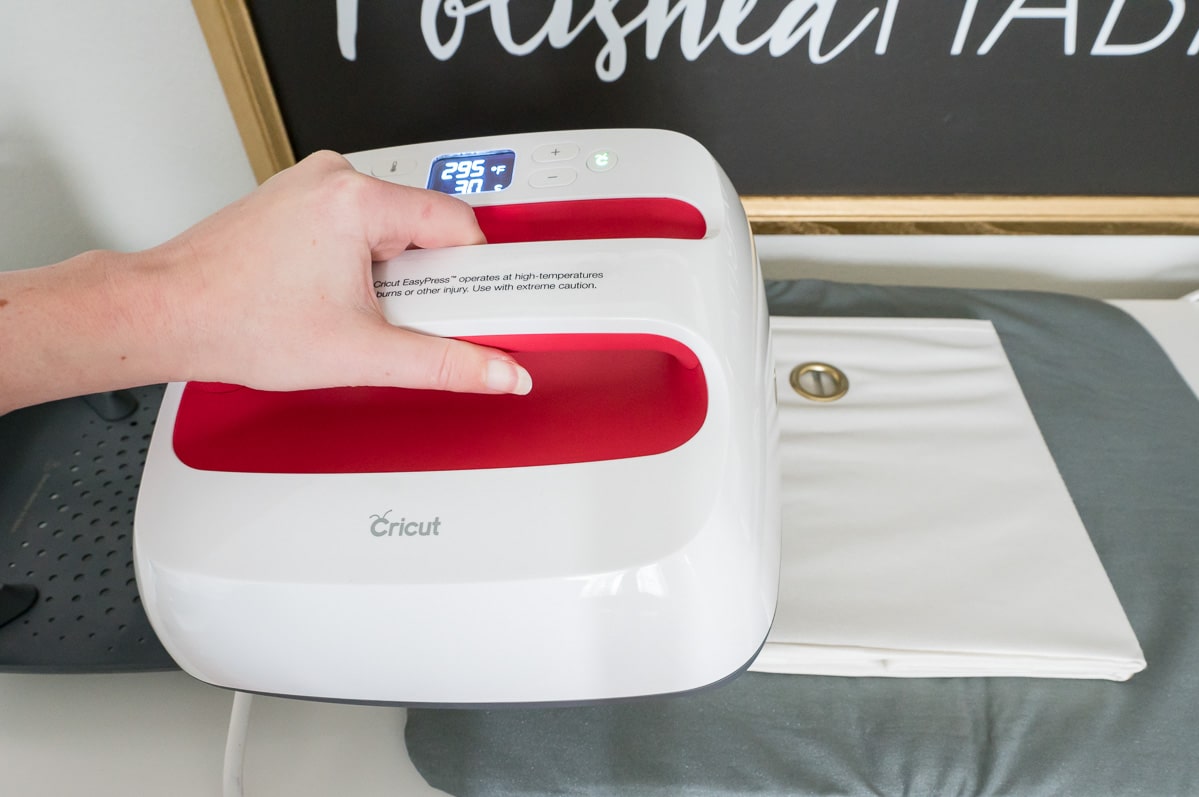
How to Use Cricut EasyPress 2
Step 1 – Preheat: While you weed your design, turn on the EasyPress and set the temperature and time per the manual. For this project, I set the temperature to 350℉ and the time to 45 seconds. However, bins are all made out of different materials, both on the surface and inside for support. Some readers have had issues with bins melting at 350, so consider starting at a much lower temperature until you can determine how your bin can handle the heat.
Keep in mind that the EasyPress will heat up in 1-2 minutes and turn itself off after 10 minutes of un-use as a safety feature, so you don’t need to heat it up for very long.
When it’s ready, it will beep and the Cricut button will turn green.
Step 2 – Prep the Material: Before attaching the design, Cricut recommends pre-heating your project material (the fabric bins in this case) for 5 seconds to help with the adhesion. When you’re done with this step, be sure to place it back on the included heat-safe tray and not your table!
Step 3 – Attach Your Design: As soon as the material is heated, add your design. Yes, you can FINALLY put it the right direction!
I find it helpful to go over the design with a scraper tool or credit card to make sure everything is smooth before I apply heat.
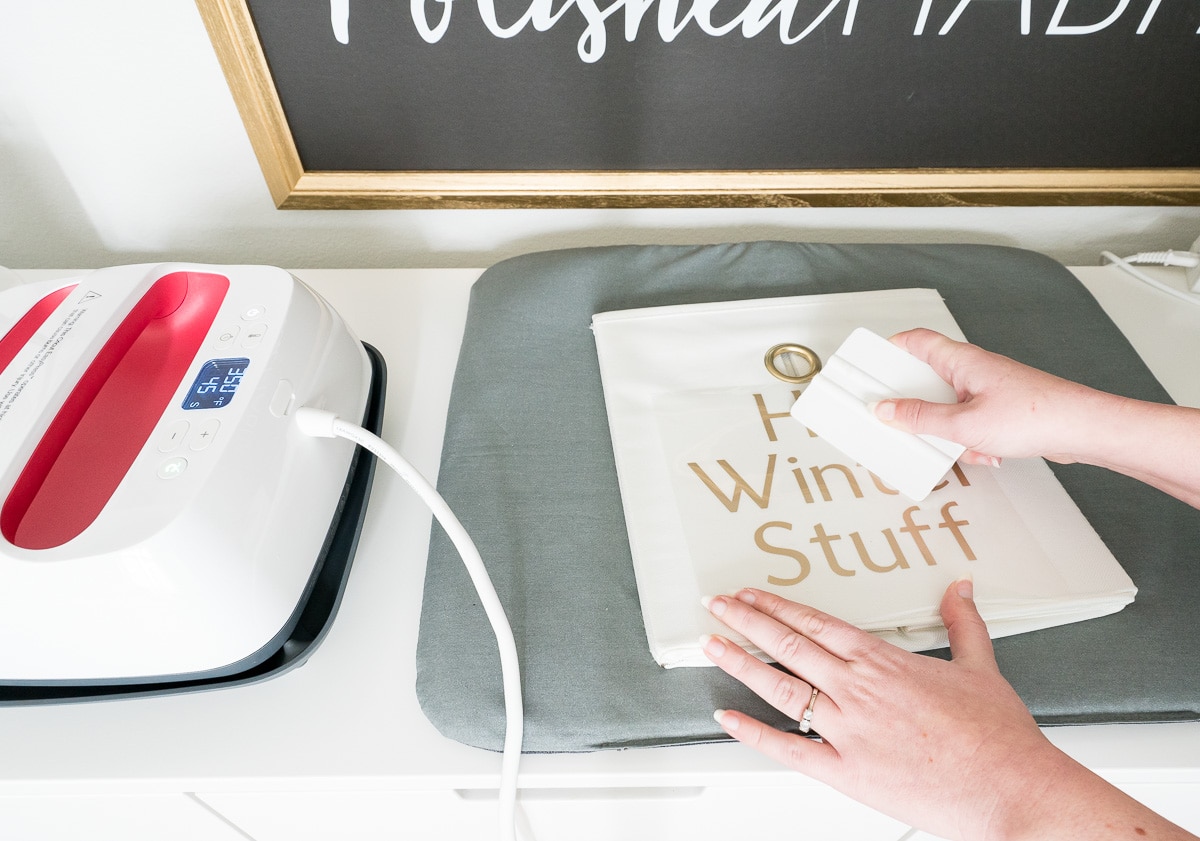
Remove the EasyPress from the heat-safe tray and set it on your design. Hit the green Cricut logo to start the timer and then apply firm pressure until time runs out!

If you were doing a t-shirt project, you’d also want to run the EasyPress 2 for a cycle on the backside of the shirt. That isn’t possible with these thicker bins, but I still had success getting the vinyl to stick.
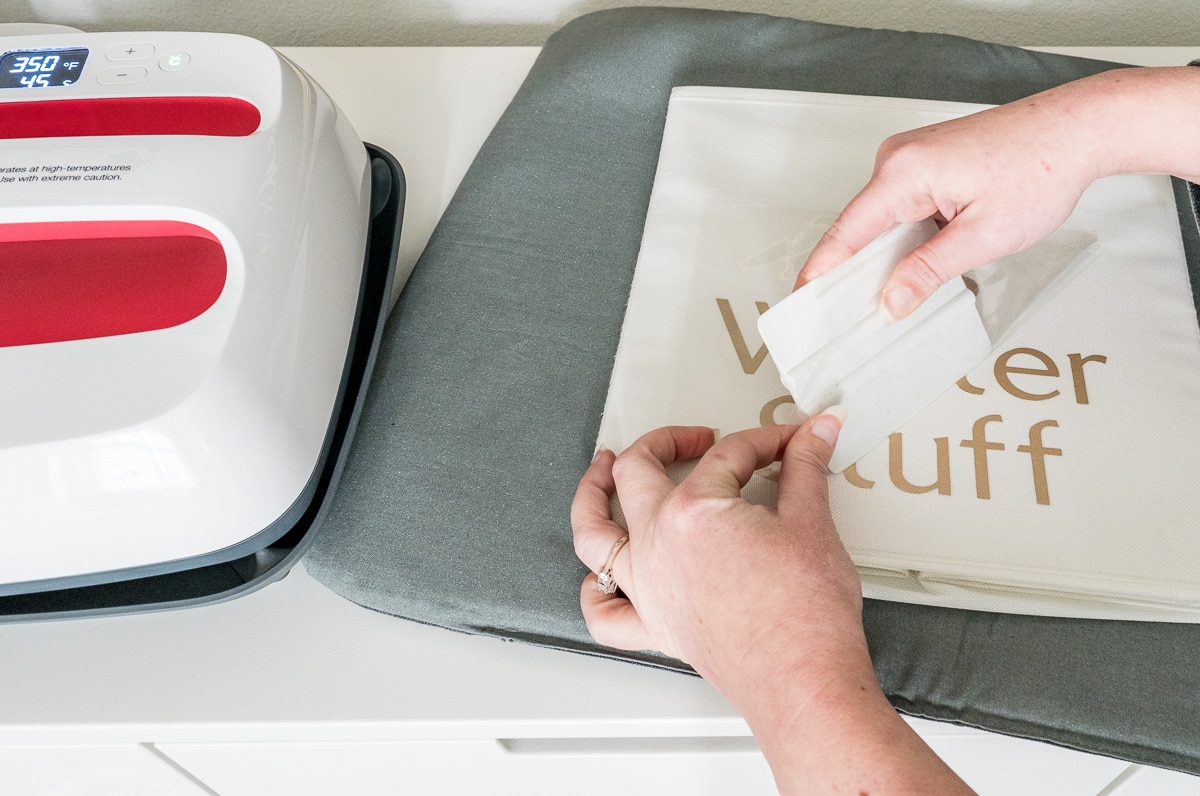
You just have to carefully remove the plastic piece while it’s still warm and you’re probably done! Slowly peel one corner of the plastic back to see if your letters are sticking to the material. If they are, continue peeling back the plastic and get to organizing!
What to Do if Your Iron On Isn’t Sticking
If the letters are coming up with the plastic, run another cycle of heat and use even more pressure. This time, when you peel back the plastic, use your scraper tool to hold down the letters as you peel back the plastic as seen below. As they cool, you’ll still get a great bond to the fabric.
You should be all set at that point, but if for some reason the letters still aren’t sticking I’ve got one more trick. Do one final heat cycle with pressure, and then walk away after you’ve put the heat press back in the tray and unplugged it. Come back in an hour once the design has cooled and try to peel back the plastic again. Occasionally, iron-on vinyl gets picky and would rather be peeled cool instead of hot.
I finished all three of my bins and love the way they turned out!
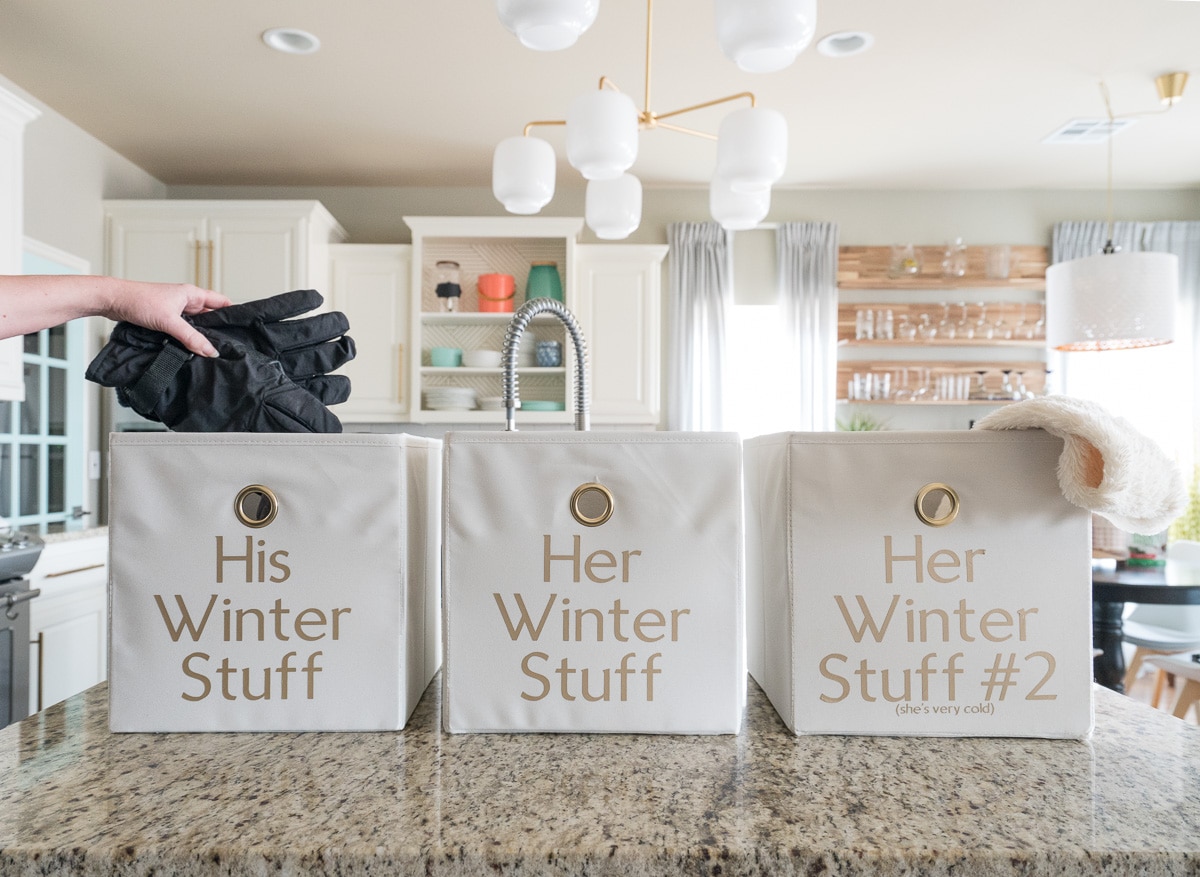
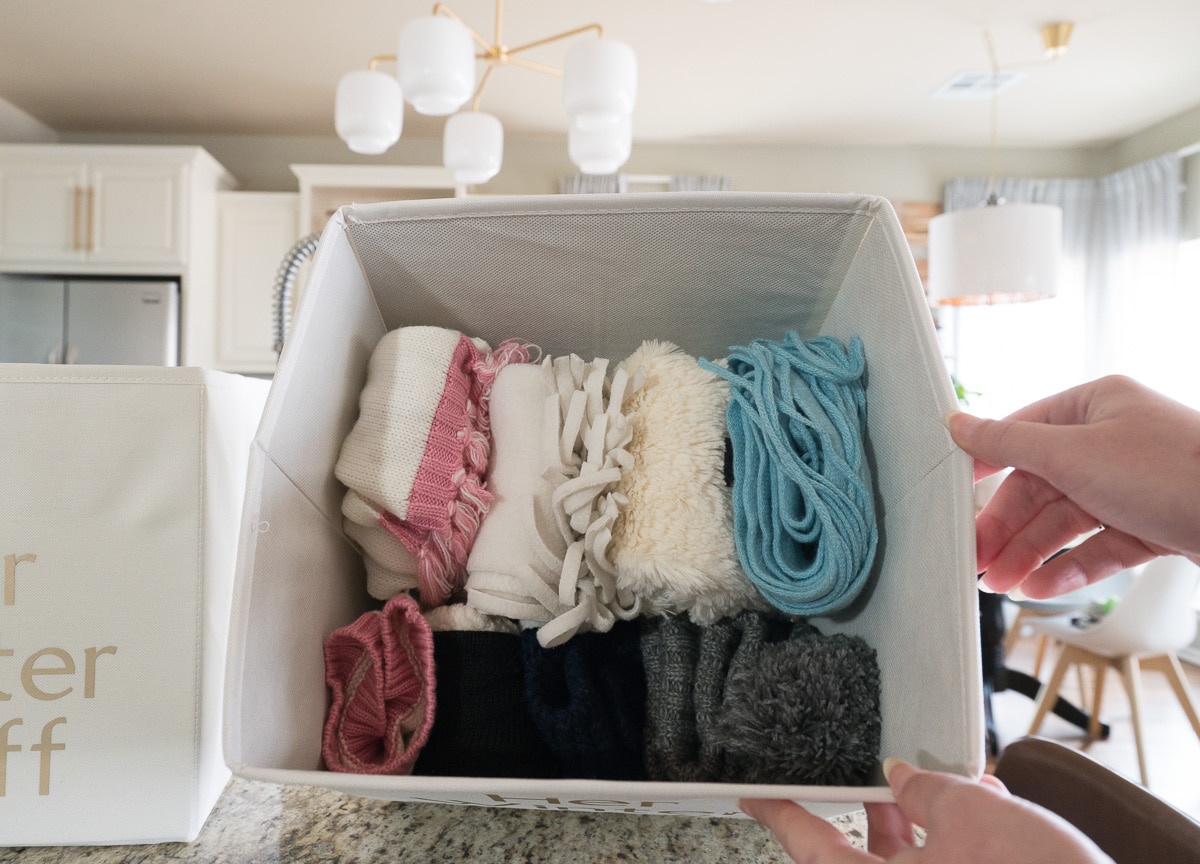
I’m going to pick up some more cloth bins just like this to rotate into the closet during the summer.
We’ll keep the summer bins in an upstairs closet during the winter, and then flip them out as pool season approaches
After I finished the cube labels, I was motivated to re-organize the rest of the scary closet. You can see how we managed to add storage to the small closet here.
Products Seen in the Post:
Cricut Maker
EasyPress 2 (9″ x 9″)
EasyPress Mat
BrightPad
Fabric Storage Bin
Everyday Iron-on Vinyl
How to Label Fabric Cubes without a Cricut
Don’t worry if you’re not a Cricut owner! I found a few labels for fabric bins to organize your storage cubbies too!
Clip-On Chalkboard Labels
Self-Adhesive Label Pockets
Fabric Cubes with Built-In Label Holders
Now that you know how to label fabric storage bins, what will you organize in your home?

Anna says
Your pup is precious!
Melissa George says
Thank you Anna – we tell him all the time that he’d constantly be in SO MUCH trouble if he wasn’t so cute. Instead, I’m like, “Wait, you aren’t supposed to be on the bed, but you’re so cute let me take a photo.” 🙂
Terri C says
I love your photos! Thanks for showing us the whole process – very inspiring. Although I enjoy wearing bright colors, particularly in winter, I feel best with soft palettes in my home environment. You have a beautiful and serene palette, particularly in the kitchen! <3
Melissa George says
Thank you, Terri! I’m wearing a bright yellow scarf right now myself – it’s fun that we can enjoy different colors for different parts of our lives!
Vicky says
I do not own a Cricut.im sure some of your viewers also do not, but I appreciate your other ideas.
Melissa George says
Thanks, Vicky! It’s definitely a smaller set of readers, but I’m also trying to work in organizing tips to the posts that would still be helpful to anyone. I hadn’t thought of this until now, but in the future, I’ll try to note in the newsletter when I think the post is valuable for anyone or if it’s all Cricut tutorial and you can skip it. And we won’t be doing TOO many Cricut posts – I’m aiming for 1/month, but many months we won’t have any.
Debra M Depot says
This tutorial ruined my fabric bin I am a newbie and never done this before when I put my easy press 2 on the fabric bin it took off the material and now my easypress 2 is ruined. seriosly bad tutorial.
Melissa George says
Hi Debra, I’m sorry your project didn’t work out as planned. I did the tutorial in collaboration with Cricut and can’t think of anything that would make fabric remove itself from a container and permanently damage your Easypress. It might be worth reaching out to Cricut customer support for additional guidance.
Jessica says
I would guess that there were two different kinds of fabric bins in play here. Most of the really cheap ones are covered with polypropylene fabric which, I’m pretty sure, melts. I’m also pretty sure it’s what is on the cheapo bins that I bought, which is why I’m trolling the internet looking for instructions on how to do this before I ruin mine too.
It would probably be wise to put a disclaimer in your post, maybe even right at the beginning, to check your fabric type and make sure that it is able to be ironed.
Tish says
I had the same problem with it melting the fabric on my bin at this temperature. After lowering the temperature A LOT, it seemed to work great. Be careful when you post what temperatures. I bought our fabric bins at Target so they weren’t really the “cheap” bins. After melting the first two trying to get the temperature right, it was fine.