This is a sponsored conversation written by me on behalf of Cricut. The opinions and text are all mine.
Again and again, we’ve learned that labeled spaces stay organized longer in our house. I’ve done a tutorial for labeling bins with vinyl in the past, but that method only works for solid hard surfaces. We’ve also talked about labeling fabric storage cubes.
But, what if you need to label baskets that don’t have a solid surface?
I bought some plastic bins with a cute woven design to reorganize our bathroom closet, but then realized my usual labeling tricks wouldn’t work. Instead of calling it a shopping fail and returning them, I was determined to find a solution.
And I did!
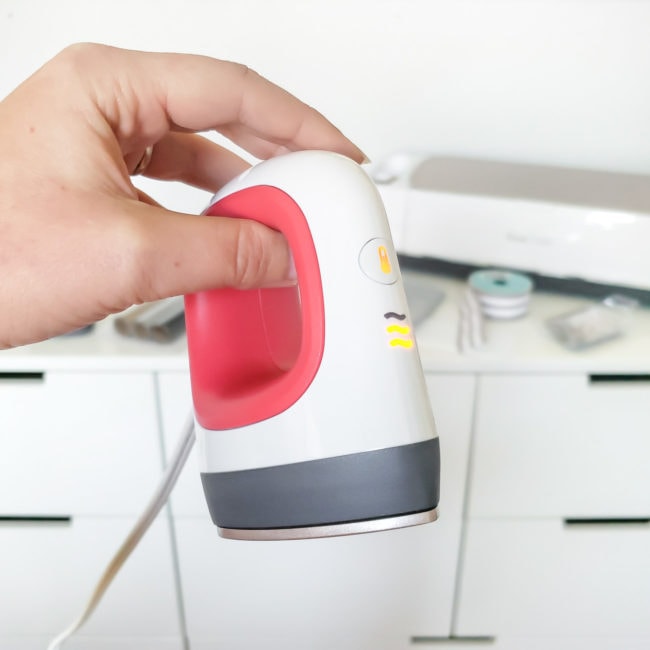
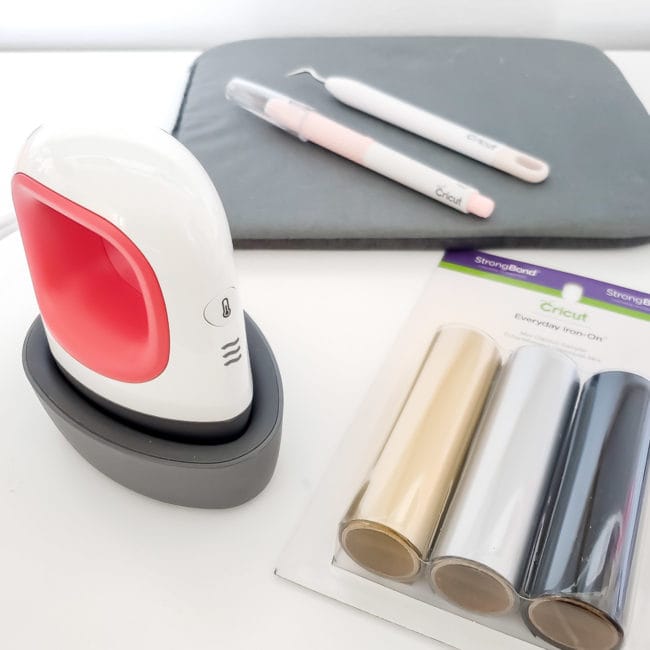
I made custom fabric labels using the new Cricut EasyPress Mini to apply heat transfer vinyl. It’s my favorite new crafting toy because it looks adorable, but it’s powerful. The compact size is ideal for projects like these labels, but also for hats, shoes, and even stuffed animals.
For anyone without a Cricut cutting machine, I’m also showing a VERY easy idea at the bottom of the post!
How to Make a DIY Fabric Label
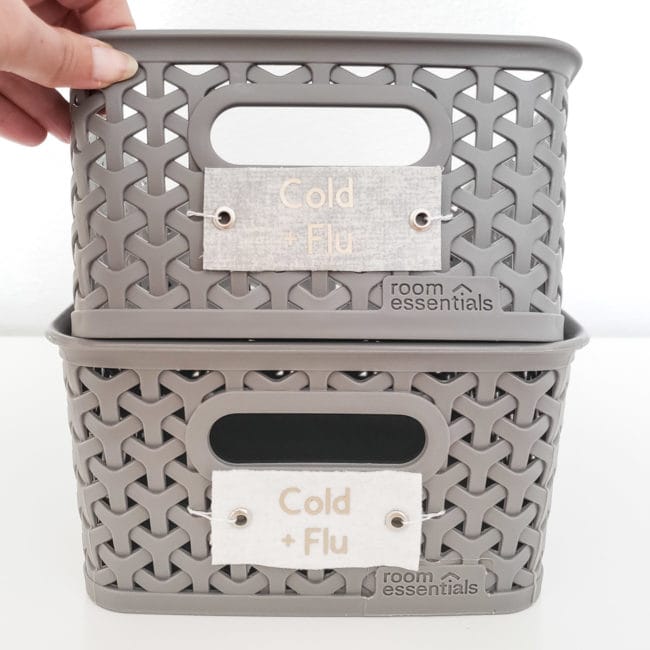
This option is fun because you can do it with almost any material, so the design options are endless! Since I only needed a small amount of fabric, I found a pretty grey cotton pre-cut fat quarter at the craft store for a woven label.
I also picked up some stiffened white felt at the craft store to test as a 2nd option.
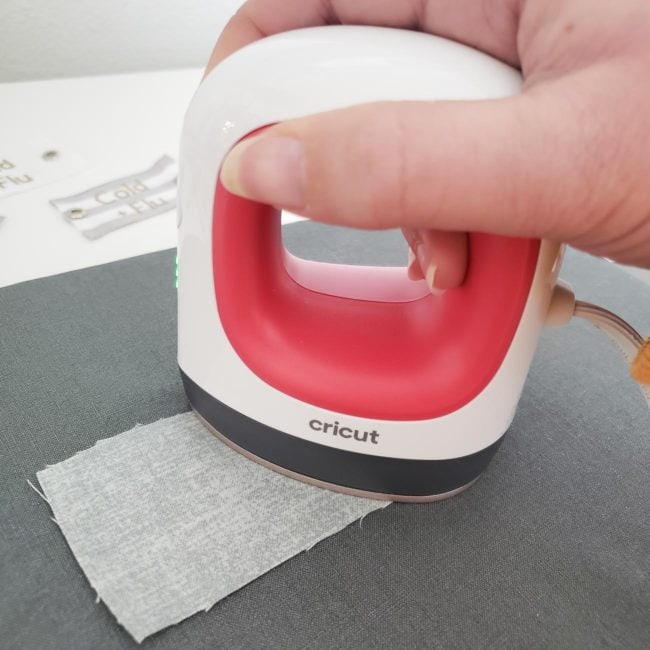
The stiffened white felt didn’t need any prep work, but the grey fabric was thin. I started by adding fusible interfacing so it wouldn’t be too floppy. I used style 911FF and it worked great.
I cut both the fabric and interfacing about 1/2″ larger than I wanted my final label and then fused the pieces together.
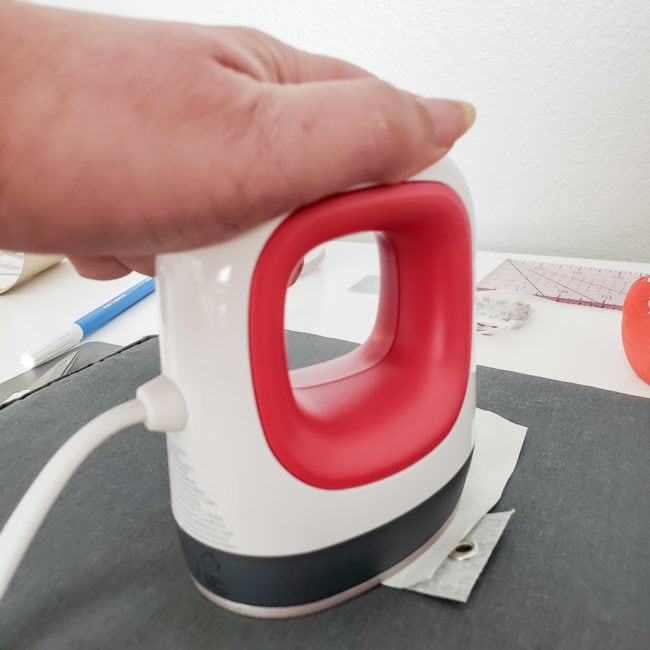
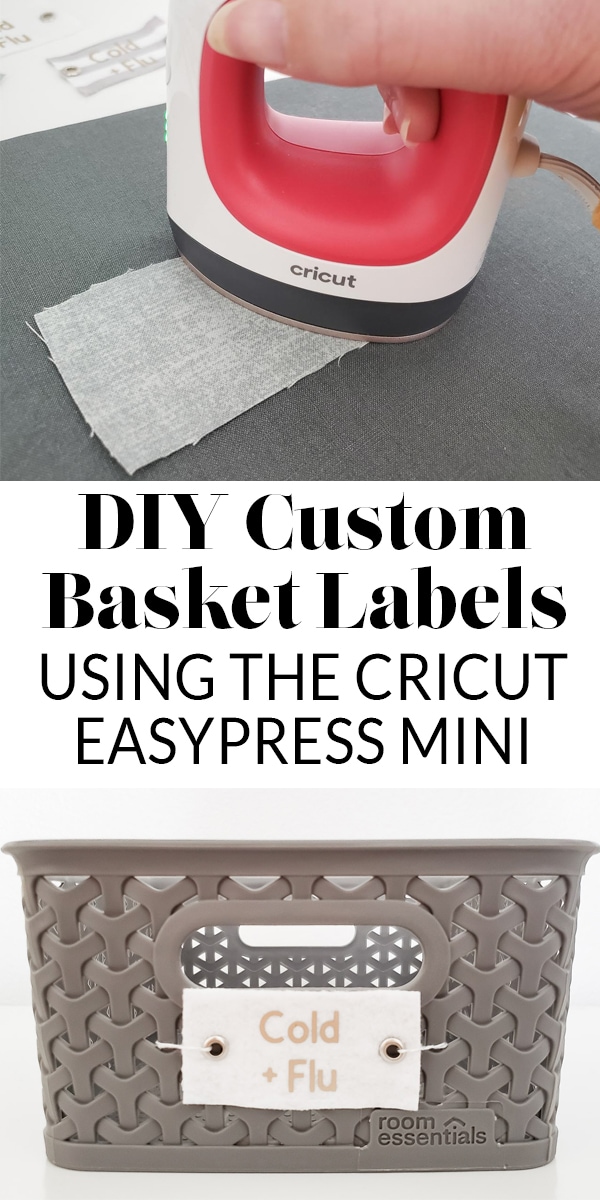
The interfacing instructions said to use a steam iron, but since the EasyPress Mini gets so hot, I thought I’d try it before digging out an iron. It worked perfectly on the highest heat setting!
Once the interfacing was attached, I used sharp fabric scissors to cut the label to my final size. The interfacing kept my fabric from fraying, so I’m opting to skip hemming the edges, but you’ll want to do a test to make sure you have the same good luck with your fabric.
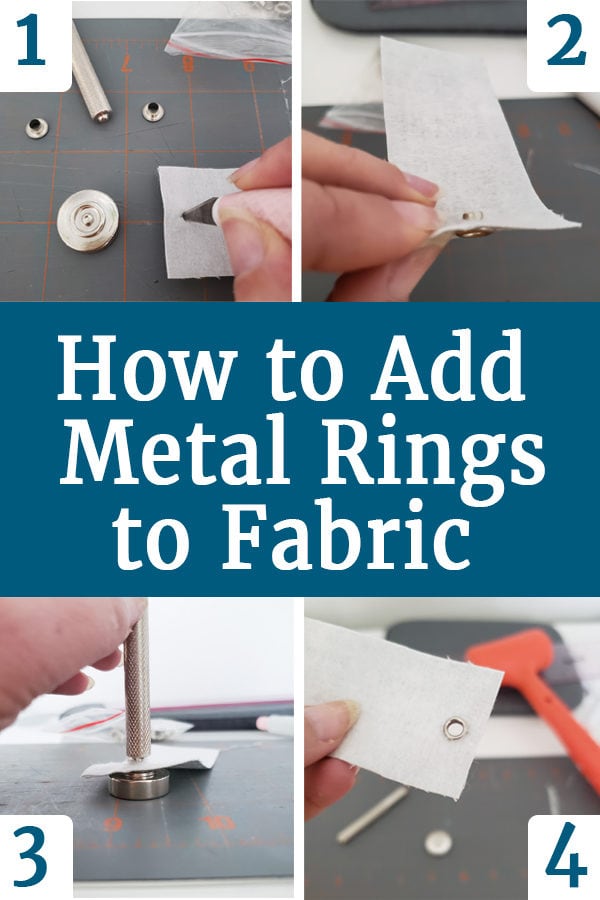
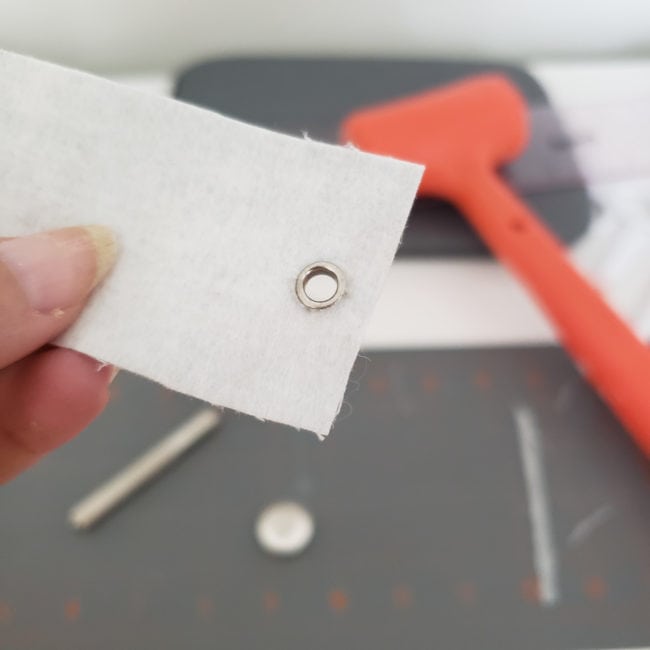
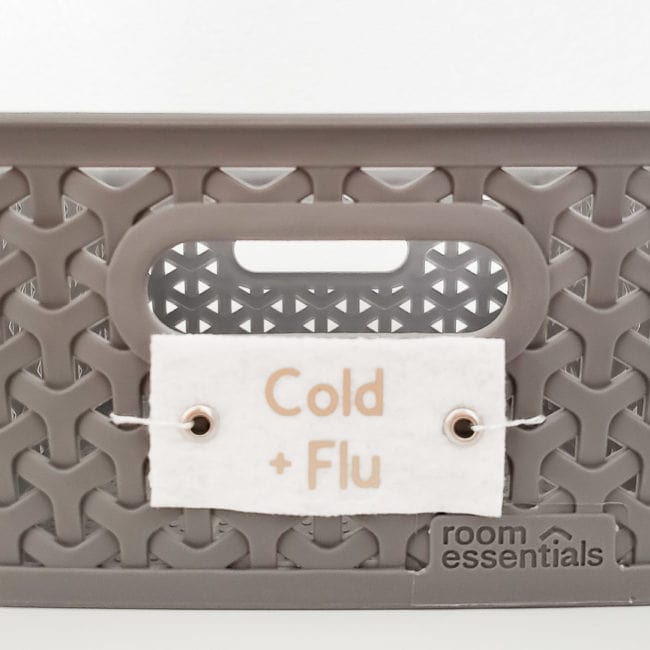
Next, I needed a way to attach my labels to my baskets. I used a simple eyelet tool to create finished holes on each side of both the felt and fabric options.
The eyelet tool was easier than I expected. You just cut a small hole in your fabric with a knife or punch, slip the eyelet through, and then hammer the unfinished side down.
Keep in mind that eyelets are just one piece, not two like a grommet. One side is already finished, and the tool helps you hammer the other to match.
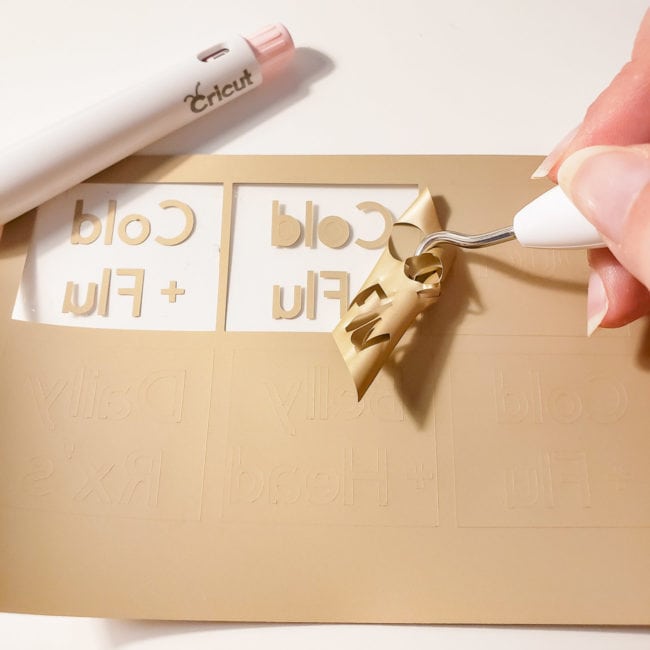
Last up, I needed to add the actual words to the label. I had a sampler pack of small HTV rolls that was perfect for the job. I typed up the words in Design Space, then mirrored the words and cut using the HTV option. Remember that heat transfer vinyl goes on the mat with the shiny side down.
After cutting, I weeded everything I didn’t want to transfer to my label, leaving the letters and the clear backing.
Then, I used the medium EasyPress Mini Heat Setting for 25 seconds. Be sure to use a pressing cloth or piece of butcher paper between your heat press and your vinyl.
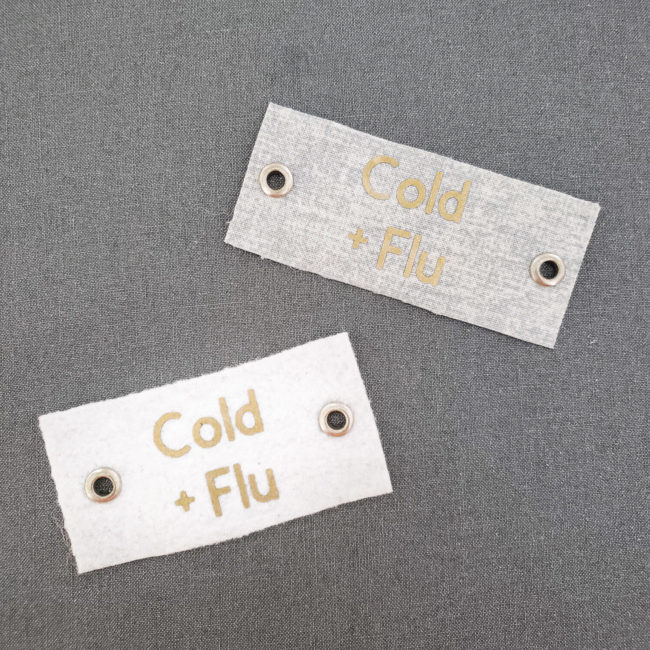
While still warm, I peeled away the clear backing material and was left with perfect custom labels!
I used baker’s twine through the eyelets to attach my new labels to baskets. They’re so cute!
I wasn’t sure which was going to be my favorite, but for the medicine closet, I think the white felt will be perfect!
The project was quicker than I expected, and so simple thanks to the EasyPress Mini!
And if you’re forgetful like me, you’ll appreciate the auto-shutoff feature. More than once, I wandered out of the room and rushed back an hour later to find that the Mini had turned itself off. Whew!
Making Basket Labels without A Cricut
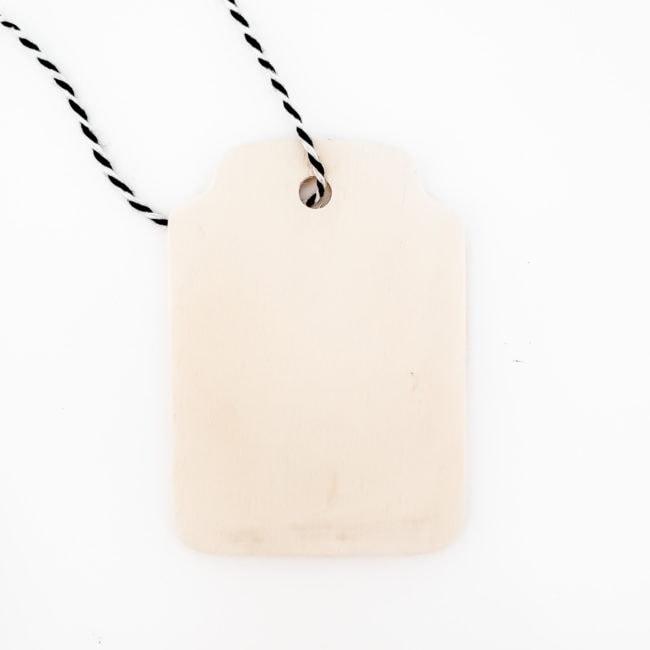
While I was doing some shopping/research for this post, I also picked up some wood labels from the woodworking section at Michael’s.
If you don’t have a Cricut, you can write on the wood with a marker and then hang them from your basket. Easy and cute for the win!
Now that I’ve got a plan for the medicine baskets, I’m excited to tackle our bathroom closet update.
I can’t wait to make the rest of the labels!


Annette Roth says
I love your tips! This one especially resonated with me.
Also I recently heard of a wooden sign making party my friend went (https://lifeexpressionsdecor.com). The cost was $20 per sign, which seemed expensive. I wonder if I could make signs on my own at home? Any tips? Thanks! 🙂