Do you have any rooms in your house that just don’t fit with the others?
As we’ve SLOWLY updated and decorated the downstairs of our home, the laundry room has felt more and more out of place and dysfunctional.
It’s time to kick off a laundry room makeover!
Instead of just showing you my plans and calling it a day, I wrote out the process I went through planning the space and making decisions. I hope this helps you plan your next space update!
I’m going to dig into the functional reasons we’re doing more than just painting the walls, but first I wanted to show the purely aesthetic and “feeling” reason for the change.
The image on the left from my Instagram feed shows all the spaces we’re in most often – the kitchen, living room, bedroom, and office. They all flow together really well. 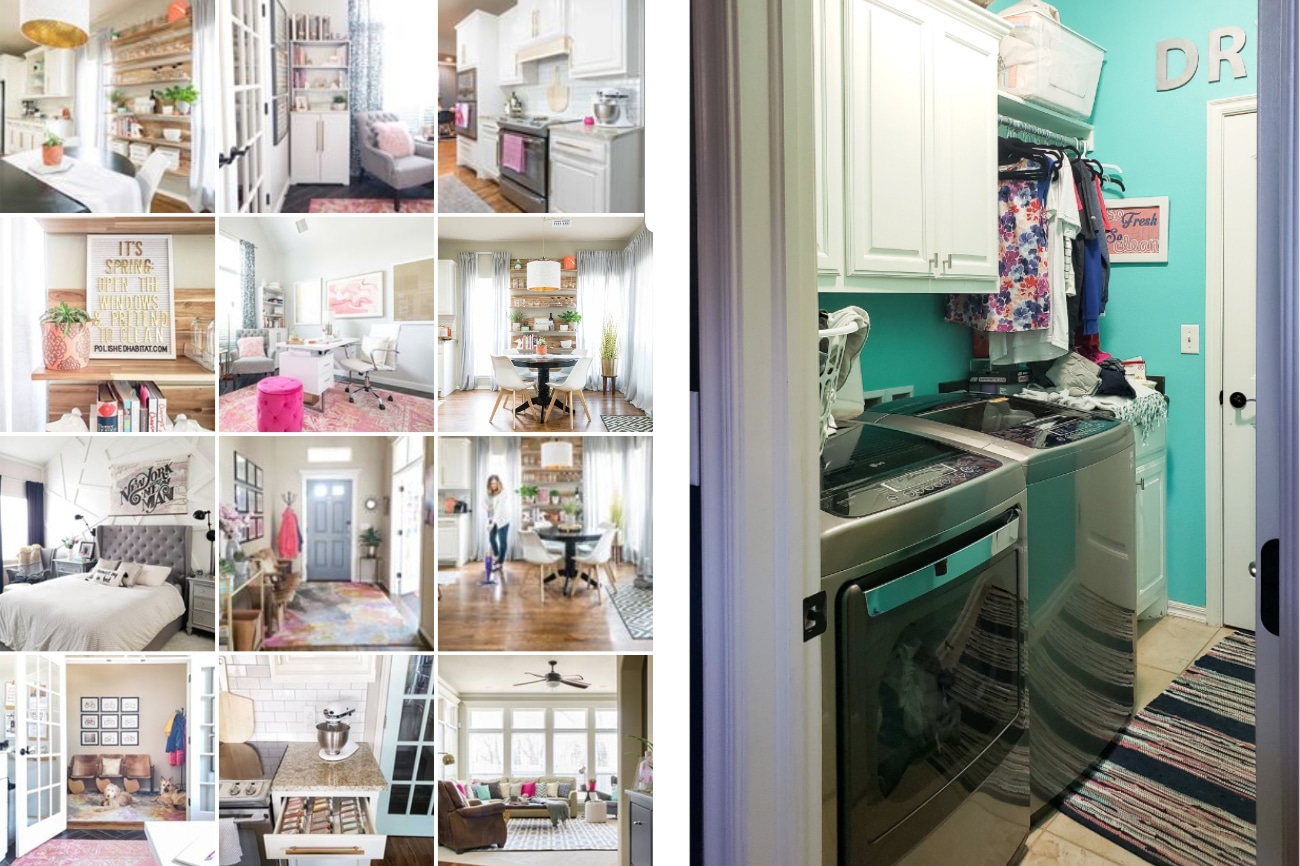
And then there is the laundry room decor on the right that doesn’t quite fit in.
Interestingly, you can see still some of the same influences we have in the other rooms.
It was the beginning of pink accents, modern pulls, and much harsher version of teal.
When the rest of the house was almost all beige in early 2014, the small laundry room was a fun pop of personality.
Now that we’ve found a polished version of our style for the rest of house, it’s time for the laundry room design to join the party.
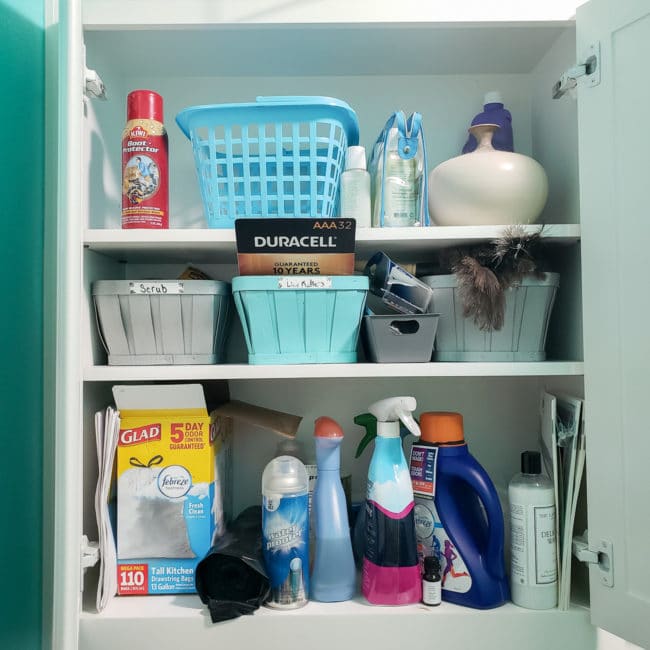
Looks aside, it’s the functional part of the plans I’m most excited about. The interior of the cabinets are a disaster and I can’t even reach the top shelf.
Plus, I knew I wanted to add a sink (which the cabinet is already plumbed for). We just weren’t sure if we wanted counter space or the sink when we built the house.
I’m not sure how I missed thinking of the solution we’re about to implement back then, but I least I thought to add the plumbing!
I didn’t want to make the same mistake of failing to incorporate everything we needed in the room again, so I went through my Design Method worksheets, starting with Step 1 – Feel & Function.
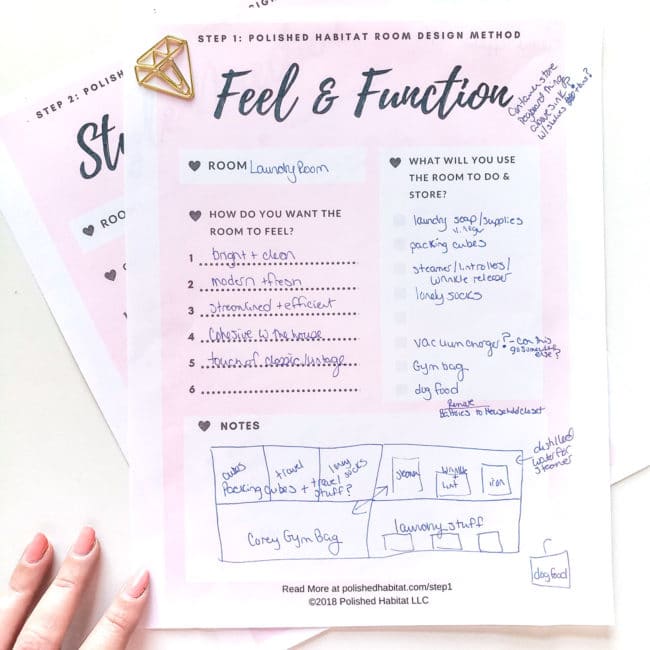
Sitting down to intentionally plan out the laundry room organization and storage solutions we needed led to some exciting revelations.
I can dedicate a cabinet to hold Corey’s gym bag that always ends up on the floor in the garage entry. Plus, I designated space to store our packing cubes, which have currently taken over one of my purse storage slots in the closet.
I used the notes section to draw out what would live in each cabinet to make sure the cabinets I selected would work for our needs.
With the Feel & Function worksheet completed, I moved on to the Style Direction printable.
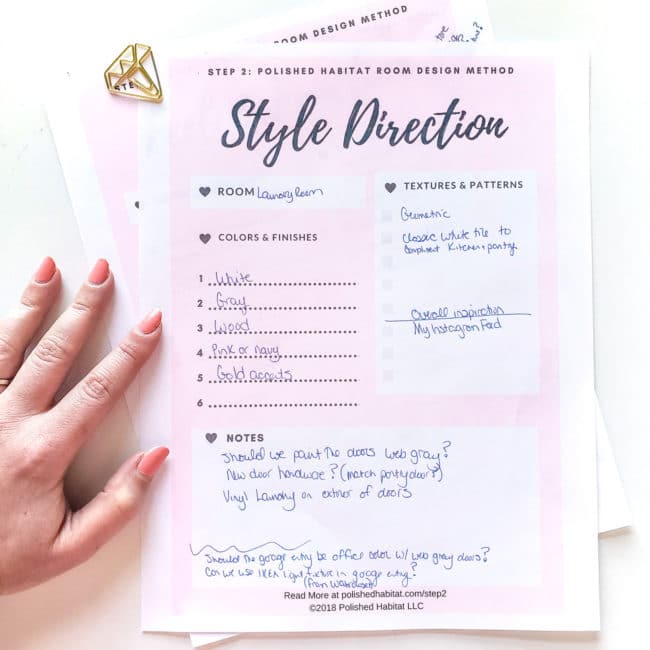
 Narrowing down specific colors and textures really helped me have clarity as I selected final products. The Notes section was a great place to jot down potential ideas to consider as I brainstormed.
With the worksheets completed for Step 1 and Step 2, I’d normally find a piece of inspiration artwork for Step 3 to solidify the color palette. In this case, I’m using my own Instagram feed as the inspiration point because I want the room to compliment my favorite parts of our home.
That decision brought me to step 4, creating a mood board!
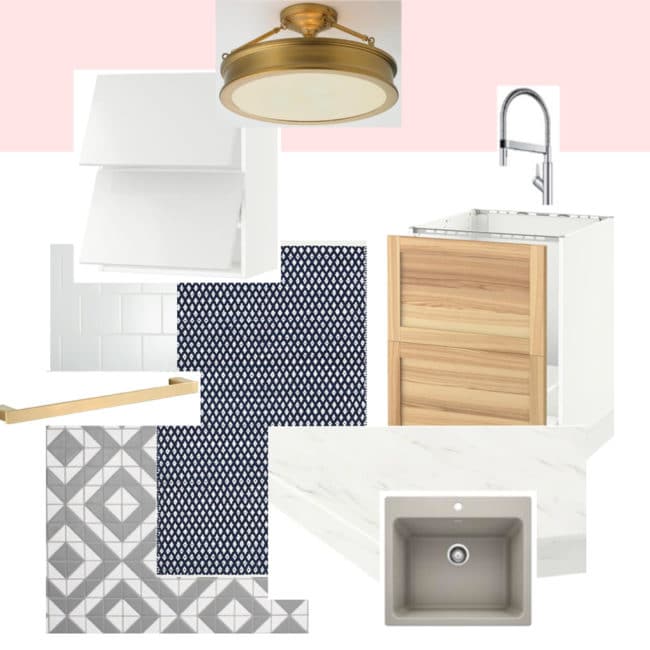 I hit up the internet looking for the best items to fit our function and style checklists!
Everything started coming right together when I found the gray and white geometric tile. Picking flooring was a bit tricky because the laundry room is connected to the garage entry, which is connected to the main entry of our house.
You’ll be able to see a peek of the pattern from the moment you walk in the front door. A few tiles I liked would have been great in just a laundry room, but had too much of a bathroom vibe for the entry.
I liked this one because it felt a bit like a modern take on original tiles you occasionally see outside old storefronts.

Once I selected the patterned floor tile, I knew the backsplash tile needed to be simple. It was the perfect place to incorporate classic white tile, which will complement the white subway tile in the kitchen and white penny tile in the pantry.
To tie the floor and walls together, a subtle gray and white faux marble countertop from IKEA looks like it will be perfect. We’re going to go see it in person, but fingers crossed it will be a good budget-saving option!
The countertop will go ALL the way from wall to wall, with a front loading washing machine/dryer underneath. The tops of our current models are slanted and make me crazy.
Everything constantly falls off of them, either sliding down the front, or dropping between them. I can not wait to have a solid surface to fold clothes on! 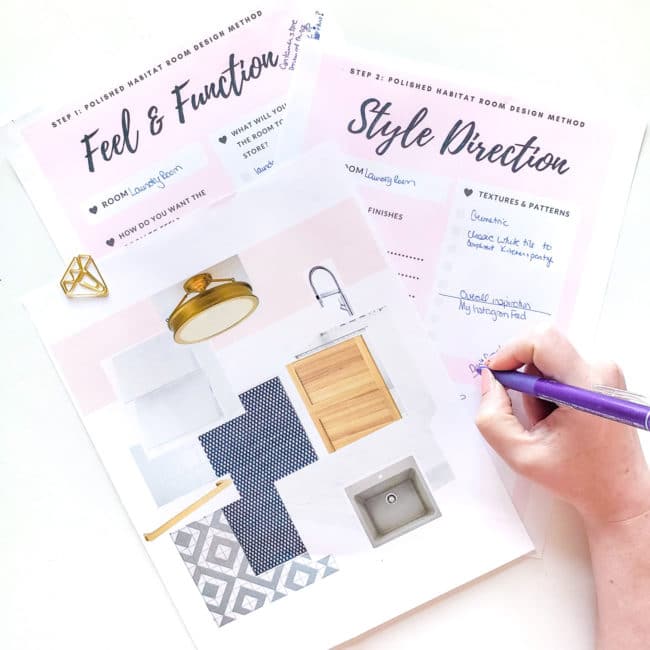
For the sink, we’re opting for a BLANCO LIVEN Laundry Sink in Concrete Gray. It’s made from a Silgranit material that’s as durable as granite but also resistant to scratches, stains and all household acids and alkali solutions. Since we’ll be using the sink for clean up after any painting or other household projects, we wanted something extra durable and stain resistant.
The faucet is also from BLANCO, the CULINA Semi-Professional. Since we could be washing out buckets in the sink, we wanted something stylish with a high arch.
It was a tough call to change out the cabinets in the room as well, since the ones we have are already white and “fine”. But if we’re already tearing up the rest of the room, I decided to go all in and swap them for something with the exact function and feel we wanted.
Plus, we can install the existing cabinets in the garage for extra storage. Win-win!
For the sink cabinet, we’re looking at the IKEA SEKTION designed for trash/recycling. The full front pulls out as a drawer, and instead of trash, we’ll use it to hold dog food. To fit in a little wood warmth, I’m loving the natural ash front.
For the uppers, we’re excited to try horizontal wall cabinets. Based on my drawing, I think they’re going to function so much better for us. To dress them up, I found some beautiful sleek pulls from Atlas Hardware.
To finish things off, I’m going to try to find an affordable navy rug and we’ll probably go with my favorite semi-mount light fixture!
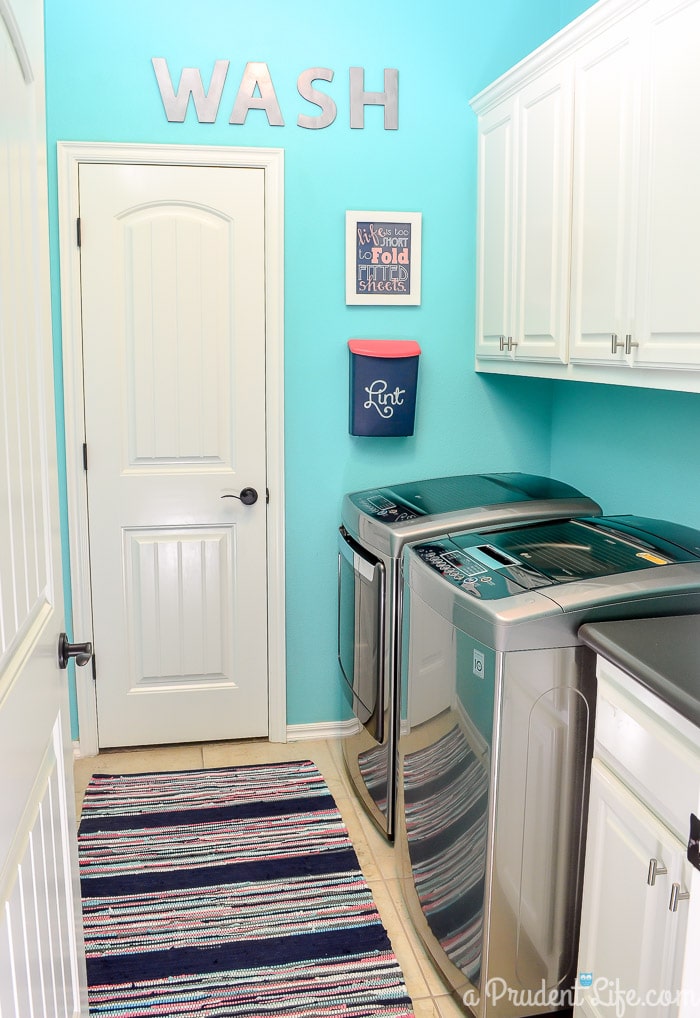
Let’s take a last peek at what the mess of a laundry room looks like now. Even Gus is ashamed of it.
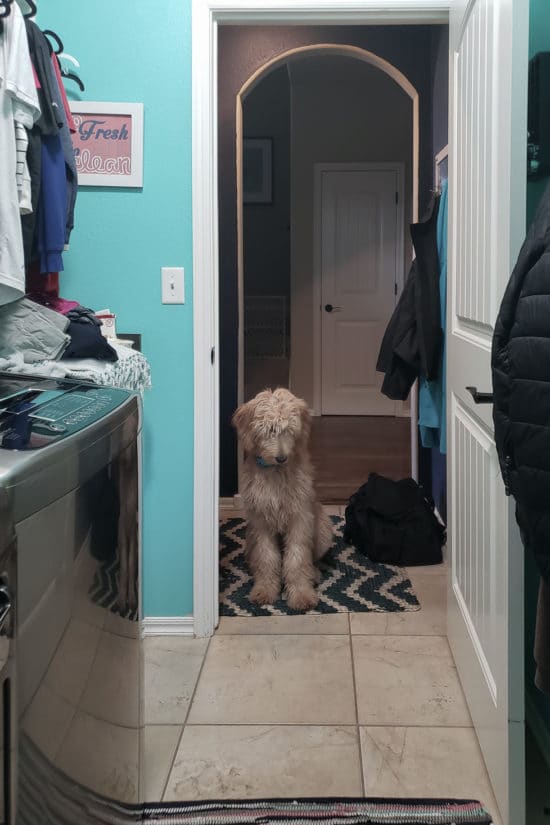
As usual, Corey’s gym bag can be spotted next to Gus.
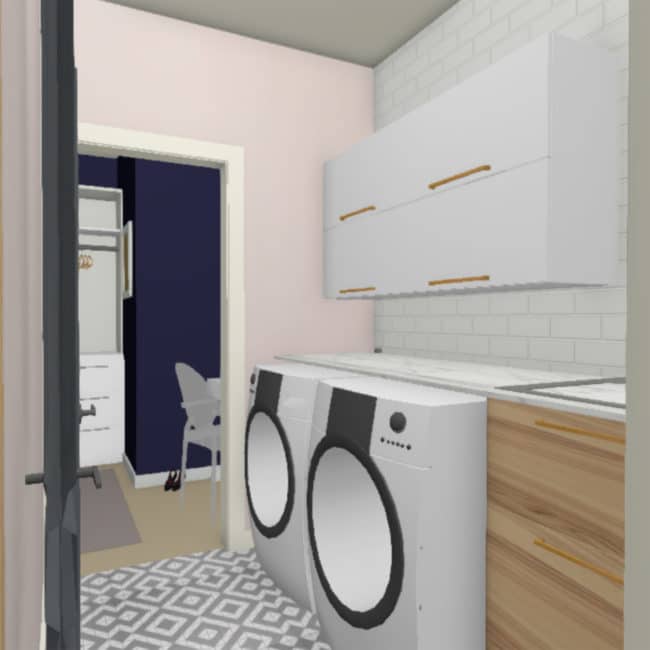
Here’s a rough mockup of what the space will look like in about 7 weeks.
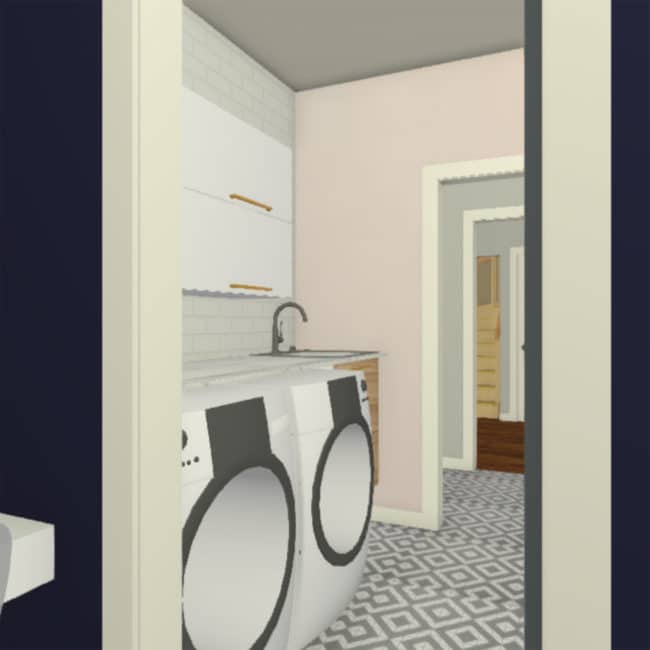
I’m still deciding, but the white tile may go part of the way up the side walls as well.
I’ve got a couple of other little things up my sleeve to surprise you with later, including a solution for hanging clothes as they come out of the dryer without a rod over the sink. I’m already getting more excited thinking about laundry day!
I know people either love or hate front-loading washers, but it’s the only way I’m going to get the full countertop we need.
So, if you have a model you love, PLEASE let me know in the comments below. It’s the last big thing I need to decide on!
And if you’re a new reader and not on the email list, be sure to sign up here so you’ll be notified when we have the room finished!


Dee says
I love when Gus and Maddie are the models. I cannot wait for the reveal!
Melissa George says
Thanks Dee! They love it too because they get extra treats. 🙂
Diane says
We remodeled our Landry room, it is small with a door from the garage.
We added a sink, stacked the washer and dryer. Used wall cabinets next to the garage entry both top and bottom to get maximum storage.
Works well for a very small room.
Note on your design.
Horizontal hanging cabinets work well for tall people. Make sure these will work for you. As a 5′ tall person they didn’t work.
Melissa George says
Thanks Diane! Stacking the washer/dryer was high on my list as an option too – our room sounds awesome!
And thanks for the heads up on the horizontal cabinets! I’m only 5’4 and wondered about that. I can’t currently reach the top shelf of the existing cabinets. We’re going to IKEA tomorrow and will definetely test out how well I can reach the upper shelf. I’m planning on hanging them lower than normal, so fingers crossed it will work!
Beth says
Ideas sound terrific! I am hoping to redo my laundry room soon. Fingers crossed!
Colleen says
I have a Maytag front loader and I love it! Will never have a top loader again. Clothes are cleaner with less wear and tear than with my old washer. I’ve had my current machine for over two years.
Melissa George says
THANK YOU! I’ll check out the Maytags! I looked at a Whirlpool that is probably my top contender so far and I think they’re the same parent company.
Lisa says
Where did you buy the little lint box on the wall?
Melissa George says
Hi Lisa, Sorry I didn’t answer sooner! It’s a DIY project using a realtor literature box! I’ve got the details here: https://www.polishedhabitat.com/laundry-lint-bin/